|
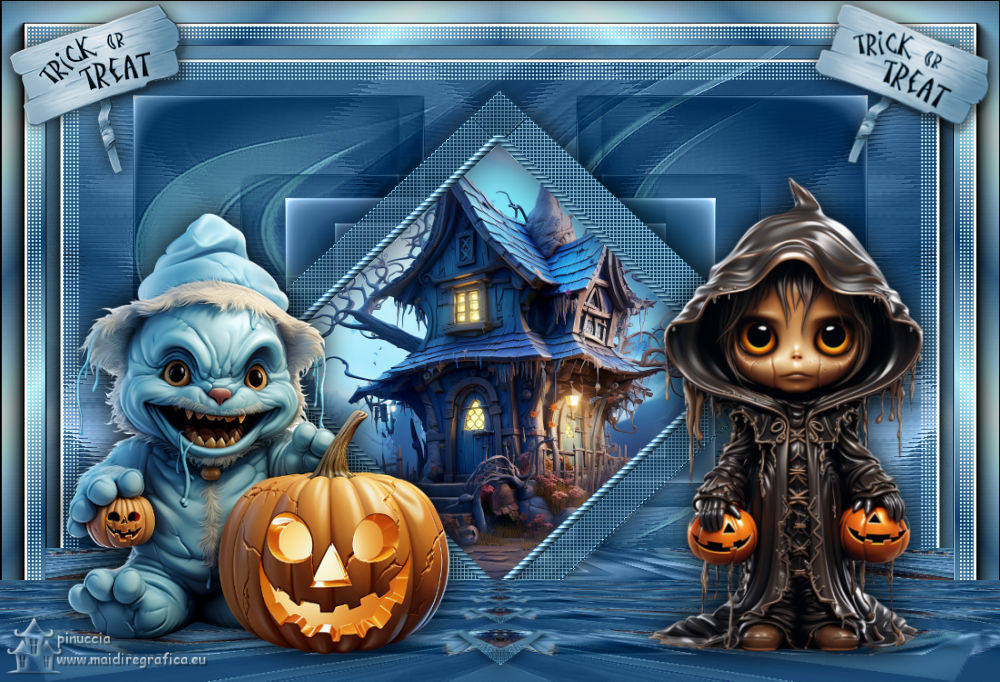
HALLOWEEN 2023

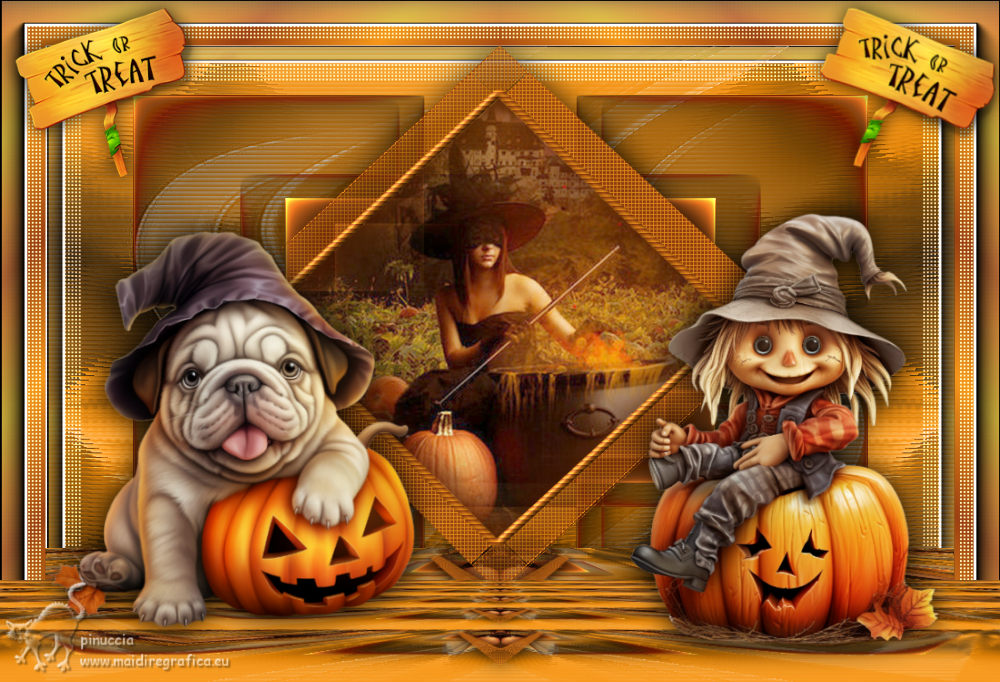
Thanks Inge-lore for your invitation to translate your tutorials.

This tutorial was translated with PSPX, PSPX2, PSPX3, but it can also be made using other versions of PSP.
Since version PSP X4, Image>Mirror was replaced with Image>Flip Horizontal,
and Image>Flip with Image>Flip Vertical, there are some variables.
In versions X5 and X6, the functions have been improved by making available the Objects menu.
In the latest version X7 command Image>Mirror and Image>Flip returned, but with new differences.
See my schedule here
 Italian translation qui Italian translation qui
 French translation here French translation here
 Your versions ici Your versions ici
Material:
Tubes at your choice (the tubes used by Inge-Lore are under licence)
The rest of the material here
Thanks for the tubes and a mask Guismo and Silvie.
For the tubes of my version thanks Adrienne.
(you find here the links to the material authors' sites)

consult, if necessary, my filter section here
Filters Unlimited 2.0 here
Mehdi - Sorting Tiles here
AFS IMPORT - sqborder2 here
Mura's Meister - Perspective Tiling here
AAA Frames - Foto Frame / AAA Filters - Good Vibrations here
Filters AFS IMPORT can be used alone or imported into Filters Unlimited.
(How do, you see here)
If a plugin supplied appears with this icon  it must necessarily be imported into Unlimited it must necessarily be imported into Unlimited

You can change Blend Modes according to your colors.
In the newest versions of PSP, you don't find the foreground/background gradient (Corel_06_029).
You can use the gradients of the older versions.
The Gradient of CorelX here

Copy the Selections in the Selections Folder.
Open the masks in PSP and minimize them with the rest of the material.
1. Choose two colors from your tubes
Set your foreground color to the light color,
and your background color with the dark color.

Open a new transparent image 1000 x 650 pixels.
Flood Fill  the transparent image with one of your colors. the transparent image with one of your colors.
Layers>New Raster Layer.
Selections>Select All.
Open calguismistedautomne3109 
Edit>Copy.
Go back to your work and go to Edit>Paste into Selection.
Selections>Select None.
If necessary, change the Blend Mode of this layer to Luminance (legacy).
Layers>Merge>Merge Down.
2. Effects>Plugins>Mehdi – Sorting Tiles

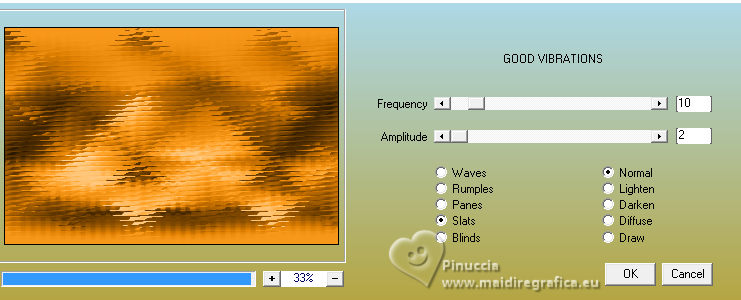
Effects>Plugins>AAA Filters - Good Vibrations.
Adjust>Sharpness>Sharpen More.
Layers>New Raster Layer.
Flood Fill  the layer with your light color. the layer with your light color.
Layers>New Mask layer>From image
Open the menu under the source window and you'll see all the files open.
Select the mask Jhn7Ykehlj

Effects>Edge Effects>Enhance.
Layers>Merge>Merge Group.
3. Selections>Load/Save Selection>Load Selection from Disk.
Look for and load the selection halloween©ILR.

Press CANC on the keyboard 
Open the second background tube calguismisthalloween22109 
Edit>Copy.
Go back to your work and go to Edit>Paste as new layer.
Image>Resize, if necessary - for me 70%, resize all layers not checked.
Place  the tube on the selection. the tube on the selection.
Selections>Invert.
Press CANC on the keyboard 
Selections>Invert.
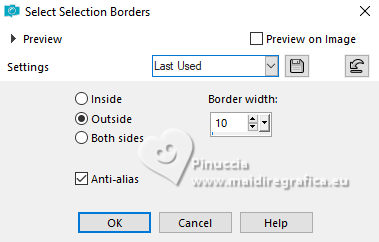
4. Selections>Modify>Select Selection Borders.
Layers>New Raster Layer.
Flood Fill  the selection with your dark color. the selection with your dark color.
Effects>Texture Effects>Blinds, light color.

Effects>3D Effects>Inner Bevel.

Selections>Select None.
Activate your Magic Wand Tool 
and click in the center of the image to select it.
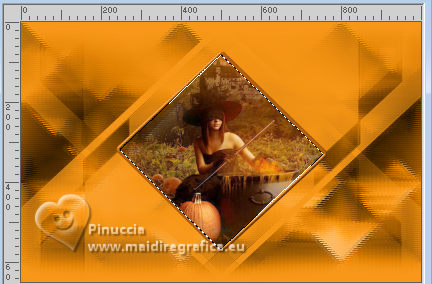
5. Effects>3D Effects>Cutout, with a dark color of your image.

Selections>Select None.
Layers>Merge>Merge Down.
Activate the layer of the mask.
Selections>Load/Save Selection>Load Selection from Disk.
Look for and load the selection halloween2©ILR.

Press CANC on the keyboard 
Selections>Select None.
Effets>Effets de texture>Weave
weave color: light foreground color
gap color: dark background color.

Effects>3D Effects>Drop Shadow.

6. Set your foreground color to white.
Activate your bottom layer.
Layers>New Raster Layer.
Flood Fill  the layer with the white color. the layer with the white color.
Layers>New Mask layer>From image
Open the menu under the source window
and select the mask Silvie_Mask_Deco44HZ

Effects>Edge Effects>Enhance More.
Layers>Merge>Merge Group.
Layers>Duplicate.
Image>Mirror.
Image>Flip.
Layers>Merge>Merge Down.
7. Effects>Distortion Effects>Wave.

Effects>Texture Effects>Blinds, same settings.
Open the tube mentali-decor173 
Edit>Copy.
Go back to your work and go to Edit>Paste as new layer.
Layers>Duplicate.
Image>Mirror.
Layers>Merge>Merge Down.
Edit>Copy Special>Copy Merged.
Edit>Paste as new layer.
Effects>Plugins>Mura's Meister - Perspective Tiling.

Effects>Reflection Effects>Rotating Mirror.


8. Activate your bottom layer.
Effects>Plugins>[AFS Import] - sqborder2

Effects>Plugins>AAA Frames – Foto Frame

Effects>Reflection Effects>Rotating Mirror, standard settings.

9. Activate your top layer.
Layers>Merge>Merge Down.
K key to activate your Pick Tool 
and set Position X: 176,00 and Position Y: 25,00.

Activate the layer Raster 4 (the Mura Effect)
Edit>Copy.
Edit>Paste as new image and minimize this image.
Go back to your work.
Selections>Select All.
Image>Canvas Size - 1100 x 750 pixels.

Activate your top layer.
Layers>New Raster Layer.
Selections>Invert.
Set again your foreground color to your light color.
Set your foreground color to a Foreground/Background Gradient, style Linear.

Flood Fill  the selection with your Gradient. the selection with your Gradient.
10. Effects>Plugins>(AFS Import) – sqborder2, same settings.

Effects>Plugins>AAA Frames – Foto Frame

Effects>Reflection Effects>Rotating Mirror, same settings.

Selections>Select None.
The minimized image of step 9 is still in memory

Edit>Paste as new layer.
Effects>Plugins>MuRa’s Meister–Perspective Tiling, same settings.

11. Open deco1- 
Edit>Copy.
Go back to your work and go to Edit>Paste as new layer.
Move  the tube up. the tube up.
Effects>3D Effects>Drop Shadow.

11. Copy/Paste as new layer your main tubes.
Image>Resize, if necessary, resize all layers not checked.
Adjust>Sharpness>Sharpen.
Effects>3D Effects>Drop Shadow.

Layers>Merge>Merge All.
Image>Resize, 1000 pixels width, resize all layers checked.
Sign your work.
Image>Add borders, 2 pixels, symmetric, light or dark color, to your liking.
Save as jpg.
For the tubes of this version thanks Adrienne

If you have problems or doubts, or you find a not worked link, or only for tell me that you enjoyed this tutorial, write to me.
18 Ottobre 2023

|

