|
PETALAS DE POESIA  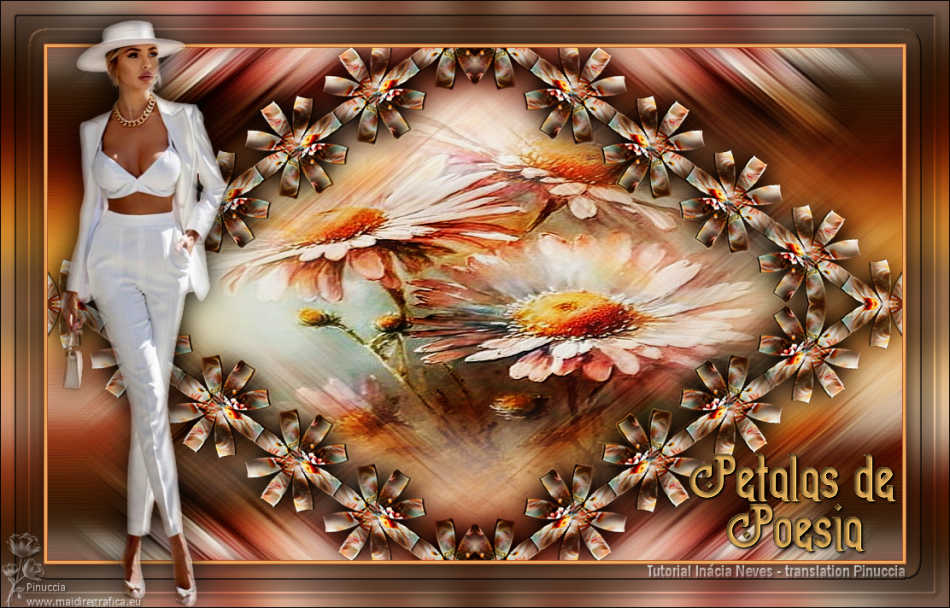

This tutorial was written with Psp2022 and translated with PspX9, but it can also be made using other versions of PSP.
You can change Blend Modes according to your colors. In the newest versions of PSP, you don't find the foreground/background gradient (Corel_06_029). You can use the gradients of the older versions. The Gradient of CorelX here  1. Choose 2 colors from your landscape or from your floral misted. For me: Set your foreground color to dark color #bd4f30, and your background color to light color #e7b05b. 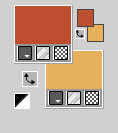 Set your foreground color to a Foreground/Background Gradient, style Linear. 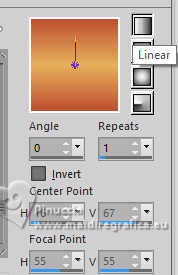 2. Open a new transparent image 1000 x 600 pixels. Flood Fill  the transparent image with your Gradient. the transparent image with your Gradient.3. Layers>New Raster Layer. Selections>Select All. Open the floral misted  Edit>Copy. Go back to your work and go to Edit>Paste into Selection. Selections>Select None. 4. Adjust>Sharpness>Sharpen More. Effects>Image Effects>Seamless Tiling - default settings.  Adjust>Blur>Motion Blur - 3 times 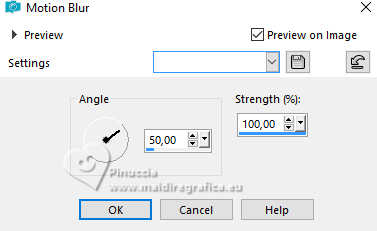 Effects>Edge Effects>Enhance More. 5. Layers>Duplicate - 2 times Close the top layer and activate the layer below, Copy of Raster 2. 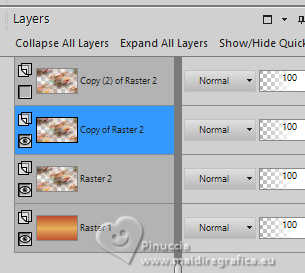 Effects>Plugins>Mehdi - Kaleidoscope 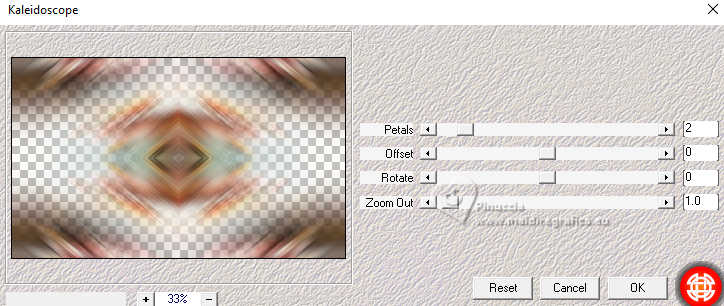 6. Open and activate the top layer, Copy(2) of Raster 2. Effects>Plugins>Flaming Pear - Flexify 2 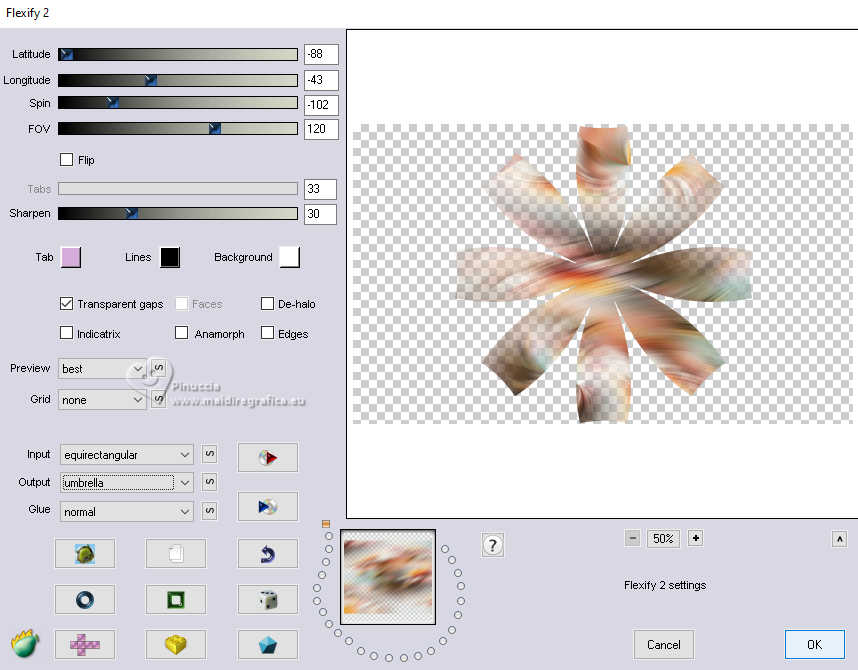 Selections>Select All. Selections>Float. Selections>Defloat. 7. Edit>Paste into Selection (your floral misted is still in memory). Selections>Select None. Image>Resize - to 20%, resize all layers not checked. Adjust>Sharpness>Sharpen More. Effects>3D Effects>Drop Shadow 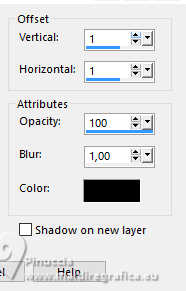 8. Effects>Plugins>Mura's Meister - Copies. 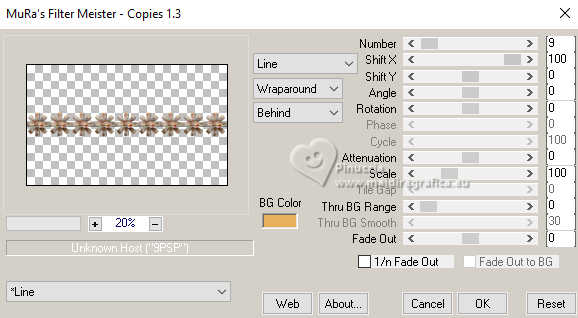 Image>Free Rotate - 35 degrees to left 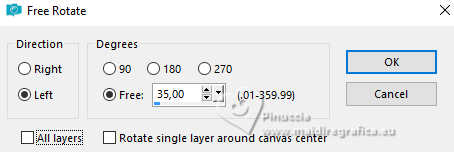 Effects>Image Effects>Offset 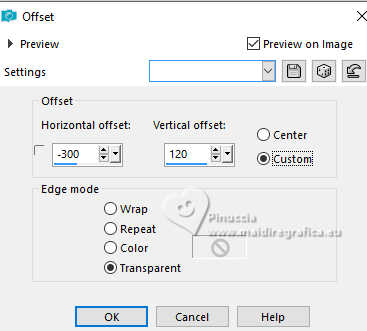 Effects>Plugins>Simple - Top Left Mirror. 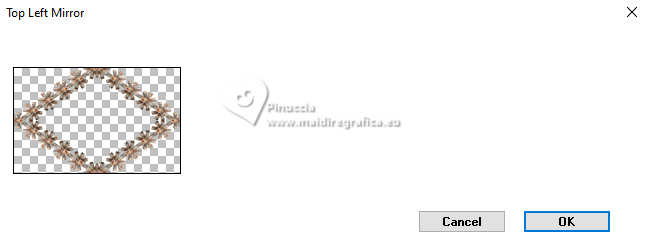 9. Activate your Magic Wand Tool  and click in the center of the effect to select it. 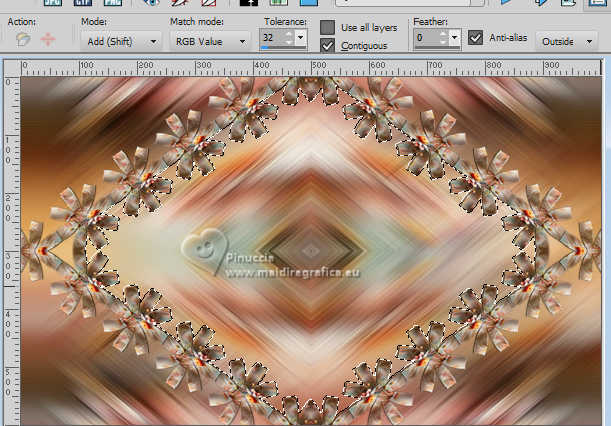 Layers>New Raster Layer. Edit>Paste into Selection - your floral misted is always in memory. Effects>Plugins>FM Tile Tools - Blend Emboss, default settings.  Reduce the opacity of this layer to 80%. 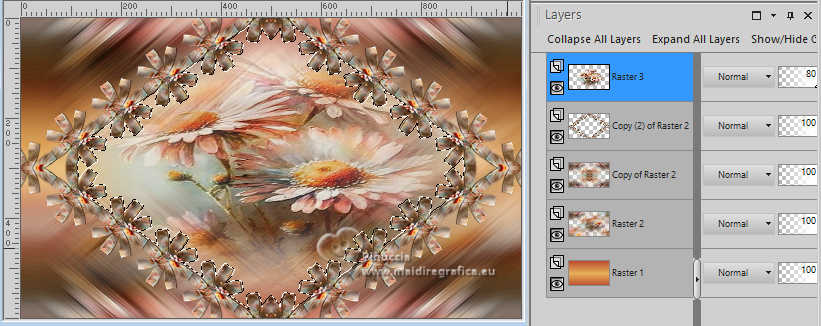 Selections>Select None. 10. Layers>Arrange>Move Down. Activate your top Layer. Effects>3D Effects>Drop Shadow. 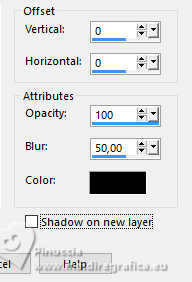 11. Optional: Layers>New Adjustment Layer>Brightness/Contrast. 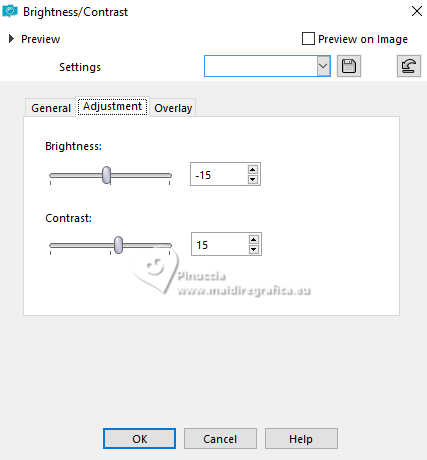 12. Change the Blend Mode of this layer to Soft Light. 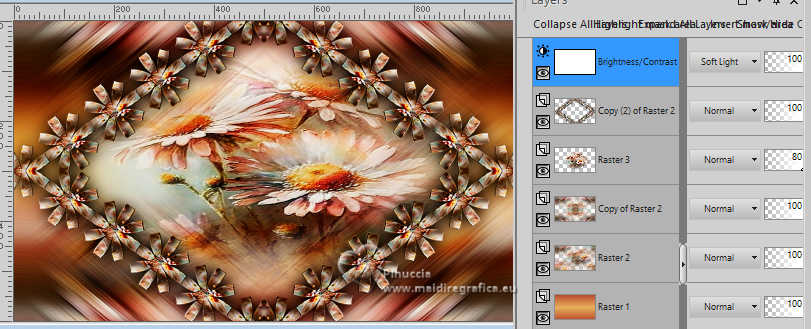 Layers>Merge>Merge All. Edit>Copy 13. Image>Add borders, 1 pixel, symmetric, dark foreground color #bd4f30. Image>Add borders, 3 pixels, symmetric, light background color #e7b05b. Image>Add borders, 1 pixel, symmetric, dark foreground color #bd4f30. 14. Selections>Select All. Image>Add borders, 50 pixels, symmetric, whatever color. Selections>Invert. Edit>Paste into Selection Adjust>Blur>Gaussian Blur - radius 20  15. Selections>Invert. Effects>3D Effects>Drop Shadow, same settings. 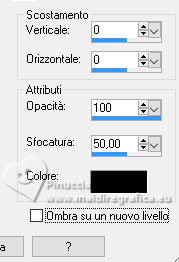 16. Selections>Invert. Selections>Modify>Contract - 20 pixels. 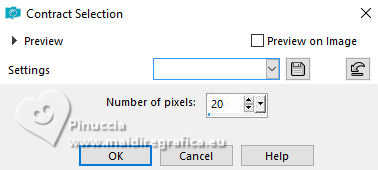 Effects>3D Effects>Outer Bevel. 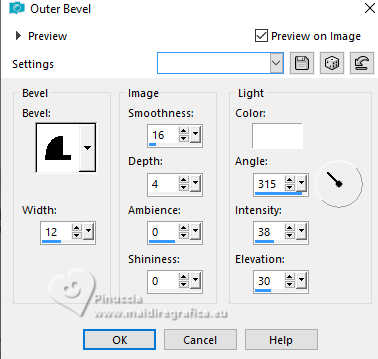 Selections>Select None. 17. Open your main tube 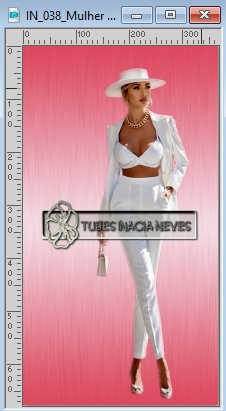 Edit>Copy. Go back to your work and go to Edit>Paste as new layer. Image>Resize, if necessary - for the supplied tube I resized to 110%, resize all layers not checked. Move  the tube to the left side, or to your liking. the tube to the left side, or to your liking.Effects>3D Effects>Drop Shadow, at your choice. 18. Open wa_petalasdepoesia_inacia.png 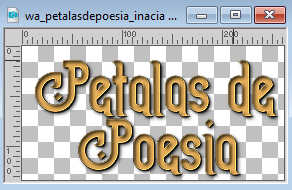 Edit>Copy. Go back to your work and go to Edit>Paste as new layer. Colorize, according to your color, or use the supplied font. Move  the text at the bottom right, or to your liking. the text at the bottom right, or to your liking.Effects>3D Effects>Drop Shadow e/o effects to your choice. 19. Image>Add borders, 1 pixel, symmetric, color black #000000. 20. If your want, resize your work; I resized to 90%, resize all layers checked. Sign your work and save as jpg. For the tubes of this version thanks Luz Cristina 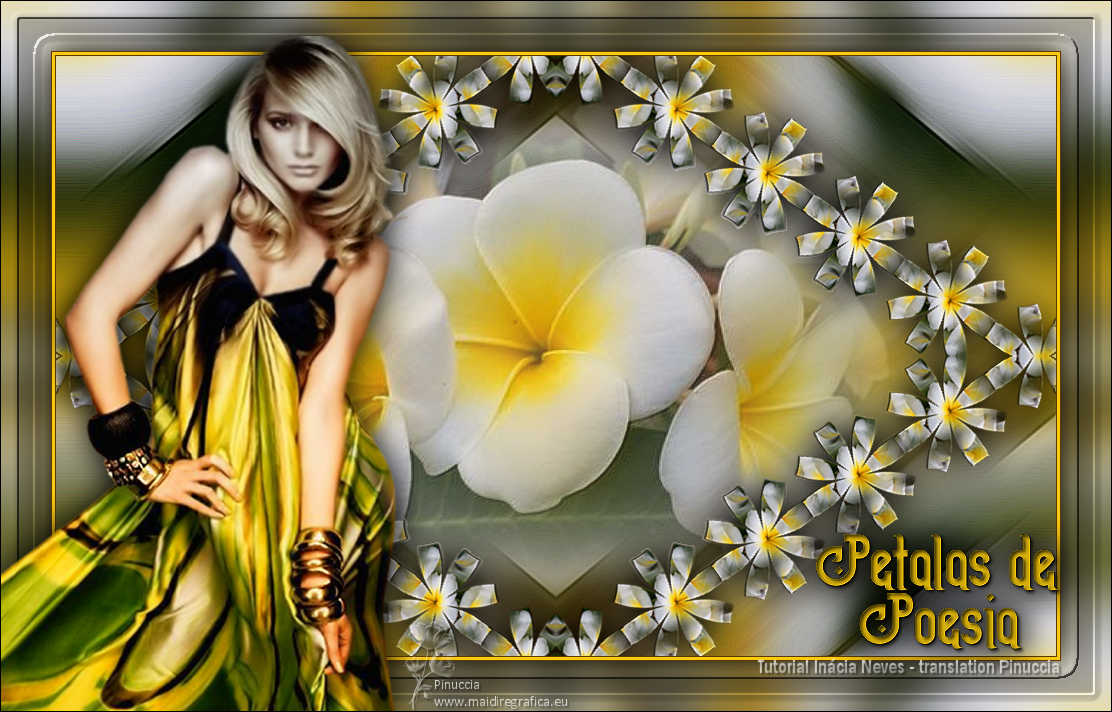 Beatriz 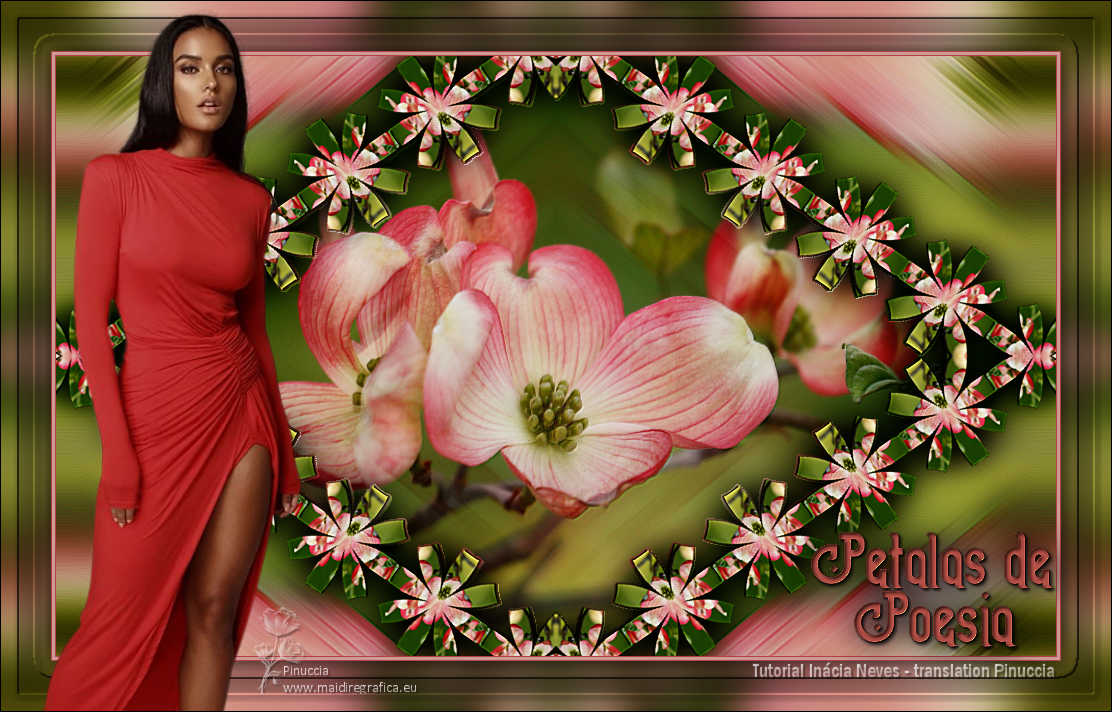  Your versions. Thanks 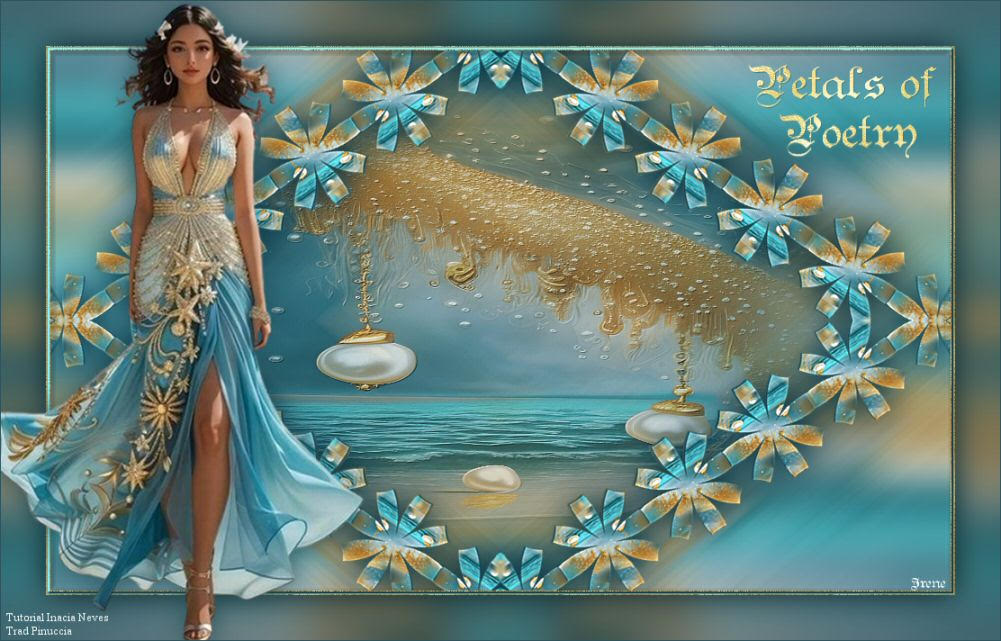 Irene 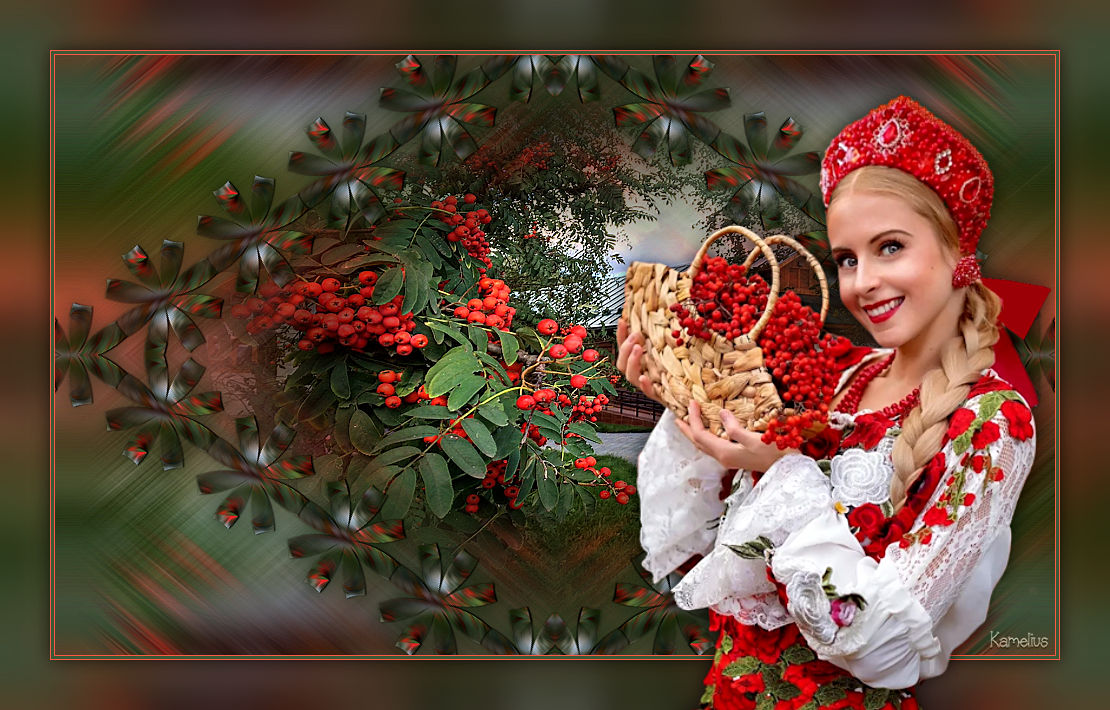 Kamelius   If you have problems or doubts, or you find a not worked link, or only for tell me that you enjoyed this tutorial, write to me. 13 November 2023 |