|
EVALYNDA  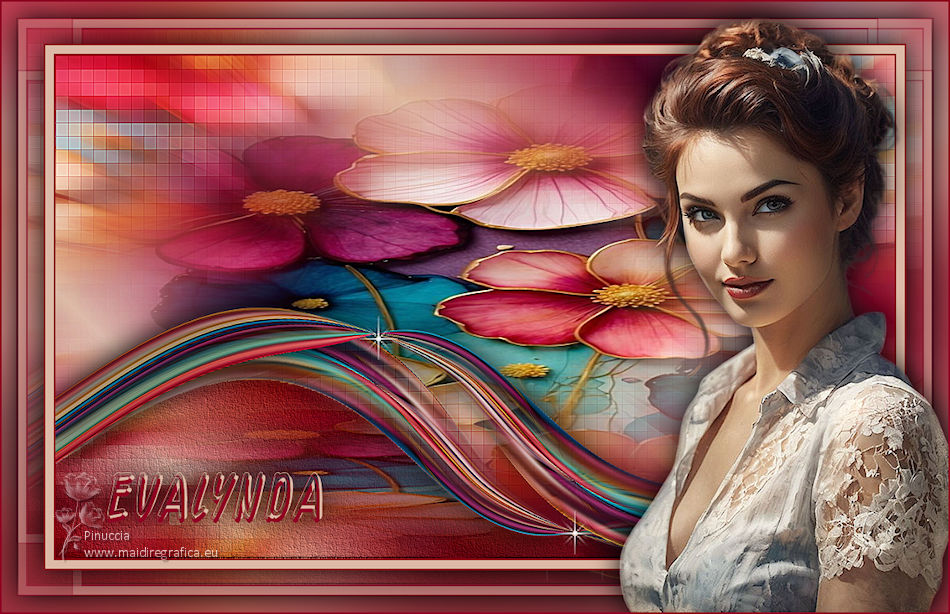

This tutorial - written with Psp2022 - was translated with Psp2020, but it can also be made using other versions of PSP.
For this tutorial, you will need:  The material is by Inácia Neves. (The links of the tubemakers here). Plugins consult, if necessary, my filter section here Filters Unlimited 2.0 here Toadies - What are you, Plain Mosaic2 here Flaming Pear - Flexify 2 here Filters Toadies can be used alone or imported into Filters Unlimited. (How do, you see here) If a plugin supplied appears with this icon  You can change Blend Modes according to your colors. In the newest versions of PSP, you don't find the foreground/background gradient (Corel_06_029). You can use the gradients of the older versions. The Gradient of CorelX here  Copy the Picture Tube Sparkle1 in the Picture Tubes Folder. 1. Choose 2 colors from your Flower or Landscape misted. For me: Set your foreground color to the dark color #8f0224, and your background color to the light color #ddbaa7. 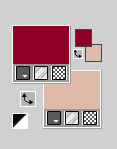 Set your foreground color to a Foreground/Background Gradient, style Linear. 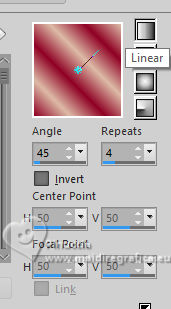 2. Open a new transparent image 1000 x 600 pixels. Flood Fill  the transparent image with your Gradient. the transparent image with your Gradient.3. Layers>New Raster Layer. Selections>Select All. Open your Flower misted IN_046_MistedFloracolorido 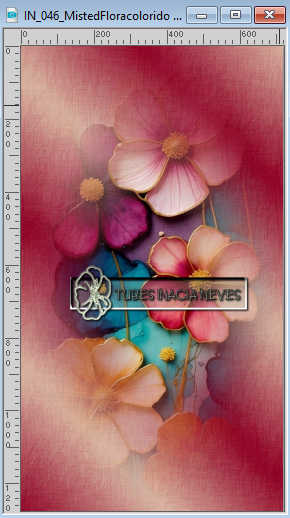 Edit>Copy. Go back to your work and go to Edit>Paste Into Selection. Selections>Select None. 4. Adjust>Sharpness>Sharpen More. Effects>Image Effects>Seamless Tiling, default settings.  Adjust>Blur>Radial Blur.  5. Effects>Edge Effects>Enhance. Layers>Duplicate - 2 times. Close the layer Copy(2) of Raster 2. Activate the layer above, Copy of Raster 2. Effects>Plugin>Toadies - Plain Mosaic2  6. Layers>New Mask Layer>From Image ATTENTION: Use the image you are working with as a mask. The one I am working with is Image 15. If you have previously opened other images or duplicated your material, the name of your image may change.  Layers>Merge>Merge Group. Adjust>Sharpness>Sharpen More. 7. Open and activate the layer Copy(2) of Raster 2. Effects>Geometric Effects>Skew.  Effects>Plugin>Flaming Pear> - Flexify 2 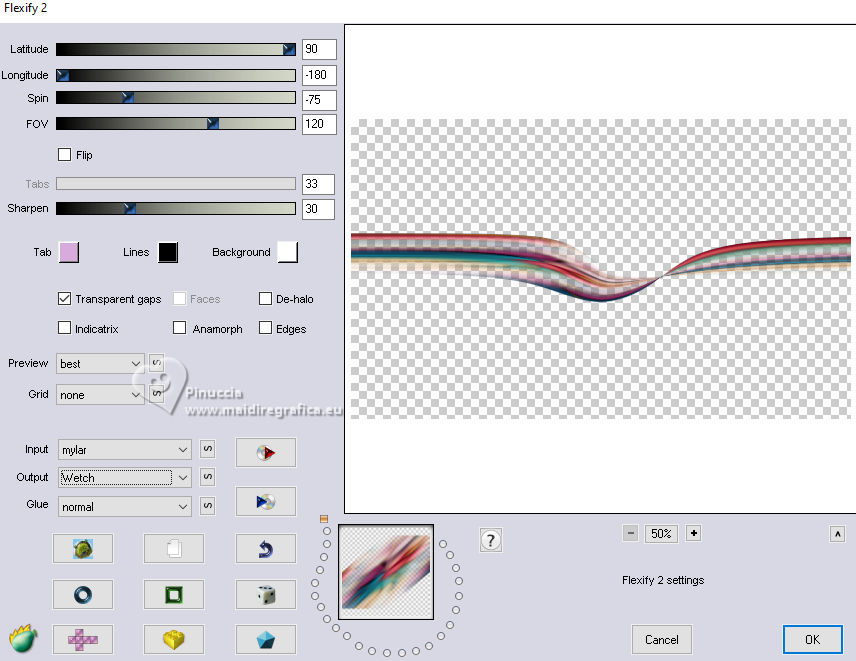 8. Layers>Duplicate. Layers>Merge>Merge Down. Effects>Edge Effects>Enhance. Effects>Distortion Effects>Wave 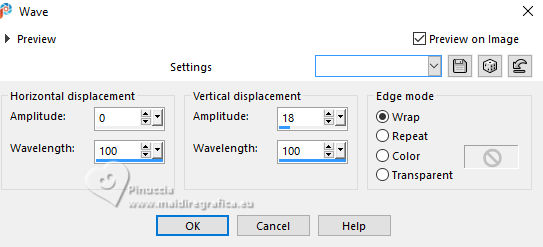 9. Layers>Duplicate. Image>Mirror>Mirror Horizontal. Image>Mirror>Mirror Vertical. Objects>Align>Bottom. 10. Activate the layer Copy(2) of Raster. 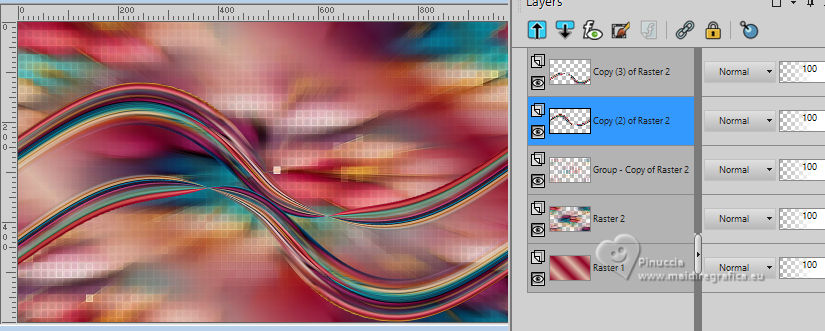 Objects>Align>Bottom. Activate your Magic Wand Tool  , tolerance 10 , tolerance 10 Click on the top zone of the effect to select it. 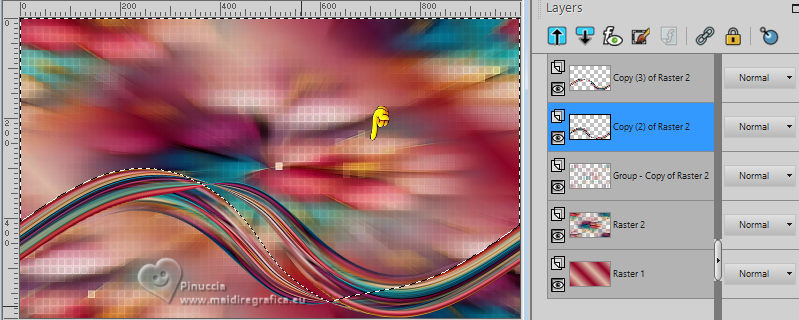 11. Layers>New Raster Layer. Edit>Paste into Selection (your Flower Misted is still in memory). Selections>Select None. Adjust>Sharpness>Sharpen More. Layers>Arrange>Move Down. 12. Activate the layer Copy(2) of Raster 2. Click with your Magic Wand Tool  on the bottom zone of the effect. 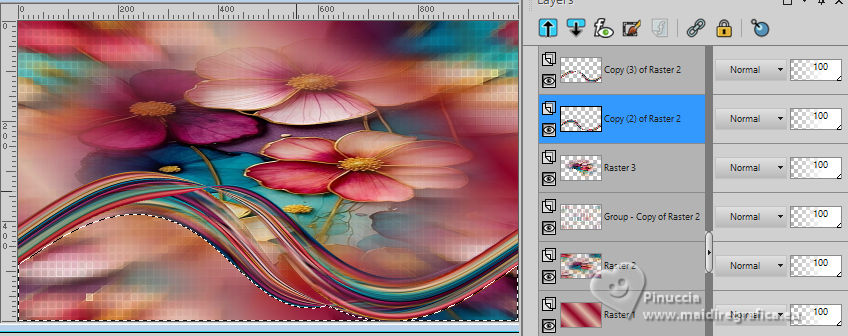 Layers>New Raster Layer. Flood Fill  the layer with your Gradient. the layer with your Gradient.Effects>Texture Effects>Fine Leather, foreground color. 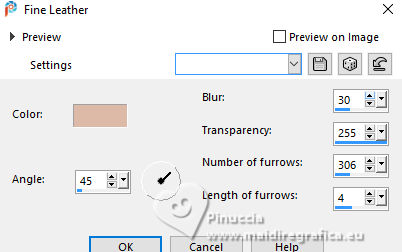 13. Keep selected. Layers>New Raster Layer. Edit>Paste Into Selection (your misted is always in memory). Adjust>Sharpness>Sharpen More. Reduce the opacity of this layer to 50%. Selections>Select None. 14. Activate the layer Raster 4. Layers>Arrange>Move Down. Activate the layer Raster 5. Layers>Arrange>Move Down. Activate the layer Copy (2) of Raster 2. Effects>3D Effects>Drop Shadow, color #000000  Activate the Copy(3) of Raster 2. Edit>Repeat Drop shadow. Layers>Merge>Merge Down. 15. Layer>New Raster Layer. Activate your Picture Tube Tool  select the Picture tube Sparkle1  Apply 2 times the picture tube on your work, see my example. Effects>Edge Effects>Enhance More. Your tag and the layers: change the Blend Modes as below (of course, you may change to your liking or according to your colors). 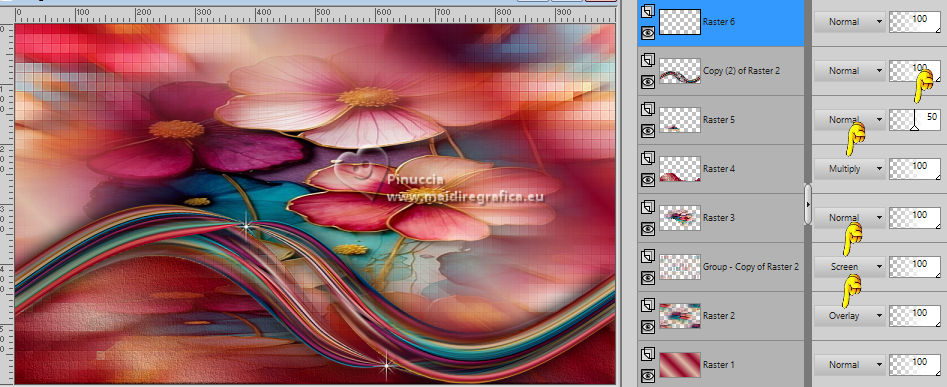 Layers>Merge>Merge All. 16. Image>Add Borders, 2 pixels, symmetric, dark color #8f0224. Image>Add Borders, 10 pixels, symmetric, light color #ddbaa7. Image>Add Borders, 2 pixels, symmetric, dark color #8f0224. Selections>Select All. Edit>Copy. 17. Image>Add Borders, 50 pixels, symmetric, whatever color. Selections>Invert. Edit>Paste>Into Selection. Adjust>Blur>Gaussian Blur - radius 20,00.  Effects>Plugin>Toadies - What are You? 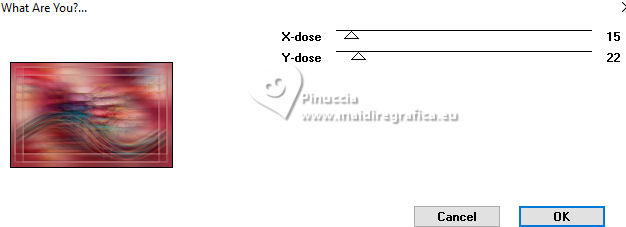 18. Selections>Invert. Effects>3D Effects>Drop Shadow, color #000000  19. Selections>Select All. Selections>Modify>Contract - 20 pixels. 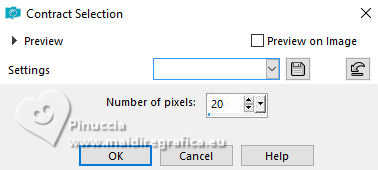 Effects>3D Effects>Drop Shadow.  Selection>Select None. 20. Open Evalynda_corclara_Inacia 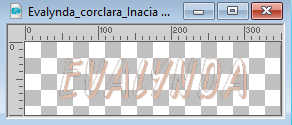 Colorize according to your colors. Edit>Copy. Go back to your work and go to Edit>Paste as New Layer. 21. Open Evalynda_corescura_Inacia 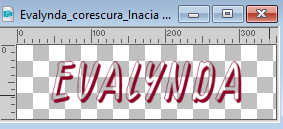 Colorize according to your colors. Edit>Copy. Go back to your work and go to Edit>Paste as New Layer. Place  the texts one over the other, the texts one over the other,lika a shadow effect. Layers>Merge>Merge Down. Move  the text at the bottom left, or to your liking. the text at the bottom left, or to your liking.Effects>3D Effects>Drop Shadow, at your choice. 22. Open your main tube IN_044_Mulherdelicada 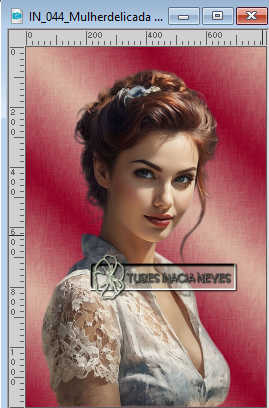 Edit>Copy. Go back to your work and go to Edit>Paste as New Layer. Resize, place and apply the effects to your liking. 23. Finish with a border: Image>Add Borders, 2 pixels, symmetric, dark color #8f0224. 24. If you want, resize at your choice. Sign your work and save as jpg. For the tubes of these versions Mentali and Silvie 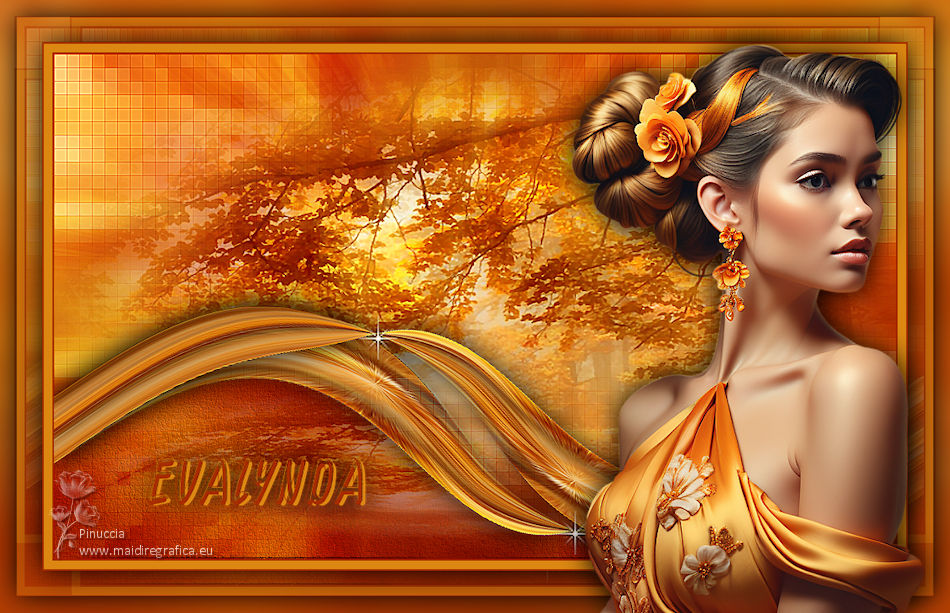 Luz Cristina and Silvie 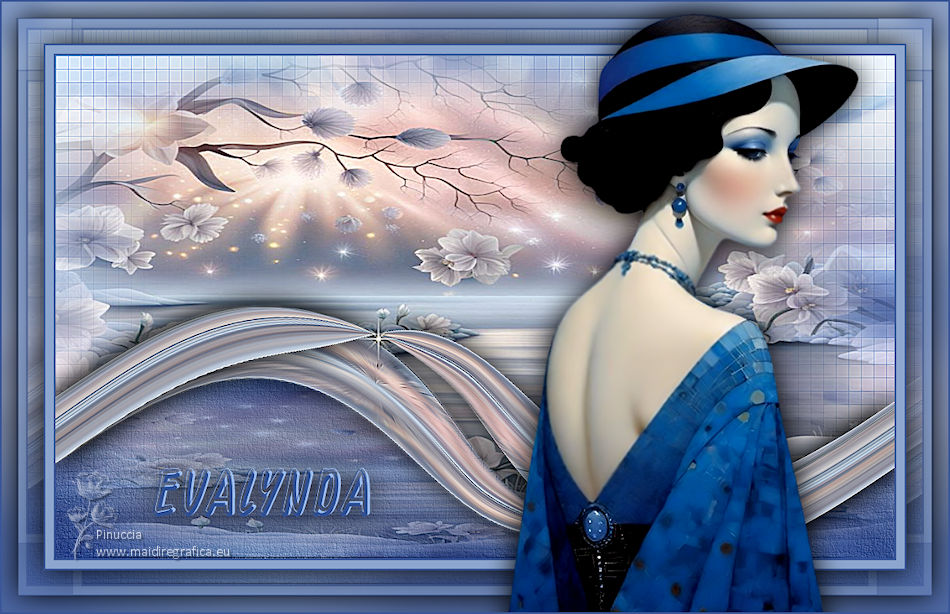   Your versions. Thanks Your versions. Thanks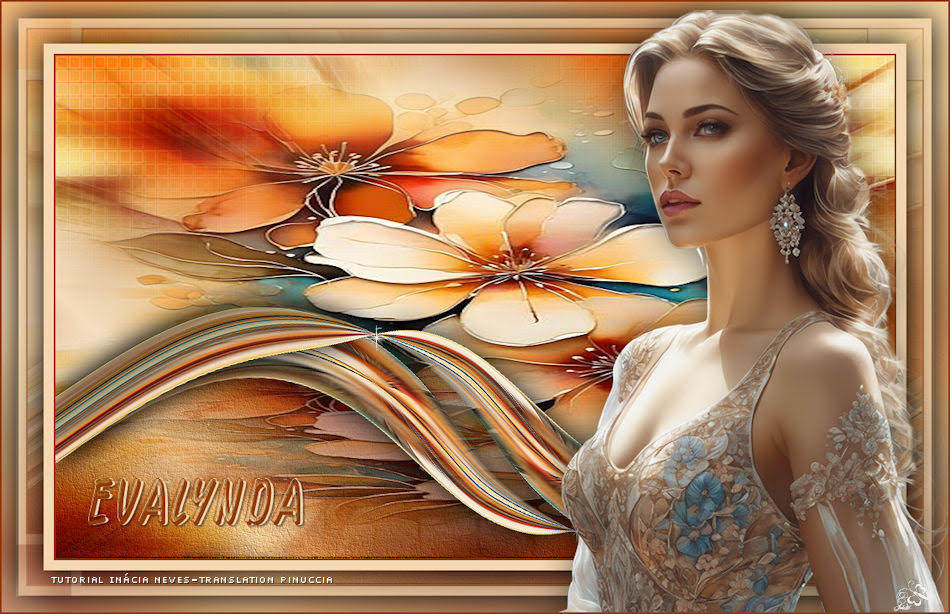 Jolcsi  Gypsie 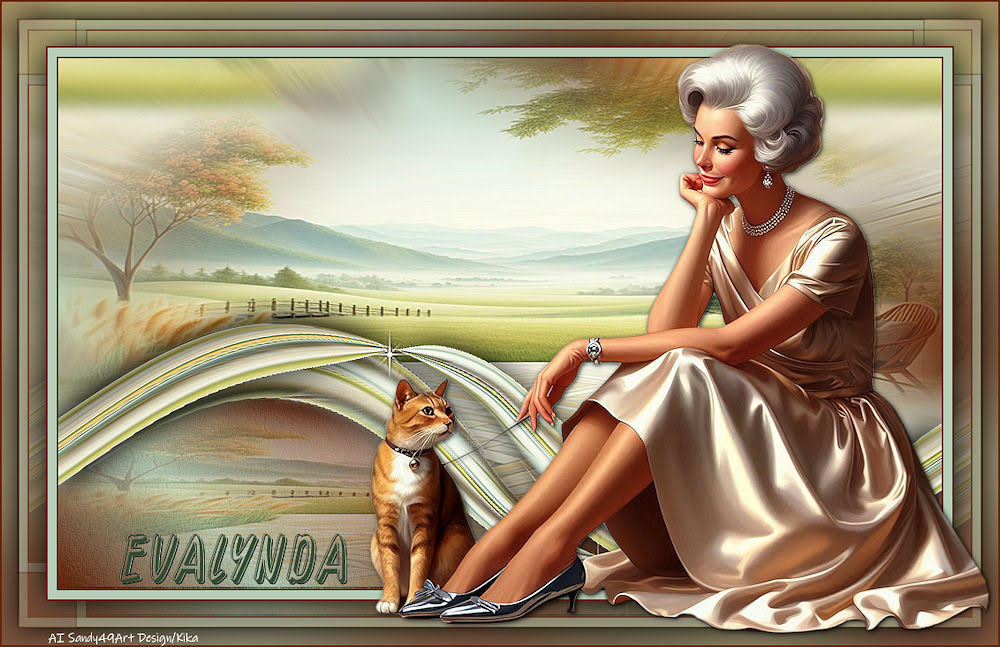 Kika  Marion   If you have problems or doubts, or you find a not worked link, or only for tell me that you enjoyed this tutorial, write to me. |