MERRY CHRISTMAS


Thank you very much Ildiko for your permission to propose
in the Advent Calendar 2022 - into Italian, French and English
this tutorial that I translated in 2017 for the TG-Reloaded Group.
I translated this tutorial with PSPX2 and PSPX7, but it can also be made using other versions of PSP.
Since version PSP X4, Image>Mirror was replaced with Image>Flip Horizontal,
and Image>Flip with Image>Flip Vertical, there are some variables.
In versions X5 and X6, the functions have been improved by making available the Objects menu.
In the latest version X7 command Image>Mirror and Image>Flip returned, but with new differences.
See my schedule here
 french translation here french translation here
 italian translation here italian translation here
 your versions qui your versions qui


The materials used are owned by Ildiko exclusive,
non-used by other authors in writing or club.
These props may NOT be used in another image without her permission
(you find here the links to the material authors' sites)

consult, if necessary, my filter section here
Filters Unlimited 2.0 - software version here
Filters Unlimited - version in files 8bf here
L&K's landksiteofwonders - L&K's Katharina here
Flaming Pear - Flexify 2 here
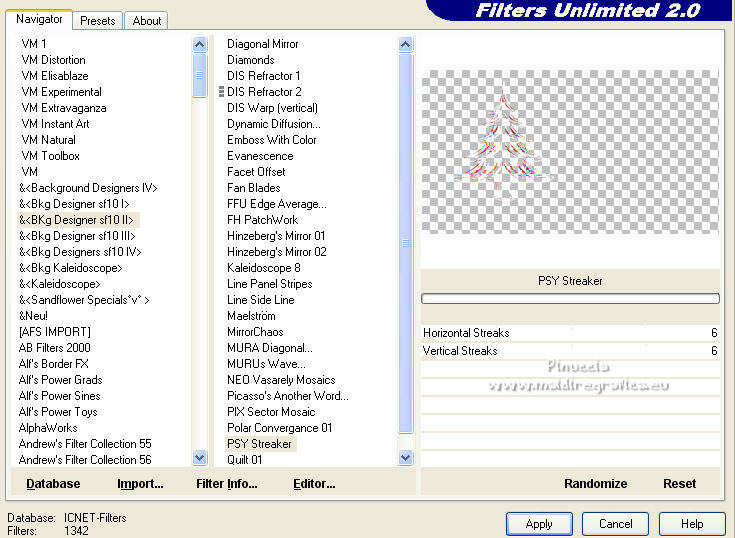
&&;lt;Bkg Designer sf10II> - PSY Streaker (to import in Unlimited) here
Toadies - Weaver here
Filters Toadies can be used alone or imported into Filters Unlimited.
(How do, you see here)
If a plugin supplied appears with this icon  it must necessarily be imported into Unlimited it must necessarily be imported into Unlimited

You can change Blend Modes according to your colors.
In the newest versions of PSP, you don't find the foreground/background gradient (Corel_06_029).
You can use the gradients of the older versions.
The Gradient of CorelX here

Open the masks in PSP and minimize them with the rest of the material.
Colors

1. Open a new transparent image 900 x 500 pixels.
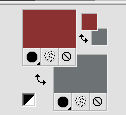
Set your foreground color to white #ffffff,
and your background color to #6d7275.
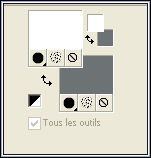
Set your foreground color to a Foreground/Background Gradient, style Radial.
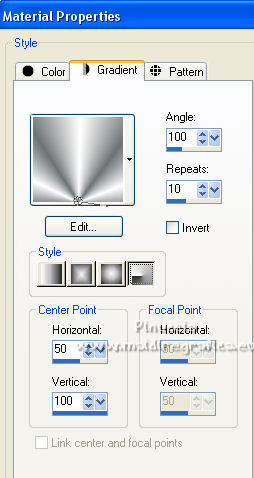
Flood Fill  the transparent image with your Gradient. the transparent image with your Gradient.
Effects>Image Effects>Seamless Tiling.

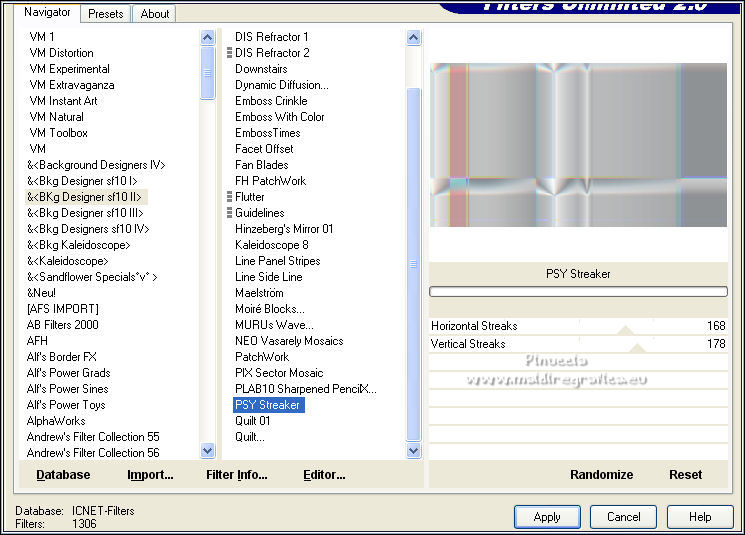
Effects>Plugins>[I.C.NET Software] Filters Unlimited 2.0 - &<Bkg Designer sf10II> - PSY Streaker.
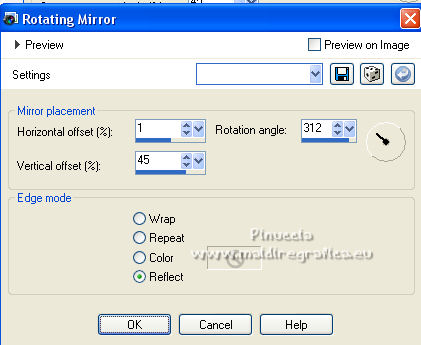
Effects>Reflection Effects>Rotating Mirror.
Effects>Edge Effects>Enhance.
2. Layers>New Raster Layer.
Flood Fill the layer with your gradient.
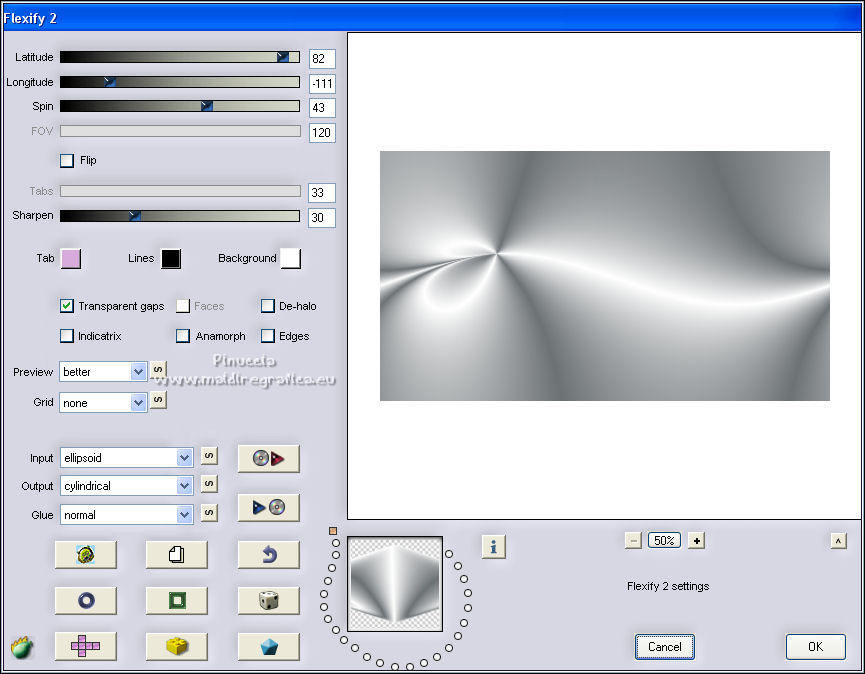
Effects>Plugins>Flaming Pear - Flexify 2.
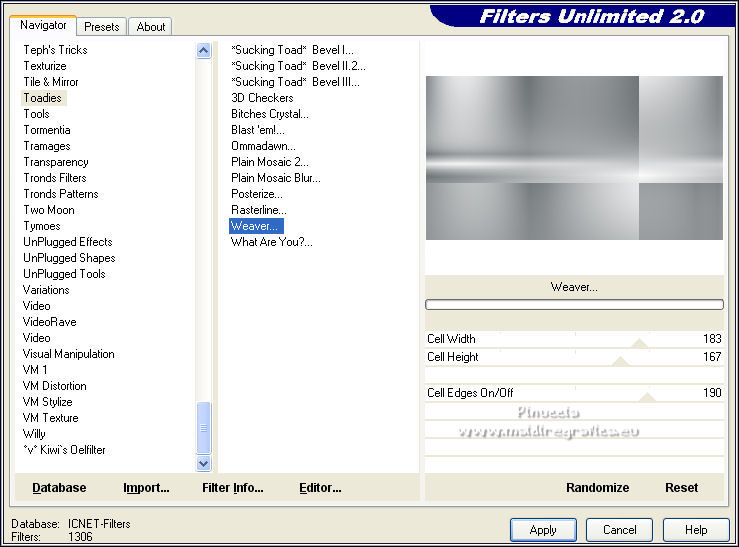
Effects>Plugins>[I.C.NET Software] Filters Unlimited 2.0 - Toadies - Weaver.
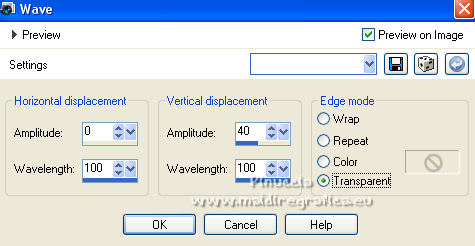
Effects>Distortion Effects>Wave
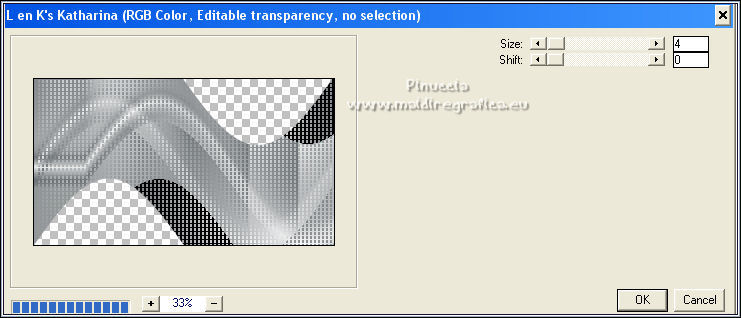
Effects>Plugins>L en K landksiteofwonders - L en K's Katharina.
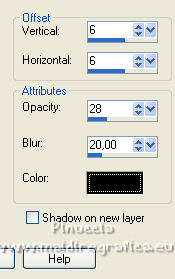
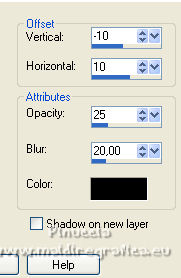
Effects>3D Effects>Drop Shadow, color #000000.
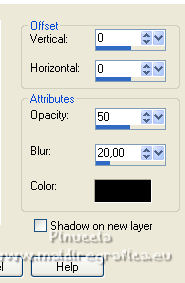
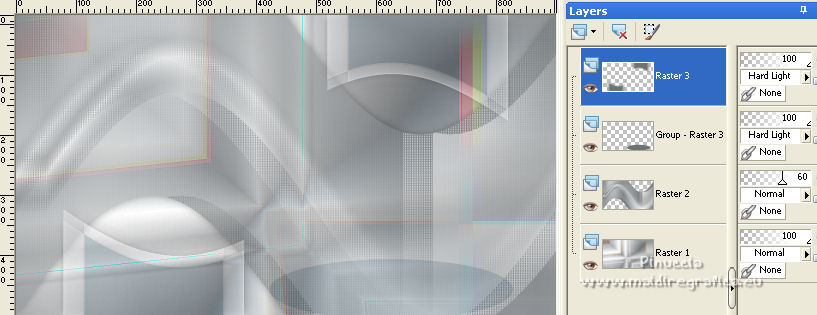
Reduce the opacity of this layer to 60%.
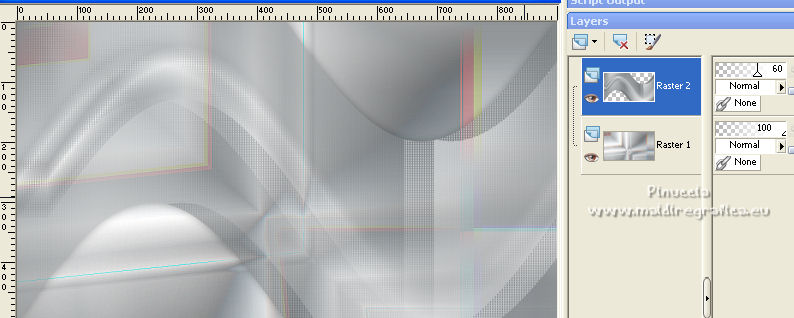
3. Layers>New Raster Layer.
Flood Fill with your background color #6d7275.
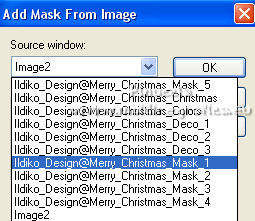
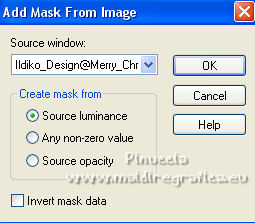
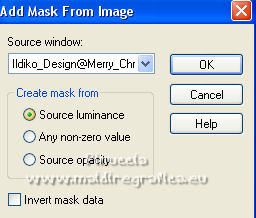
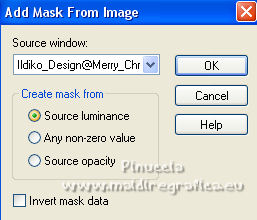
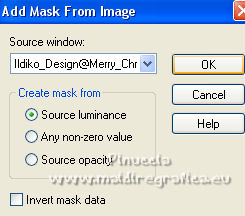
Layers>New Mask layer>From image
Open the menu under the source window and you'll see all the files open.
Select the mask Ildiko_Design@Merry_Christmas_Mask_1.
Layers>Merge>Merge Group.
Change the Blend Mode of this layer to Hard Light.

4. Open the tube Ildiko_Design@Merry_Christmas_Deco_1 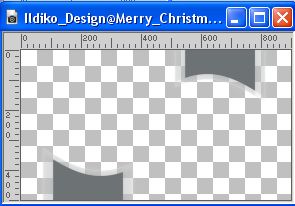
and go to Edit>Copy.
Go back to your work and go to Edit>Paste as new layer.
Effects>3D Effects>Drop Shadow, same settings.
Change the Blend Mode of this layer to Hard Light.
5. Layers>New Raster Layer.
Set your foreground color to Color.
Flood Fill the layer with your foreground color #ffffff.
Layers>New Mask layer>From image
Open the menu under the source window
and select the mask Ildiko_Design@Merry_Christmas_Mask_2.
Layers>Merge>Merge Group.
Effects>3D Effects>Drop Shadow, same settings.
6. Layers>New Raster Layer.
Flood Fill the layer with your foreground color #ffffff.
Layers>New Mask layer>From image
Open the menu under the source window
and select the mask Ildiko_Design@Merry_Christmas_Mask_3.
Layers>Merge>Merge Groupe.
Effects>3D Effects>Drop Shadow, color #000000.
Reduce the opacity of this layer to 75%.
7. Layers>New Raster Layer.
Set your foreground color to #8b3233
Flood Fill the layer with your foreground color #8b3233.
Layers>New Mask layer>From image
Open the menu under the source window
and select the mask Ildiko_Design@Merry_Christmas_Mask_4.
Layers>Merge>Merge Group.
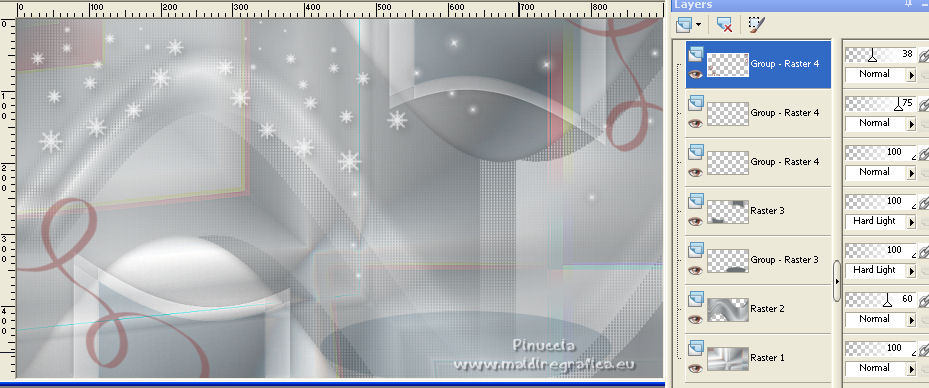
Reduce the opacity of this layer to 38%.
8. Open the tube Ildiko_Design@Merry_Christmas_Christmas 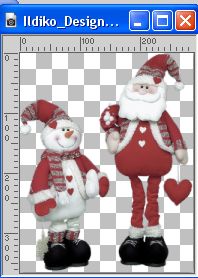
and go to Edit>Copy.
Go back to your work and go to Edit>Paste as new layer.
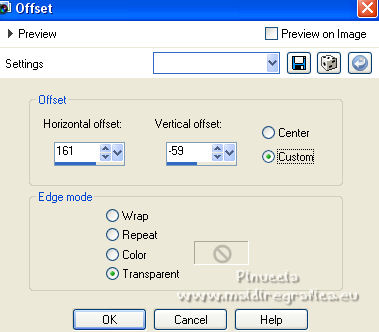
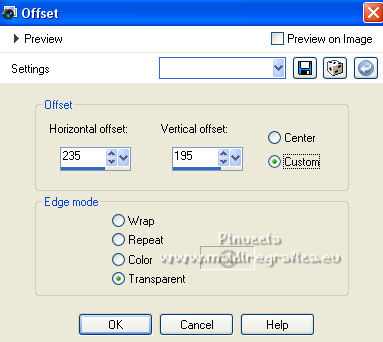
Effects>Image Effects>Offset.
Effects>3D Effects>Drop Shadow, color #000000.
9. Open the tube Ildiko_Design@Merry_Christmas_Deco_2 
and go to Edit>Copy.
Go back to your work and go to Edit>Paste as new layer.
Effects>Image Effects>Offset.
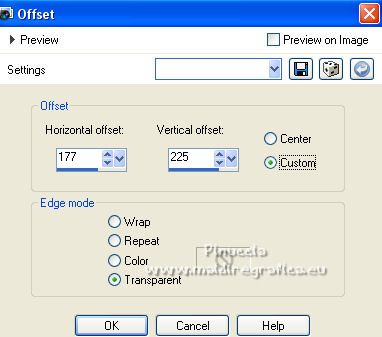
10. Open the tube Ildiko_Design@Merry_Christmas_Deco_3 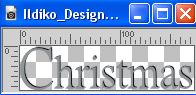
and go to Edit>Copy.
Go back to your work and go to Edit>Paste as new layer.
Effects>Image Effects>Offset.
11. Layers>New Raster Layer.
Flood Fill the layer with your foreground color #8b3233.
Layers>New Mask layer>From image
Open the menu under the source window
and select the mask Ildiko_Design@Merry_Christmas_Mask_5.
Layers>Merge>Merge>Group.
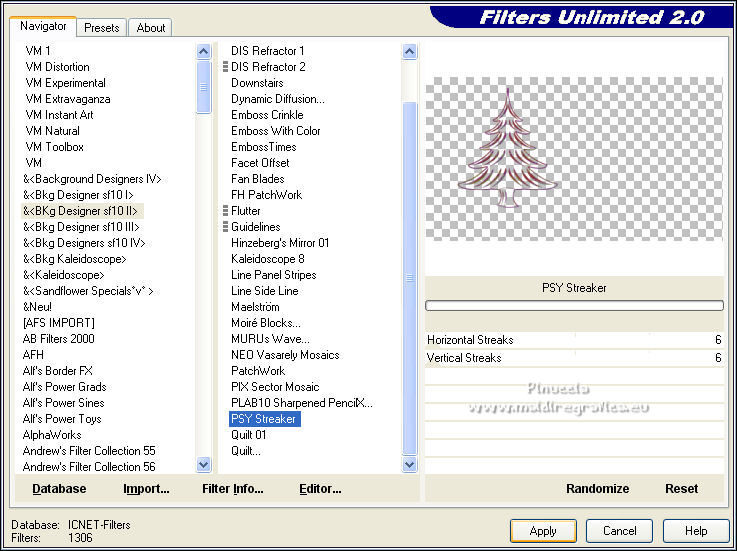
Effects>Plugins>[I.C.NET Software] - Filters Unlimited 2.0 - & - PSY Streaker.
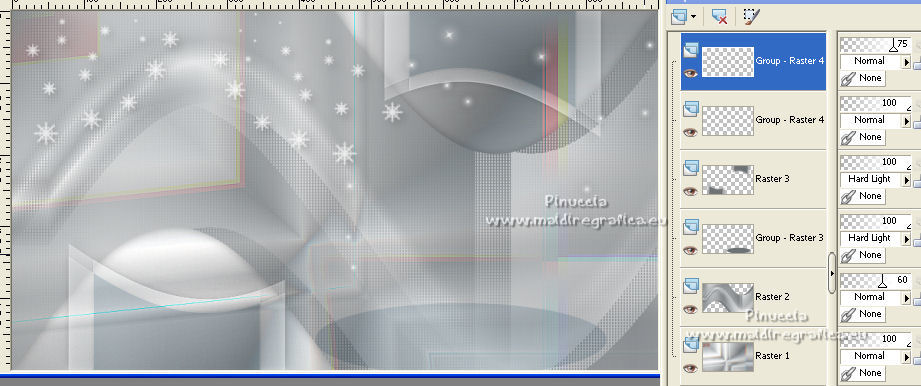
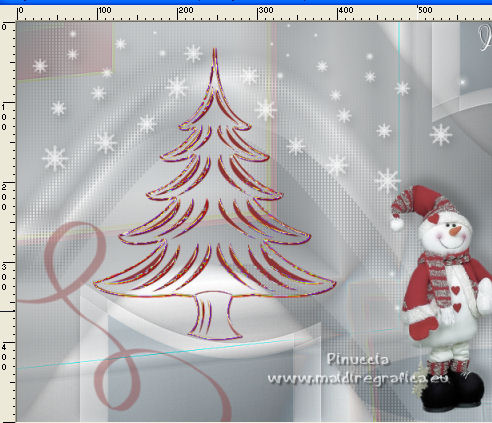
You should have this:
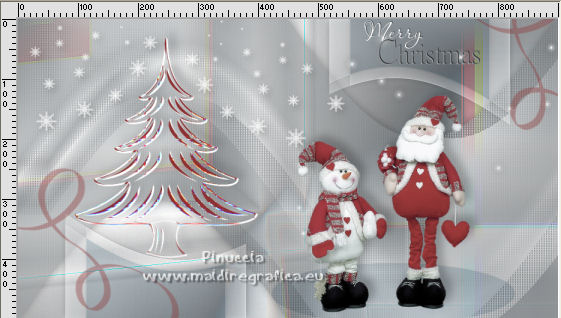
if you are using the software version of Unlimited,
you will have different results.
To get the correct result, you need to replace in the File Location,
the software version with the version of Unlimited that does not need to be installed,
because it is made up of file in 8bf format
(the link is in the filter list)
This replacement is not an uninstall:
you can do the reverse at any time.
If you don't want to replace the Unlimited version in the Files Location,
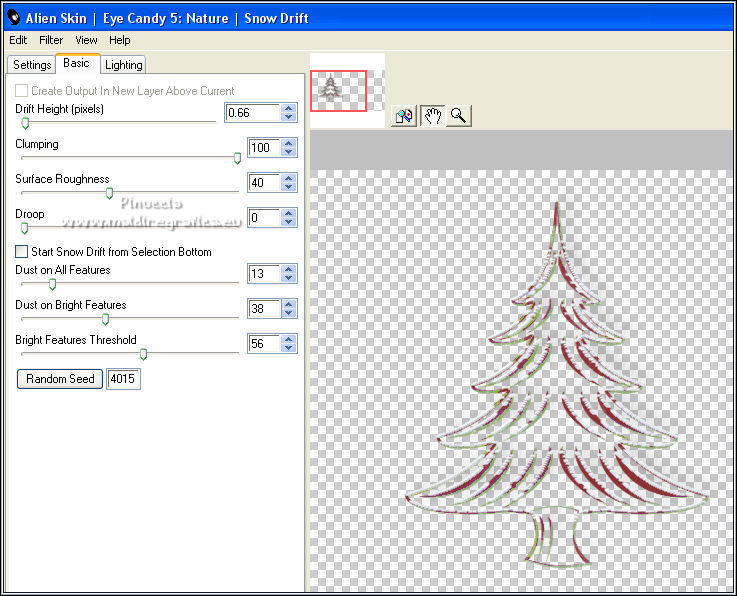
you can use the Snow Drift Effect here ,
these are my settings.
Effects> Plugins>Alien Skin Eye Candy 5 Nature - Snowdrift
Effects>3D Effects>Drop Shadow, same settings.
Layers>Merge>Merge All.
12. Image>Add borders, 1 pixel, symmetric, background color #6d7275.
Image>Add borders, 3 pixels, symmetric, color white #ffffff.
Image>Add borders, 1 pixel, symmetric, background color #6d7275.
13. Sign your work and save as jpg.
Version with a tube non signed

For the tube of this version thanks Krys


Vos versions qui

Se hai problemi o dubbi, o trovi un link che non funziona, o soltanto per un saluto, scrivimi.
15 Octobre 2022

|


