VICTORIA

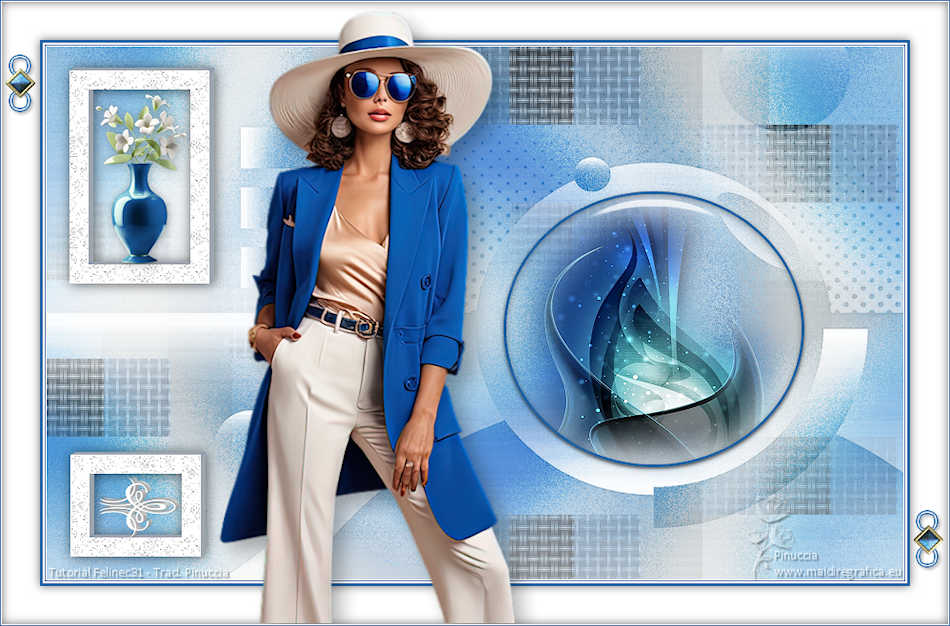
Thanks Carine for your invitation to translate

Clic and move the brush to follow the tutorial.

To print


|
This tutorial was translated with PSPX7 and PSPX2, but it can also be made using other versions of PSP.
Since version PSP X4, Image>Mirror was replaced with Image>Flip Horizontal,
and Image>Flip with Image>Flip Vertical, there are some variables.
In versions X5 and X6, the functions have been improved by making available the Objects menu.
In the latest version X7 command Image>Mirror and Image>Flip returned, but with new differences.
See my schedule here
 italian translation here italian translation here
 your versions here your versions here
Necessary

Thanks for the tubes Kamil and Nicole.
(The links of the tubemakers here).

consult, if necessary, my filter section here
Filters Unlimited 2.0 here
VM 1 - Web Weaver (to import in Unlimited) - nel materiale
Toadies - What are you, Blast em here
Alien Skin Eye Candy 5 Impact - Glass, Extrude here
DSB Flux - Linear Transmission here
Filters Toadies can be used alone or imported into Filters Unlimited.
(How do, you see here)
If a plugin supplied appears with this icon  it must necessarily be imported into Unlimited it must necessarily be imported into Unlimited

You can change Blend Modes according to your colors.
In the newest versions of PSP, you don't find the foreground/background gradient (Corel_06_029).
You can use the gradients of the older versions.
The Gradient of CorelX here

Copy the selections in the Selections Folder.
Open the mask in PSP and minimize it with the rest of the material.
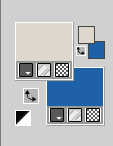
Set your foreground color to #ded8cc,
and your background color to #1f6aa6.
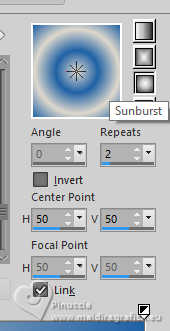
Set your foreground color to a Foreground/Background Gradient, style Sunburst.
1. Open a new transparent image 900 x 560 pixels.
Flood Fill  the transparent image with your Gradient. the transparent image with your Gradient.
2. Adjust>Blur>Gaussian Blur - radius 40.

3. Layers>Duplicate.
Effects>Geometric Effects>Circle.

4. Effects>Image Effects>Seamless Tiling, default settings.

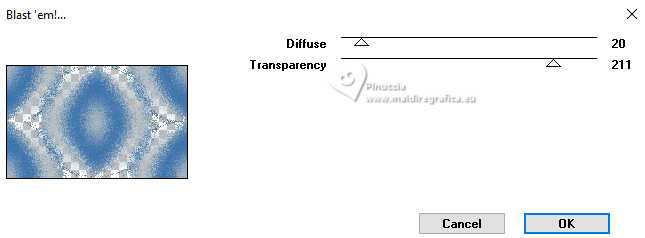
5. Effects>Plugins>Toadies - Blast'em!..., default settings.
6. Change the settings of your Gradient, style Linear.
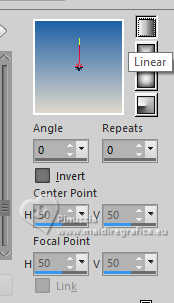
7. Layers>New Raster Layer.
Selections>Load/Save Selection>Load Selection from Disk.
Look for and load the selection sélection_A
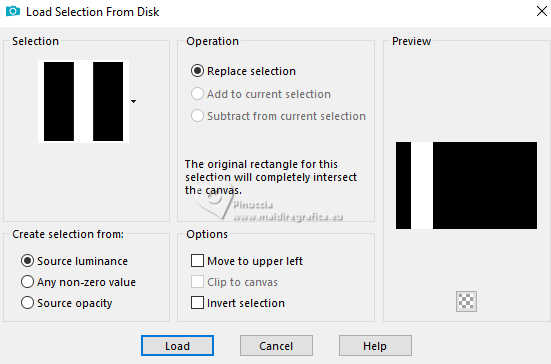
Flood Fill  the selection with your Gradient. the selection with your Gradient.
8. Effects>Plugins>Filters Unlimited 2.0 - VM1 - Web Weaver
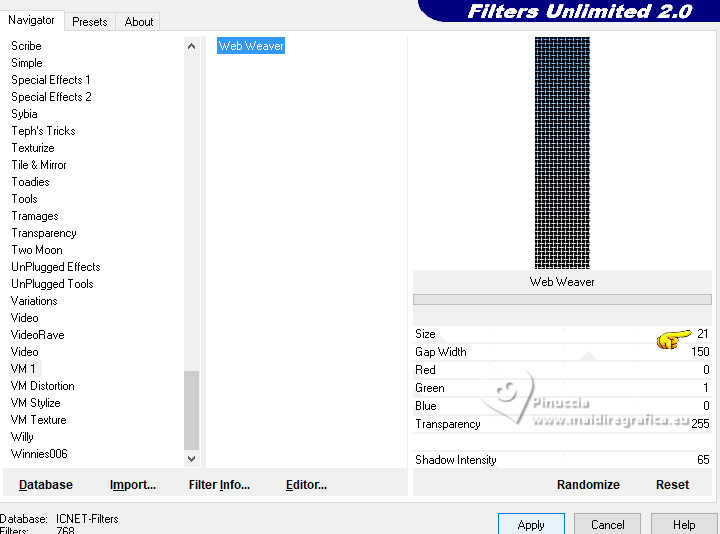
Adjust>Sharpness>Sharpen.
Selections>Select None.
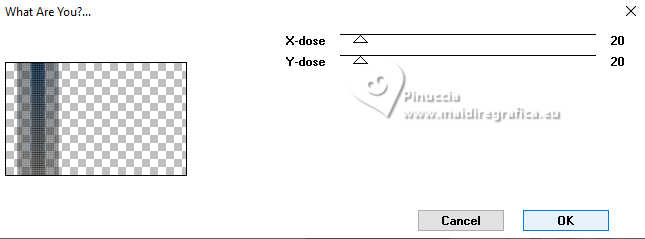
9. Effects>Plugins>Toadies - What are you, default settings.
10. Effects>Image Effects>Seamless Tiling.
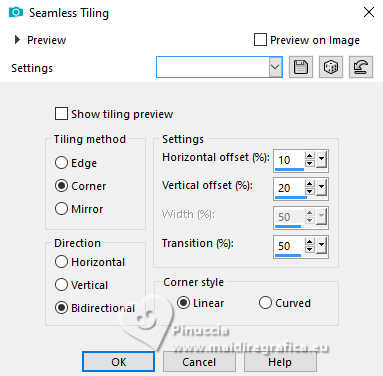
11. Effects>Plugins>DSB Flux - Linear Transmission.
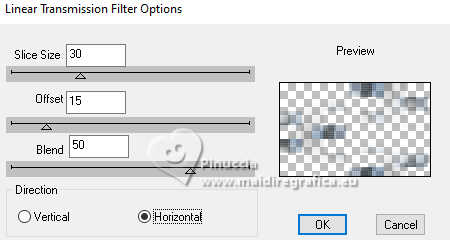
Adjust>Sharpness>Sharpen.
12. Set your foreground color to white.
Layers>New Raster Layer, Raster 3.
Flood Fill  the layer with the color white. the layer with the color white.
13. Layers>New Mask layer>From image
Open the menu under the source window and you'll see all the files open.
Select the mask Mask_Tuto_Mj
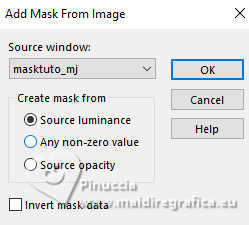
Layers>Merge>Merge Group.
Adjust>Sharpness>Sharpen.
14. Layers>New Raster Layer, Raster 3.
Selections>Load/Save Selection>Load Selection from Disk.
Look for and load the selection sélection_B
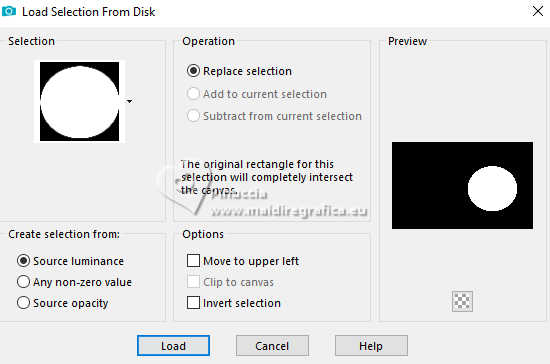
15. Open the tube by Nicole nicole-mist-deco-2015 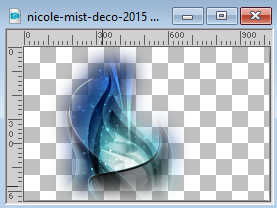
Edit>Copy.
Go back to your work and go to Edit>Paste into Selection.
Adjust>Sharpness>Sharpen.
16. Layers>New Raster Layer, Raster 4.
Effects>Plugins>Alien Skin Eye Candy 5 Impact - Glass.
Glass Color: white
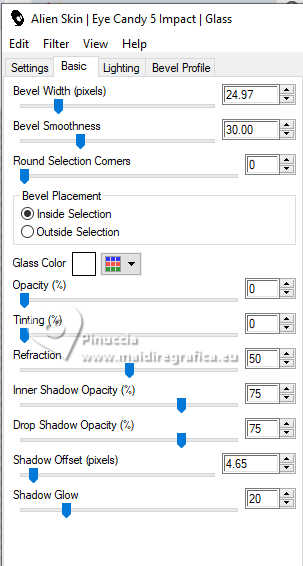
17. Selections>Modify>Select Selection Borders
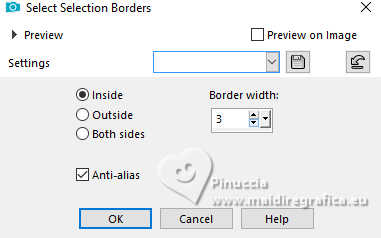
Flood Fill  the selection with your background color. the selection with your background color.
Selections>Select None.
18. Layers>Merge>Merge Down.
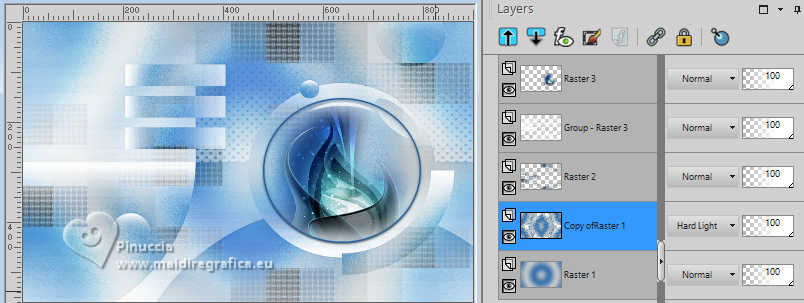
19. Activate the second layer from the bottom, Copy of Raster 1.
Change the Blend Mode of this layer to Hard Light.
20. Layers>Merge>Merge visible.
21. Layers>New Raster Layer.
Selections>Load/Save Selection>Load Selection from Disk.
Look for and load the selection sélection_C
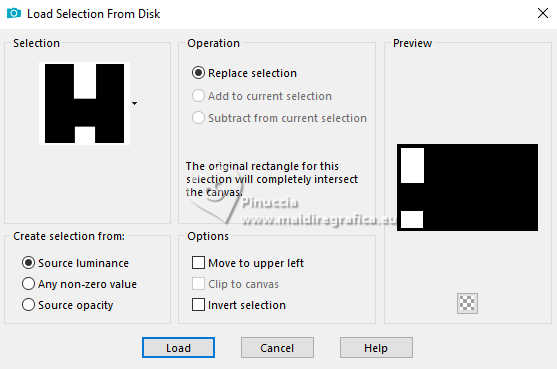
Flood Fill  the selection with color white. the selection with color white.
22. Effects>Plugins>Filters Unlimited 2.0 - Paper Textures - Fibrous Paper, Coarses, default settings.
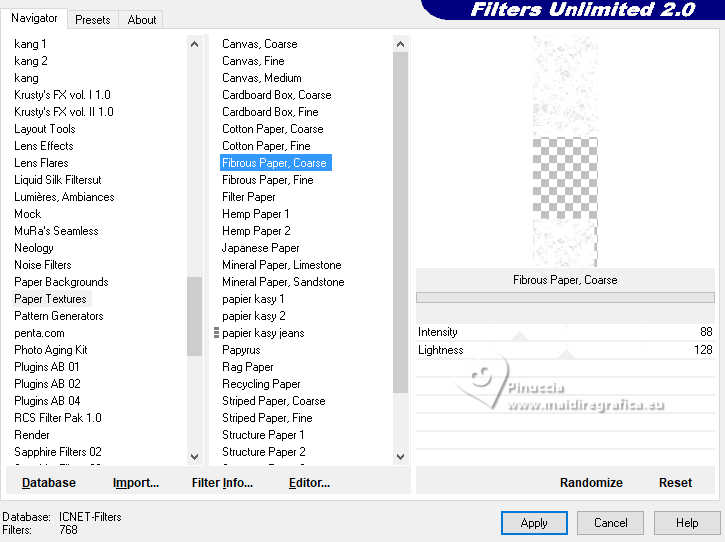
Effects>Edge Effects>Enhance.
23. Selections>Modify>Contract - 20 pixels.
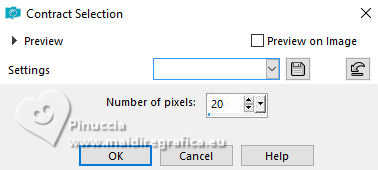
Press CANC on the keyboard 
Selections>Select None.
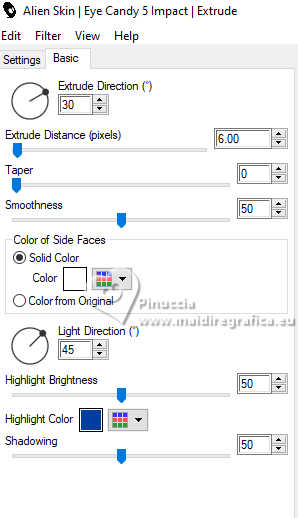
24. Effects>Plugins>Alien Skin Eye Candy 5 Impact - Extrude
Solid Color: white.
25. Effects>3D Effects>Drop Shadow, color black.

26. Open the deco tube KamilTube-1092-Deco 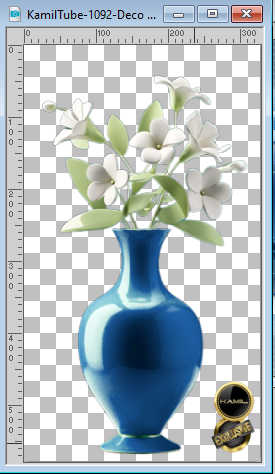
Erase the watermark and go to Edit>Copy.
Go back to your work and go to Edit>Paste as new layer.
Image>Resize, to 34%, resize all layers not checked.
Move  the tube in the frame at the bottom left. the tube in the frame at the bottom left.
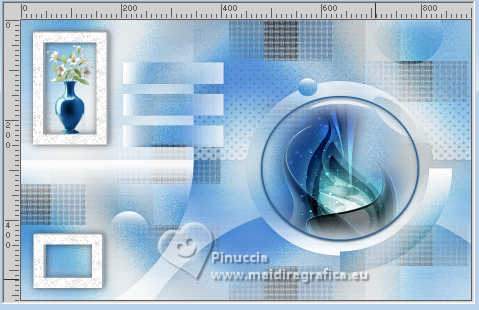
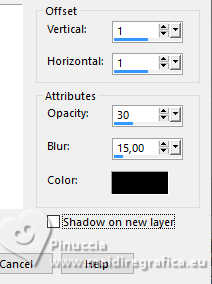
27. Effects>3D Effects>Drop Shadow, color black.
28. Open Deco 03 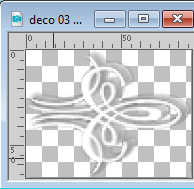
Edit>Copy.
Go back to your work and go to Edit>Paste as new layer.
Move  this tube in the second frame. this tube in the second frame.
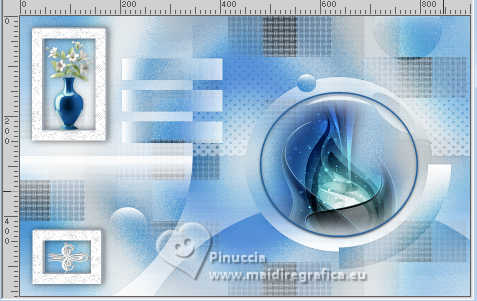
29. Image>Add Borders, 1 pixel, symmetric, color white.
Image>Add Borders, 1 pixel, symmetric, background color.
Image>Add Borders, 2 pixels, symmetric, color white.
Image>Add Borders, 3 pixels, symmetric, background color.
30. Selections>Select All.
Image>Add Borders, 40 pixels, symmetric, color white.
Selections>Invert.
31. Effects>3D Effects>Cutout.
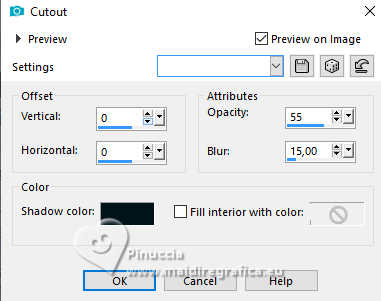
Selections>Select None.
32. Open the woman's tube KamilTube-915 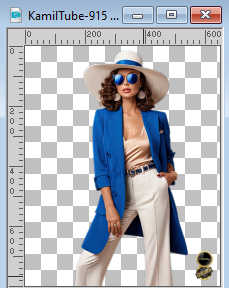
Erase the watermark and go to Edit>Copy.
Go back to your work and go to Edit>Paste as new layer.
Image>Mirror>Mirror horizontal (Image>Mirror).
Image>Resize, to 82%, resize all layers not checked.
Move  the tube to the left side. the tube to the left side.
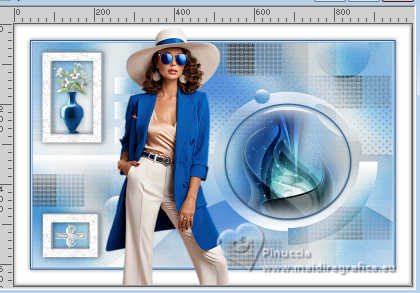
33. Effects>3D Effects>Drop Shadow, color black.
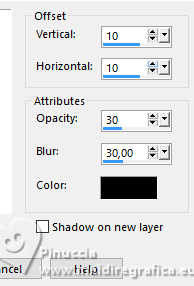
34. Open Déco 02 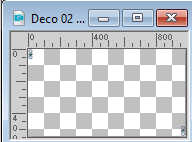
Edit>Copy.
Go back to your work and go to Edit>Paste as new layer.
Don't move it.
35. Image>Add Borders, 1 pixel, symmetric, color white.
Image>Add Borders, 1 pixel, symmetric, background color.
36. Sign your work on a new layer.
37. Image>Resize, 900 pixels width, resize all layers checked.
Save as jpg.
For the tubes of this version thanks Luz Cristina and Yvonne
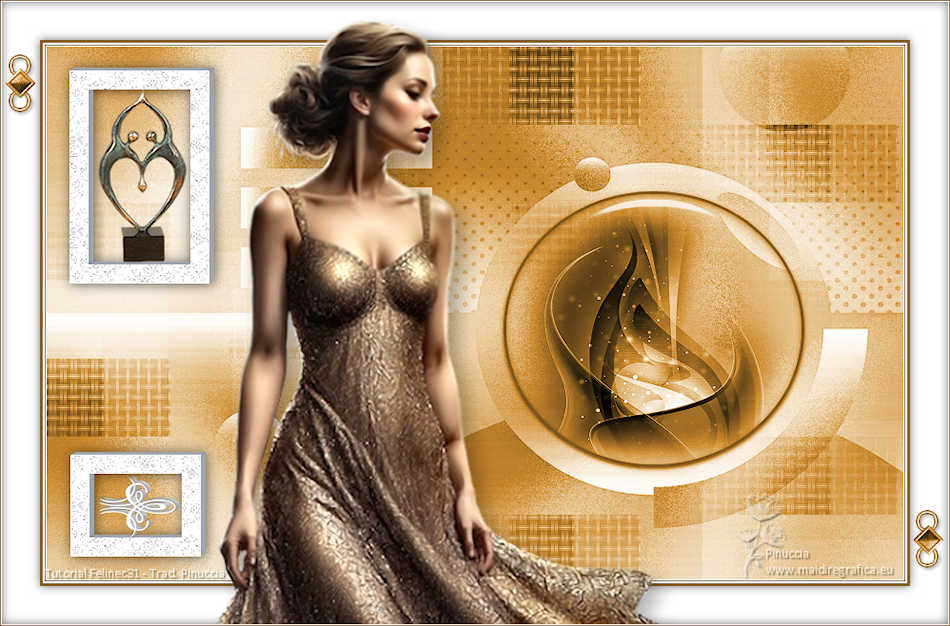

If you have problems or doubts, or you find a not worked link, or only for tell me that you enjoyed this tutorial, write to me.
28 February 2024

|
