UN JOUR D'ÉTÉ

Thanks Carine for your invitation to translate

Clic and move the brush to follow the tutorial.

To print


|
This tutorial was translated with PSPX7 and PSPX2, but it can also be made using other versions of PSP.
Since version PSP X4, Image>Mirror was replaced with Image>Flip Horizontal,
and Image>Flip with Image>Flip Vertical, there are some variables.
In versions X5 and X6, the functions have been improved by making available the Objects menu.
In the latest version X7 command Image>Mirror and Image>Flip returned, but with new differences.
See my schedule here
 italian translation here italian translation here
 your versions here your versions here
Necessary

Thanks for the tube Bichito and for the mask Aditacreations.
The rest of the material is by Felinec31.
(The links of the tubemakers here).

consult, if necessary, my filter section here
Filters Unlimited 2.0 here
&<Bkg Designer sf10II> - Gregs FO Warp (to import in Unlimited) here
FM Tile Tools - Blend Emboss here

You can change Blend Modes according to your colors.
In the newest versions of PSP, you don't find the foreground/background gradient (Corel_06_029).
You can use the gradients of the older versions.
The Gradient of CorelX here

Copy the selections in the Selection Folder.
Open the mask in PSP and minimize it with the rest of the material.
1. Set your foreground color to #b5c8f0,
and your background color to #465785
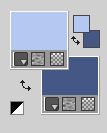
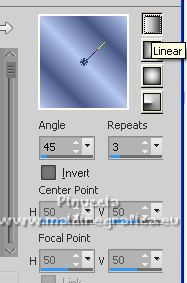
Set your foreground color to a Foreground/Background Gradient, style Linear.
2. Open a new transparent image 900 x 570 pixels.
Flood Fill  the transparent image with your Gradient. the transparent image with your Gradient.
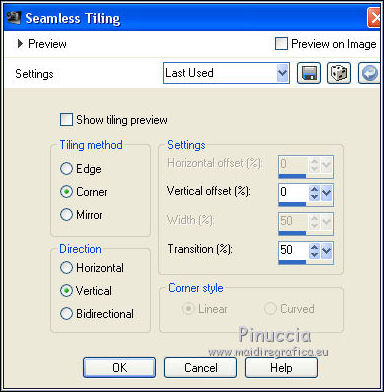
3. Effects>Image Effects>Seamless Tiling.
4. Adjust>Add/Remove Noise>Add Noise.
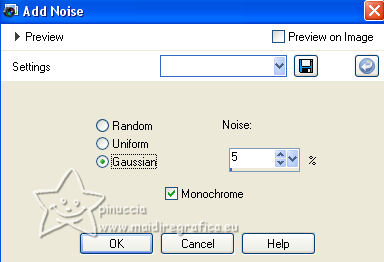
Adjust>Sharpness>Sharpen.
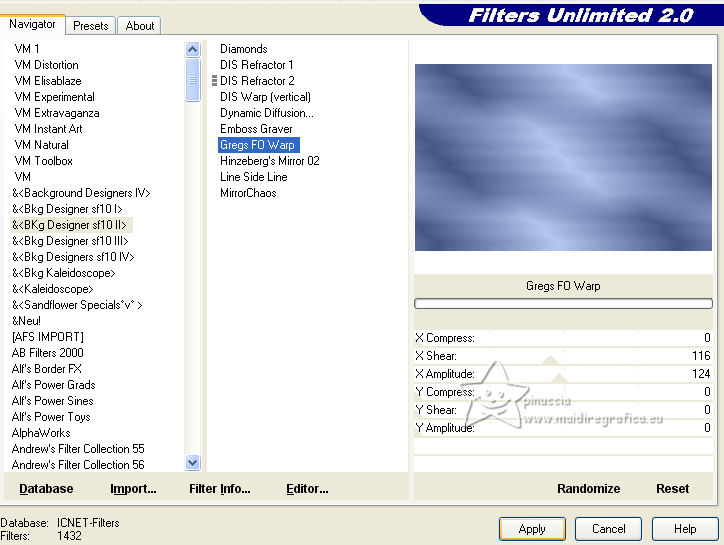
5. Effects>Plugins>Filters Unlimited 2.0 - &<Bkg Designer sf10II> - Gregs FO Warp, default settings.
6. Set your background color to white #ffffff.
Layers>New Raster Layer.
Flood Fill  the layer with color white. the layer with color white.
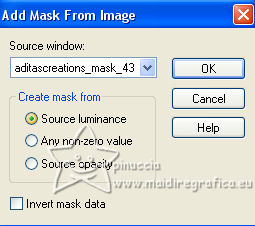
7. Layers>New Mask layer>From image
Open the menu under the source window and you'll see all the files open.
Select the mask aditascreations_mask_43 .
Layers>Merge>Merge Group.
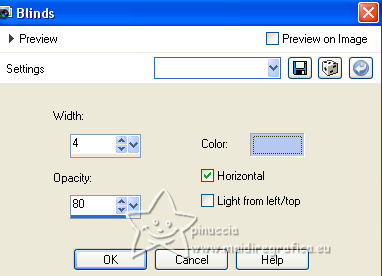
8. Effects>Texture Effects>Blinds, foreground color.
9. Adjust>Add/Remove Noise>Add Noise.
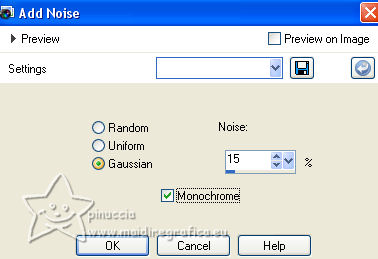
Adjust>Sharpness>Sharpen.
10. Selections>Load/Save Selection>Load Selection from Disk.
Look for and load the selection Sélection_D1
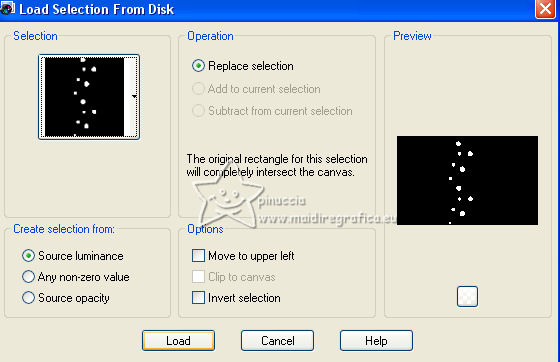
Press CANC on the keyboard CANC 
Selections>Select None.
11. Open the landscape tube perso felic31 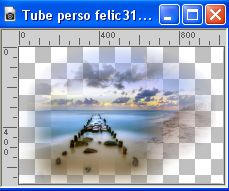
Edit>Copy.
Go back to your work and go to Edit>Paste as new layer.
Image>Resize, to 80%, resize all layers not checked.
12. K key to activate your Pick Tool 
and set Position X: 219,00 and Position Y: 5,00.

13. Effects>3D Effects>Drop Shadow, color #1a2544
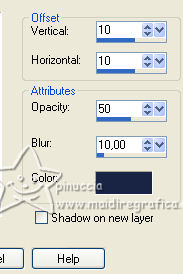
14. Layers>Arrange>Move Down (under the mask's layer).
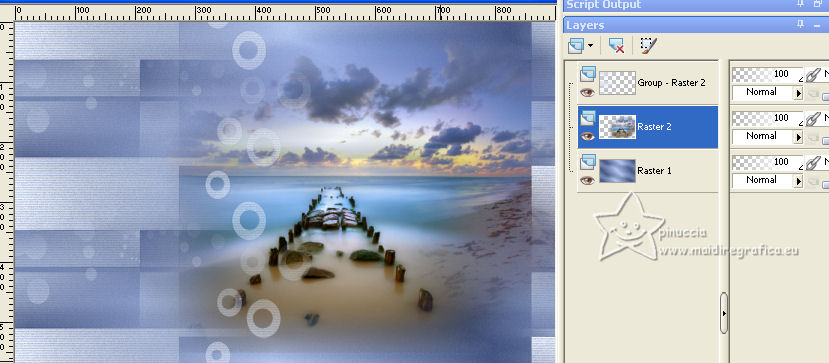
15. Activate the top layer of the mask.
Selections>Load/Save Selection>Load Selection from Disk.
Look for and load the selection Sélection_D2
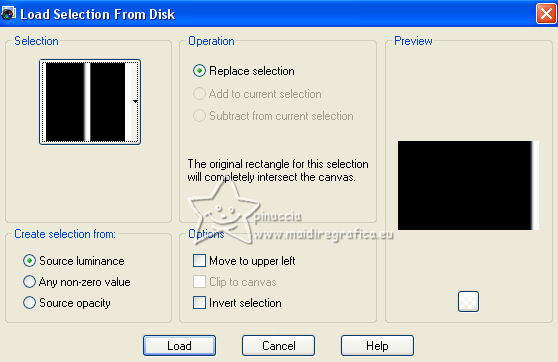
Press CANC on the keyboard CANC.
Selections>Select None.
16. Open the tube sable 
Edit>Copy.
Go back to your work and go to Edit>Paste as new layer.
17. Objects>Align>Right
Objects>Align>Bottom.
Or move  the tube at the bottom right, the tube at the bottom right,
wity your Pick Tool 
Position X: 211,00 and Position Y: 452,00.
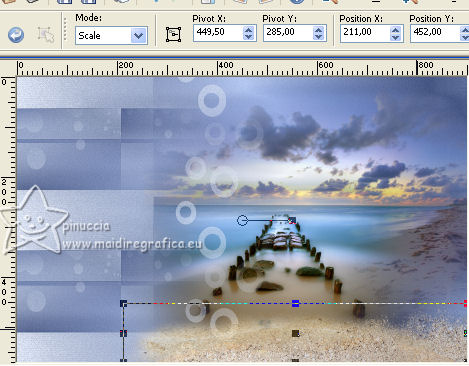
18. Reduce the opacity of this layer 90%.
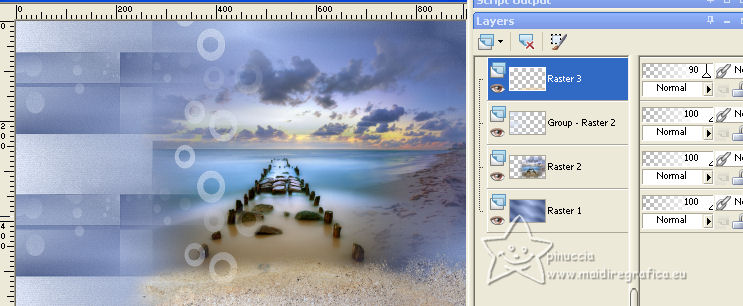
19. Edit>Copy Special>Copy Merged.
Edit>Paste as new image and work on this image.
Image>Resize, to 20%, resize all layers checked.
20. Image>Add Borders, 10 pixels, symmetric, color white.
Adjust>Sharpness>Sharpen.
21. Edit>Copy.
Go back to your work and go to Edit>Paste as new layer.
Pick Tool (K) 
and set Position X: 32,00 and Position Y: 80,00.

22. Layers>Duplicate.
Keep Position X: 32,00 and set Position Y: 363,00.

23. Layers>Merge>Merge Down.
24. Effects>3D Effects>Drop Shadow, color #1a2544 (still in memory).

25. Open déco 1 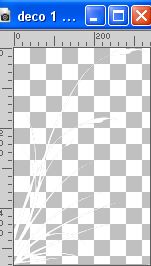
Edit>Copy.
Go back to your work and go to Edit>Paste as new layer.
Pick Tool (K) 
and set Position X: -3,00 and Position Y: 33,00.

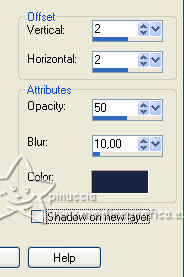
26. Effects>3D Effects>Drop Shadow, color #1a2544.
27. Layers>Arrange>Move Down (under the frames layer).
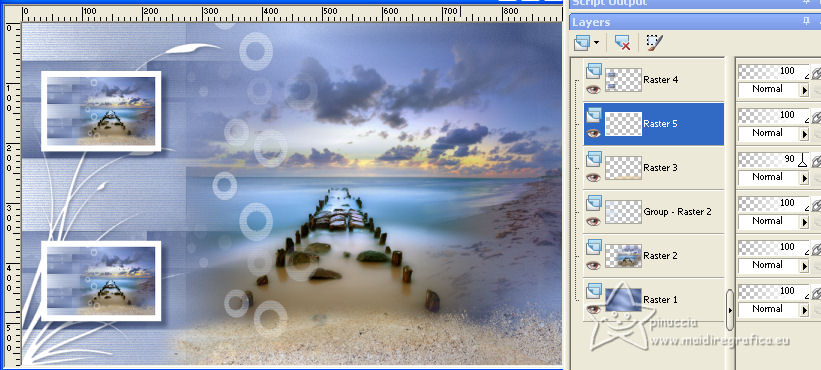
28. Set again your background color to #465785.
Image>Add borders, 1 pixel, symmetric, background color.
Image>Add borders, 1 pixel, symmetric, foreground color.
Image>Add borders, 1 pixel, symmetric, background color.
29. Selection>Select All.
Image>Add borders, 45 pixels, symmetric, color white.
Selections>Invert.
30. Open déco cadre 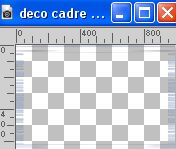
Edit>Copy.
Go back to your work and go to Edit>Paste into Selection.
31. Effects>Plugins>FM Tile Tools - Blend Emboss, default settings.

32. Selections>Select None.
33. Open the tube pierre01 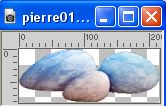
Edit>Copy.
Go back to your work and go to Edit>Paste as new layer.
Move  the tube at the bottom left, see my example. the tube at the bottom left, see my example.
34. Open the tube oiseau de mer 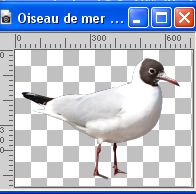
Edit>Copy.
Go back to your work and go to Edit>Paste as new layer.
Image>Resize, to 40%, resize all layers not checked.
Move  also this tube at the bottom left. also this tube at the bottom left.
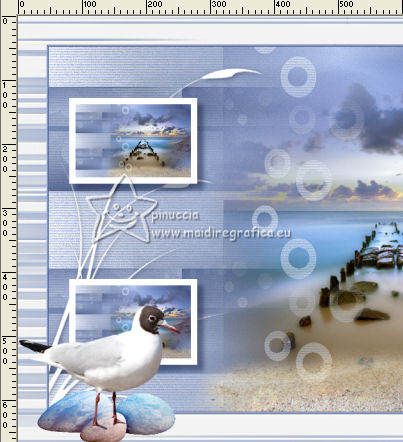
35. Layers>Merge>Merge Down.
36. Effects>3D Effects>Drop Shadow, color black.
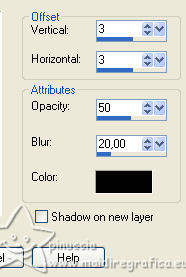
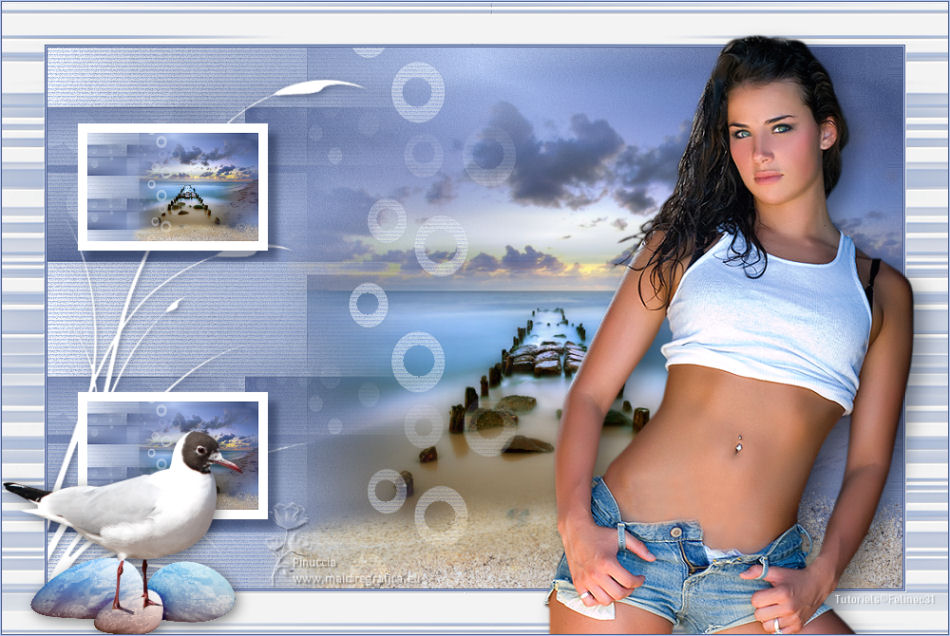
37. Open the woman's tube by Bichito mi_hermanita_silvina_v_o_por_barullo 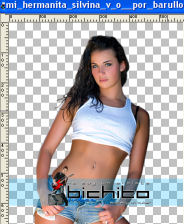
Edit>Copy.
Go back to your work and go to Edit>Paste as new layer.
Move  the tube to the right, see my example. the tube to the right, see my example.
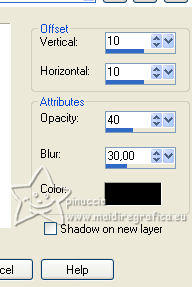
38. Effects>3D Effects>Drop Shadow, color black.
39. Image>Add borders, 1 pixel, symmetric, background color.
Image>Add borders, 1 pixel, symmetric, foreground color.
40. Sign your work
41. Image>Resize, 950 pixels width, resize all layers checked.
Save as jpg.
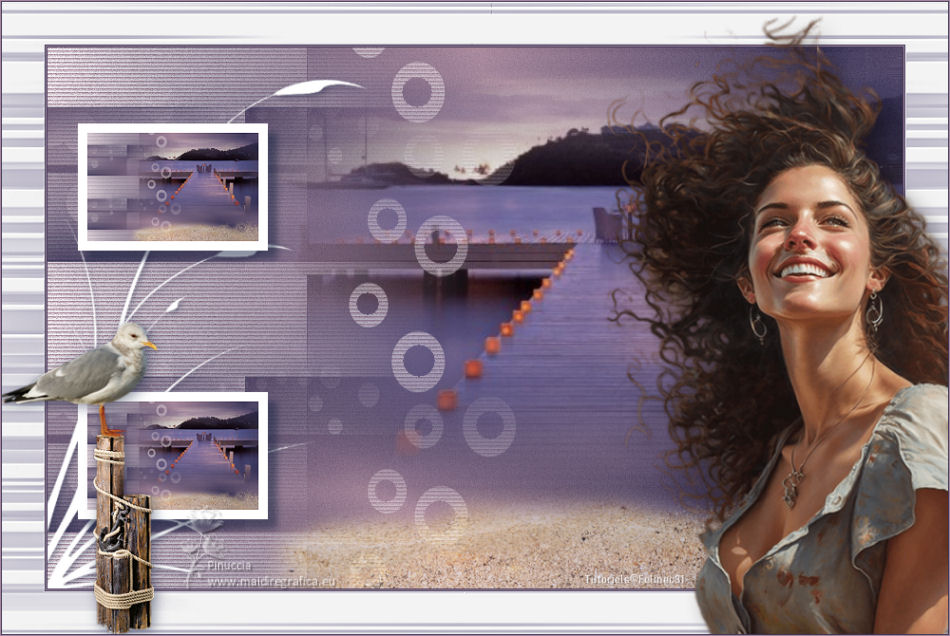
For the tube of this version thanks Elaine; the misted is mine

If you have problems or doubts, or you find a not worked link, or only for tell me that you enjoyed this tutorial, write to me.
14 June 2023

|
