RIVAGE


Thanks Carine for your invitation to translate

Clic and move the brush to follow the tutorial.

To print


|
This tutorial was translated with PSPX7 and PSPX2, but it can also be made using other versions of PSP.
Since version PSP X4, Image>Mirror was replaced with Image>Flip Horizontal,
and Image>Flip with Image>Flip Vertical, there are some variables.
In versions X5 and X6, the functions have been improved by making available the Objects menu.
In the latest version X7 command Image>Mirror and Image>Flip returned, but with new differences.
See my schedule here
 italian translation here italian translation here
 your versions here your versions here
Necessary

Thanks for the tubes VM Tubes and Jewel.
(The links of the tubemakers here).

consult, if necessary, my filter section here
Filters Unlimited 2.0 here
Filters Factory Gallery T - Magic Triangle Q here
Penta.com - Color dot here
Penta.com - Jeans here
Alien Skin Eye Candy 5 Impact - Glass here
Filters Factory Gallery and Penta.com can be used alone or imported into Filters Unlimited.
(How do, you see here)
If a plugin supplied appears with this icon  it must necessarily be imported into Unlimited it must necessarily be imported into Unlimited

You can change Blend Modes according to your colors.
In the newest versions of PSP, you don't find the foreground/background gradient (Corel_06_029).
You can use the gradients of the older versions.
The Gradient of CorelX here

If you have problems with the alpha channel,
open a new transparent image 900 x 570 pixels,
and use the selections from Disk.
1. Set your foreground color to #e5e8ef,
and your background color to #1a357a
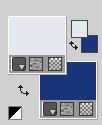
Set your foreground color to a Foreground/Background Gradient, style Radial.

2. Open Alpha rivage.
Window>Duplicate or, on the keyboard, shift+D to make a copy.

Close the original.
The copy, that will be the basis of your work, is not empty,
but contains the selections saved to alpha channel.
Flood Fill  the transparent image with your Gradient. the transparent image with your Gradient.
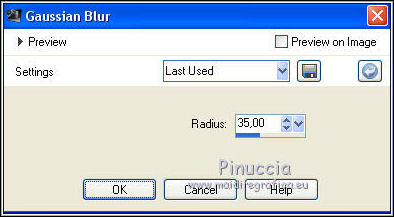
3. Adjust>Blur>Gaussian Blur - radius 35.
4. Effects>Image Effects>Seamless Tiling.

5. Layers>Duplicate.
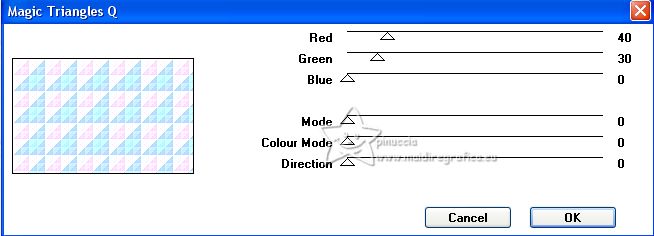
Effects>Plugins>Filter Factory Gallery T - Magic Triangle Q.
6. Change the Blend Mode of this layer to Luminance (legacy) and reduce the opacity to 35%.
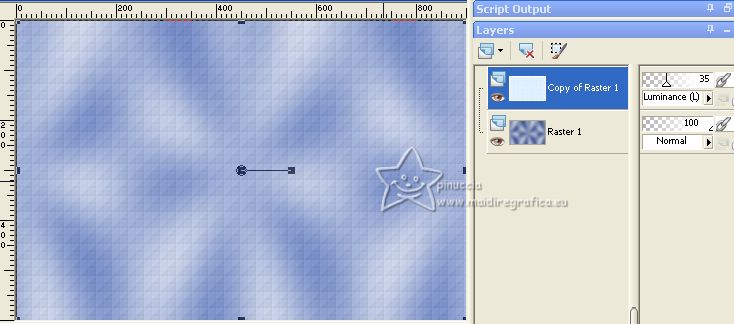
Adjust>Sharpness>Sharpen.
Layers>Merge>Merge Down.
7. Selections>Select All.
Selections>Modify>Contract - 75 pixels.
8. Layers>New Raster Layer, Raster 2.
Flood Fill  with your background color. with your background color.
9. Selections>Modify>Contract - 3 pixels.
Set your foreground color to Color.
Flood Fill  the selection with your foreground color. the selection with your foreground color.
10. Selections>Modify>Contract - 5 pixels.
Press CANC on the keyboard 
Keep selected.
11. Activate your bottom layer, Raster 1.
Selections>Promote Selection to Layer.
12. Adjust>Blur>Gaussian Blur - radius 35.

Keep selected.
13. Open the misted Paysage-misted-jewel-018 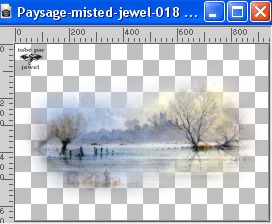
Erase the watermark and go to Edit>Copy.
Go back to your work and go to Edit>Paste as new layer.
Image>Resize, to 95%, resize all layers not checked.
14. Selections>Invert.
Press CANC on the keyboard.
Selections>Select None.
15. Activate your top layer.
Layers>Merge>Merge Down - 2 times.
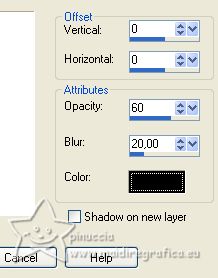
16. Effects>3D Effects>Drop Shadow, color black.
17. Optional, according to your tube:
Adjust>Brightness and contrast>Brightness and Contrast.

18. Layers>New Raster Layer, Raster 2.
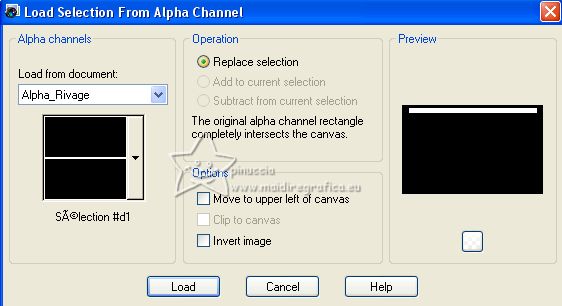
Selections>Load/Save Selection>Load Selection from Alpha Channel.
The selection #d1 is immediately available. You just have to click Load.
19. Flood Fill  the selection with your background color. the selection with your background color.
Selections>Modify>Contract - 2 pixels.
Flood Fill  the selection with your foreground color. the selection with your foreground color.
20. Selections>Modify>Contract - 2 pixels.
Press CANC on the keyboard.
21. Activate the layer Raster 1.
Selections>Promote Selection to Layer.
Layers>Arrange>Bring to Top.
22. Adjust>Blur>Gaussian Blur - radius 35.
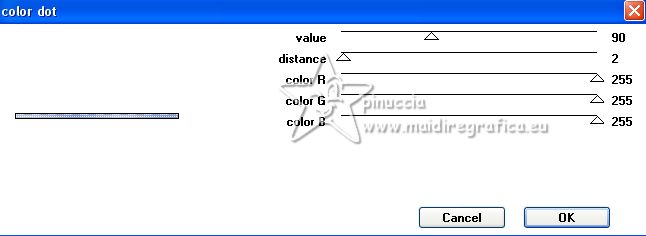
23. Effects>Plugins>Penta.com - Color Dot, default settings.
Adjust>Sharpness>Sharpen.
24. Effects>3D Effects>Inner Bevel.

25. Layers>Merge>Merge Down.
Selections>Select None.
26. Layers>Duplicate.
K key to activate your Pick Tool 
and set Position Y: 524,00 (keep Position X: 43,00)

27. Layers>Merge>Merge Down.
28. Effects>3D Effects>Drop Shadow, color black.

29. Layers>Duplicate.
Image>Free Rotate - 90 degrees to left.
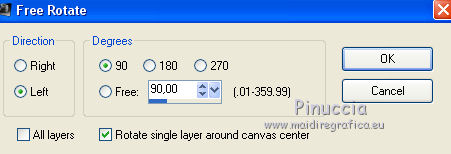
30. Move this layer over the layer Raster 1.

31. Activate the layer above, Promoted Selection.
Selections>Load/Save Selection>Load Selection from Alpha Channel.
Open the selections menu and load the selection #d2.
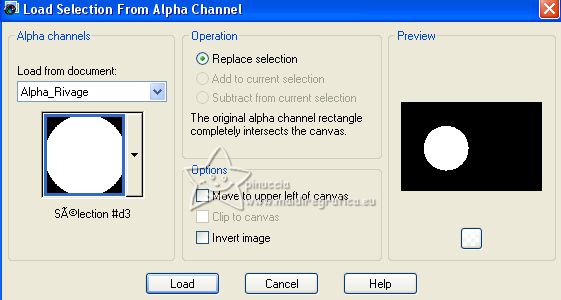
Selections>Promote Selection to Layer.
Layers>Arrange>Bring to Top.
32. Adjust>Add/Remove Noise>Add Noise.
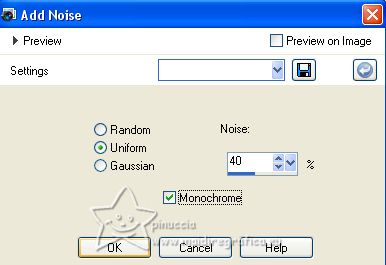
Adjust>Sharpness>Sharpen.
33. Effects>3D Effects>Inner Bevel, same settings.

Selections>Select None.
34. Activate again the first Promoted Selection.
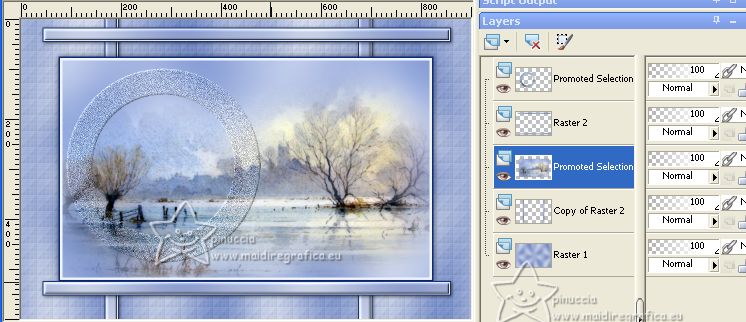
Selections>Load/Save Selection>Load Selection from Alpha Channel.
Open the selections menu and load the selection #d3.

Selections>Promote Selection to Layer.
Layers>Arrange>Bring to Top.
Layers>Merge>Merge Down.
35. Effects>Plugins>Alien Skin Eye Candy 5 Impact - Glass.
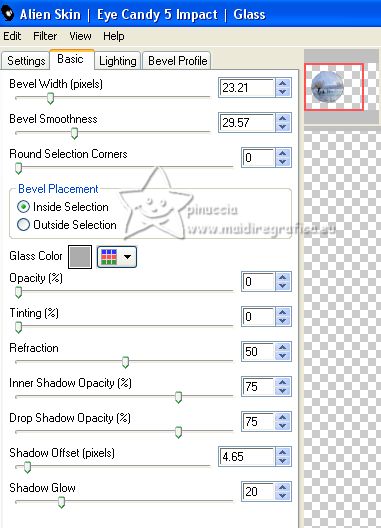
Selections>Select None.
36. Layers>Duplicate.
Image>Resize, to 85%, resize all layers not checked.
37. Layers>Duplicate.
Image>Resize, to 85%, resize all layers not checked.
38. Layers>Merge>Merge Down - 2 times.
Image>Resize, to 40%, resize all layers not checked.
39. K key to activate your Pick Tool 
Set Position X: 11,00 and Position Y: 85,00.

Adjust>Sharpness>Sharpen.
40. Layers>Duplicate.
keep Position X: 11,00 and set Position Y: 333,00.

41. Layers>Merge>Merge Down.
Adjust>Sharpness>Sharpen.
42. Effects>3D Effects>Inner Bevel.

43. Effects>3D Effects>Drop Shadow, color black.

44. Image>Add borders, 2 pixels, symmetric, foreground color.
Image>Add borders, 2 pixels, symmetric, background color.
Image>Add borders, 15 pixels, symmetric, color white.
Image>Add borders, 5 pixels, symmetric, background color.
45. Activate your Magic Wand Tool 
and click in the last border to select it.
46. Effects>Plugins>Penta.com - Jeans, default settings.
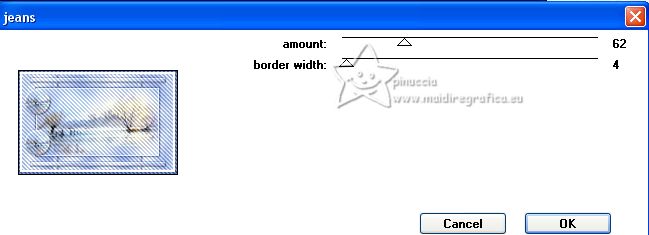
Selections>Select None.
47. Image>Add borders, 10 pixels, symmetric, colore white.
48. Open the woman tube 746-vmtubes 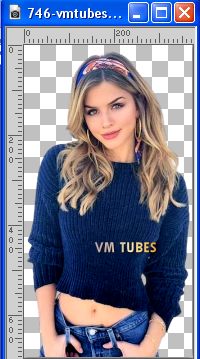
Edit>Copy.
Go back to your work and go to Edit>Paste as new layer.
Image>Resize, to 90%, resize all layers not checked.
Move  the tube to the right. the tube to the right.
49. Effects>3D Effects>Drop Shadow, color black.

50. Open the tube Déco 1 
Edit>Copy.
Go back to your work and go to Edit>Paste as new layer.
K key to activate your Pick Tool 
and set Position X: 95,00 and Position Y: 45,00.

51. Effects>3D Effects>Drop Shadow, color black.
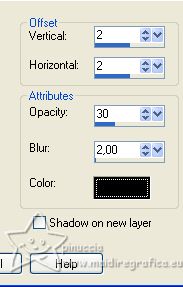
52. Open the tube vasoflorseca 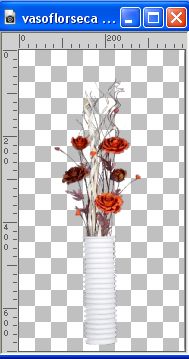
Edit>Copy.
Go back to your work and go to Edit>Paste as new layer.
Image>Resize, to 60%, resize all layers not checked.
Move  the tube at the bottom left. the tube at the bottom left.
Effects>3D Effects>Drop Shadow, at your choice.
53. Image>Add borders, 1 pixel, symmetric, background color.
Sign your work.
Image>Resize, 950 pixels width, resize all layers checked.
Save as jpg.
For the tube of this version thanks Jewel.
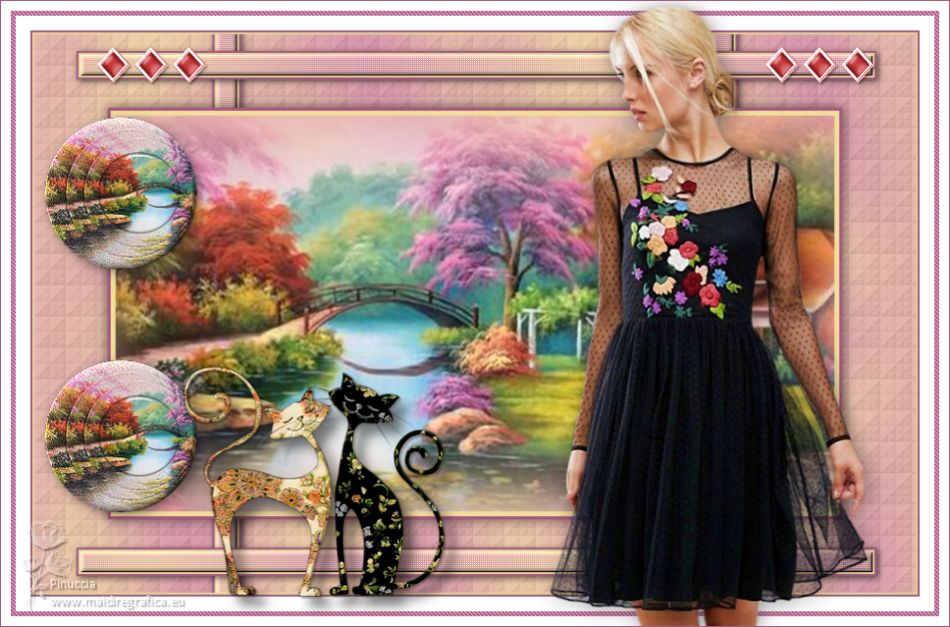

If you have problems or doubts, or you find a not worked link, or only for tell me that you enjoyed this tutorial, write to me.
20 March 2023

|
