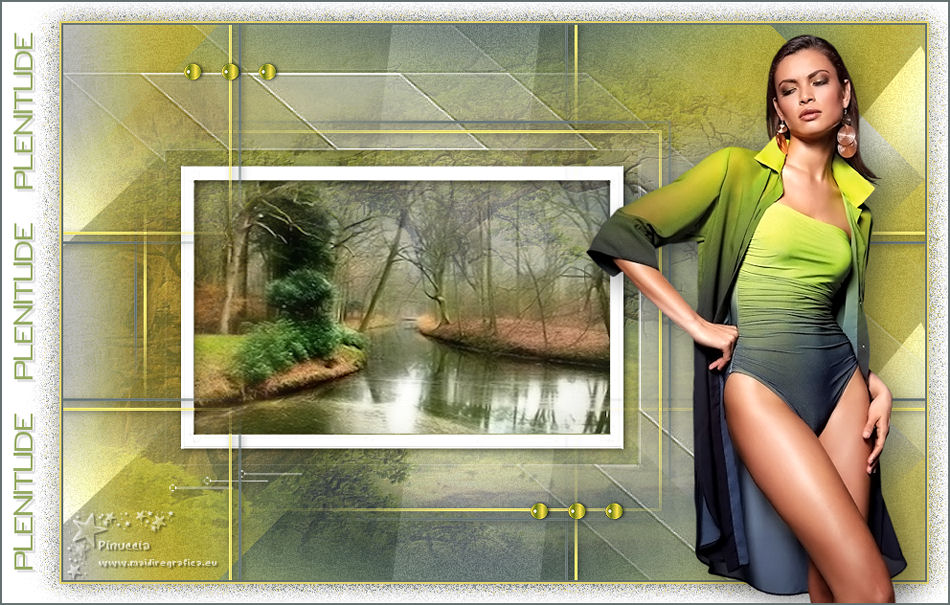
PLENITUDE
 English version English version

Thanks Carine for your invitation to translate your tutorials

This tutorial was translated with PSPX and PSPX3, but it can also be made using other versions of PSP.
Since version PSP X4, Image>Mirror was replaced with Image>Flip Horizontal,
and Image>Flip with Image>Flip Vertical, there are some variables.
In versions X5 and X6, the functions have been improved by making available the Objects menu.
In the latest version X7 command Image>Mirror and Image>Flip returned, but with new differences.
See my schedule here
 italian translation here italian translation here
 your versions here your versions here
Material here
Thanks for the tubes Lily and Jewel and for the masks Narah and Violine.
(The links of the tubemakers here).
Plugins
consult, if necessary, my filter section here
Filters Unlimited 2.0 here
Mehdi - Wavy Lab 1.1 here
Simple - Blintz here
Krusty's volII.02 - Generator J1-spider - nel materiale
FM Tile Tools - Blend Emboss here
Toadies - Blast'em here
Filters Simple, Krusty's and Toadies can be used alone or imported into Filters Unlimited.
(How do, you see here)
If a plugin supplied appears with this icon  it must necessarily be imported into Unlimited it must necessarily be imported into Unlimited

You can change Blend Modes according to your colors.
Optional: if you have problems with the alpha channel,
in the material you'll find the respective selections.
If you intend to use them, copy these selection in the Selections Folder.
Open the mask 44b in PSP and minimize it with the rest of the material.
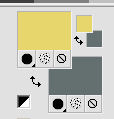
1. Set your foreground color to color #e7d66c,
and your background color to #647070.
2. Open Alpha_Plenitude.
Window>Duplicate, or on the keyboard shift+D, to make a copy.

Close the original.
The copy, that will be the basis of your work, is not empty,
but contains the selections saved on the alpha channel.
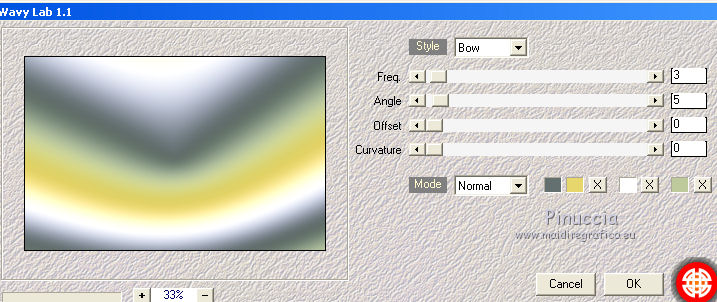
3. Effects>Plugins>Mehdi - Wavy Lab 1.1.
This filter creates gradients with the colors of your Materials palette.
The first is your background color, the second is your foreground color.
Change the last two colors created by the filtre:
the third color with #ffffff and the forth color with #beca9c.
4. Adjust>Blur>Gaussian Blur - radius 30.

5. Effects>Plugins>Simple - Blintz
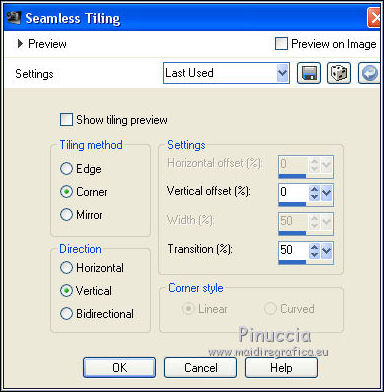
6. Effects>Image Effects>Seamless Tiling.
7. Optional: I made:
Adjust>Brightness and Contrast>Brightness/Contrast.
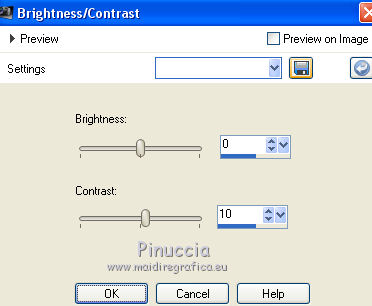
8. Layers>Duplicate.
Effects>Edge Effects>Enhance.
9. Effects>Plugins>Krusty's vol.II.02 - Generator J-1(Spider), default settings
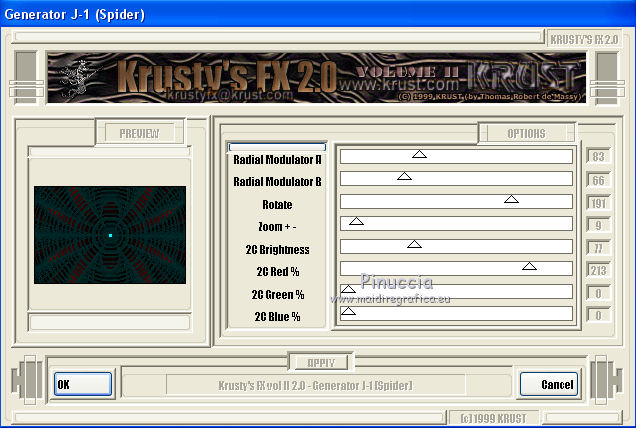
if you use the filter in Unlimited
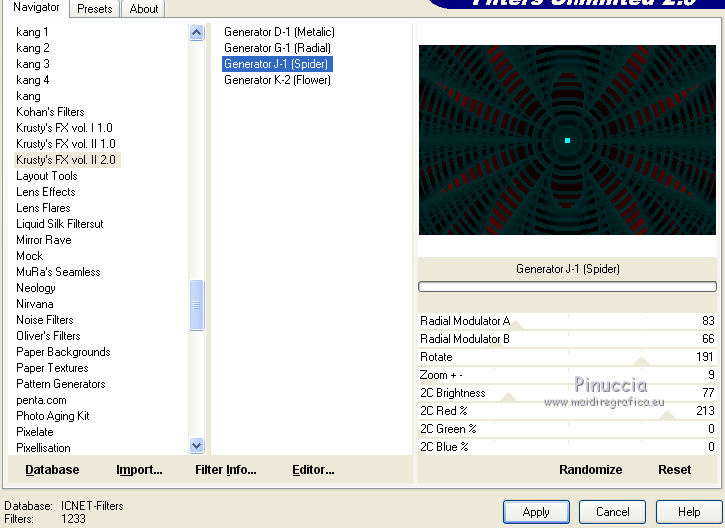
10. Change the Blend Mode of this layer to Luminance (legacy)
and reduce the opacity to 30%.

12. Effects>Plugins>FM Tile Tools - Blend Emboss, default settings.

13. Selections>Load/Save Selection>Load Selection from Alpha Channel.
The selection is immediately available. You just have to click Load.
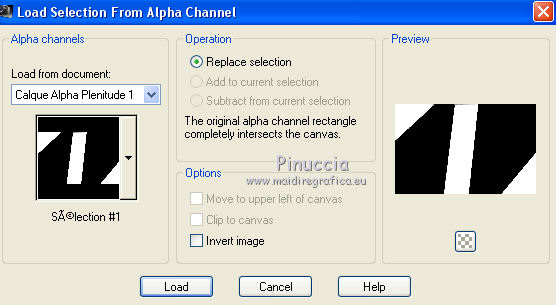
Press CANC on the keyboard 
Selections>Select None.
14. Activate the layer Raster 1.
Adjust>Add/Remove Noise>Add Noise.
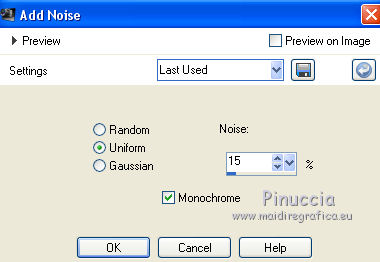
15. Activate the top layer, Copy of Raster 1.
Effects>Image Effects>Seamless Tiling, same settings.

Layers>Merge>Merge Down - Raster 1.
16. Set your foreground color to white #ffffff.
Layers>New Raster Layer.
Flood Fill  the layer with color white. the layer with color white.
17. Layers>New Mask layer>From image
Open the menu under the source window and you'll see all the files open.
Select the mask 44b.
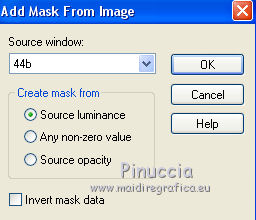
Effects>Edge Effects>Enhance More.
Layers>Merge>Merge Group.
18. Effects>3D Effects>Drop shadow, color black.
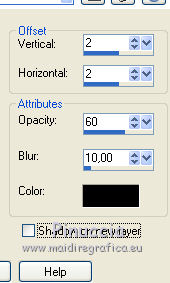
19. Selections>Load/Save Selection>Load Selection from Alpha Channel.
Open the Selections Menu and load the selection #2.

20. Layers>New Raster Layer.
Open the landscape by NightAngel and go to Edit>Copy.
Go back to your work and go to Edit>Paste into Selection.
Adjust>Sharpness>Sharpen.
21. Activate the layer below of the mask
Layers>New Raster Layer.
Effects>3D Effects>Cutout.
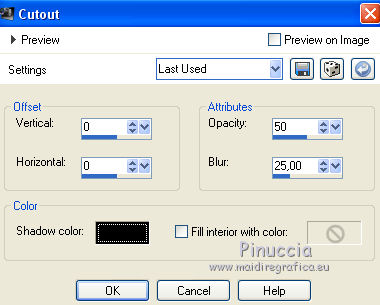
Selections>Select None.
22. Set again your foreground color to #e7d66c.

23. Layers>New Raster Layer.
Selections>Load/Save Selection>Load Selection from Alpha Channel.
Open the Selections Menu and load the selection #3.
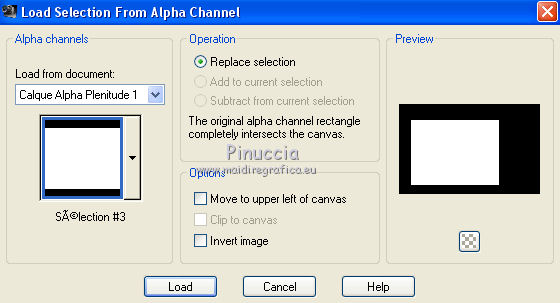
24. Flood Fill  the selection with your background color. the selection with your background color.
Selections>Modify>Contract - 3 pixels.
Press CANC on the keyboard.
25. Selections>Modify>Contract - 7 pixels.
Flood Fill  with your foreground color. with your foreground color.
26. Selections>Modify>Contract - 3 pixels.
Press CANC on the keyboard.
Selections>Select None.
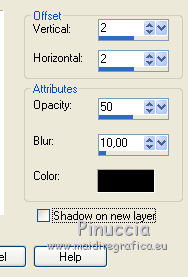
27. Effects>3D Effects>Drop Shadow, color black.
28. Effects>Image Effects>Seamless Tiling, default settings.

29. Make sure that this layer is below the landscape layer.
Adjust>Sharpness>Sharpen.
30. Activate the layer Raster 1.
Layers>New Raster Layer.
Selections>Select All.
31. Open the landscape by Guismo and go to Edit>Copy.
Go back to your work and go to Edit>Paste into Selection.
Selections>Select None.
32. Effects>Plugins>FM Tile Tools - Blend Emboss, default settings.

Reduce the opacity of this layer to 50%.

33. Image>Add borders, 2 pixels, symmetric, background color.
Image>Add borders, 2 pixels, symmetric, foreground color.
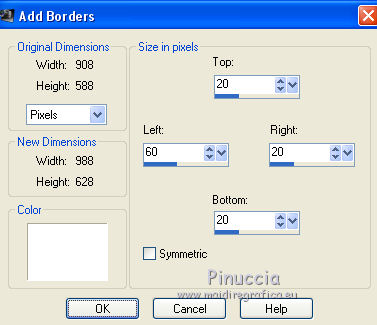
34. Selections>Select All.
Image>Add borders, symmetric not checked, color white.
35. Effects>3D Effects>Drop Shadow, color black.

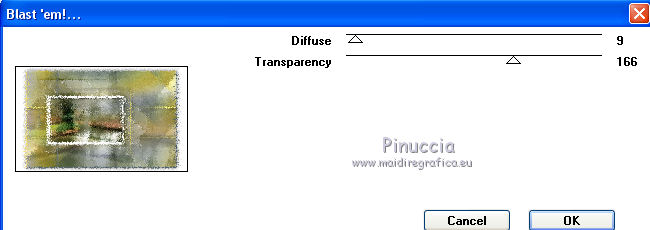
36. Selections>Invert.
Effects>Plugins>Toadies - Blast'em
Selections>Select None.
37. Open déco 1 and go to Edit>Copy.
Go back to your work and go to Edit>Paste as new layer.
38. Activate your Pick Tool 
and set Position X: 187,00 and Position Y: 60,00

39. Open the file Text and go to Edit>Copy.
Go back to your work and go to Edit>Paste as new layer.
40. Image>Free Rotate - 90 degrees to left.

Move  the text on the border to the left side. the text on the border to the left side.
41. Open the woman tube by Lily and go to Edit>Copy.
Go back to your work and go to Edit>Paste as new layer.
Image>Resize, to 85% (for me I resized to 80%), resize all layers not checked.
Move  the tube to the right side. the tube to the right side.
42. Effects>3D Effects>Drop Shadow, color black.
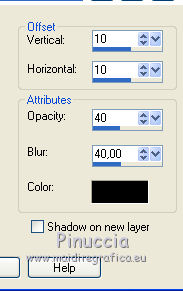
43. Image>Add borders, 2 pixels, symmetric, background color.
44. Image>Resize, 900 pixels width, resize all layers checked.
45. Sign your work and save as jpg.
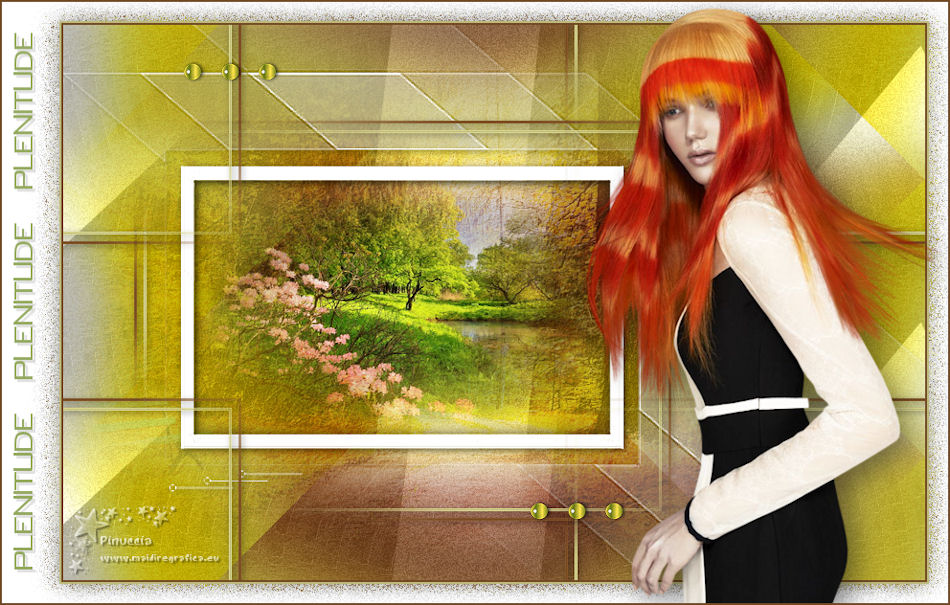
Version with tubes by Alies and Azalée

If you have problems or doubts, or you find a not worked link, or only for tell me that you enjoyed this tutorial, write to me.
5 November 2020
|
 English version