NOELLA

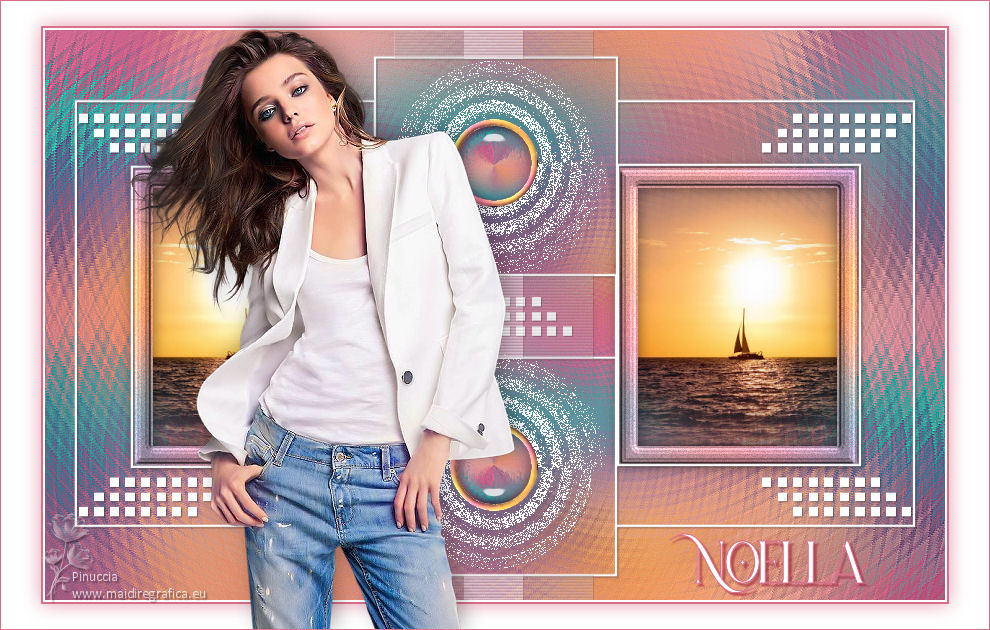
Thanks Carine for your invitation to translate

Clic and move the brush to follow the tutorial.

To print


|
This tutorial was translated with PSPX7 and PSPX2, but it can also be made using other versions of PSP.
Since version PSP X4, Image>Mirror was replaced with Image>Flip Horizontal,
and Image>Flip with Image>Flip Vertical, there are some variables.
In versions X5 and X6, the functions have been improved by making available the Objects menu.
In the latest version X7 command Image>Mirror and Image>Flip returned, but with new differences.
See my schedule here
 italian translation here italian translation here
 your versions here your versions here
Necessary

Thanks for the tube Grisi and for the mask Narah.
The rest of the material is by Felinec31.
(The links of the tubemakers here).

consult, if necessary, my filter section here
Filters Unlimited 2.0 here
Sapphire Filters 1c - Turn (to import in Unlimited) here
the single effect is in the material
Mura's Meister - Pole Transform here
Alien Skin Eye Candy 5 Impact - Glass here

You can change Blend Modes according to your colors.
In the newest versions of PSP, you don't find the foreground/background gradient (Corel_06_029).
You can use the gradients of the older versions.
The Gradient of CorelX here

Copy the selections in the Selection Folder.
Open the mask in PSP and minimize it with the rest of the material.
2. Open a new transparent image 900 x 570 pixels.
Selections>Select All.
2. Open your background image fond 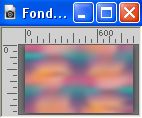
Edit>Copy.
Go back to your work and go to Edit>Paste into Selection.
Selections>Select None.
3. Effects>Plugins>Filters Unlimited 2.0 - Sapphire Filters 1c - Turn.
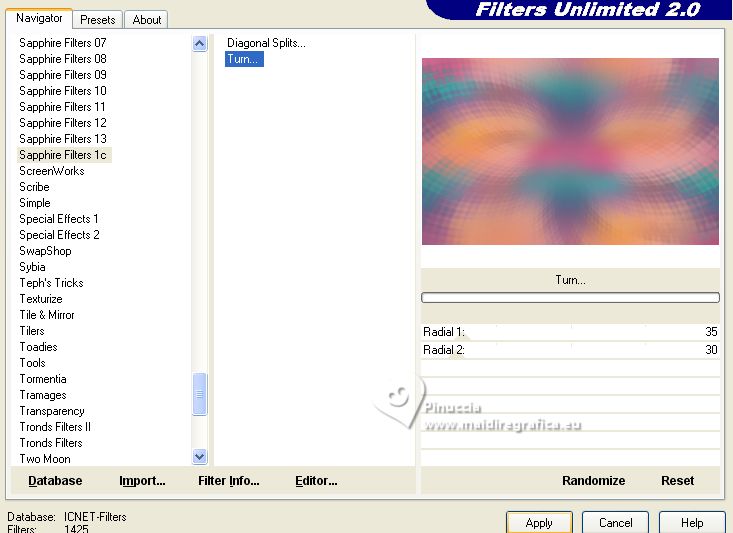
Effects>Edge Effects>Enhance More.
4. Set your foreground color to white #ffffff.
Layers>New Raster Layer.
Flood Fill  the layer with color white. the layer with color white.
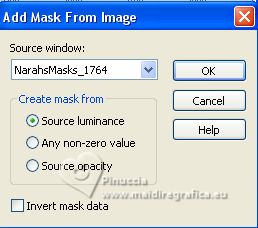
5. Layers>New Mask layer>From image
Open the menu under the source window and you'll see all the files open.
Select the mask NarahsMasks_1764
Layers>Merge>Merge Group.
6. Effects>3D Effects>Drop Shadow, color black.
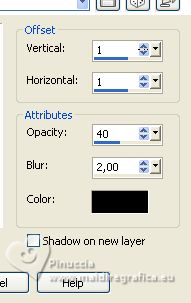
7. Activate the layer Raster 1.
Selections>Load/Save Selection>Load Selection from Disk.
Look for and load the selection Sélection_F1
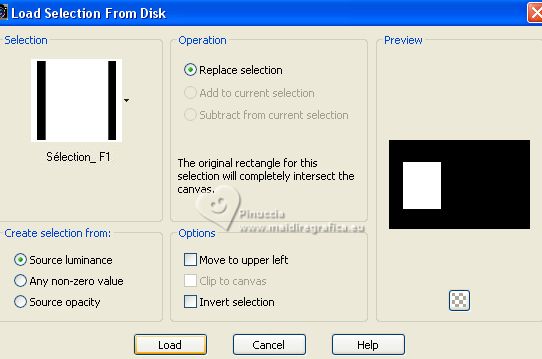
Selections>Promote Selection to Layer.
8. Adjust>Blur>Gaussian Blur - radius 20.
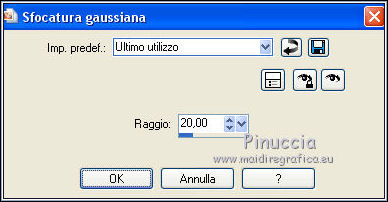
9. Adjust>Add/Remove Noise>Add Noise.
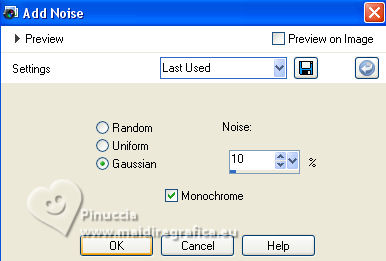
10. Selections>Modify>Contract - 20 pixels.
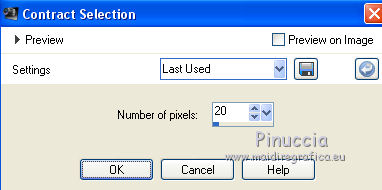
Press CANC on the keyboard 
Selections>Select None.
11. Effects>3D Effects>Inner Bevel.
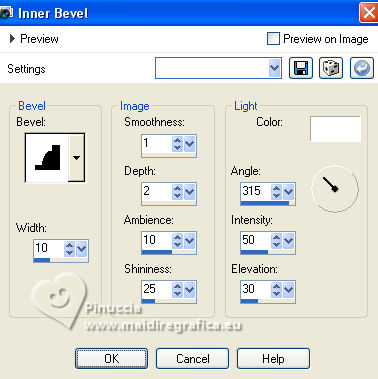
12. Activate your Magic Wand Tool  , with these settings , with these settings

Click in the frame to select it.
13. Open your landscape tube 0_e7be5_1a1d53... 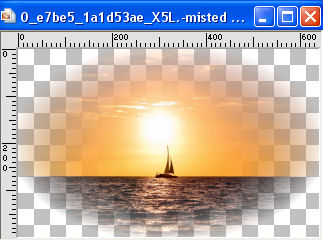
Edit>Copy.
Go back to your work and go to Edit>Paste as new layer.
Image>Resize, to 75%, resize all layers not checked.
14. Place  the tube on the selection. the tube on the selection.
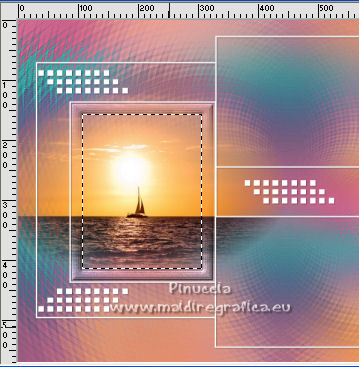
Selections>Invert.
Press CANC on the keyboard 
15. Effects>3D Effects>Drop Shadow, color black.

16. Selections>Select None.
Layers>Merge>Merge Down.
17. Layers>Duplicate.
Image>Mirror.
Layers>Merge>Merge Down.
18. Effects>3D Effects>Drop Shadow, same settings.

19. Open deco 1 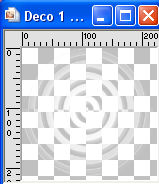
Edit>Copy.
Go back to your work and go to Edit>Paste as new layer.
20. K key to activate your Pick Tool 
and set Position X: 340,00 and Position Y: 30,00.

21. Change the Blend Mode of this layer to Dissolve and reduce the opacity to 70%.
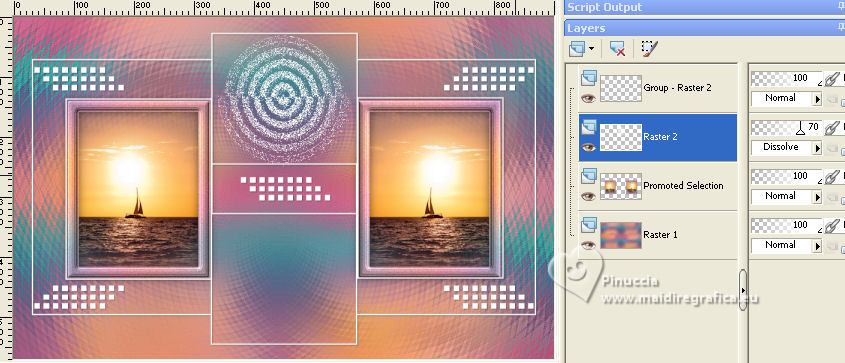
22. Layers>Duplicate.
Image>Flip.
Layers>Merge>Merge Down.
23. Activate the layer Raster 1.
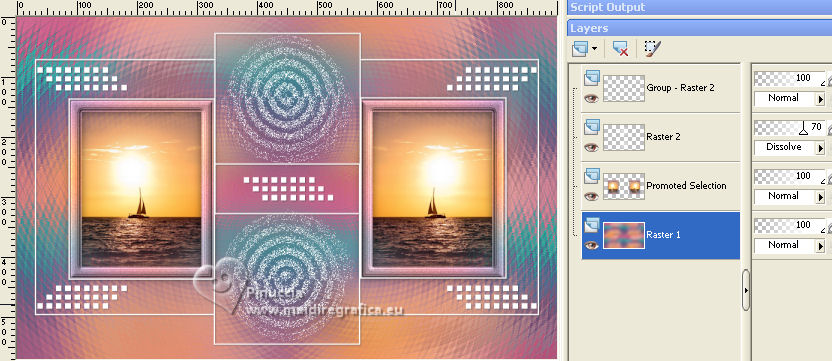
Layers>Duplicate.
Layers>Arrange>Move up - 2 times (under the top layer).
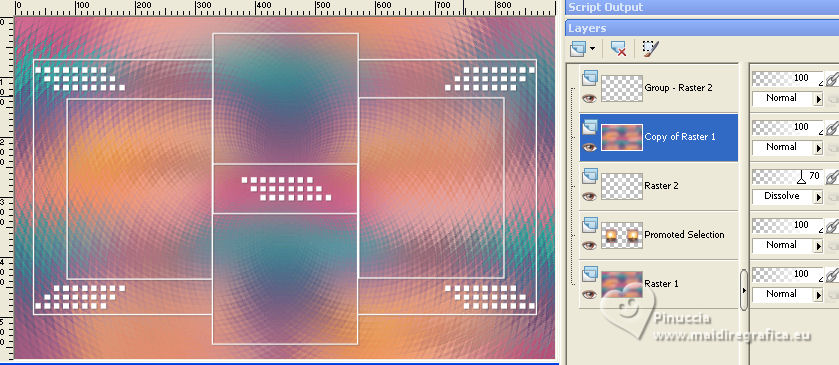
24. Effects>Plugins>Mura's Meister - Pole Transform.
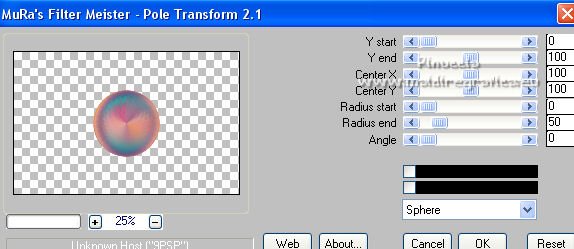
25. Image>Resize, to 30%, resize all layers not checked.
Set Position X: 409,00 and Position Y: 95,00.

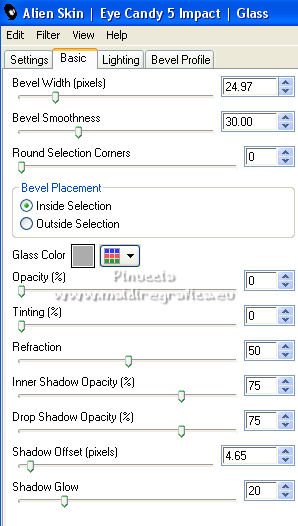
26. Effects>Plugins>Alien Skin Eye Candy 5 Impact - Glass.
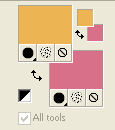
27. Set your foreground color to #ecb453
and your background color to #d87089.
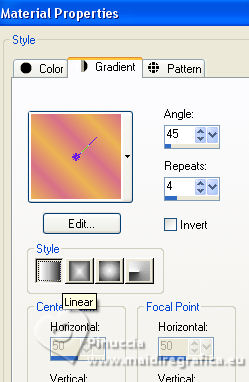
Set your foreground color to a Foreground/Background Gradient, style Linear.
28. Layers>New Raster Layer.
Selections>Load/Save Selection>Load Selection from Disk.
Look for and load the selection Sélection_F2
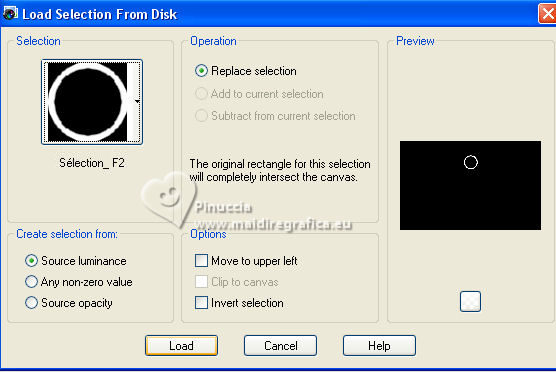
Flood Fill  the selection with your Gradient. the selection with your Gradient.
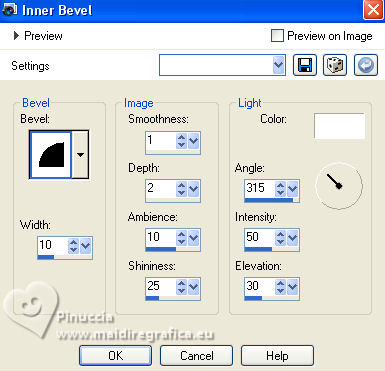
29. Effects>3D Effects>Inner Bevel.
30. Selections>Select None.
Layers>Merge>Merge Down.
31. Layers>Duplicate.
Image>Flip.
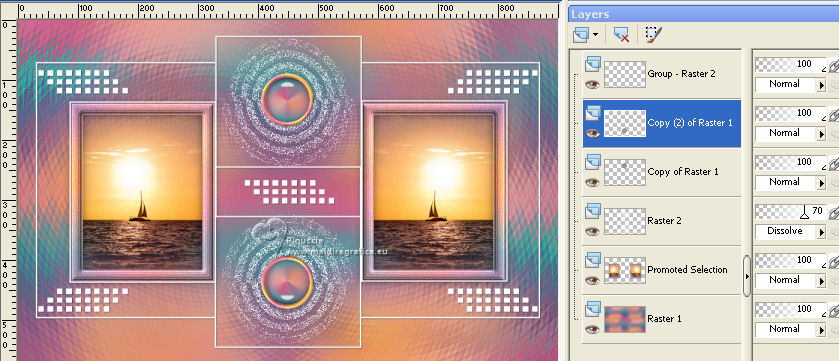
32. Activate your top layer.
Open deco 2 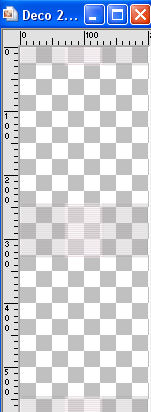
Edit>Copy.
Go back to your work and go to Edit>Paste as new layer.
It is in its place.
33. Image>Add borders, 2 pixels, symmetric, color white.
Image>Add borders, 2 pixels, symmetric, background color #d87089  . .
34. Selections>Select All.
Image>Add borders, symmetric not checked, color white.
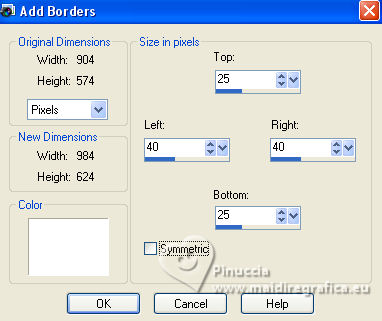
35. Effects>3D Effects>Drop Shadow, background color #d87089.
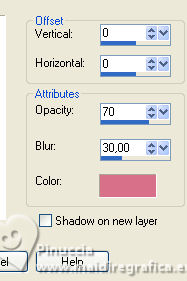
Selections>Select None.
36. Open your woman's tube Grisi_Woman_742 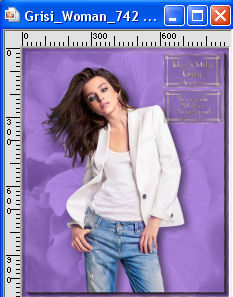
Edit>Copy.
Go back to your work and go to Edit>Paste as new layer.
Image>Resize, to 62%, resize all layers not checked.
Move  the tube to the left. the tube to the left.
Adjust>Sharpness>Sharpen (according to your tube).
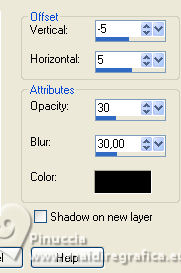
37. Effects>3D Effects>Drop Shadow, color black.
38. Activate your Text Tool 
font Hatolie with these settings
adapt the size according to your text and your PSP version

Invert your materials and set your background color to white.
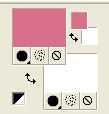
39. Write Noella at the bottom right
(if you prefer, copy/paste as new layer the text you find in the material, with its drop shadow.
In the material there is also the text in white)
Layers>Convert to Raster Layer.
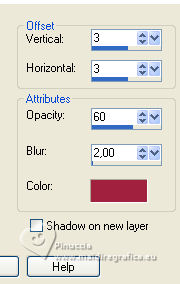
40. Effects>3D Effects>Drop Shadow, color #a0213f.
41. Image>Add borders, 1 pixel, symmetric, background color #d87089  . .
42. Sign your work
Add the author and the translator watermarks
Image>Resize, 950 pixels width, resize all layers checked.
Save as jpg.
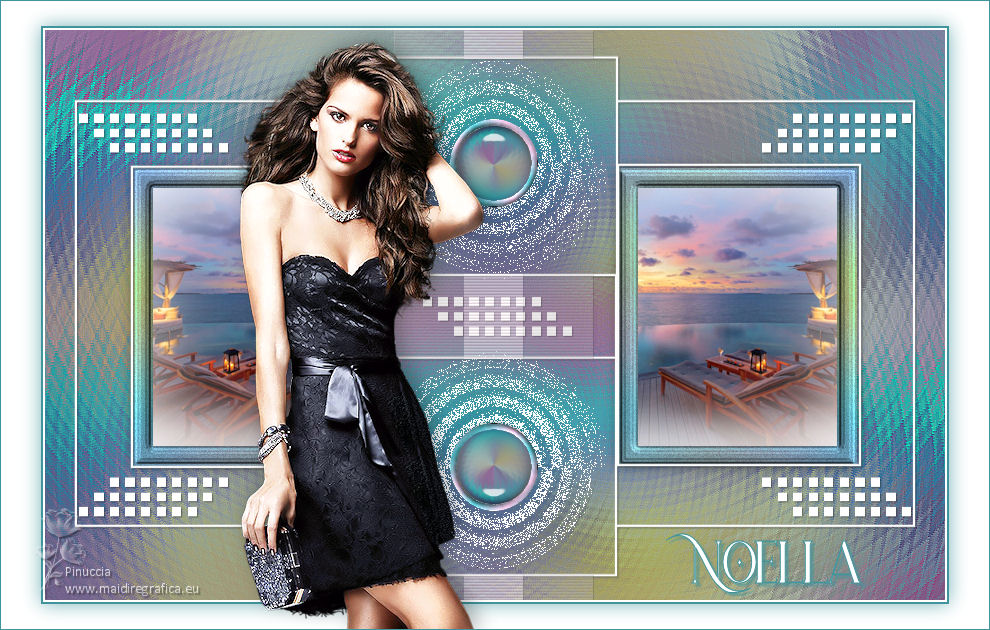
For the tube of this version thanks Azalée; the misted is mine

If you have problems or doubts, or you find a not worked link, or only for tell me that you enjoyed this tutorial, write to me.
24 July 2023

|
