JOLI MOIS DE MAI


Thanks Carine for your invitation to translate

Clic and move the brush to follow the tutorial.

To print


|
This tutorial was translated with PSPX7 and PSPX2, but it can also be made using other versions of PSP.
Since version PSP X4, Image>Mirror was replaced with Image>Flip Horizontal,
and Image>Flip with Image>Flip Vertical, there are some variables.
In versions X5 and X6, the functions have been improved by making available the Objects menu.
In the latest version X7 command Image>Mirror and Image>Flip returned, but with new differences.
See my schedule here
 italian translation here italian translation here
 your versions here your versions here
Necessary

Thanks for one tube Violine.
The rest of the material is by Felinec31.
(The links of the tubemakers here).

consult, if necessary, my filter section here
Filters Unlimited 2.0 here
AP [Innovations] - Lines LineSilverlining here
Graphics Plus - Cross shadow here
Filters Graphics Plus can be used alone or imported into Filters Unlimited.
(How do, you see here)
If a plugin supplied appears with this icon  it must necessarily be imported into Unlimited it must necessarily be imported into Unlimited

You can change Blend Modes according to your colors.

Copy the Gradient in the Gradients Folder.
Copy the selections in the Selections Folder.
Copy the Preset Emboss 3 in the Presets Folder.
Open the mask in PSP and minimize it with the rest of the material.
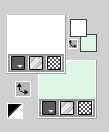
Set your foreground color to #3f5e59,
and your background color to #dff4e5.
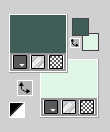
Set your foreground color to Gradient, and select the gradient Gradient Muguet, style Linear.
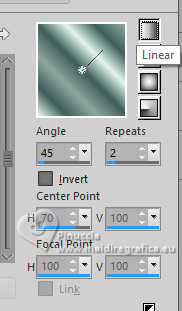
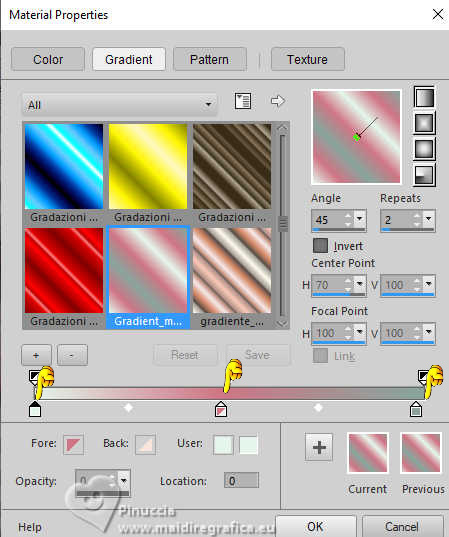
if you use other colors, also the Gradient will change colors.
If you want again modify them, click on the "ink pot" to apply the changes.
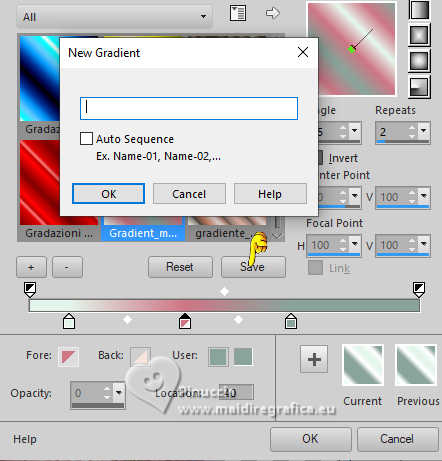
Before closing, click on Save and save the gradient with another name (so as not to lose the original gradient).
1. Open a new transparent image 900 x 700 pixels.
Flood Fill  the transparent image with your Gradient. the transparent image with your Gradient.
2. Layers>Duplicate.
Image>Mirror>Mirror Horizontal.
Reduce the opacity of this layer to 50%.
Layers>Merge>Merge Down.
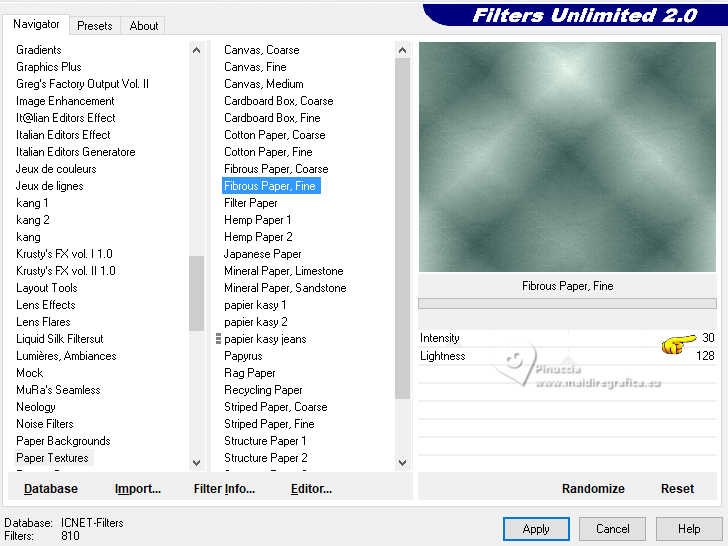
3. Effects>Plugins>Filters Unlimited 2.0 - Paper Texture - Fibrous Paper, Fine.
4. Set your foreground color to white
Layers>New Raster Layer.
Flood Fill  the layer with color white. the layer with color white.
5. Layers>New Mask layer>From image
Open the menu under the source window and you'll see all the files open.
Select the mask ef_mask_melina
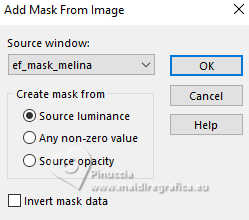
Layers>Merge>Merge Group.
6. Selections>Load/Save Selection>Load Selection from Disk.
Look for and load the selection Sélection_Muguet 1
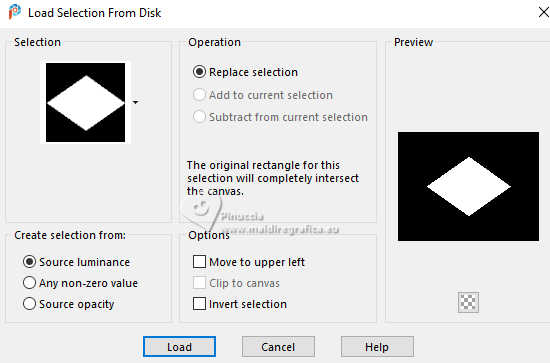
Press CANC on the keyboard 
7. Flood Fill  the selection with color white. the selection with color white.
Selections>Modify>Contract - 5 pixels.
Press CANC on the keyboard.
8. Layers>New Raster Layer.
Open the tube Fond Paysage 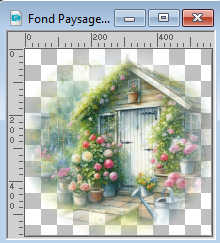
Edit>Copy.
Go back to your work and go to Edit>Paste into Selection.
9. Selections>Invert.
Effects>3D Effects>Drop Shadow, color black.

Selections>Select None.
Layers>Arrange>Move Down.
10. Activate the layer of the mask, Group-Raster 2.
Repeat Effects>3D Effects>Drop Shadow, same settings.

11. Change the Blend Mode of this layer to Overlay.
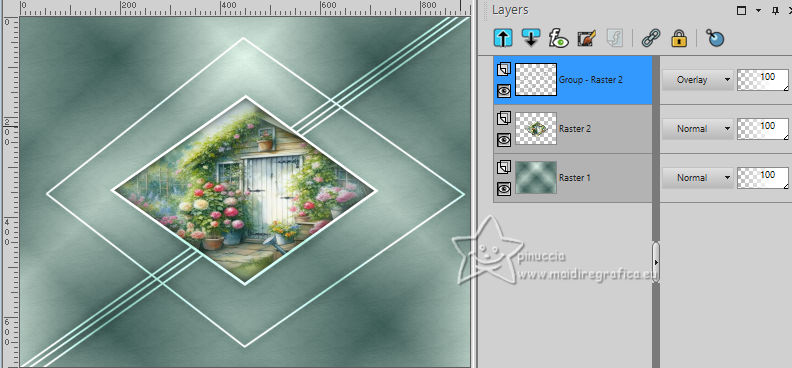
12. Selections>Load/Save Selection>Load Selection from Disk.
Look for and load the selection Sélection_Muguet 2
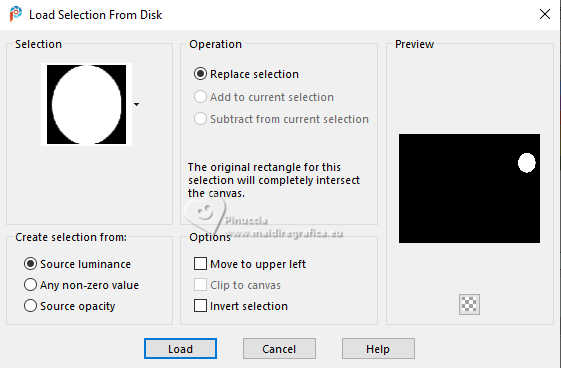
13. Activate the layer Raster 1.
Selections>Promote Selection to Layer.
Layers>Arrange>Bring to Top.
Layers>Duplicate.
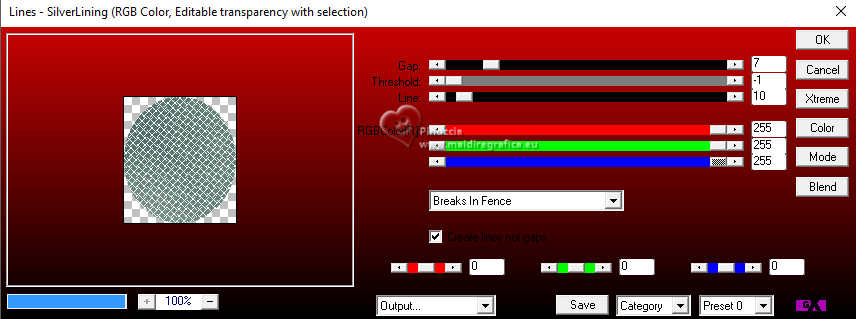
14. Effects>Plugins>AP Innovations - Lines SilverLining.
15. Effects>3D Effects>Inner Bevel.
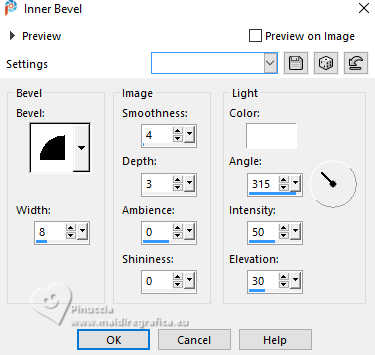
16. Selections>Modify>Contract - 8 pixels.
Press CANC on the keyboard.
Layers>Merge>Merge Down.
Keep selected.
17. Effects>Plugins>Graphics Plus - Cross Shadow.
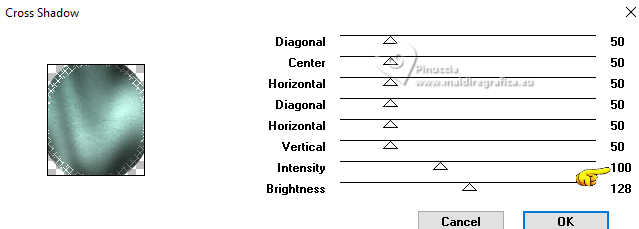
18. Open the tube chien muguet felinec31 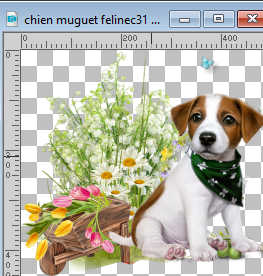
Edit>Copy.
Go back to your work and go to Edit>Paste into Selection.
Adjust>Sharpness>Sharpen.
Selections>Select None.
19. Selections>Load/Save Selection>Load Selection from Disk.
Look for and load the selection Sélection_Muguet 3
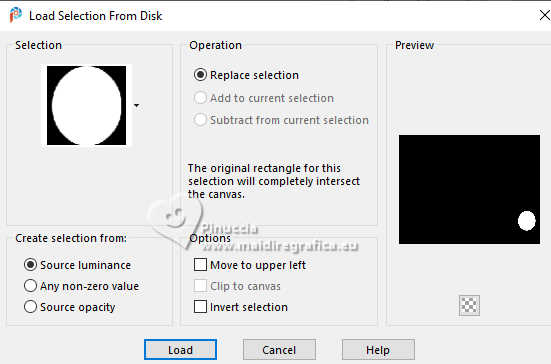
20. Activate the layer Raster 1.
Selections>Promote Selection to Layer.
Layers>Arrange>Bring to Top.
Layers>Duplicate.
21. Effects>Plugins>AP Innovations - Lines SilverLining, same settings.

22. Effects>3D Effects>Inner Bevel, same settings.

23. Selections>Modify>Contract - 8 pixels.
Press CANC on the keyboard.
Layers>Merge>Merge Down.
Keep selected.
24. Effects>Plugins>Graphics Plus - Cross Shadow, same settings.

25. Open the tube Tube143_deVioline_180324 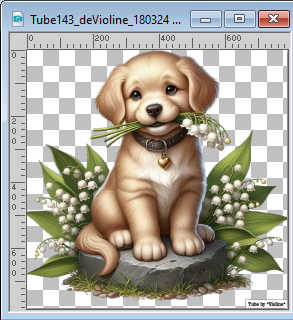
Erase the watermark and go to Edit>Copy.
Go back to your work and go to Edit>Paste into Selection.
Adjust>Sharpness>Sharpen.
Selections>Select None.
Layers>Merge>Merge Down.
26. Effects>3D Effects>Drop Shadow, same settings.

27. Activate the layer Raster 1.
Selections>Load/Save Selection>Load Selection from Disk.
Look for and load the selection Sélection_Muguet 4
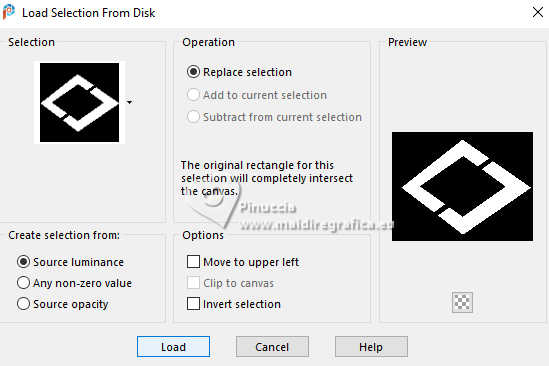
28. Selections>Promote Selection to Layer.
Change the Blend Mode of this layer to Multiply.
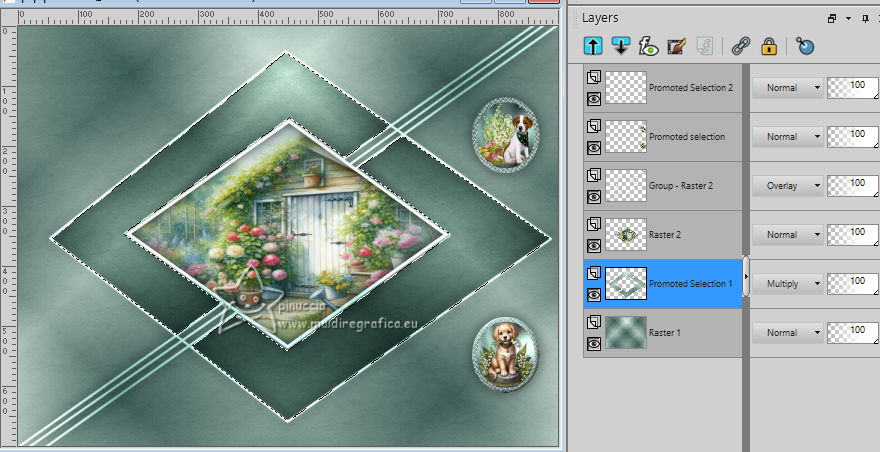
29. Adjust>Add/Remove Noise>Add Noise.
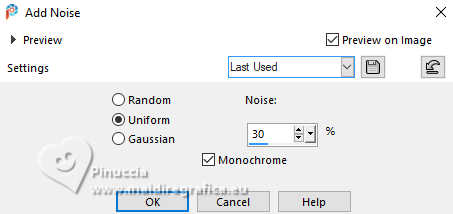
Adjust>Sharpness>Sharpen.
Selections>Select None.
30. Activate the layer Raster 1.
Layers>New Raster Layer.
Selections>Select All.
31. Open Fond Brin de muguet 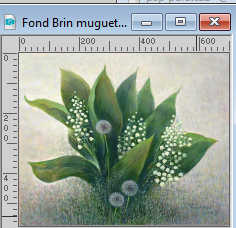
Edit>Copy.
Go back to your work and go to Edit>Paste into Selection.
Selections>Select None.
32. Effects>Image Effects>Seamless Tiling, default settings.

33. Change the Blend Mode of this layer to Overlay and reduce the opacity to 15%.
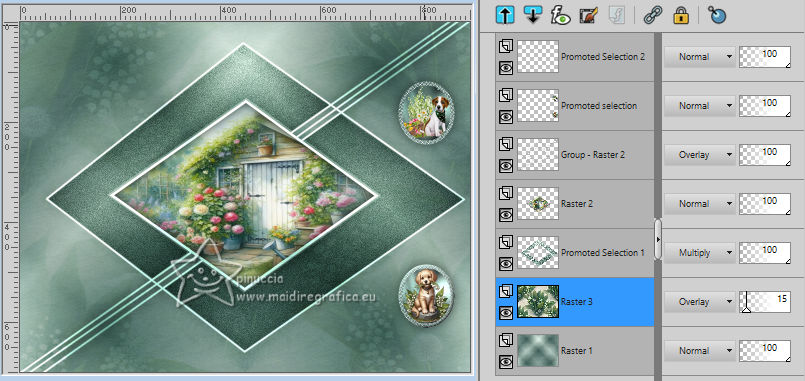
34. Effects>User Defined Filter - select the preset Emboss 3 and ok.

35. Layers>Merge>Merge All.
36. Set again your foreground color to #3f5e59.

Image>Add borders, 1 pixel, symmetric, color white.
Image>Add borders, 1 pixel, symmetric, foreground color.
37. Selections>Select All.
Image>Add borders, symmetric not checked, color white.
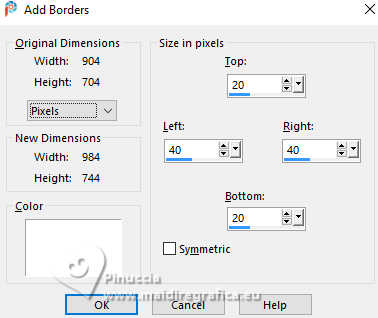
38. Effects>3D Effects>Drop shadow, foreground color.
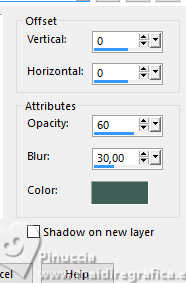
Selections>Select None.
39. Open the tube tube felinec31 Avril 2024 C 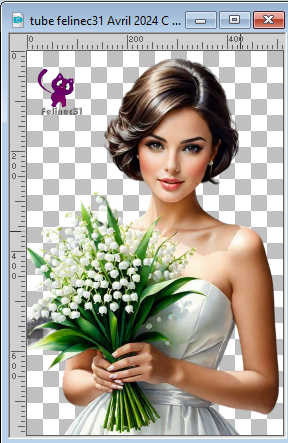
Edit>Copy.
Go back to your work and go to Edit>Paste as new layer.
Image>Mirror>Mirror Horizontal.
Image>Resize, to 92%, resize all layers not checked.
Move  the tube to the left side. the tube to the left side.
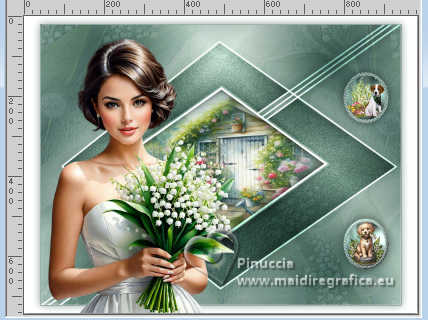
40. Effects>3D Effects>Drop Shadow, color black.

41. Open the text Texte Joli Mois de Mai 
Edit>Copy.
Go back to your work and go to Edit>Paste as new layer.
Move  the text at the bottom right. the text at the bottom right.
42. Open Deco Cadre 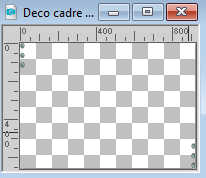
Edit>Copy.
Go back to your work and go to Edit>Paste as new layer.
Of course the frame is at its place
Position X: 29,00 and Position Y: 43,00

43. Image>Add borders, 1 pixel, symmetric, foreground color.
Image>Add borders, 1 pixel, symmetric, background color.
Sign your work.
Add the author and the translator's watermark.
44. Image>Resize, 950 pixels width, resize all layers checked.
Save as jpg.
For the tubes of this version thanks .


If you have problems or doubts, or you find a not worked link, or only for tell me that you enjoyed this tutorial, write to me.
24 April 2024

|

