I LOVE AUTOMNE

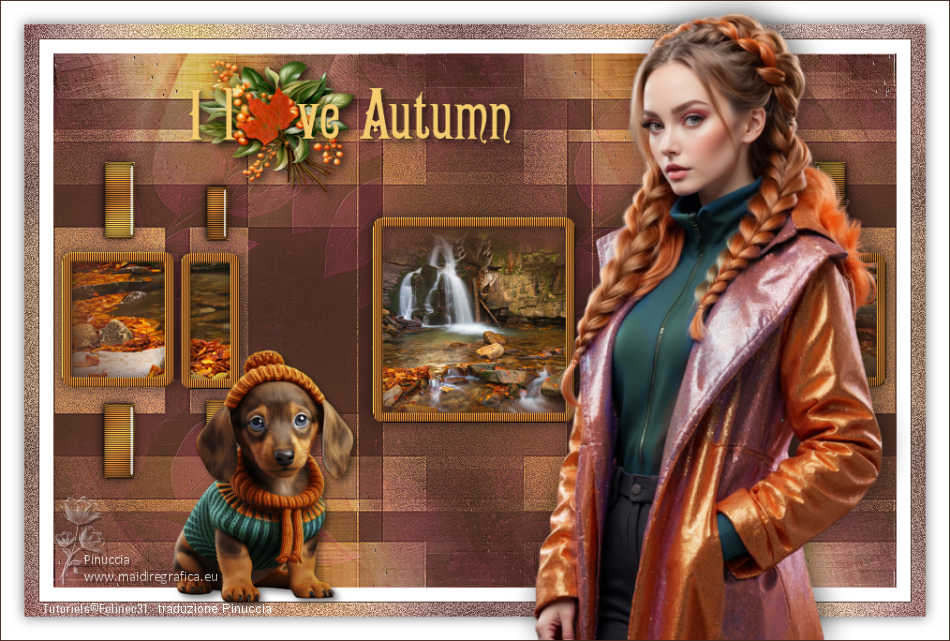
Thanks Carine for your invitation to translate

Clic and move the brush to follow the tutorial.

To print


|
This tutorial was translated with PSPX9 and PSP2020, but it can also be made using other versions of PSP.
Since version PSP X4, Image>Mirror was replaced with Image>Flip Horizontal,
and Image>Flip with Image>Flip Vertical, there are some variables.
In versions X5 and X6, the functions have been improved by making available the Objects menu.
In the latest version X7 command Image>Mirror and Image>Flip returned, but with new differences.
See my schedule here
 italian translation here italian translation here
 your versions here your versions here
Necessary

Thanks for the tubes Catty, Mentali and Adrienne.
(The links of the tubemakers here).

consult, if necessary, my filter section here
Filters Unlimited 2.0 here
Mehdi - Wavy Lab 1.1. here
Mura's Seamless - Emboss at Alpha here
Toadies - Blast'em here
Graphics Plus - Cross Shadow here
Alien Skin Eye Candy 5 Impact - Glass here
Filters Mura's Seamless, Toadies and Graphics Plus can be used alone or imported into Filters Unlimited.
(How do, you see here)
If a plugin supplied appears with this icon  it must necessarily be imported into Unlimited it must necessarily be imported into Unlimited

You can change Blend Modes according to your colors.

Copy the selections in the Selections Folder.
Copy the mask 20-20 in the Masks Folder.
Open the other masks in PSP and minimize them with the rest of the material.
Colors

1. Open a new transparent image 900 x 570 pixels.
Set your foreground color to #44281e,
and your background color to #f29633.
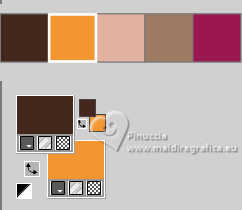
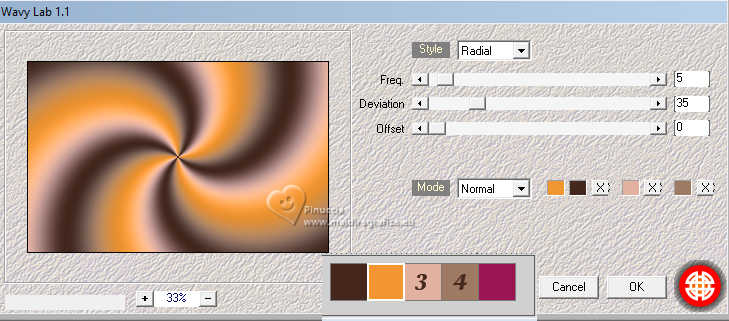
Effects>Plugins>Mehdi - Wavy Lab 1.1
This filter creates gradients with the colors of your Materials palette.
The first is your background color, the second is your foreground color.
Change the last two colors created by the filtre:
the third color with #e2b1a0 and the fourth color with #9e7a62.
3. Adjust>Blur>Gaussian Blur - radius 35.

4. Effects>Image Effects>Seamless Tiling.

5. Layers>Duplicate.
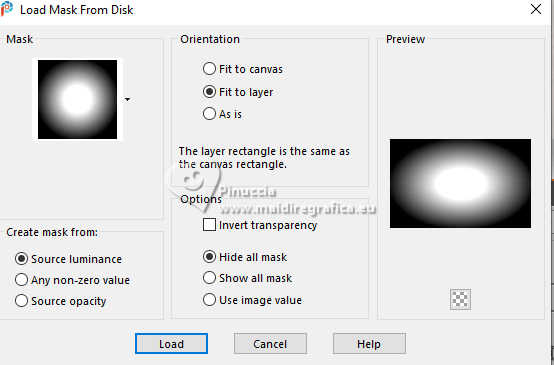
Layers>Load/Save Mask>Load Mask from Disk.
Look for and load the mask 20-20.
Layers>Merge>Merge Group.
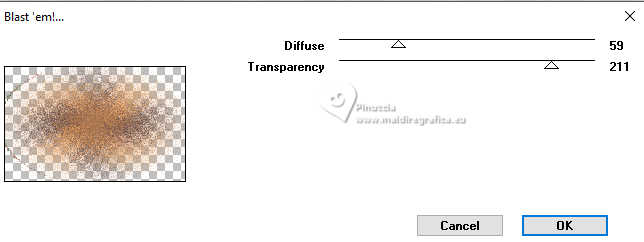
6. Effects>Plugins>Toadies - Blast'em
7. Effects>Image Effects>Seamless Tiling, same settings.

Adjust>Sharpness>Sharpen.
8. Layers>New Raster Layer.
Flood Fill  the layer with your foreground color #44281e the layer with your foreground color #44281e
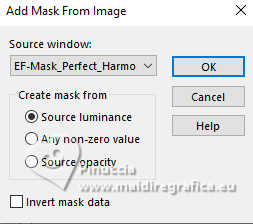
9. Layers>New Mask layer>From image
Open the menu under the source window and you'll see all the files open.
Select the mask EFMaskPerfect_Harmony
Effects>Edge Effects>Enhance.
Layers>Merge>Merge Group.
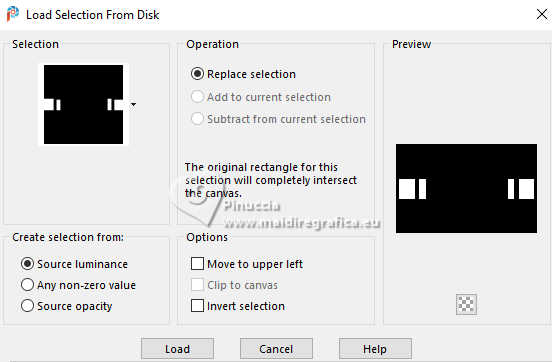
10. Selections>Load/Save Selection>Load Selection from Disk.
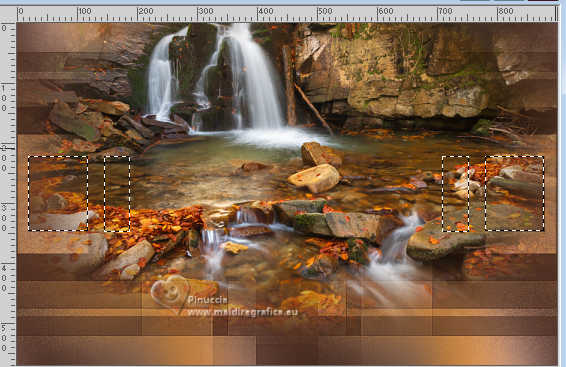
Look for and load the selection Sélection F2 Aut 0
11. Open the landscape's tube mentali-misted2288 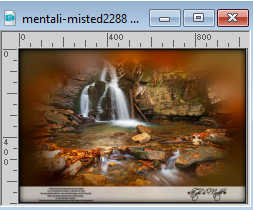
Edit>Copy.
Go back to your work and go to Edit>Paste as new layer.
Place  Place the tube over the selection, with the part you want visible. Place the tube over the selection, with the part you want visible.
12. Selections>Invert.
Press CANC on the keyboard 
13. Selections>Invert.
Layers>Duplicate.
Layers>Merge>Merge Down.
14. Selections>Modify>Select Selection Borders.
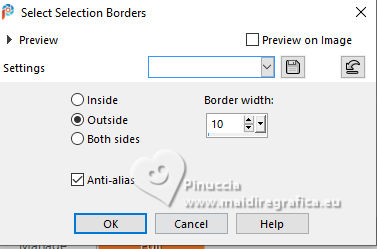
Flood Fill  the selection with your foreground color. the selection with your foreground color.
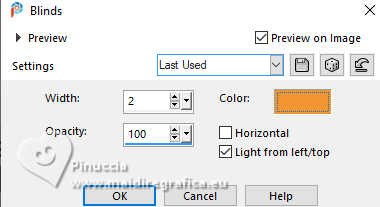
15. Effects>Texture Effects>Blinds - background color.
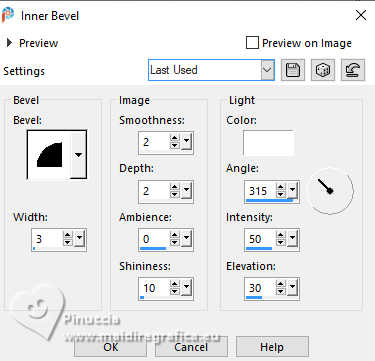
16. Effects>3D Effects>Inner Bevel.
17. Effects>3D Effects>Drop Shadow, color black.
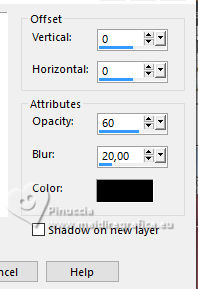
Selections>Select None.
18. Selections>Load/Save Selection>Load Selection from Disk.
Look for and load the selection Sélection F2 Aut 1
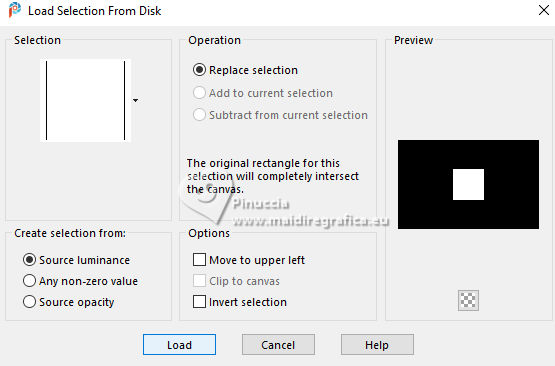
19. Edit>Paste as new layer - the landscape's tube is still in memory.
Image>Resize, to 35%, resize all layers not checked.
Place  correctly the tube. correctly the tube.
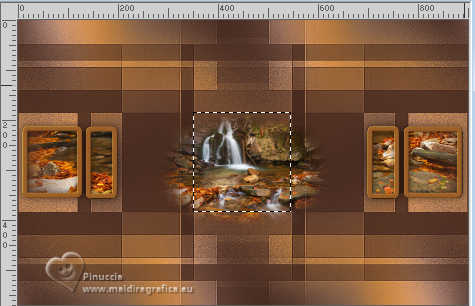
20. Selections>Invert.
Press CANC on the keyboard.
21. Again Selections>Invert.
22. Repeat from 14 to 17
14. Selections>Modify>Select Selection Borders.

Flood Fill  the selection with your foreground color. the selection with your foreground color.
15. Effects>Texture Effects>Blinds - background color.

16. Effects>3D Effects>Inner Bevel.

17. Effects>3D Effects>Drop Shadow, color black.

Selections>Select None.
23. Layers>New Raster Layer.
Selections>Load/Save Selection>Load Selection from Disk.
Look for and load the selection Sélection F2 Aut 2
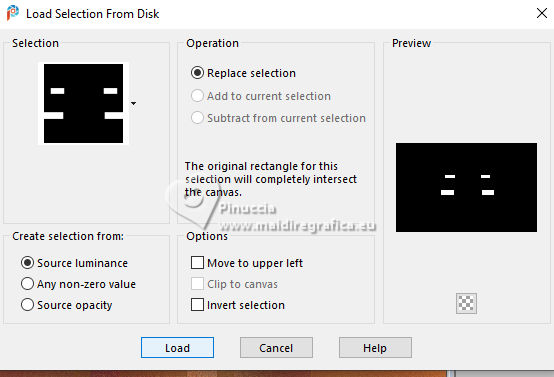
Flood Fill  the selection with your foreground color. the selection with your foreground color.
24. Effects>Texture Effects>Blinds - background color.

25. Effects>Plugins>Graphics Plus - Cross Shadow, default settings.
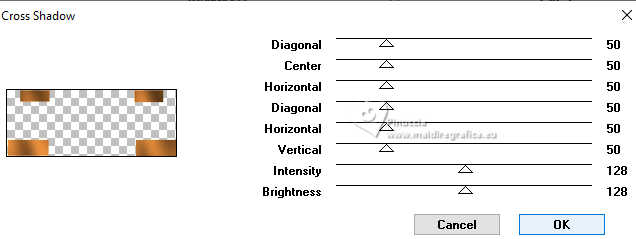
26. Effects>Plugins>Alien Skin Eye Candy 5 Impact - Glass - preset Clear
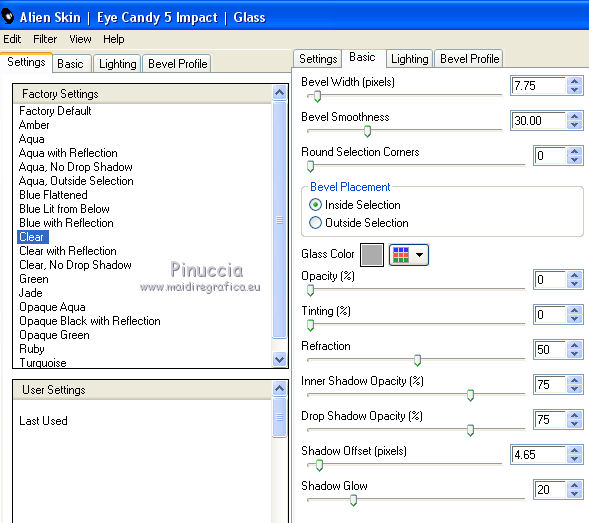
Selections>Select None.
27. Image>Free Rotate - 90 degree to right.

28. K key to activate your Pick Tool 
Position X: 46,00 - Position Y: 110,00.

29. Layers>Duplicate.
Image>Mirror>Mirror horizontal.
Layers>Merge>Merge Down.
30. Effects>3D Effects>Drop Shadow, same settings.

31. Activate the layer Gruppo-Raster 2.
Layers>New Raster Layer.
Set your foreground color to the color 5 #9a1951
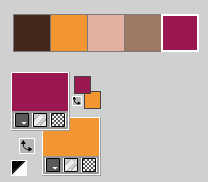
Flood Fill  the layer with the new foreground color. the layer with the new foreground color.
32. Layers>New Mask layer>From image
Open the menu under the source window
and select the mask Mask_BG773
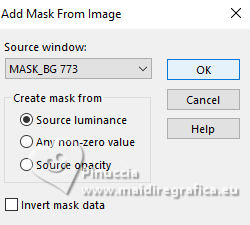
Layers>Merge>Merge Group.
33. Change the Blend Mode of this layer to Screen
and reduce the opacity to 70%.
34. Image>Miroir>Miroir Horizontal.
Effects>Image Effects>Seamless Tiling.

35. Effects>Plugins>Mura's Seamless - Emboss at Alpha, default settings.
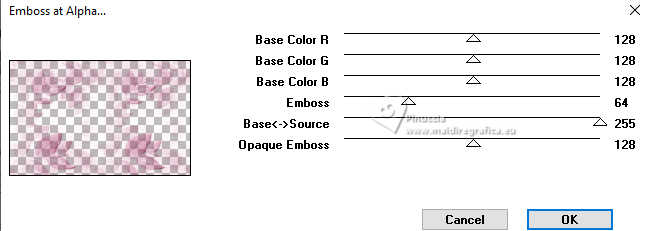
Effects>Edge Effects>Enhance.
36. Activate the layer Raster 1.
Effects>Texture Effects>Straw Wall- color 3 #e2b1a0
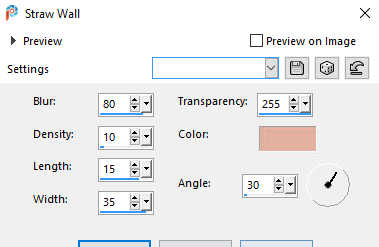
37. Layers>New Raster Layer.
Selections>Select All.
Open déco 1 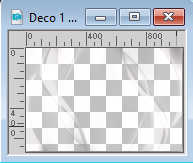
Edit>Copy.
Go back to your work and go to Edit>Paste into Selection.
Selections>Select None.
38. Change the Blend Mode of this layer to Overlay,
and reduce the opacity to 85%.
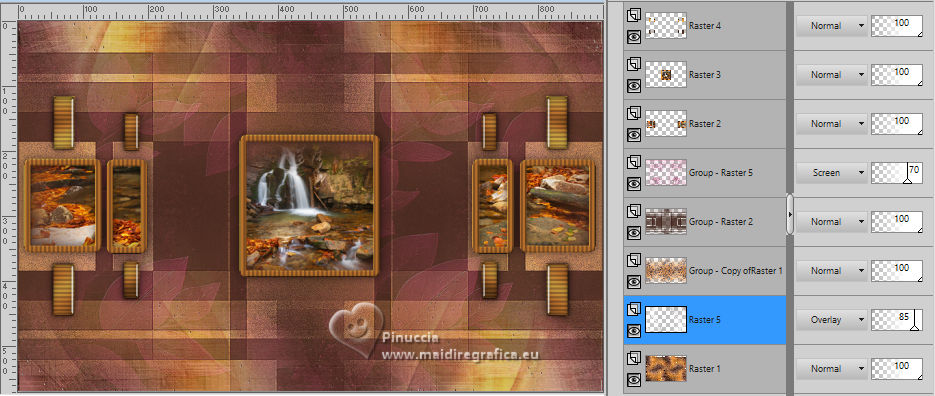
39. Layers>Merge>Merge visible
40. Edit>Copy
41. Set again your foreground color to the first color #44281e.

Image>Add borders, 15 pixels, symmetric, color white.
Image>Add borders, 1 pixels, symmetric foreground color #44281e.
42. Selections>Select All.
Image>Add borders, 15 pixels, symmetric, color white.
Selections>Invert.
Edit>Paste into Selection - image in memory from step 40.
43. Adjust>Blur>Gaussian Blur - radius 20.

44. Adjust>Add/Remove Noise>Add Noise.
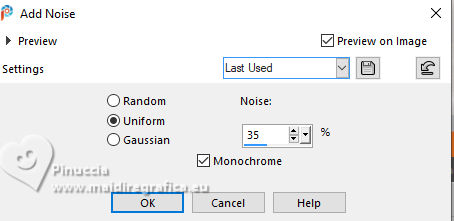
Adjust>Sharpness>Sharpen.
45. Selections>Select All.
Image>Add borders, 25 pixels, symmetric, color white.
46. Effects>3D Effects>Drop Shadow, color black.

Selections>Select None.
47. Open the woman's tube catty creations femme chamarer 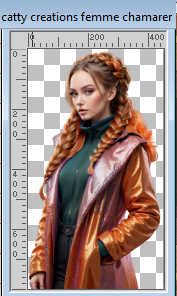
Edit>Copy.
Go back to your work and go to Edit>Paste as new layer.
Image>Resize, to 85%, resize all layers not checked.
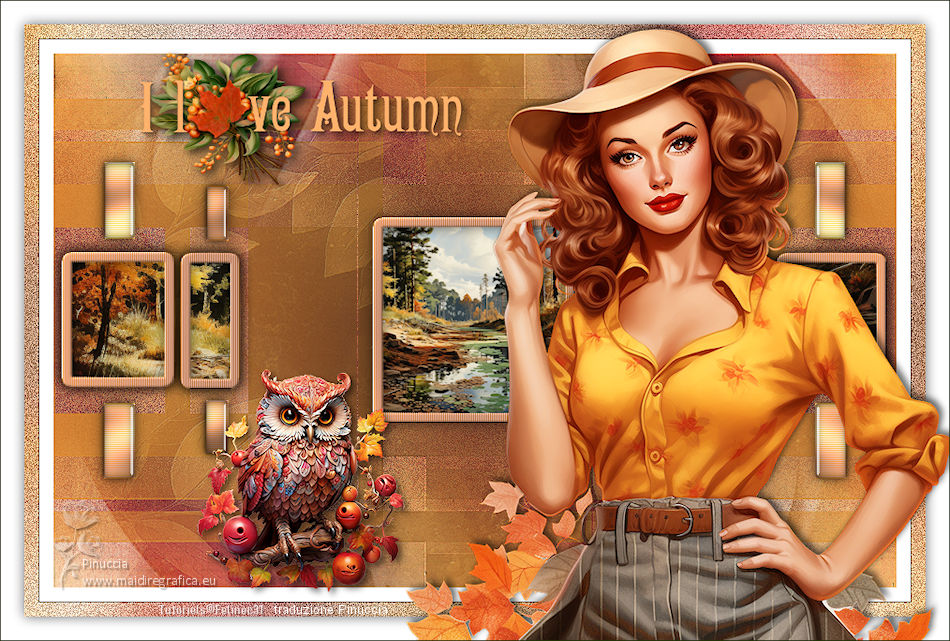
Move  the tube to the right side, see my example. the tube to the right side, see my example.
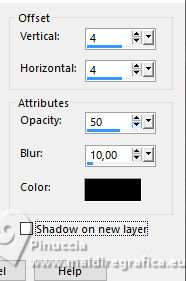
48. Effects>3D Effects>Drop Shadow, color black.

49. Open the text Texte A love Autumn 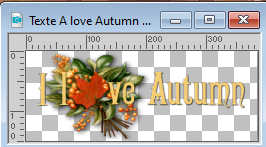
Choose the colored layer or the white one.
Edit>Copy.
Go back to your work and go to Edit>Paste as new layer.
Move  the text at the upper left, see my example. the text at the upper left, see my example.
50. Effects>3D Effects>Drop Shadow, color black.
51. Open the dog's tube Autumn Camping Adriennes Designs 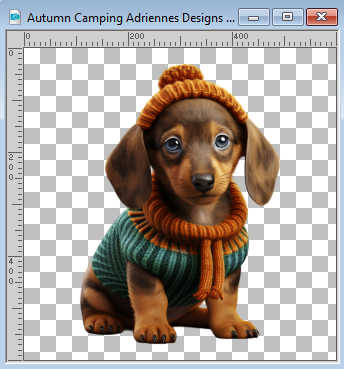
Edit>Copy.
Go back to your work and go to Edit>Paste as new layer.
Image>Resize, to 50%, resize all layers not checked.
Move  the tube as in my example. the tube as in my example.
52. Effects>3D Effects>Drop Shadow, color black.

53. Image>Add borders, 1 pixel, symmetric, foreground color #44281e.
Sign your work.
Image>Resize, 950 pixels width, resize all layers checked.
Save as jpg.
For the tubes of this version thanks Catty and for the landscape Adrienne

If you have problems or doubts, or you find a not worked link, or only for tell me that you enjoyed this tutorial, write to me.
24 September 2024

|

