EVAN
 english version
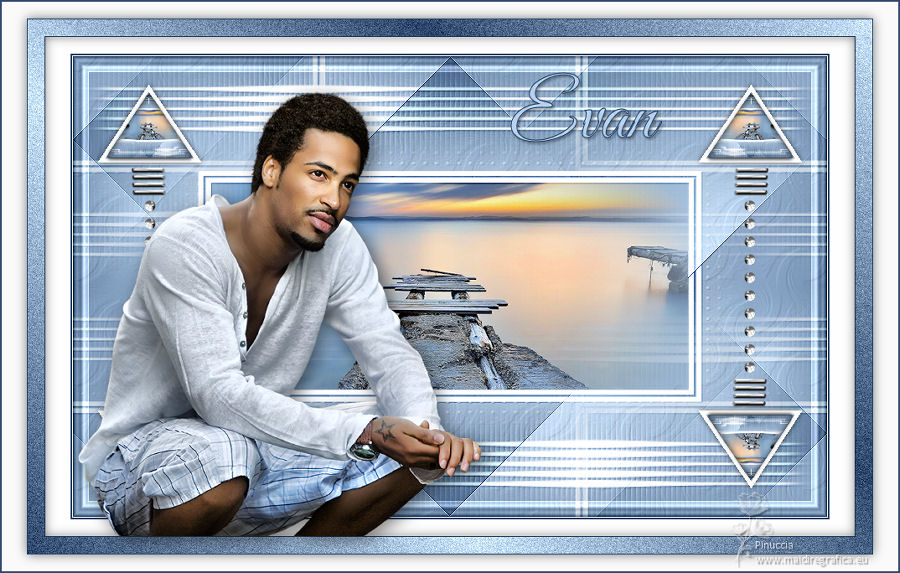
Thanks Carine for your invitation to translate

Clic and move the brush to follow the tutorial.

To print


|
This tutorial was translated with PSPX and PSPX3, but it can also be made using other versions of PSP.
Since version PSP X4, Image>Mirror was replaced with Image>Flip Horizontal,
and Image>Flip with Image>Flip Vertical, there are some variables.
In versions X5 and X6, the functions have been improved by making available the Objects menu.
In the latest version X7 command Image>Mirror and Image>Flip returned, but with new differences.
See my schedule here
 italian translation here italian translation here
 Your versions here Your versions here
Material here
Thanks for the tubes Azyzam and Stephydream and for the mask Sharlimar.
(The links of the tubemakers here).
Plugins
consult, if necessary, my filter section here
Filters Unlimited 2.0 here
Mehdi - Wavy Lab 1.1. here
Simple - Blintz here
Alien Skin Eye Candy 5 Impact - Glass here
Graphics Plus - Cross Shadow here
Mura's Seamless - Emboss at Alpha here
Filters Simple, Graphics Plus and Mura's Seamless can be used alone or imported into Filters Unlimited.
(How do, you see here)
If a plugin supplied appears with this icon  it must necessarily be imported into Unlimited it must necessarily be imported into Unlimited

You can change Blend Modes according to your colors.
In the newest versions of PSP, you don't find the foreground/background gradient (Corel_06_029).
You can use the gradients of the older versions.
The Gradient of CorelX here
Copy the preset  in the folder of the plugin Alien Skin Eye Candy 5 Impact>Settings>Glass. in the folder of the plugin Alien Skin Eye Candy 5 Impact>Settings>Glass.
One or two clic on the file (it depends by your settings), automatically the preset will be copied in the right folder.
why one or two clic see here

Copy the texture in the Textures Folder.
Copy the selection in the Selections Folder.
Open the mask in PSP and minimize it with the rest of the material.
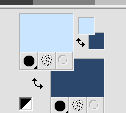
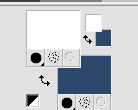
1. Set your foreground color to #cae5ff,
and your background color to #2d476c.
Open a new transparent image 900 x 550 pixels.
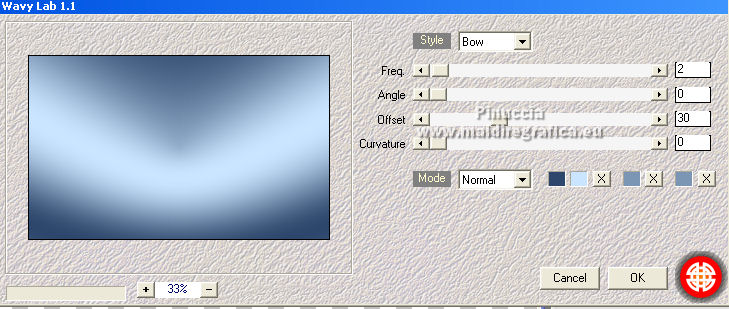
2. Effects>Plugins>Mehdi - Wavy Lab 1.1.
This filters creates gradients with the colors of your Materials palette.
The first is your background color, the second is your foreground color.
Keep the last two colors created by the filtre:
3. Adjust>Blur>Gaussian Blur - radius 30.

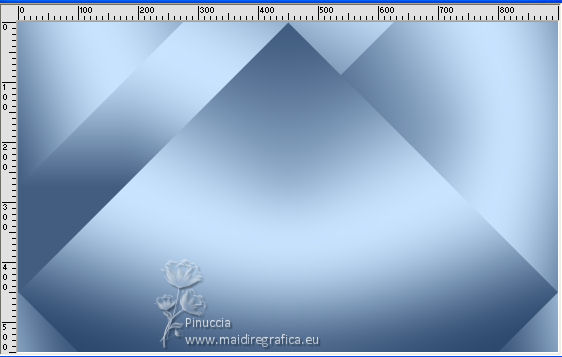
4. Effects>Plugins>Simple - Blintz.
Edit>Repeat Blintz.
This effect works without window: result
5. Layers>Duplicate.
Image>Mirror.
Image>Flip.
Reduce the opacity of this layer to 50%.
6. Layers>Merge>Merge Down.
Effects>Edge Effects>Enhance.
7. Set your foreground color to color white.
Layers>New Raster Layer, Raster 2.
Flood Fill  the layer with color white. the layer with color white.
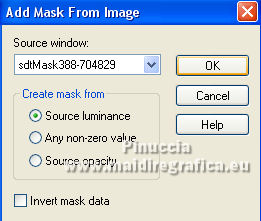
8. Layers>New Mask layer>From image
Open the menu under the source window and you'll see all the files open.
Select the mask sdtMask388-704829.
Layers>Merge>Merge Group.
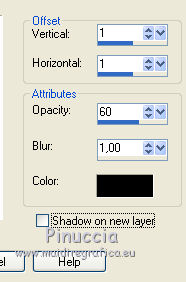
9. Effects>3D Effects>Drop Shadow, color black.
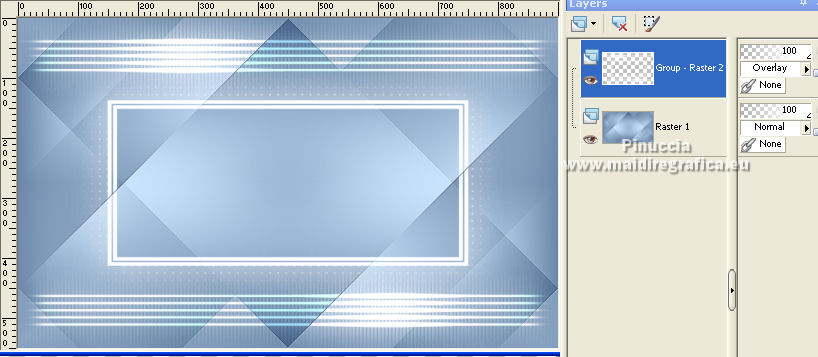
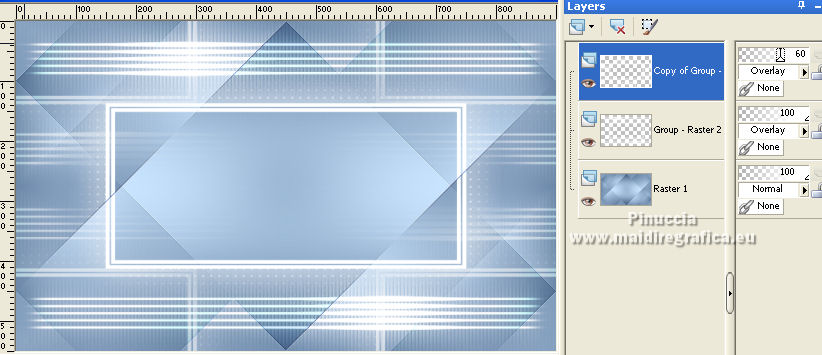
10. Change the Blend Mode of this layer to Overlay.
11. Layers>Duplicate.
Effects>Image Effects>Seamless Tiling, default settings.

12. Keep the Blend Mode to Overlay and reduce the opacity to 60%.
13. Activate the bottom layer, Raster 1.
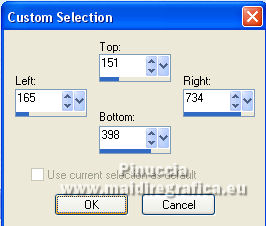
Selection Tool 
(no matter the type of selection, because with the custom selection your always get a rectangle)
clic on the Custom Selection 
and set the following settings.
Selections>Promote Selection to layer.
14. Adjust>Blur>Gaussian Blur - radius 20.

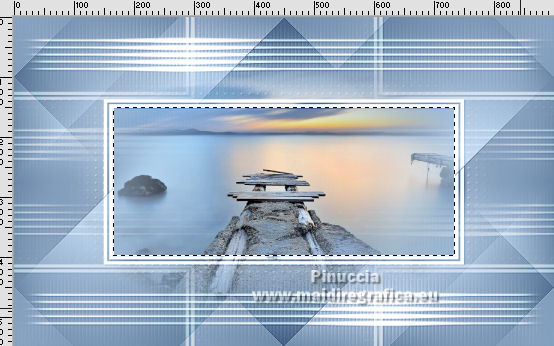
15. Open the landscape tube by StephyDream, erase the watermark and go to Edit>Copy.
Go back to your work and go to Edit>Paste as new layer.
Image>Resize, to 80%, resize all layers not checked.
Place  the tube in the selection the tube in the selection
16. Selections>Invert.
Press CANC on the keyboard 
Selections>Select None.
17. Layers>Duplicate (this depend on you tube)
Layers>Merge>Merge Down - 2 time.
18. Activate the layer Raster 1.
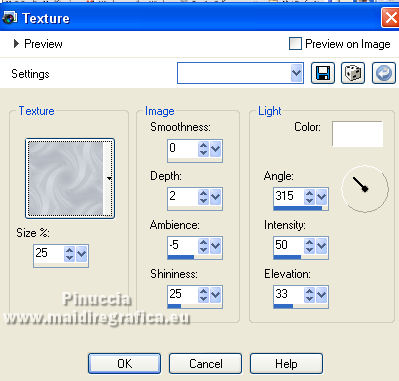
Effects>Texture Effects>Texture - select the texture hgmitte.
19. Layers>Merge>Merge visible.
20. Edit>Copy.
for caution Edit>Paste as new image, and minimize this image
21. Go back to your work.
Layers>New Raster Layer.
Selections>Load/Save Selection>Load Selection from Disk.
Look for and load the selection Sélection 1.
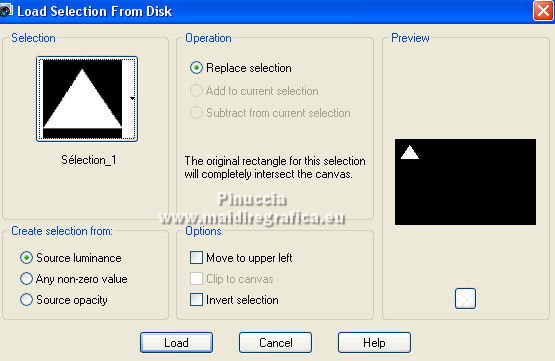
Flood Fill  the layer with color white. the layer with color white.
22. Selections>Modify>Contract - 5 pixels.
Press CANC on the keyboard.
Edit>Paste into Selection (the image in memory from step 20).
23. Effects>Plugins>Alien Skin Eye Candy 5 Impact - Glass.
Select the preset Glass_triangle and ok.
Here below the settings, in case of problems with the preset.
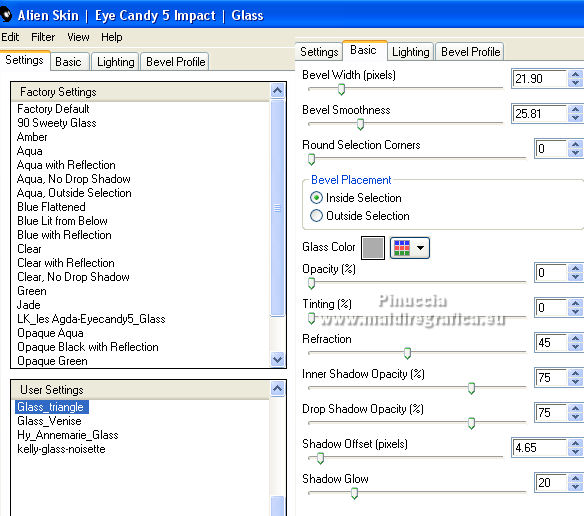
Selections>Select None.
24. Layers>Duplicate.
Image>Flip.
Layers>Merge>Merge Down.
25. Layers>Duplicate.
Image>Mirror.
Layers>Merge>Merge Down.
26. Effects>3D Effects>Drop Shadow, color black.
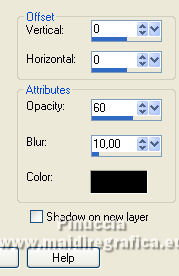
27. Open the tube Déco 1 and go to Edit>Copy.
Go back to your work and go to Edit>Paste as new layer.
K key to activate your Pick Tool 
and set Position X: 69,00 and Position Y: 132,00.

28. Layers>Duplicate.
Image>Mirror.
Layers>Merge>Merge visible.
29. Effects>Plugins>Filters Unlimited 2.0 - Button's & Frames - Glass Frame 2.
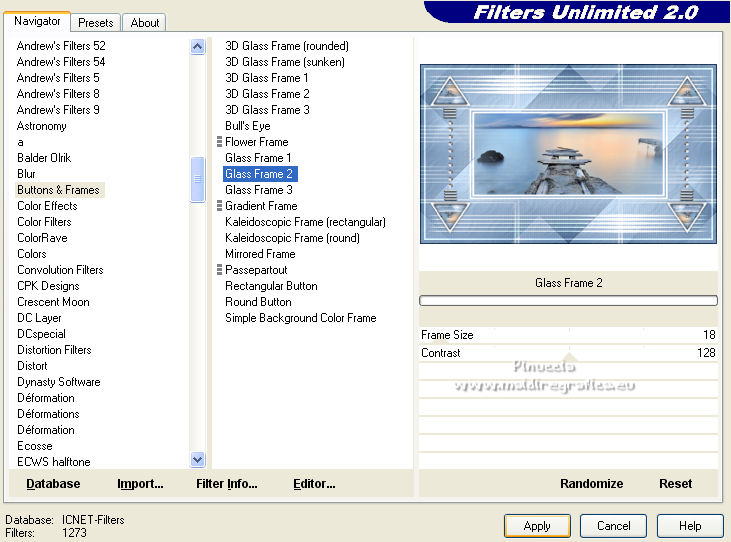
30. Note for the frame:
If you don't want to make the frame, you find it in the material.
Copy your work: Edit>Copy.
Open the tube cadre and go to Edit>Paste into Selection.
Selections>Select None.
Continue to step 31.
*****
To make the frame:
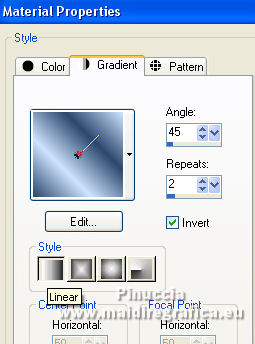
Set again your foreground color to #cae5ff,
Set your foreground color to a Foreground/Background Gradient, style Linear.
1. Image>Add borders, 1 pixel, symmetric, color white.
Image>Add borders, 2 pixels, symmetric, background color.
Image>Add borders, symmetric not checked, color white.
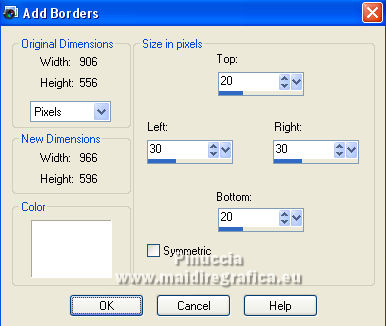
2. Image>Add borders, 1 pixel, symmetric, background color.
Selections>Select All.
Image>Add borders, 20 pixels, symmetric, color white.
3. Selections>Invert.
Flood Fill  the selection with your Gradient. the selection with your Gradient.
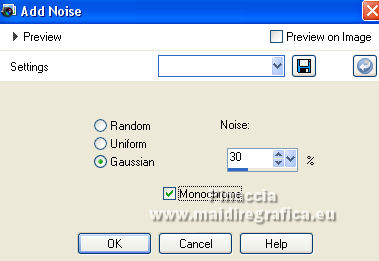
4. Adjust>Add/Remove Noise>Add Noise.
5. Effects>Plugins>Graphic Plus - Cross Shadow, default settings.

Effects>Plugins>Mura's Seamless - Emboss at Alpha, default settings.

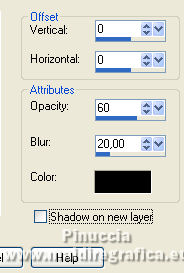
6. Effects>3D Effects>Drop Shadow, color black.
7. Image>Add borders, 1 pixel, symmetric, background color.
8. Selections>Select All.
Image>Add borders, symmetric not checked, same settings.
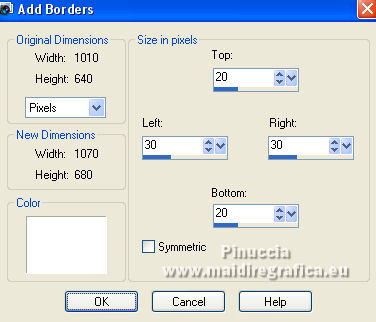
non selezionato, con i settaggi precedenti.
Effects>3D Effects>Drop Shadow, same settings.
Selections>Select None.
9. Image>Add borders, 1 pixel, symmetric, background color.
*****
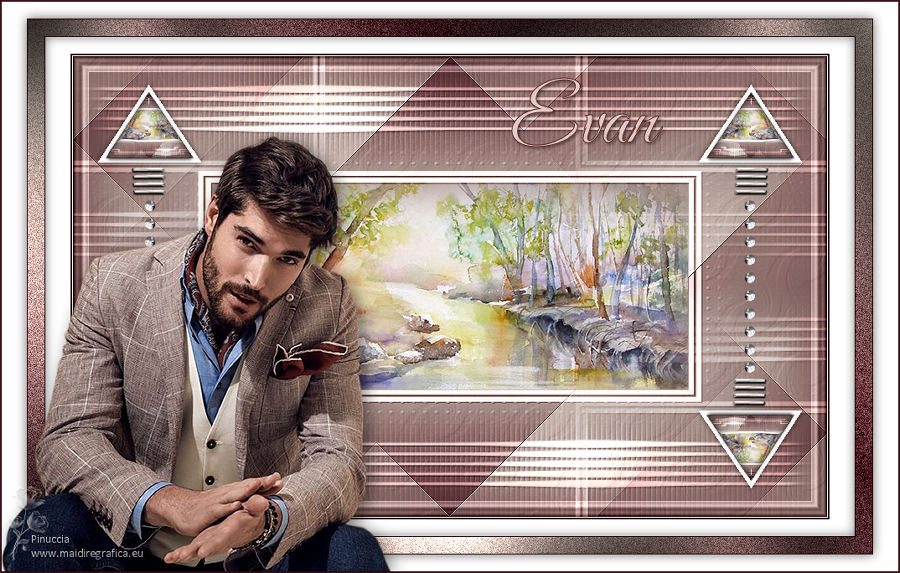
31. Open the man tube by Azyzam and go to Edit>Copy.
Go back to your work and go to Edit>Paste as new layer.
Image>Resize, to 90%, resize all layers not checked.
32. Pick Tool 
and set Position X: 90,00 and Position Y: 106,00.

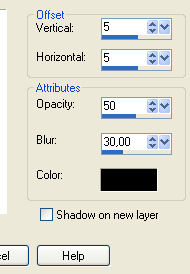
33. Effects>3D Effects>Drop Shadow, color black.
34. Open the text Evan and go to Edit>Copy.
Go back to your work and go to Edit>Paste as new layer.
Move  the text at the upper right. the text at the upper right.
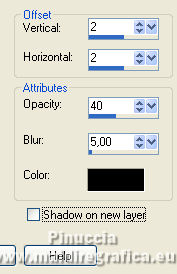
35. Effects>3D Effects>Drop Shadow, color black.
36. Sign your work on a new layer.
37. Image>Add borders, 1 pixel, symmetric, background color.
38. Image>Resize, 900 pixels width, resize all layers checked.
Save as jpg.

If you have problems or doubts, or you find a not worked link, or only for tell me that you enjoyed this tutorial, write to me.
5 May 2022

|
