DOUCEUR HIVERNALE
 english version

Thanks Carine for your invitation to translate

Clic and move the brush to follow the tutorial.

To print


|
This tutorial was translated with PSPX and PSPX3, but it can also be made using other versions of PSP.
Since version PSP X4, Image>Mirror was replaced with Image>Flip Horizontal,
and Image>Flip with Image>Flip Vertical, there are some variables.
In versions X5 and X6, the functions have been improved by making available the Objects menu.
In the latest version X7 command Image>Mirror and Image>Flip returned, but with new differences.
See my schedule here
 italian translation here italian translation here
 your versions here your versions here
Material here
Thanks: for the tubes Cibi-Bijoux and Jan
(The links of the tubemakers here).
Plugins
consult, if necessary, my filter section here
Filters Unlimited 2.0 here
Alien Skin Eye Candy 5 Impact - Bevel, Extrude here
Graphics Plus - Cross Shadow here
Carolaine and Sensibility - CS_Texture here
Filters Graphics Plus can be used alone or imported into Filters Unlimited.
(How do, you see here)
If a plugin supplied appears with this icon  it must necessarily be imported into Unlimited it must necessarily be imported into Unlimited

You can change Blend Modes according to your colors.
Copy the presets  in the folders of the plugins Alien Skin Eye Candy 5 Impact>Settings>Bevel/Extrude. in the folders of the plugins Alien Skin Eye Candy 5 Impact>Settings>Bevel/Extrude.
One or two clic on the file (it depends by your settings), automatically the preset will be copied in the right folder.
why one or two clic see here
Copy the Selections in the Selections Folder.
Open the masks in PSP and minimize them with the rest of the material.
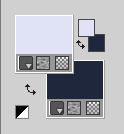
1. Set your foreground color to #e0e3f6,
and your background color to #21293d.
2. Open a new transparent image 950 x 550 pixels.
Flood Fill  with your background color #21293d. with your background color #21293d.
3. Layers New Raster Layer.
Flood Fill  with your foreground color #e0e3f6. with your foreground color #e0e3f6.
4. Layers>New Mask layer>From image
Open the menu under the source window and you'll see all the files open.
Select the mask Narah_mask_0425.
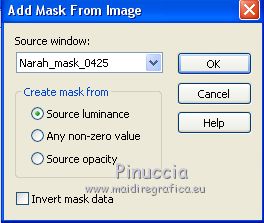
Layers>Merge>Merge Group.
5. Adjust>Add/Remove Noise>Add Noise.
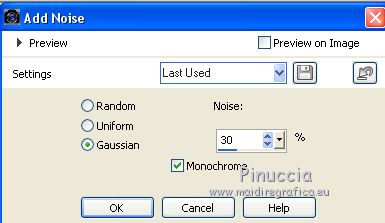
Adjust>Sharpness>Sharpen.
6. Layers>Merge>Merge Down.
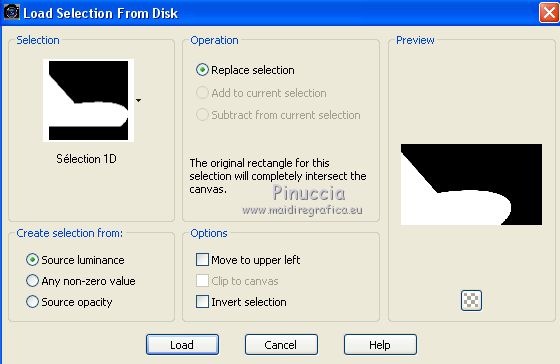
7. Selections>Load/Save Selection>Load Selection from Disk.
Look for and load the selection sélection 1D.
8. Effects>Plugins>Carolaine and Sensibility - CS_Texture.
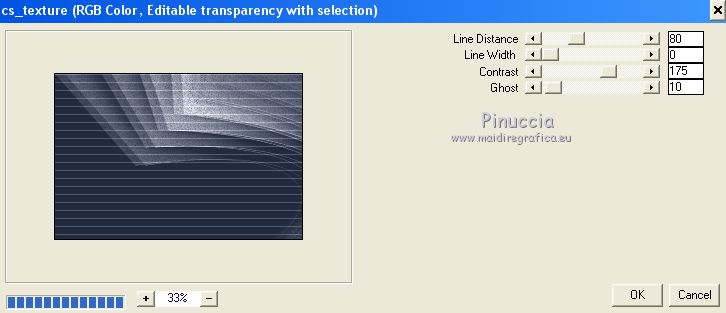
Selections>Select None.
9. Set your foreground color to white.
Layers>New Raster Layer.
Flood Fill  the layer with color white. the layer with color white.
10. Layers>New Mask layer>From image
Open the menu under the source window
and select the mask Narah_mask_1572.
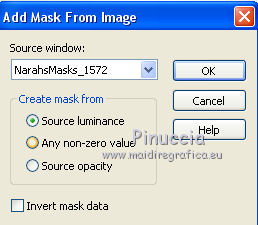
Layers>Merge>Merge Group.
11. Layers>New Raster Layer.
Selections>Load/Save Selection>Load Selection from Disk.
Look for and load the selection sélection 2D.
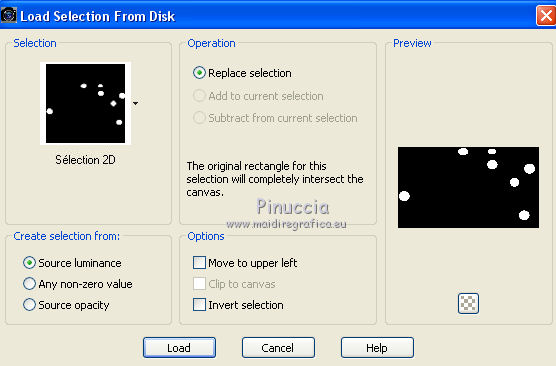
Reduce the opacity of your Flood Fill Tool to 50%.
Flood Fill  the selection with color white. the selection with color white.
12. Effects>Plugins>Alien Skin Eye Candy 5 Impact - Bevel.
Select the preset Bevel_1d and ok.
Here below the settings, in case of problems with the preset.
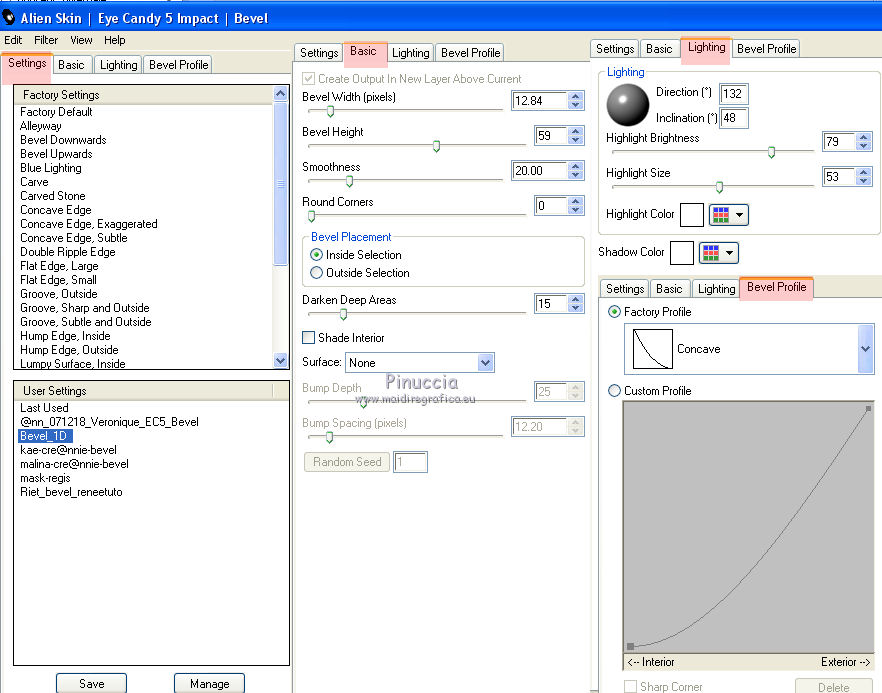
Selections>Select None.
Set again the opacity of your Flood Fill Tool to 100.
13. Layers>Merge>Merge visible.
14. Effects>Plugins>Graphics Plus - Cross Shadow.
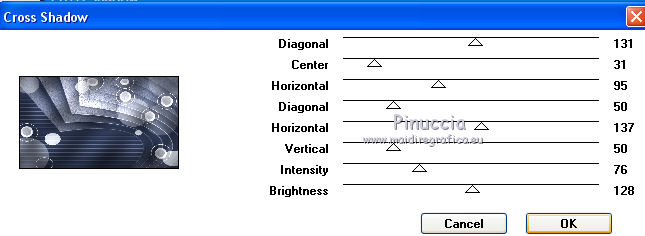
15. Layers>New Raster Layer, Raster 1.
Selection Tool 
(no matter the type of selection, because with the custom selection your always get a rectangle)
clic on the Custom Selection 
and set the following settings.
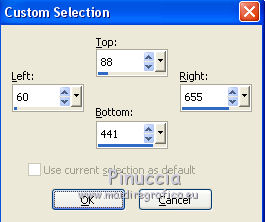
Flood Fill  the selection with color white. the selection with color white.
16. Selections>Modify>Contract - 15 pixels.
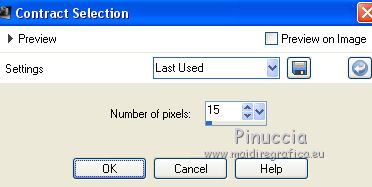
Press CANC on the keyboard 
Set again the opacity of your Flood Fill Tool to 50
Flood Fill  la selezione con il colore bianco. la selezione con il colore bianco.
17. Selections>Modify>Contract - 10 pixels.

Press CANC on the keyboard.
Set again the opacity of your Flood Fill Tool to 100.
Flood Fill  the selection with your background color. the selection with your background color.
18. Selections>Modify>Contract - 2 pixels.
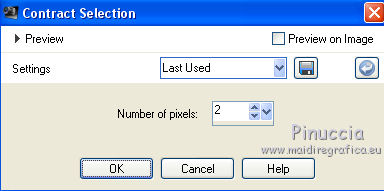
Press CANC on the keyboard.
Selections>Select None.
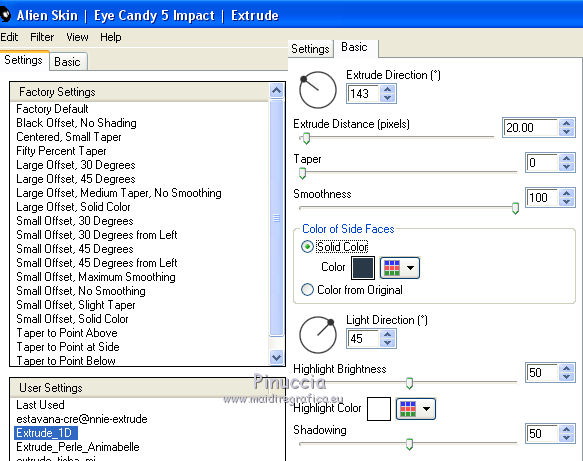
19. Effects>Plugins>Alien Skin Eye Candy 5 Impact - Extrude.
Select the preset Extrude_1D and ok.
Here below the settings, in case of problems with the preset,
background color #252b39.
20. Activate your Magic Wand Tool 
and click in the frame to select it.
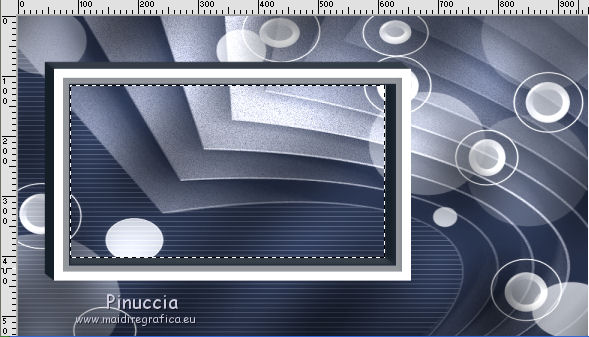
21. Selections>Modify>Expand - 2 pixels.
Activate the layer Merged.
Selections>Promote Selection to layer.
22. Adjust>Blur>Gaussian Blur - radius 30.

Selections>Select None.
23. Open the landscape tube by Thafs and go to Edit>Copy.
Go back to your work and go to Edit>Paste as new layer.
Image>Resize, to 65%, resize all layers not checked.
Place  the tube in the frame. the tube in the frame.
24. Adjust>Brightness and Contrast>Brightness and Contrast (optional, according to your tube).
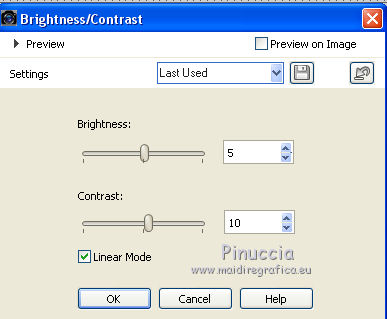
Adjust>Sharpness>Sharpen.
25. Activate the top layer of the frame.
Layers>Merge>Merge Down - 2 times.
26. Effects>3D Effects>Drop Shadow, color black.
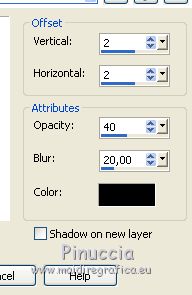
27. Image>Add borders, 1 pixel, symmetric, background color.
Image>Add borders, 2 pixels, symmetric, color white.
Image>Add borders, 2 pixels, symmetric, background color.
28. Selections>Select All.
Image>Add borders, 45 pixels, symmetric, color white.
29. Effects>3D Effects>Drop Shadow, same settings.

Selections>Select None.
30. Open Cadre and go to Edit>Copy.
Go back to your work and go to Edit>Paste as new layer.
Don't move it.
31. Open the woman tube by Maryse, erase the watermark go to Edit>Copy.
Go back to your work and go to Edit>Paste as new layer.
Image>Resize, to 70%, resize all layers not checked.
Place  the tube as below the tube as below
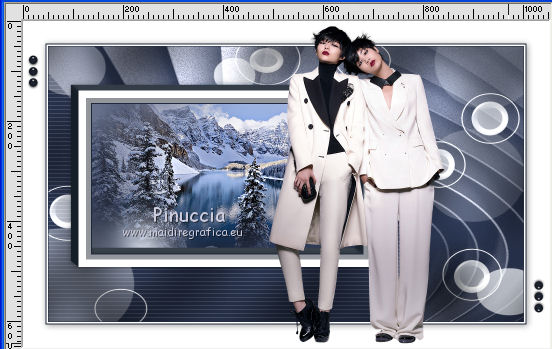
32. Effects>3D Effects>Drop Shadow, same settings.

33. Open the text Douceur Hivernal go to Edit>Copy.
Go back to your work and go to Edit>Paste as new layer.
Move  the text at the bottom left. the text at the bottom left.
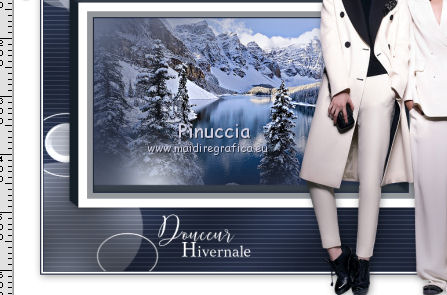
34. Layers>Duplicate.
Effects>Distortion Effect>Wind, from the left, intensity 100.

35. Activate the layer below of the original.
Effects>3D Effects>Drop Shadow, color black.
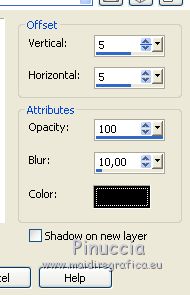
36. Image>Add borders, 1 pixel, symmetric, background color.
Image>Add borders, 2 pixels, symmetric, color white.
Image>Add borders, 2 pixels, symmetric, background color.
Adjust>Sharpness>Sharpen (optional).
37. Sign your work.
Image>Resize, 900 pixels width, resize all layers checked.
Save as jpg.
Version with tubes by Tigre Blanc and Luz Cristina


If you have problems or doubts, or you find a not worked link, or only for tell me that you enjoyed this tutorial, write to me.
6 January 2021
|
