ANGELINE
 english version
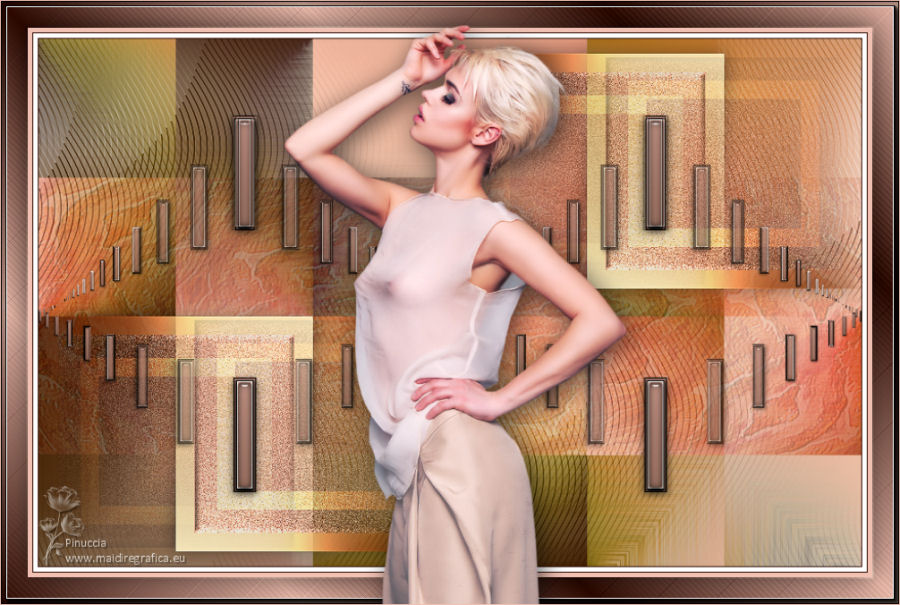
Thanks Carine for your invitation to translate

Clic and move the brush to follow the tutorial.

To print


|
This tutorial was translated with PSPX and PSPX3, but it can also be made using other versions of PSP.
Since version PSP X4, Image>Mirror was replaced with Image>Flip Horizontal,
and Image>Flip with Image>Flip Vertical, there are some variables.
In versions X5 and X6, the functions have been improved by making available the Objects menu.
In the latest version X7 command Image>Mirror and Image>Flip returned, but with new differences.
See my schedule here
 italian translation here italian translation here
 your versions here your versions here
Material here
Thanks: for the tube Babette
(The links of the tubemakers here).
Plugins
consult, if necessary, my filter section here
Mehdi - Sorting Tiles here
Mehdi - Wavy Lab 1.1 here
Toadies - Blast em here
Filters Unlimited 2.0 here
Filters Toadies can be used alone or imported into Filters Unlimited.
(How do, you see here)
If a plugin supplied appears with this icon  it must necessarily be imported into Unlimited it must necessarily be imported into Unlimited

You can change Blend Modes according to your colors.

Copy the preset Emboss 3 in the Presets Folder.
Copy the Selections in the Selections Folder.
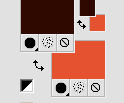
1. Set your foreground color to #300b02,
and your backgorund color to #df533c.
2. Open a new transparent image 900 x 570 pixels.
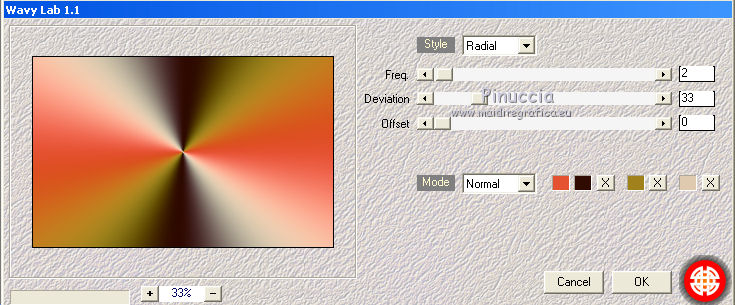
3. Effects>Plugins>Mehdi - Wavy Lab 1.1.
This filters creates gradients with the colors of your Materials palette.
The first is your background color, the second is your foreground color.
Change the last two colors created by the filtre:
the third color with #a1811c and the forth color with #dfcaaf.
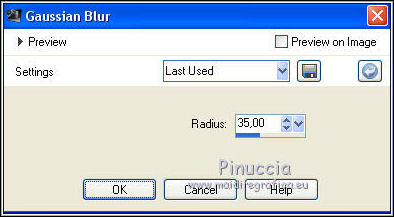
4. Adjust>Blur>Gaussian Blur - radius 35.
5. Effects>Image Effects>Seamless Tiling.
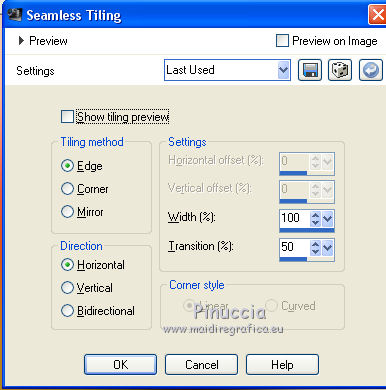
6. Layers>Duplicate.
Image>Mirror.
7. Effects>Plugins>Toadies - Blast'Em...
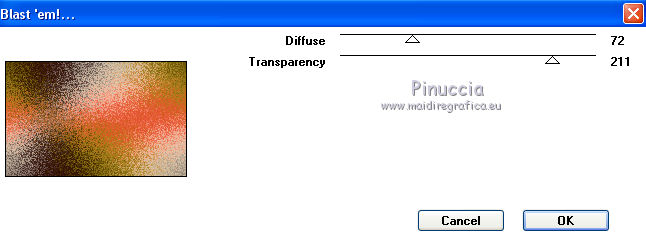
8. Reduce the opacity of this layer to 90%.
Layers>Merge>Merge Down.
9. Effects>Plugins>Mehdi - Sorting Tiles.
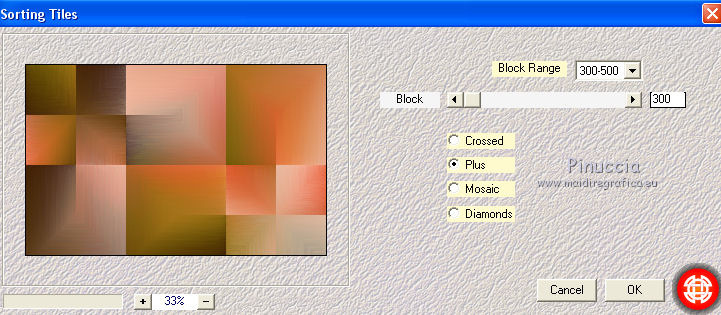
10. Selections>Load/Save Selection>Load Selection from Disk.
Look for and load the selection Sélection#1.

Selections>Promote Selection to Layer.
11. Adjust>Blur>Gaussian Blur - radius 35.

12. Layers>New Raster Layer, Raster 2.
Set your foreground color to #f6e2ad.
Flood Fill  the layer with your foreground color. the layer with your foreground color.
13. Selections>Modify>Contract - 20 pixels.
Press CANC on the keyboard 
14. Selections>Modify>Contract - 25 pixels.
Flood Fill  the selection with your foreground color #f6e2ad. the selection with your foreground color #f6e2ad.
15. Selections>Modify>Contract - 20 pixels.
Press CANC on the keyboard.
Selections>Select None.
16. Change the Blend Mode of this layer to Overlay.
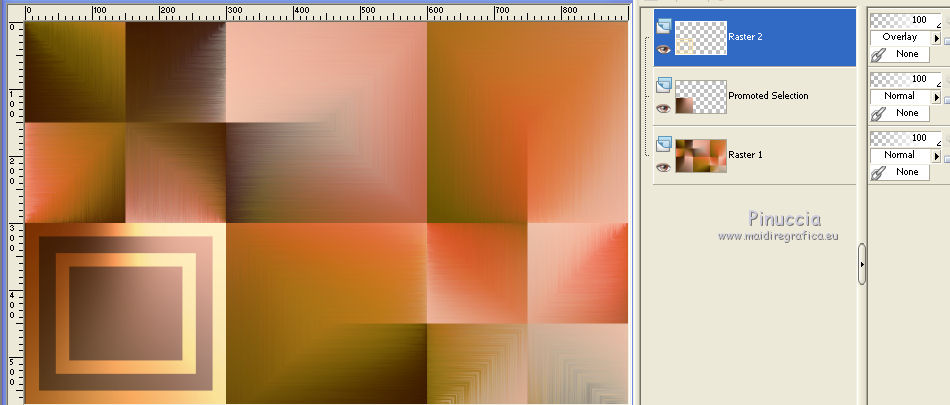
17. Layers>Merge>Merge Down.
18. Selections>Load/Save Selection>Load Selection from Disk.
Look for and load the selection Sélection#2.
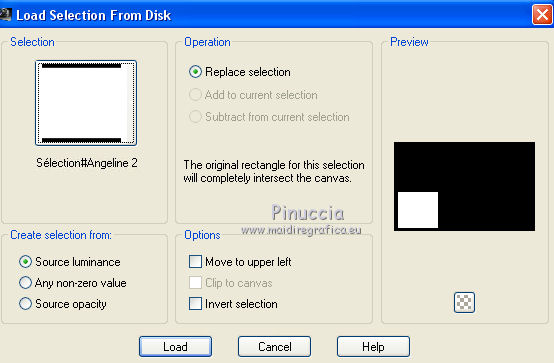
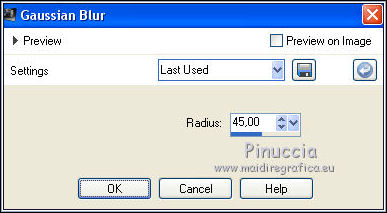
19. Adjust>Blur>Gaussian Blur - radius 45.
20. Effects>3D Effects>Inner Bevel.
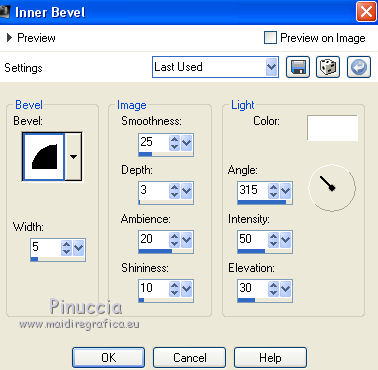
Selections>Select None.
21. Effects>3D Effects>Drop Shadow, color black.
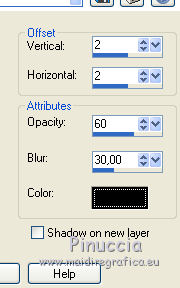
22. Effects>Image Effects>Seamless Tiling.

23. Layers>Duplicate.
Image>Mirror.
Image>Flip.
Layers>Merge>Merge Down.
Adjust>Sharpness>Sharpen.
24. Open deco 1 and go to Edit>Copy.
Go back to your work and go to Edit>Paste as new layer.
24. Activate your Pick Tool 
and set Position X: 212,00 et Position Y: 83,00.

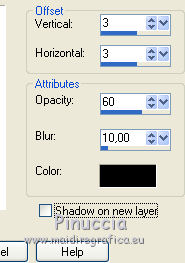
25. Effects>3D Effects>Drop Shadow, color black.
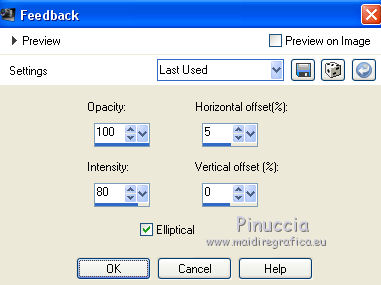
26. Effects>Reflection Effects>Feedback.
27. Layers>Duplicate.
Image>Mirror.
Layers>Merge>Merge Down.
28. Effects>Image Effects>Seamless Tiling.

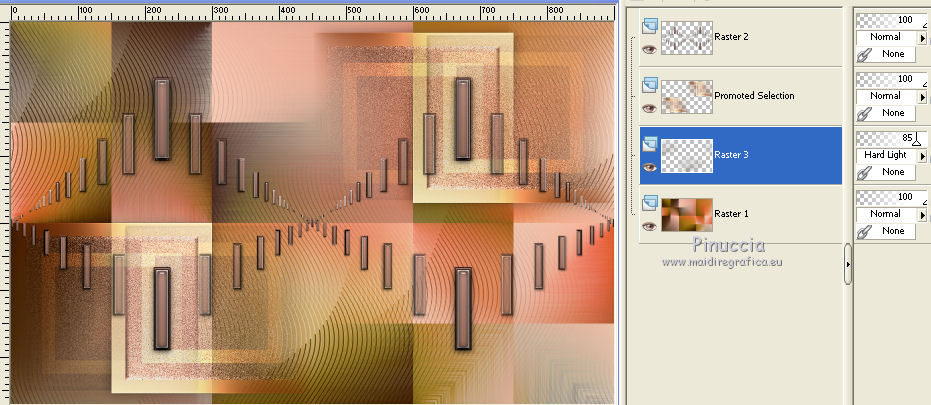
29. Activate the bottom layer Raster 1.
Open déco 2 and go to Edit>Copy.
Go back to your work and go to Edit>Paste as new layer.
30. Change the Blend Mode of this layer to Hard light and reduce the opacity to 85%.
31. Layers>New Raster Layer, Raster 4.
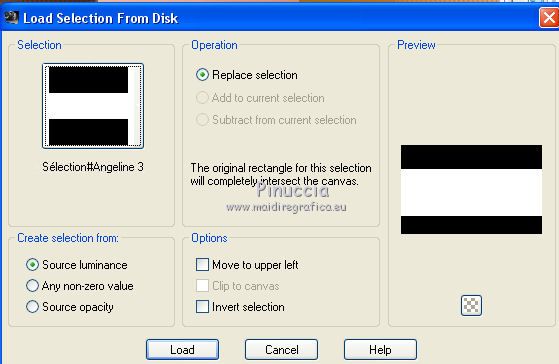
Selections>Load/Save Selection>Load Selection from Disk.
Look for and load the selection Sélection#3.
32. Open déco 3 and go to Edit>Copy.
Go back to your work and go to Edit>Paste into selection.
33. Effects>User Defined Filters, select the preset Emboss 3 and ok.

34. Reduce the opacity of this layer to 65%.

Selections>Select None.
35. Image>Add borders, 1 pixel, symmetric, color #300b02.
Image>Add borders, 5 pixels, symmetric, color white.
Image>Add borders, 1 pixel, symmetric, color #300b02.
Image>Add borders, 5 pixels, symmetric, color #f1c2b4.
36. Edit>Copy.
37. Open cadre, which is selected.
Edit>Paste into Selection.
38. Effects>3D Effects>Drop Shadow, color black.
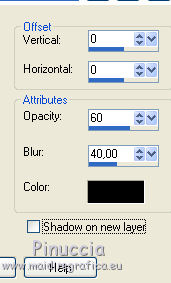
Selections>Select None.
39. Open the woman tube by Babette, erase the watermark and go to Edit>Copy.
Go back to your work and go to Edit>Paste as new layer.
Image>Mirror.
Image>Resize, to 78%, resize all layers not checked.
Place  rightly the tube. rightly the tube.
40. Effects>3D Effects>Drop Shadow, color black.
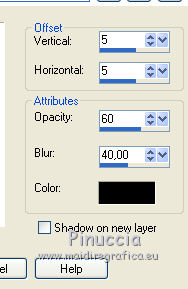
41. Image>Add borders, 1 pixel, symmetric, color #f1c2b4.
Adjust>Sharpness>Sharpen (optional).
42. Sign your work.
Image>Resize, 900 pixels width, resize all layers checked.
Save as jpg.
Version with tube by Karine
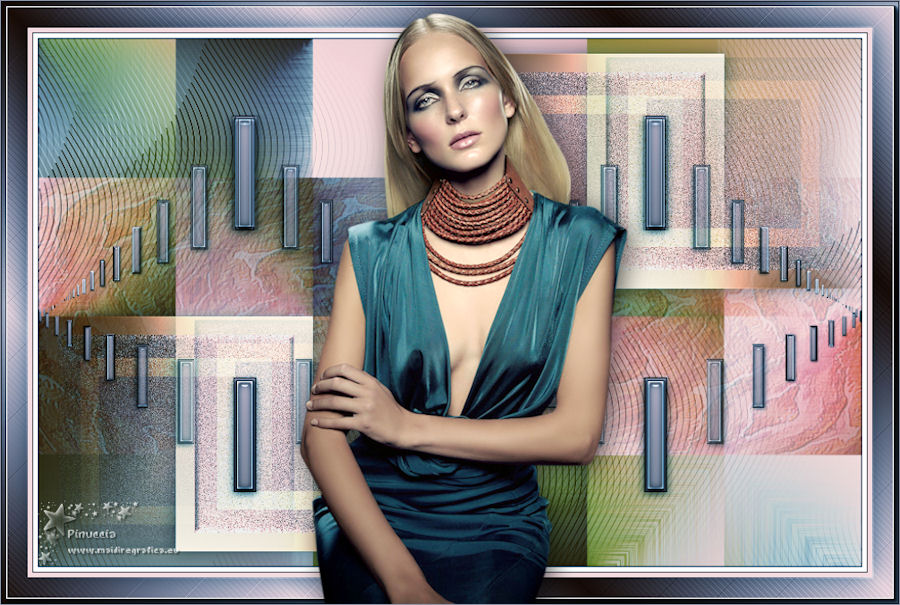

Le vostre versioni. Grazie
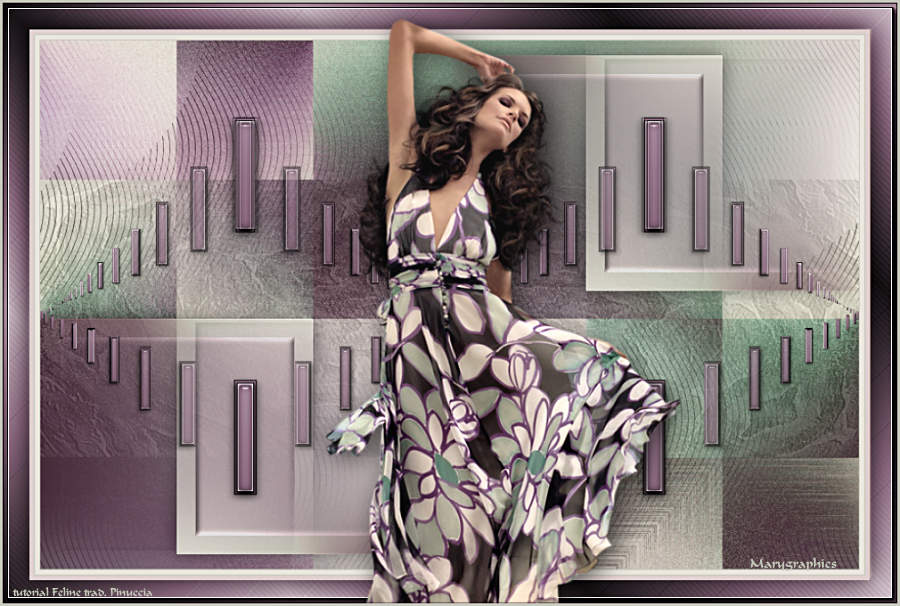
Marygraphics

If you have problems or doubts, or you find a not worked link, or only for tell me that you enjoyed this tutorial, write to me.
21 October 2021

|

