ABSTRAIT
 english version

Thanks Carine for your invitation to translate

Clic and move the brush to follow the tutorial.

To print


|
This tutorial was translated with PSPX and PSPX3, but it can also be made using other versions of PSP.
Since version PSP X4, Image>Mirror was replaced with Image>Flip Horizontal,
and Image>Flip with Image>Flip Vertical, there are some variables.
In versions X5 and X6, the functions have been improved by making available the Objects menu.
In the latest version X7 command Image>Mirror and Image>Flip returned, but with new differences.
See my schedule here
 italian translation here italian translation here
Material here
Thanks for the tubes Gabry and Thafs.
(The links of the tubemakers here).
Plugins
consult, if necessary, my filter section here
Carolaine and Sensibility - CS-HLines, CS-LDots here
Mehdi - Wavy Lab 1.1. here
VM Distortion - Radial Pox here
Mura's Seamless - Emboss at Alpha here
FM Tile Tools - Blend Emboss here
Simple - Top Left Mirror here
Filters Unlimited 2.0 here
Filters VM Distortion, Simple and Mura's Seamless can be used alone or imported into Filters Unlimited.
(How do, you see here)
If a plugin supplied appears with this icon  it must necessarily be imported into Unlimited it must necessarily be imported into Unlimited

You can change Blend Modes according to your colors.
In the newest versions of PSP, you don't find the foreground/background gradient (Corel_06_029).
You can use the gradients of the older versions.
The Gradient of CorelX here

Copy the Selections in the Selections Folder.
1. Set your foreground color to #2f76aa,
and your backgorund color to #ebef5c.
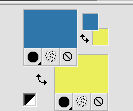
2. Open a new transparent image 900 x 570 pixels.
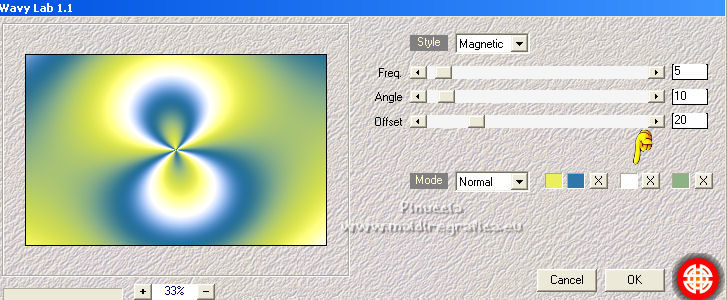
3. Effects>Plugins>Mehdi - Wavy Lab 1.1.
This filters creates gradients with the colors of your Materials palette.
The first is your background color, the second is your foreground color.
Of the last two colors created by the filtre, change the third with color #ffffff.
4. Effects>Image Effects>Seamless Tiling, default settings.

5. Adjust>Blur>Gaussian Blur - radius 30.

6. Layers>New Raster Layer, Raster 2.
Selections>Load/Save Selection>Load Selection from Disk.
Look for and load the selection Sélection_Abstrait 1.
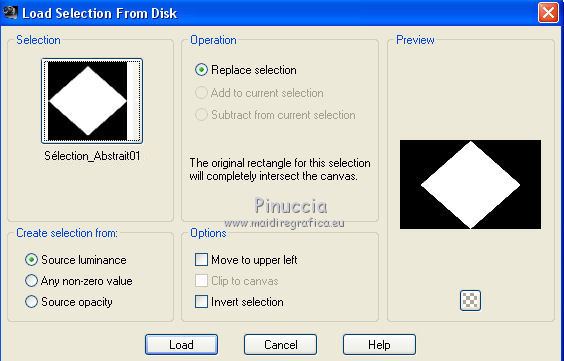
Flood Fill  the selection with your background color. the selection with your background color.
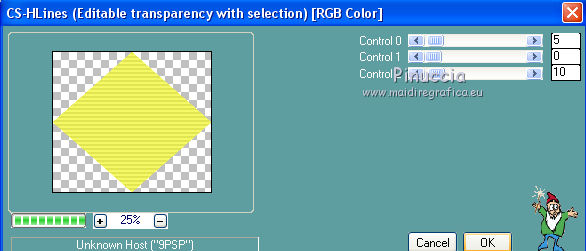
7. Effects>Plugins>Carolaine and Sensibility - CS-HLines.
8. Effects>3D Effects>Inner Bevel.
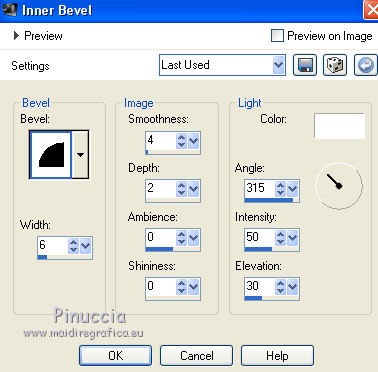
9. Selections>Modify>Contract - 35 pixels.
Flood Fill  the selection with your foreground color. the selection with your foreground color.
10. Effects>Plugins>Carolaine and Sensibility - CS-LDots, default settings.
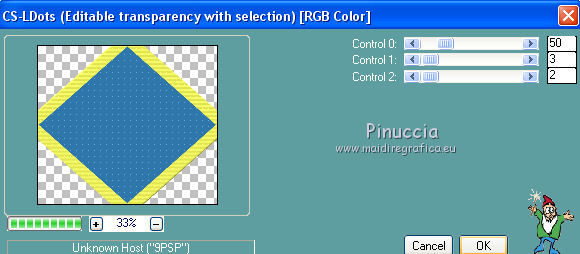
11. Effects>3D Effects>Inner Bevel, same settings.

12. Selections>Modify>Contract - 35 pixels.
Flood Fill  the selection with your background color. the selection with your background color.
13. Layers>New Raster Layer.
Open the tube Fractal di Thafs and go to Edit>Copy.
Go back to your work and go to Edit>Paste into Selection.
Adjust>Sharpness>Sharpen.
14. Selections>Invert.
Effects>3D Effects>Drop Shadow, color black.

Selections>Select None.
15. Layers>Merge>Merge Down (Raster 2).
16. Effects>3D Effects>Drop Shadow, color black.
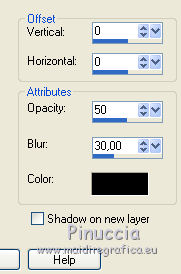
17. Layers>Duplicate.
Effects>Image Effects>Seamless Tiling.

18. Repeat Effects>Image Effects>Seamless Tiling, Horizontal checked.

19. Layers>Arrange>Move Down (under the layer Raster 2).
Change the Blend Mode of this layer to Multiply and reduce the opacity to 50%.
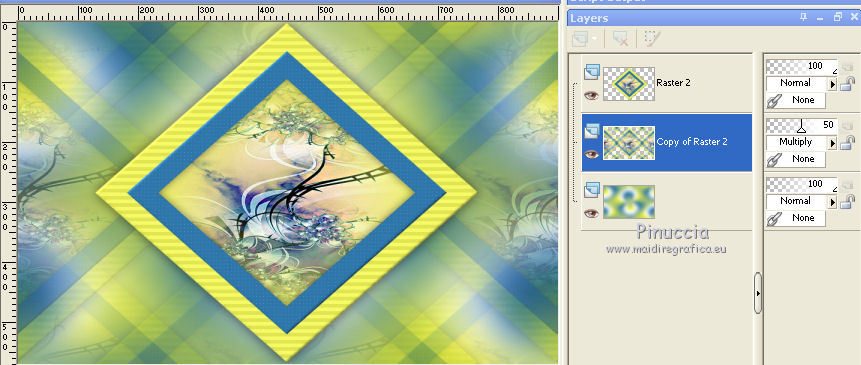
20. Effects>Plugins>Fm Tile Tools - Blend Emboss.

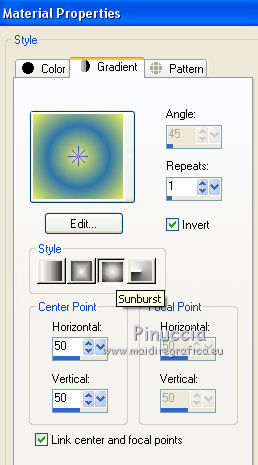
21. Set your foreground color to a Foreground/Background Gradient, style Sunburst.
22. Layers>New Raster Layer, Raster 3.
Selections>Load/Save Selection>Load Selection from Disk.
Look for and load the selection Sélection_Abstrait 2.
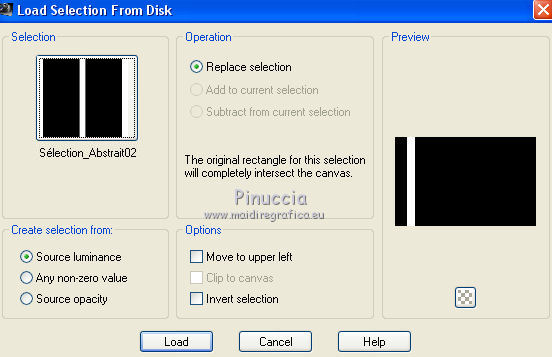
Flood Fill  the selection with your Gradient. the selection with your Gradient.
Selections>Select None.
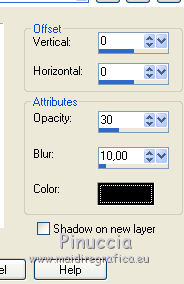
23. Effects>3D Effects>Drop Shadow, color black.
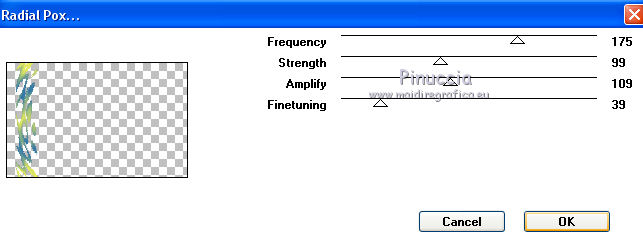
24. Effects>Plugins>VM Distortion - Radial Pox, default settings.
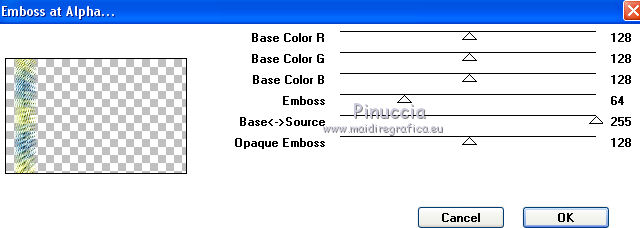
25. Effects>Plugins>Mura's Seamless - Emboss at Alpha, default settings.
26. Layers>Duplicate.
Image>Mirror.
Layers>Merge>Merge Down.
27. Effects>Image Effects>Seamless Tiling, default settings.

28. Activate your top layer.
Open the tube Deco 1 and go to Edit>Copy.
Go back to your work and go to Edit>Paste as new layer, Raster 4.
29. K key to activate your Pick Tool 
and set Position X: 153,00 and Position Y: 28,00.

30. Effects>3D Effects>Drop Shadow, color black.
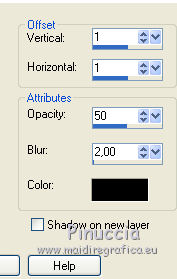
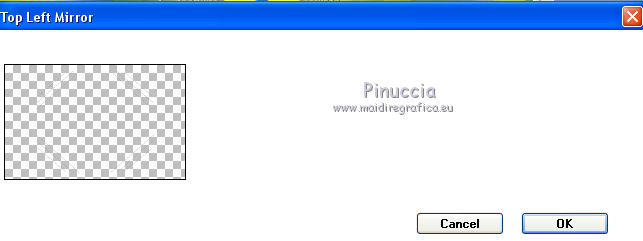
31. Effects>Plugins>Simple - Top Left Mirror.
32. Image>Add borders, 3 pixels, symmetric, color white.
Image>Add borders, 3 pixels, symmetric, foreground color.
Image>Add borders, 3 pixels, symmetric, background color.
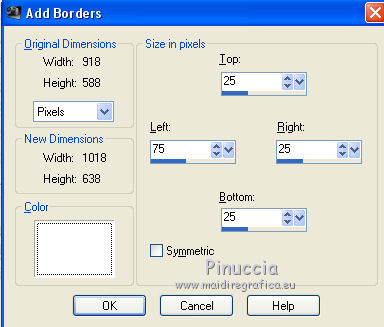
Image>Add borders, symmetric not checked, color white.
33. Open the tube déco 2 and go to Edit>Copy.
Go back to your work and go to Edit>Paste as new layer.
34. K key to activate your Pick Tool 
and set Position X: 373,00 and Position Y: 151,00.

35. Open the text Abstrait and go to Edit>Copy.
Go back to your work and go to Edit>Paste as new layer.
*****
if you want make the text with your color, you find the selection in the material:
Selections>Load/Save selezione>Load Selection from disk.
Look for and load the selection Sélection_AbstraitTitre
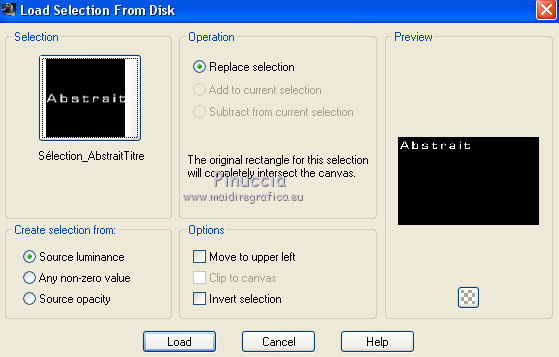
Flood Fill  the selection with your dark color. the selection with your dark color.
Selections>Modify>Contract - 2 pixels.
Press CANC on the keyboard.
Flood Fill  the selection with your light color. the selection with your light color.
Selections>Select None.
*****
37. Image>Free Rotate - 90 degrees to left.

Pick Tool 
and set Position x: 5,00 and Position Y: 77,00.

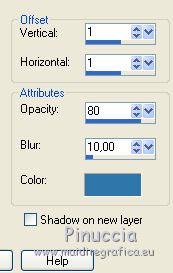
38. Effects>3D Effects>Drop Shadow, foreground color.
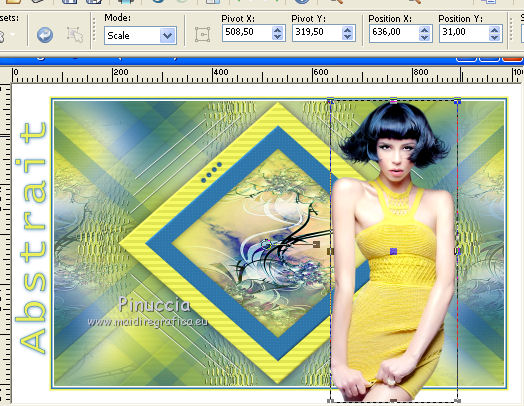
39. Open the woman tube by Gabry and go to Edit>Copy.
Go back to your work and go to Edit>Paste as new layer.
Image>Resize, 87%, resize all layers not checked.
Set Position X: 636,00 and Position Y: 31,00.
40. Effects>3D Effects>Drop Shadow, color black.

41. Image>Add borders, 1 pixel, symmetric, foreground color.
Image>Add borders, 1 pixel, symmetric, background color.
42. Sign your work on a new layer.
Image>Resize, 900 pixels width, resize all layers checked.
Save as jpg.
For the tubes of this version thanks Luz Cristina and Silvie
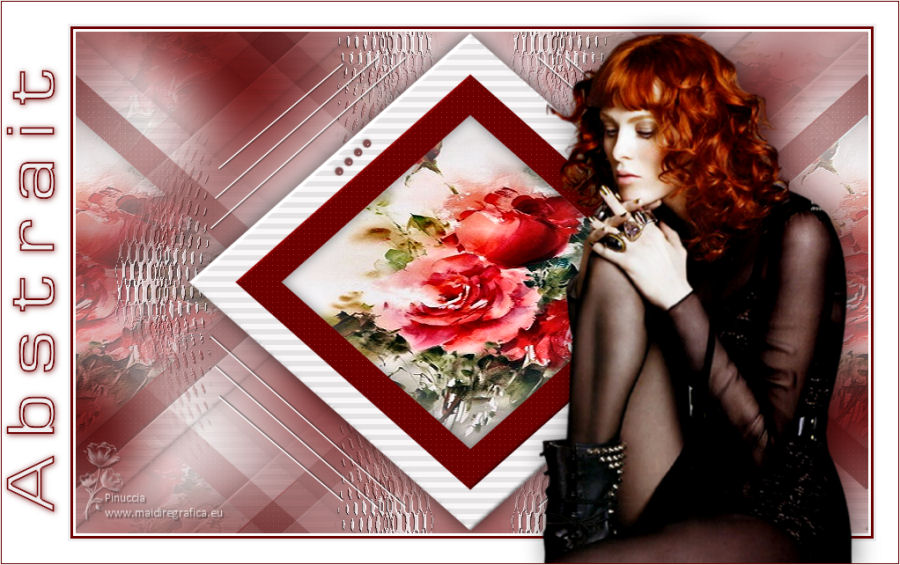

Your versions. Thanks
Le vostre versioni. Grazie
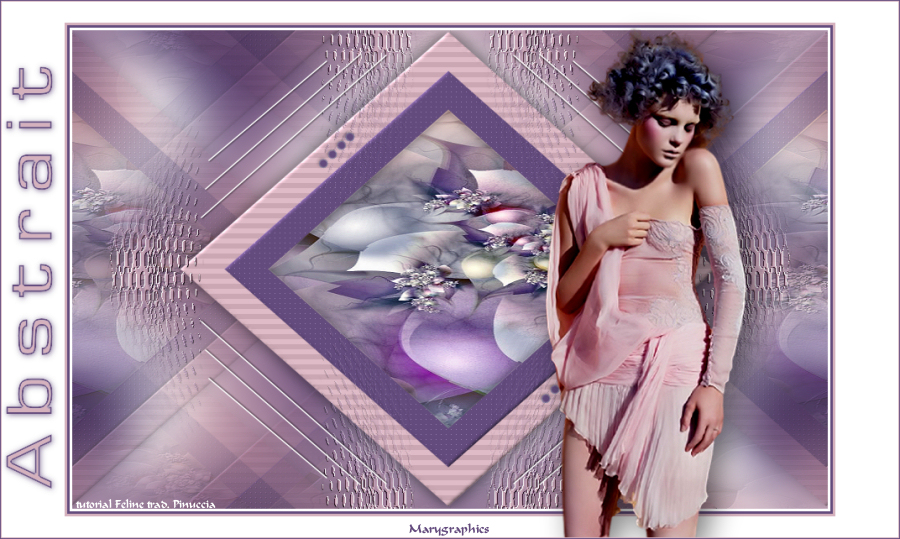
Marygraphics
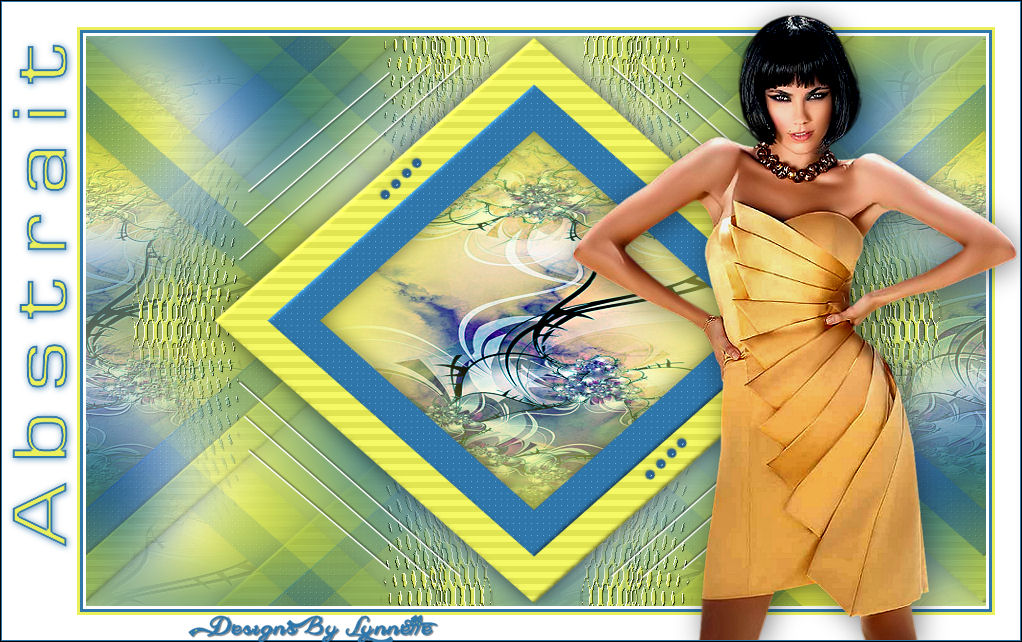
Lynnette

If you have problems or doubts, or you find a not worked link, or only for tell me that you enjoyed this tutorial, write to me.
17 November 2021

|

