ABSTRACTION


Thanks Carine for your invitation to translate

Clic and move the brush to follow the tutorial.

To print


|
This tutorial was translated with PSPX and PSPX3, but it can also be made using other versions of PSP.
Since version PSP X4, Image>Mirror was replaced with Image>Flip Horizontal,
and Image>Flip with Image>Flip Vertical, there are some variables.
In versions X5 and X6, the functions have been improved by making available the Objects menu.
In the latest version X7 command Image>Mirror and Image>Flip returned, but with new differences.
See my schedule here
 italian translation here italian translation here
 your versions here your versions here
Necessary

Thanks for the tube Guismo and for the mask Narah.
(The links of the tubemakers here).

consult, if necessary, my filter section here
Filters Unlimited 2.0 here
Sybia - Zigzagge here
Simple - Diamonds here
Filters Sybia and Simple can be used alone or imported into Filters Unlimited.
(How do, you see here)
If a plugin supplied appears with this icon  it must necessarily be imported into Unlimited it must necessarily be imported into Unlimited

You can change Blend Modes according to your colors.

Copy the preset in the Presets Folder.
Copy the texture in the Textures Folder.
Open the mask in PSP and minimize it with the rest of the material.
1. Set your foreground color to #49587c,
and your background color to #ffffff
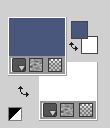
2. Open a new transparent image 900 x 550 pixels.
Selectoins>Select All.
Open the background image fond dégradé 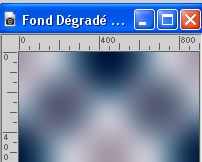
Edit>Copy.
Go back to your work and go to Edit>Paste into Selection.
Selections>Select None.
3. Effects>Plugins>Filters Unlimited 2.0 - Sybia - Zigzagge, default settings.
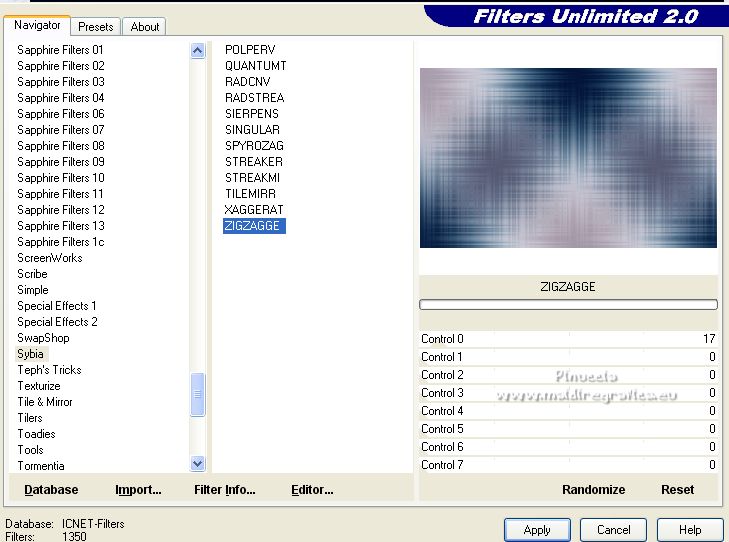
Effects>Edge Effects>Enhance.
4. Effects>Plugins>Filters Unlimited 2.0 - Simple - Diamonds.

5. Effects>Image Effects>Seamless Tiling.

6. Layers>New Raster Layer.
Selection Tool 
(no matter the type of selection, because with the custom selection your always get a rectangle)
clic on the Custom Selection 
and set the following settings.
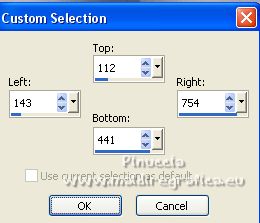
Flood Fill  the selection with color white. the selection with color white.
7. Selections>Modify>Contract - 10 pixels.
Press CANC on the keyboard 
Selections>Select None.
8. Layers>Duplicate.
Effects>Image Effects>Seamless Tiling.

9. Layers>Arrange>Move Down, under the layer Raster 2.
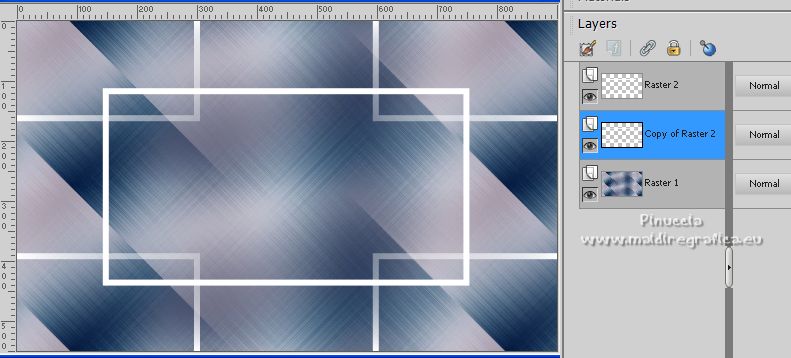
10. Activate the layer Raster 1.
Custom Selection 
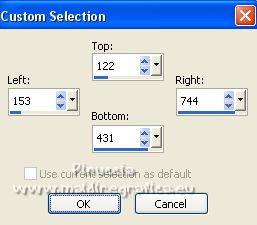
Selections>Promote Selection to Layer.
Layers>Arrange>Bring to Top.
11. Adjust>Blur>Gaussian blur - radius 30.

Keep selected.
12. Layers>New Raster Layer.
Open the image Fractal 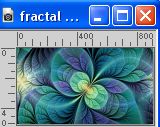
Edit>Copy.
Go back to your work and go to Edit>Paste into Selection.
Change the Blend Mode of this layer to Overlay and reduce the opacity to 70%.
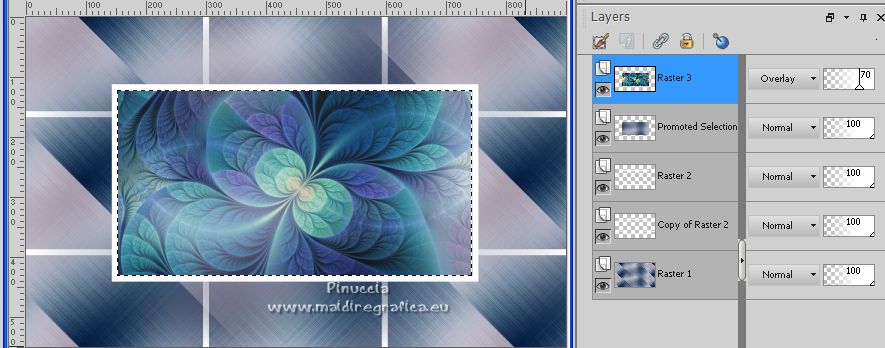
13. Effects>User Defined Filter, select the preset Emboss 3 and ok.

Adjust>Sharpness>Sharpen.
Layers>Merge>Merge Down.
14. Layers>Duplicate.
Selections>Select None.
15. Effects>Image Effects>Seamless Tiling, same settings.

16. Change the Blend Mode of this layer to Screen and reduce the opacity to 60%.
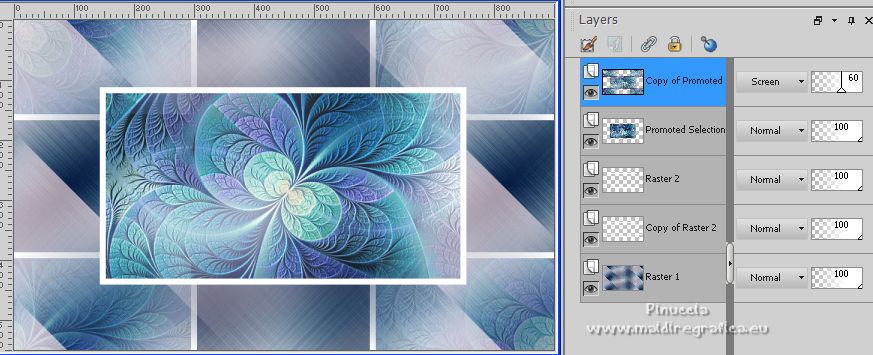
Effects>Edge Effects>Enhance.
17. Layers>Arrange>Move Down - 3 times (over the layer Raster 1).
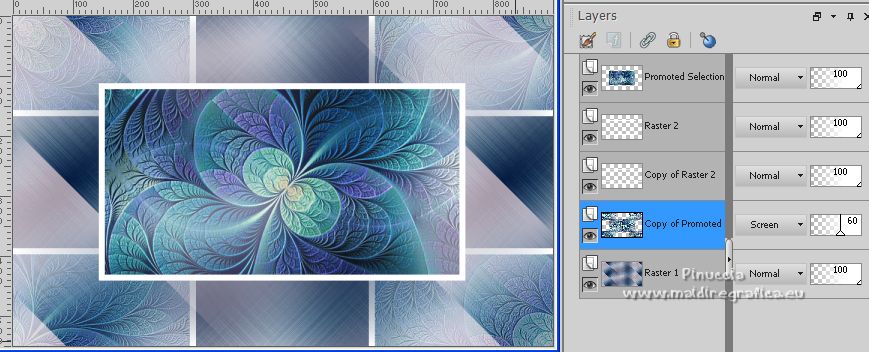
18. Activate the layer above, copy of Raster 2.
Layers>Merge>Merge Down.
Keep the Blend Mode to Screen and reduce the opacity to 80%
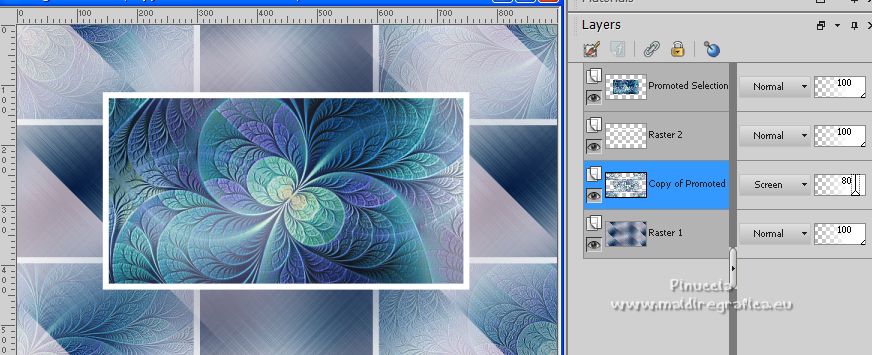
19. Activate the top layer.
Layers>Merge>Merge Down.
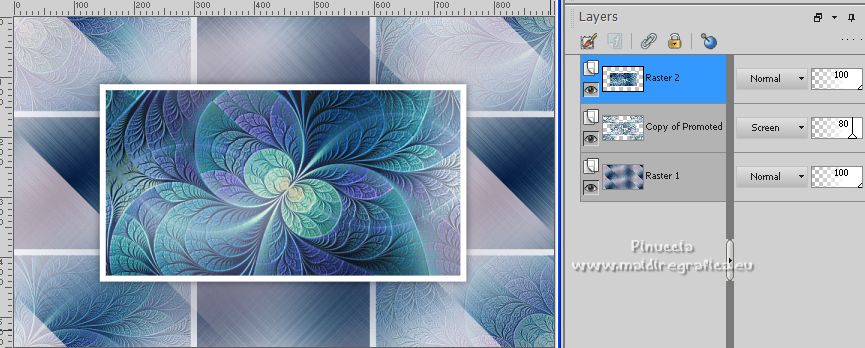
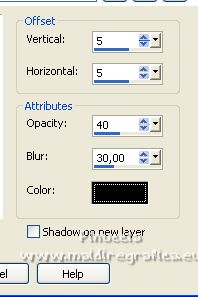
20. Effects>3D Effects>Drop Shadow, color black.

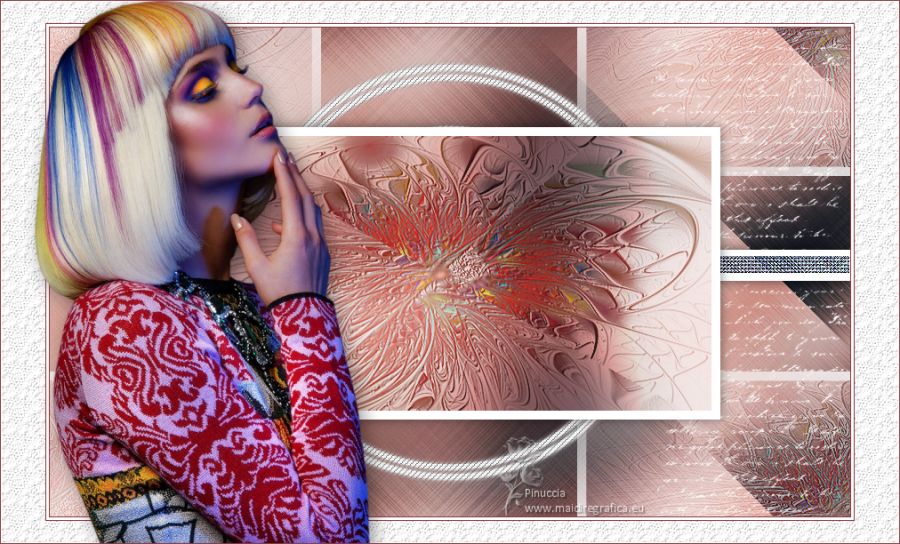
21. Your tag and the layers.
22. Minimize your work for a moment.
23. Open a new transparent image 480 x 480 pixels.
Flood Fill  the transparent image with color white. the transparent image with color white.
24. Layers>New Mask layer>From image
Open the menu under the source window and you'll see all the files open.
Select the mask Narah Mask_1516
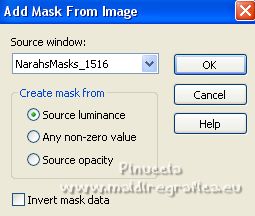
Layers>Merge>Merge Group.
25. Effects>Texture Effects>Weave
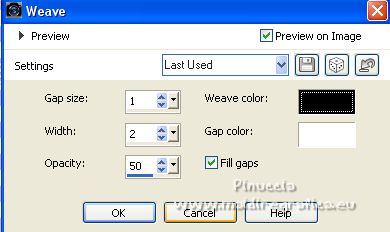
26. Edit>Copy
Go back to your work and go to Edit>Paste as new layer.
Don't move it.
Layers>Arrange>Move Down.
27. Layers>Duplicate.
Image>Resize, to 105%, resize all layers not checked.
Layers>Merge>Merge Down.
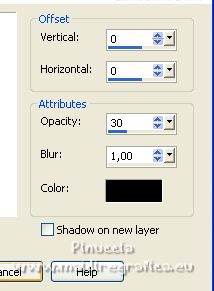
28. Effects>3D Effects>Drop shadow, color black.
29. Open the text Texte 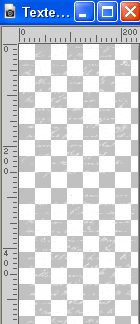
Edit>Copy.
Go back to your work and go to Edit>Paste as new layer.
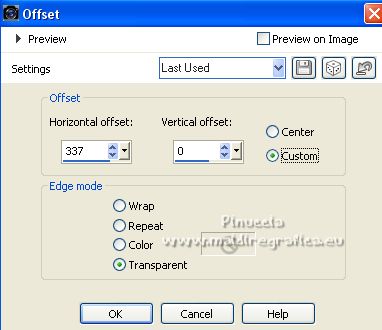
30. Effects>Image Effects>Offset.
31. Open Deco 1 
Edit>Copy.
Go back to your work and go to Edit>Paste as new layer.
32. Activate your Pick Tool 
and set Position X: -9,00 and Position Y: 241,00.

33. Effects>3D Effects>Drop shadow, color black.

34. Image>Add borders, 1 pixels, symmetric, foreground color.
Image>Add borders, 3 pixels, symmetric, background color.
Immagine>Aggiumgi bordatura, 1 pixel, symmetric, foreground color.
35. Selections>Select All.
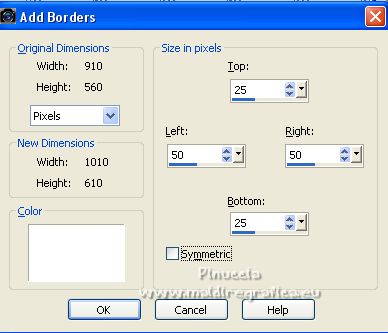
Image>Add borders, symmetric not checked, background color.
36. Selections>Invert.
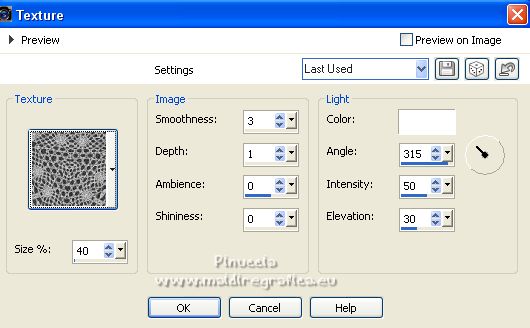
Effects>Texture Effects>Texture - select the texture lace1
Selections>Select None.
37. Open the woman tube calguisportrait2459 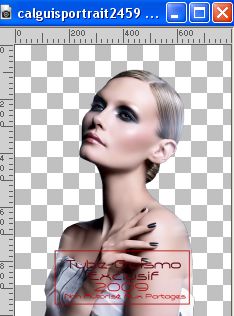
Edit>Copy.
Go back to your work and go to Edit>Paste as new layer.
Image>Mirror.
Image>Resize, to 60%, resize all layers not checked.
Move  the tube to the left side. the tube to the left side.
38. Effects>3D Effects>Drop shadow, color black.
39. Image>Add borders, 1 pixel, symmetric, foreground color.
40. Sign your work.
Image>Resize, 900 pixels width, resize all layers checked.
Save as jpg.
For the tube of this version thanks Karine

If you have problems or doubts, or you find a not worked link, or only for tell me that you enjoyed this tutorial, write to me.
23 Janvier 2023

|
