|
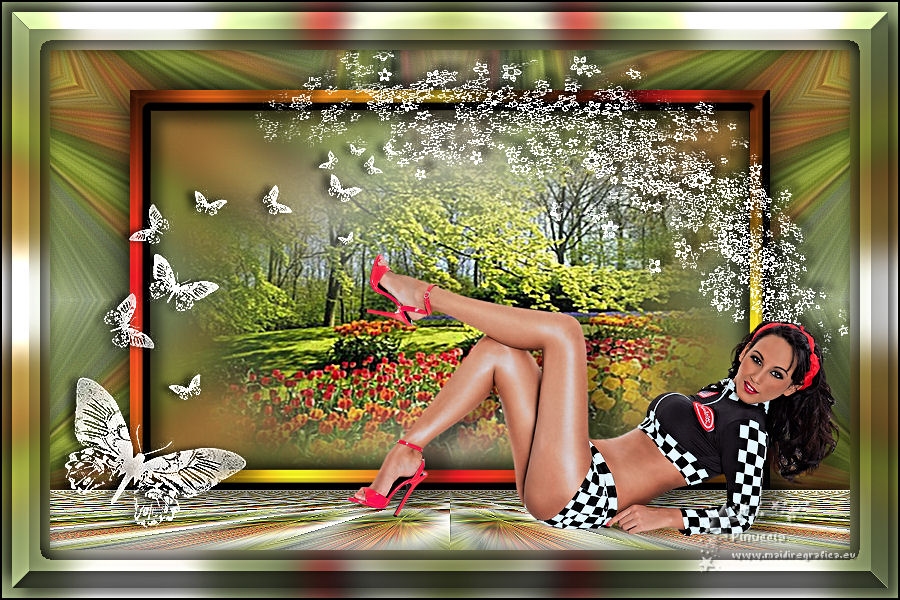
LES PRINTEMPS EST PARTOUT


Thanks Evalynda for the invitation to translate your tutorials

This tutorial was written with PSPX8 and translated with PSPX7 and PSPX3, but it can also be made using other versions of PSP.
Since version PSP X4, Image>Mirror was replaced with Image>Flip Horizontal,
and Image>Flip with Image>Flip Vertical, there are some variables.
In versions X5 and X6, the functions have been improved by making available the Objects menu.
In the latest version X7 command Image>Mirror and Image>Flip returned, but with new differences.
See my schedule here
 italian translation here italian translation here
 Your versions Your versions
For this tutorial, you will need:
Material here
Thanks for the tubes and the masks Colybrix and ValyScrapPassion.
(The links of material creators here).
Plugins:
consult, if necessary, my filter section here
Filters Unlimited 2.0 here
Filter Factory Gallery S - Fractal Tiler here
Mehdi - Kaleidoscope 2.1 here
Mura's Meister - Perspective Tiling here
Graphics Plus - Cross Shadow, Button Beveler II, Quick Tile II here
Filters Factory Gallery and Graphics Plus can be used alone or imported into Filters Unlimited.
(How do, you see here)
If a plugin supplied appears with this icon  it must necessarily be imported into Unlimited it must necessarily be imported into Unlimited

You can change Blend Modes according to your colors.
In the newest versions of PSP, you don't find the foreground/background gradient (Corel_06_029).
You can use the gradients of the older versions.
The Gradient of CorelX here
(Don't forget to erase the watermarks of the tubes and don't save the modifications when you'll close them)
Open the masks in PSP and minimize them with the rest of the material.
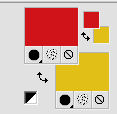
1. Set your foreground color to #d0141a,
and your background color to #e2bf18.
Open a new transparent image 800 x 500 pixels.
Open the misted by Coly and go to Edit>Copy.
Go back to your work and go to Edit>Paste as new layer.
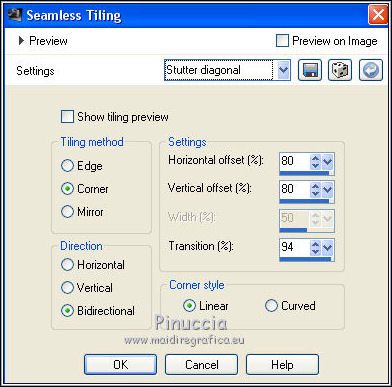
Effects>Image Effects>Seamless Tiling, default settings.

Effects>Image Effects>Seamless Tiling, Stutter diagonal
Livelli>Unisci>Unisci tutto.
2. Adjust>Blur>Radial Blur.

Layers>Duplicate.
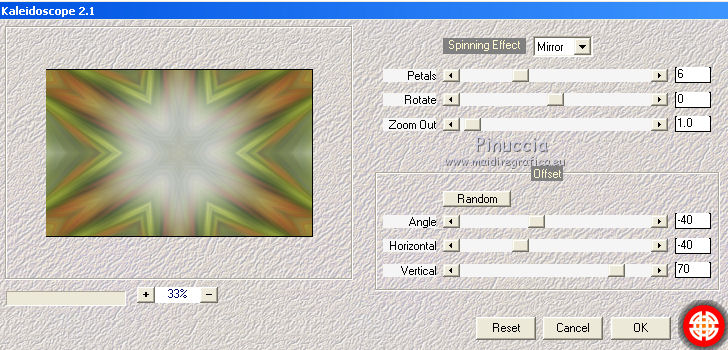
Effects>Plugins>Mehdi - Kaleidoscope 2.1.
Effects>Edge Effects>Enhance More.
3. Layers>Duplicate.
Image>Resize, to 80%, resize all layers not checked.
K key on the keyboard to activate your Pick Tool 
keep Position X: 80,00 and set Position Y: 40,00

Activate your Magic Wand Tool 

and click on the empty outer part of the layer to select it.
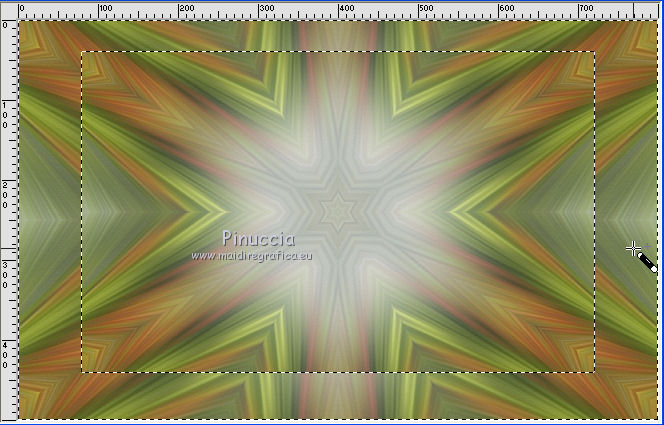
Selections>Invert.
Adjust>Blur>Gaussian Blur - radius 15.

Edit>Paste into Selection (the misted by Coly is still in memory).
Adjust>Sharpness>Sharpen More.
Keep selected.
4. Selections>Modify>Select Selection Borders.

Keep still selected.
Set your foreground color to a Foreground/Background Gradient, style Radial.

Flood Fill  the selection with your Gradient. the selection with your Gradient.
Effects>Plugins>Graphics Plus - Cross Shadow, default settings.

Effects>3D Effects>Inner Bevel.

5. Selections>Select All.
Selections>Float.
Selections>Defloat.
Effects>3D Effects>Drop Shadow, color black.
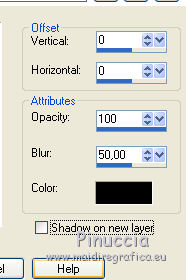
Selections>Modify>Contract - 20 pixels.
Layers>New Raster Layer.
Effects>3D Effects>Cutout.

Layers>New Raster Layer.
Effects>3D Effects>Cutout.
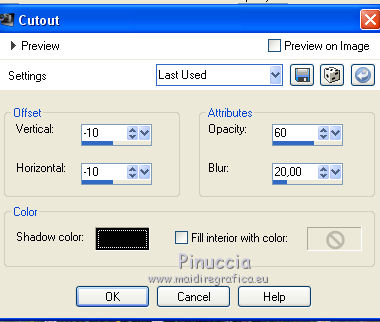
Selections>Select None.
Layers>Merge>Merge Down - 2 times.
6. Activate your bottom layer.
Layers>Promote Background Layer.
Layers>Arrange>Move Up.
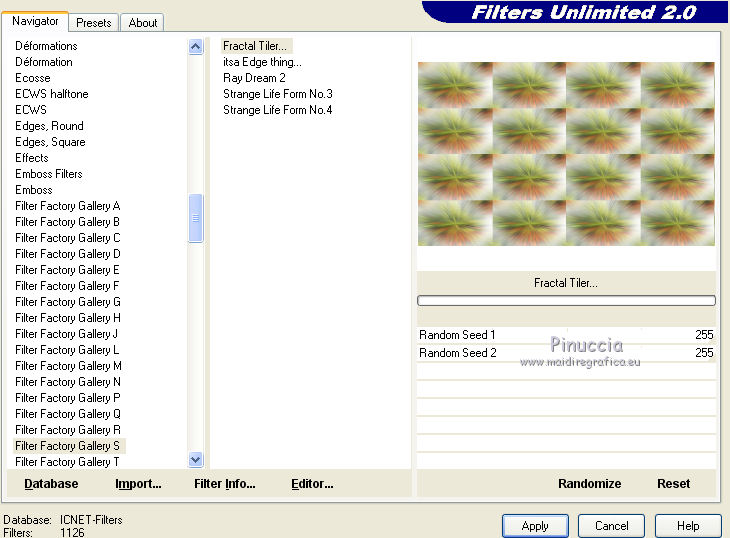
7. Effects>Plugins>Filters Unlimited 2.0 - Filter Factory Gallery S - Fractal Tiler.
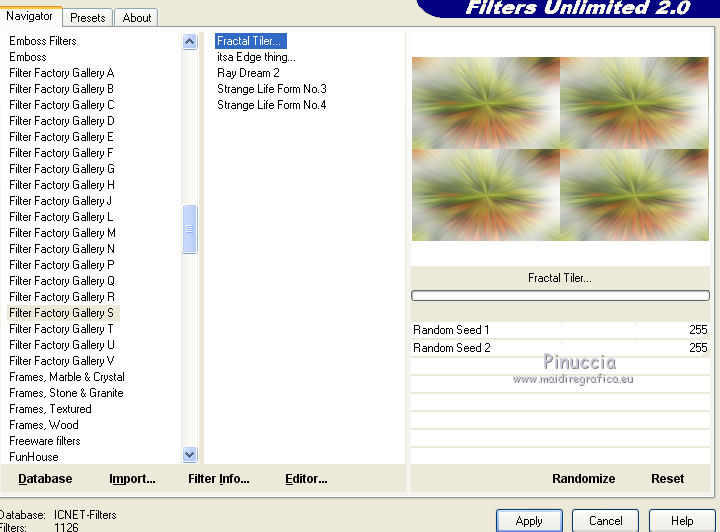
Repeat the Effect another time
If you use the effect in Unlimited, you'll should repeat the settings,
because Unlimited don't keep the settings in memory.
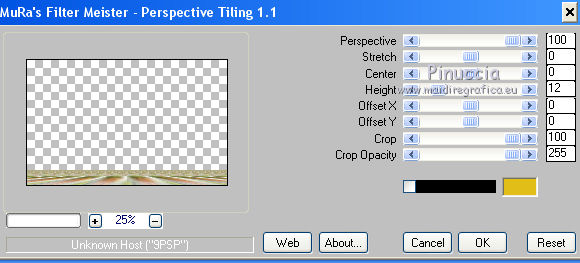
Effects>Plugins>Mura's Meister - Perspective Tiling.
Effects>Edge Effects>Enhance.
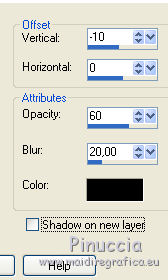
Effects>3D Effects>Drop Shadow, color black.
8. Activate your top layer.
Set your foreground color to white.
Layers>New Raster Layer.
Flood Fill  the layer with color white. the layer with color white.
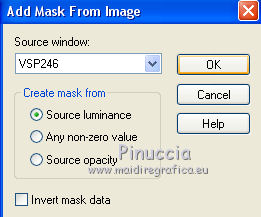
Layers>New Mask layer>From image
Open the menu under the source window and you'll see all the files open.
Select the mask VSP246
Image>Resize, to 75%, resize all layers not checked.
Effects>Edge Effects>Enhance More.
Layers>Merge>Merge Group.
Image>Flip.
Activate your Pick Tool 
and set Position X: 200,00 and Position Y: 0,00.

Layers>Duplicate.
Layers>Merge>Merge Down.
Effects>3D Effects>Drop Shadow, color black.
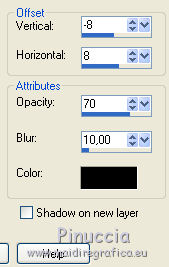
9. Layers>New Raster Layer.
Flood Fill  the layer with color white. the layer with color white.
Layers>New Mask layer>From image
Open the menu under the source window and select the mask VSP276
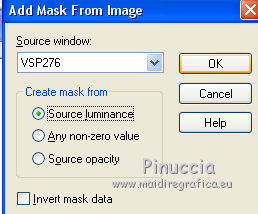
Image>Resize, to 85%, resize all layers not checked.
Effects>Edge Effect>Enhance.
Layers>Merge>Merge Group.
Pick Tool 
and set Position X: 15,00 and Position Y: 90,00

Layers>Duplicate.
Layers>Merge>Merge Down.
Effects>3D Effects>Drop Shadow, color black.
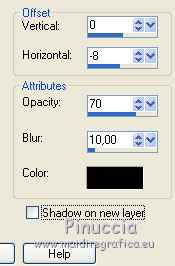
10. Open the woman tube and go to Edit>Copy.
Go back to your work and go to Edit>Paste as new layer.
Image>Resize, to 75%, resize all layers not checked.
Move  the tube at the bottom right. the tube at the bottom right.
Effects>3D Effects>Drop Shadow, color black.

Layers>Merge>Merge All.
11. Selections>Select All.
Image>Add borders, 48 pixels, symmetric, color white.
Selections>Invert.
Effects>Plugins>Graphics Plus - Quick Tile II.
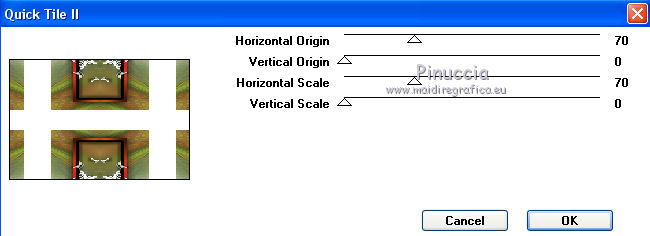
Adjust>Blur>Gaussian Blur - radius 15.

Selections>Modify>Contract - 10 pixels.
Effects>Plugins>Graphics Plus - Button Beveler II.
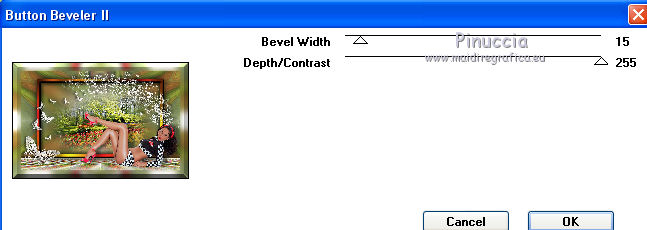
Keep selected.
12. Effects>3D Effects>Drop Shadow, color black.

Repeat Drop Shadow, vertical and horizontal -10.
Selections>Select None.
Image>Add borders, 2 pixels, symmetric, color black.
Adjust>Sharpness>Unsharp Mask.

Sign your work and save as jpg.
Version with tube by Maryse; the landscape is mine.
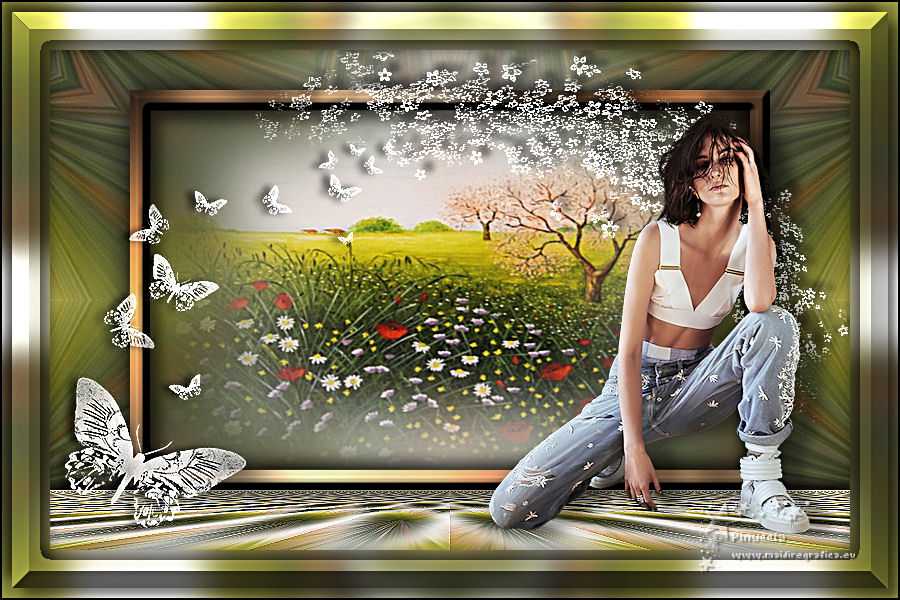
 Your versionsThanks Your versionsThanks
Thanks
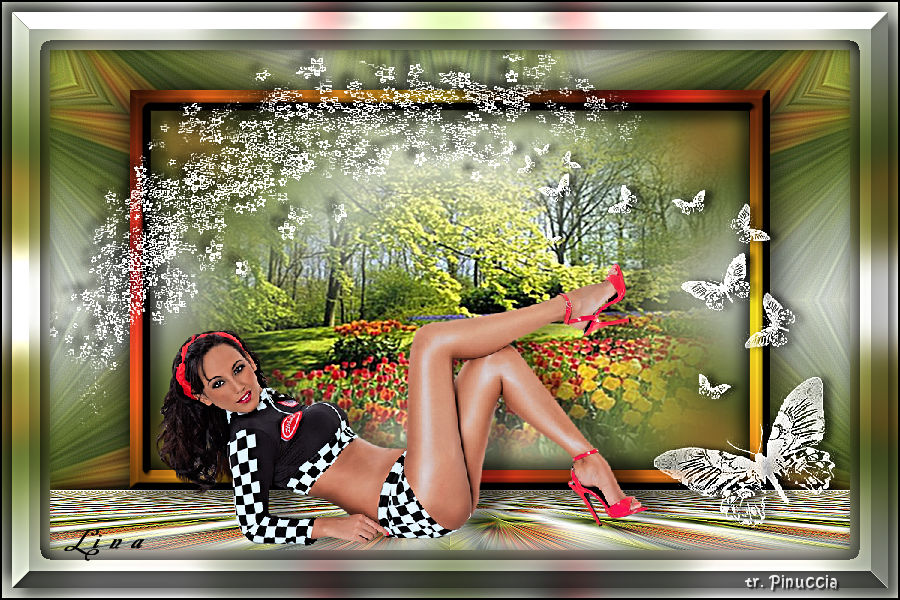
Lina
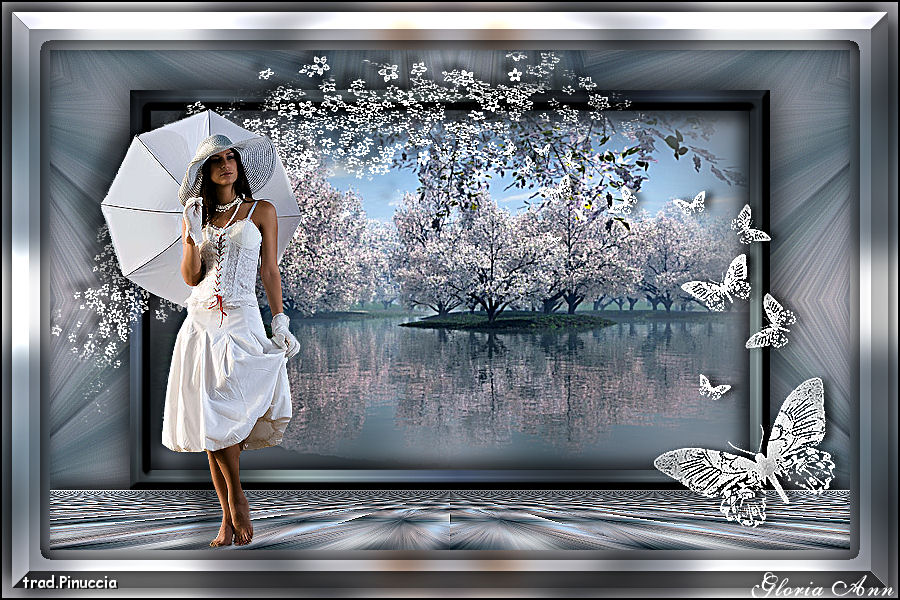
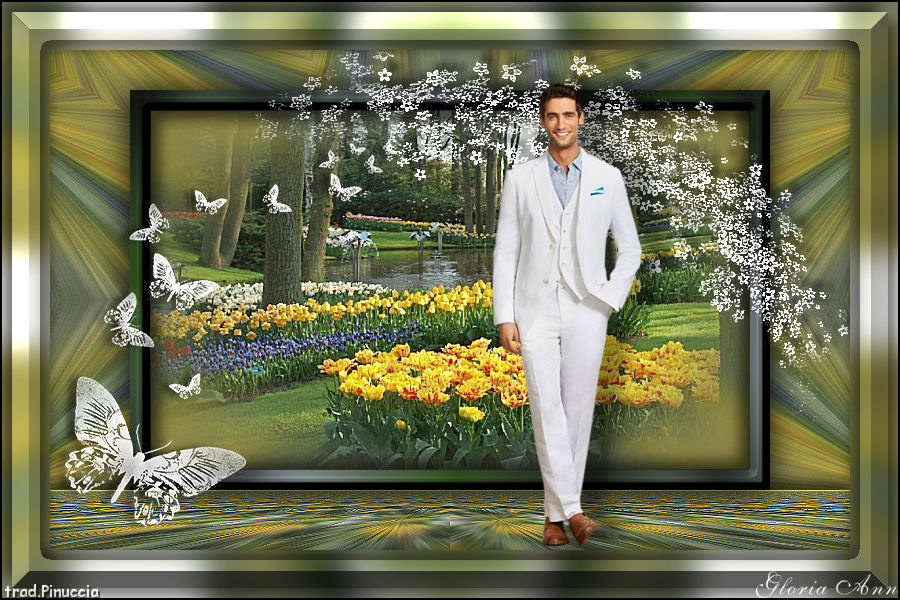
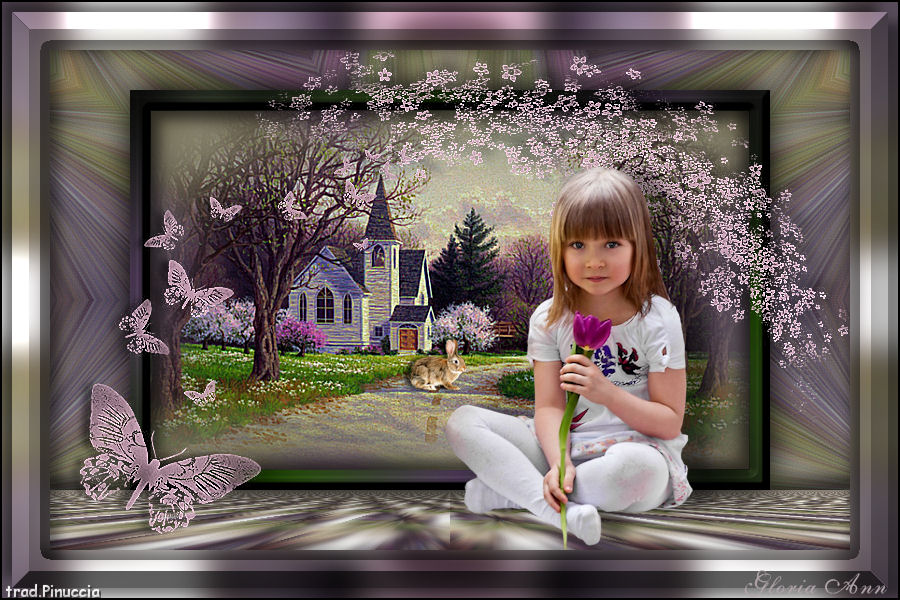
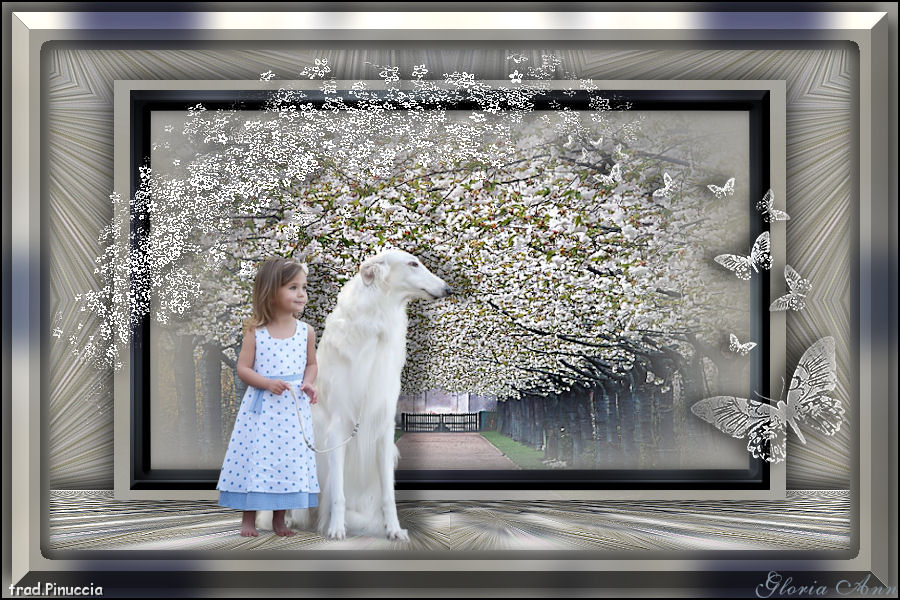
Gloria Ann

If you have problems or doubts, or you find a not worked link,
or only for tell me that you enjoyed this tutorial, write to me.
17 March 2021
|

