|
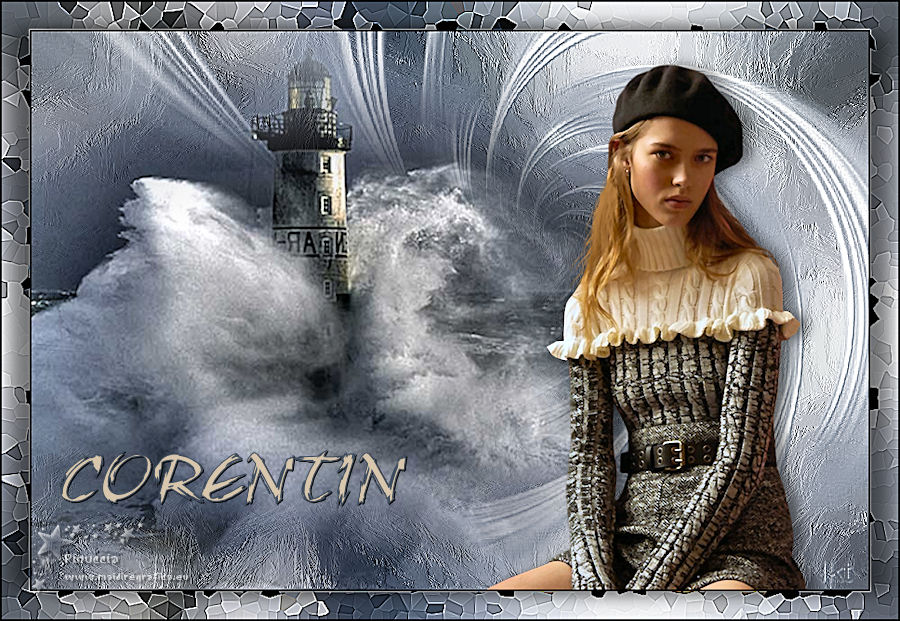
CORENTIN


Thanks Evalynda for the invitation to translate your tutorials

This tutorial was written with PSPX8 and translated with PSPX7 and PSPX3, but it can also be made using other versions of PSP.
Since version PSP X4, Image>Mirror was replaced with Image>Flip Horizontal,
and Image>Flip with Image>Flip Vertical, there are some variables.
In versions X5 and X6, the functions have been improved by making available the Objects menu.
In the latest version X7 command Image>Mirror and Image>Flip returned, but with new differences.
See my schedule here
italian translation here
your versions here
For this tutorial, you will need:
Material here
Thanks for the mask Nikita; for the man Colybrix and for the landscape Valyscrappassion.
(The links of the tubemakers here).
Plugins:
consult, if necessary, my filter section here
Filters Unlimited 2.0 here
Pixellisation - Cristellisation here

You can change Blend Modes according to your colors.
Open the mask in PSP and minimize it with the rest of the material.
Set your foreground color to dark color #395375
and your background color to light color #9ab309.
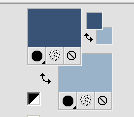
1. Open a new transparent image 900 x 600 pixels.
Selections>Select All.
Open the landscape tube and go to Edit>Copy.
Go back to your work and go to Edit>Paste into Selection.
Selections>Select None.
2. Effects>Image Effects>Seamless Tiling.
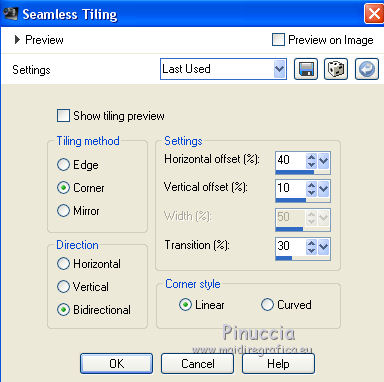
Layers>Merge>Merge All.
3. Effects>Distortion Effects>Twirl.
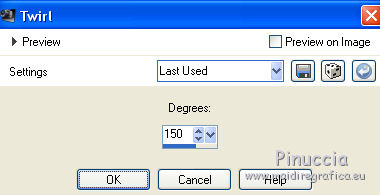
Adjust>Blur>Gaussian Blur - radius 20.

Effects>Art Media Effects>Brush Strokes
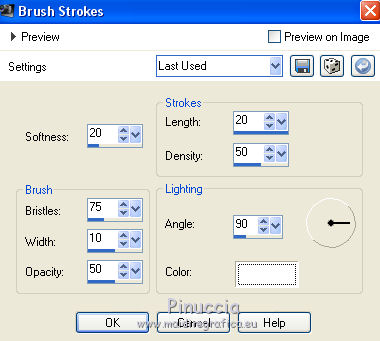
4. Layers>New Raster Layer.
Set your background color to white #ffffff.
Flood Fill  the layer with your background color #ffffff. the layer with your background color #ffffff.
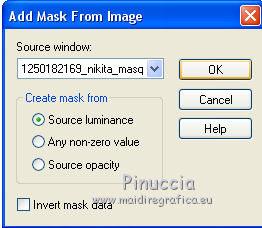
Layers>New Mask layer>From image
Open the menu under the source window and you'll see all the files open.
Select the mask 1250182169_nikita_masque.
Effects>Edge Effects>Enhance More.
Layers>Merge>Merge Group.
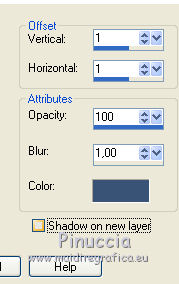
Effects>3D Effects>Drop Shadow, dark foreground color.
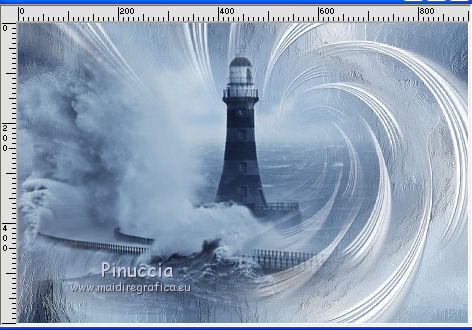
5. Edit>Paste as new layer (your landscape tube is still in memory).
Image>Mirror.
Image>Resize, to 120%, resize all layers not checked.
Move  the tube to the left side. the tube to the left side.
6. Open your man tube and go to Edit>Copy.
Go back to your work and go to Edit>Paste as new layer.
Image>Mirror.
Image>Resize, to 70%, resize all layers not checked.
Objects>Align>Bottom.
Objects>Align>Right.
If you are working with a previous version that doesn'tApri il tube dell'uomo e vai a Modifica>Copia.
Torna al tuo lavoro e vai a Modifica>Incolla come nuovo livello.
Immagine>Rifletti.
Immagine>Ridimensiona, al 70%, tutti i livelli non selezionato.
Oggetti>Allinea>Inferiore.
Oggetti>Allinea>Destra.
If you are working with a previous version that doesn't make the Objects menu available,
use your Move Tool  to move the tube at the bottom right. to move the tube at the bottom right.
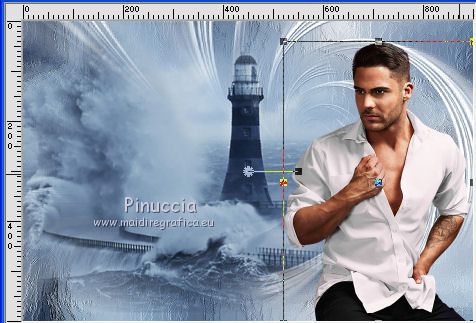
Effects>3D Effects>Drop Shadow, color black.
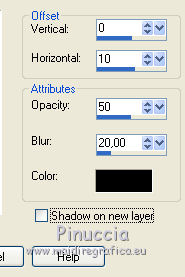
7. Activate the bottom layer.
Edit>Copy.
Image>Add borders, 2 pixels, symmetric, dark foreground color.
Selections>Select All.
Image>Add borders, 30 pixels, symmetric, color white.
Selections>Invert.
Edit>Paste into Selection.
8. Effects>Plugins>Pixellisation - Cristallisation.
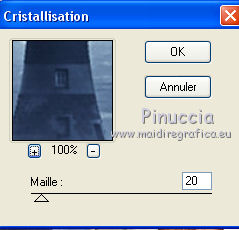
Effects>Edge Effects>Enhance More.
9. Selections>Invert.
Effects>3D Effects>Drop Shadow, color black.
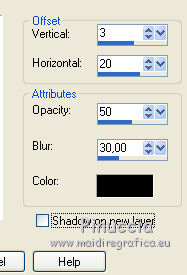
Repeat Drop Shadow, vertical and horizontal -3/-20.
Selections>Select None.
Image>Add borders, 2 pixels, symmetric, dark foreground color.
10. Image>Resize, 900 pixels width, resize all layers checked.
Adjust>Sharpnes>Unsharp Mask.
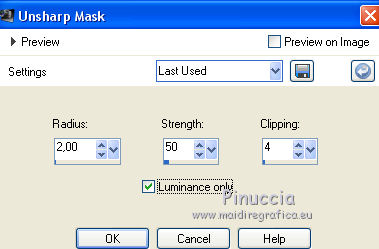
11. Write a text at your choice.
Sign your work and save as jpg.
The tube of this version is by Rooskes; the landscape is mine.

If you have problems or doubts, or you find a not worked link, or only for tell me that you enjoyed this tutorial, write to me.
17 March 2019
|


