|
TRUDY


Thanks Estela for your invitation to translate your tutorials into english

This tutorial, created with PSP2022, was translated with PspX7, but it can also be made using other versions of PSP.
Since version PSP X4, Image>Mirror was replaced with Image>Flip Horizontal,
and Image>Flip with Image>Flip Vertical, there are some variables.
In versions X5 and X6, the functions have been improved by making available the Objects menu.
In the latest version X7 command Image>Mirror and Image>Flip returned, but with new differences.
See my schedule here
 French Translation here French Translation here
 Your versions here Your versions here
For this tutorial, you will need:

For the tubes thanks Roberta Maver and LisaT.
The rest of the material is by Estela Fonseca.
(The links of the tubemakers here).
*It is forbidden to remove the watermark from the supplied tubes, distribute or modify them,
in order to respect the work of the authors

consult, if necessary, my filter section here
Filters Unlimited 2.0 here
Toadies - What are you, Weaver here
It@lian Editors Effect - Mosaico here
FM Tile Tools Blend Emboss here
AAA Frames - Texture Frame here
Filters Toadies and It@lian Editors can be used alone or imported into Filters Unlimited.
(How do, you see here)
If a plugin supplied appears with this icon  it must necessarily be imported into Unlimited it must necessarily be imported into Unlimited

You can change Blend Modes according to your colors.
In the newest versions of PSP, you don't find the foreground/background gradient (Corel_06_029).
You can use the gradients of the older versions.
The Gradient of CorelX here

Copy the Selection in the Selections Folder.
Open the mask in PSP and minimize it with the rest of the material.
Colors

The third color has been used for the text
1. Set your foreground color to the color 1,
and your background color to the color 2.
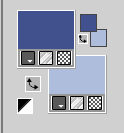
Set your foreground color to a Foreground/Background Gradient, style Sunburst
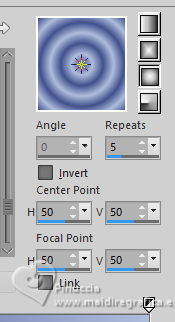
2. Open a new transparent image 1000 x 600 pixels.
Flood Fill  the transparent image with your Gradient. the transparent image with your Gradient.
3. Adjust>Blur>Gaussian Blur - radius 25.

4. Effects>Texture Effects>Fur
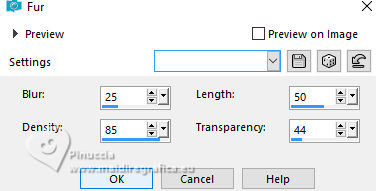
5. Effects>Plugins>Filters Unlimited 2.0 - Paper Texture - Canvas,Fine, default settings.
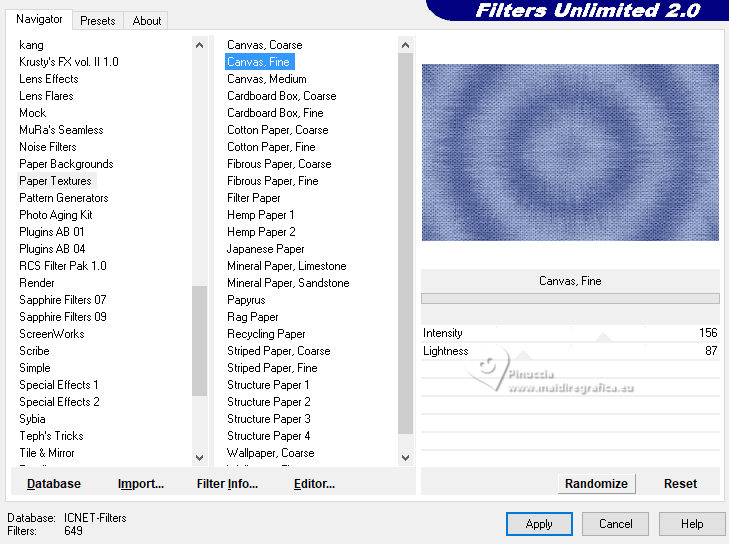
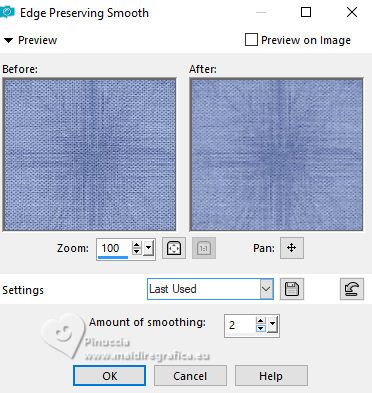
6. Adjust>Add/Remove Noise>Edge Preserving Smooth.
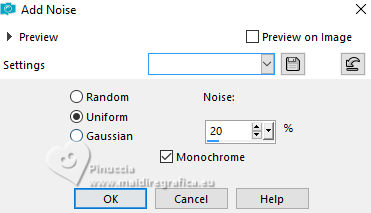
7. Adjust>Add/Remove Noise>Add Noise.
8. Set your background color to white.
Layers>New Raster Layer.
Selections>Load/Save selection>Load Selection from Disk.
Look for and load the selection Trudy.
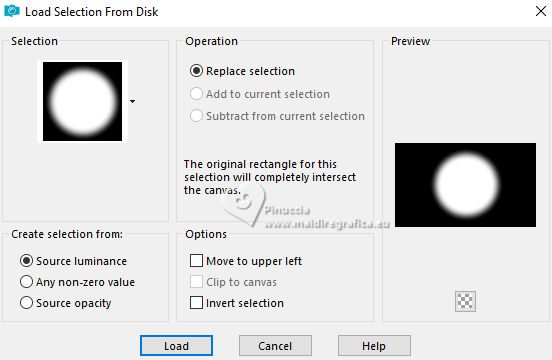
Flood Fill  the selection with your white background color. the selection with your white background color.
Selections>Select None.
9. Effects>Plugins>Toadies - What are you, default settings.
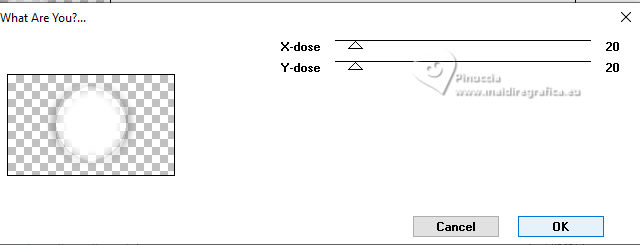
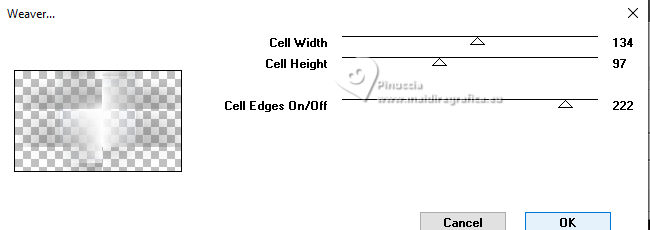
10. Effects>Plugins>Toadies - Weaver.
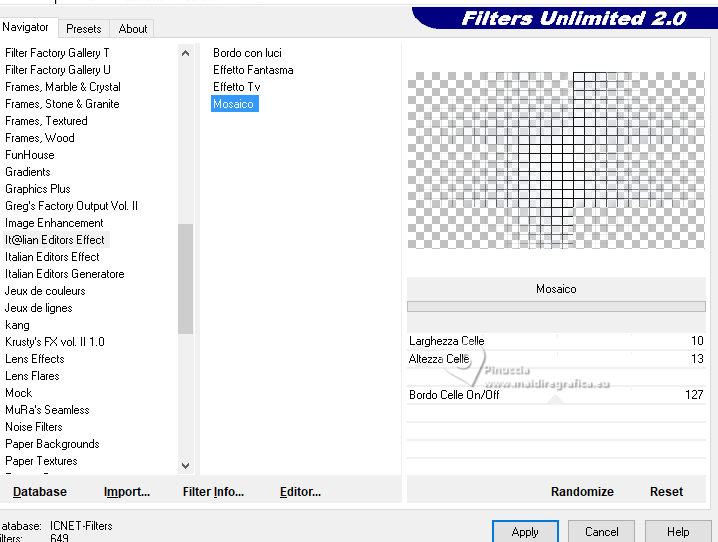
11. Effects>Plugins>Filters Unlimited 2.0 - It@lian Editors Effect - Mosaico, default settings.
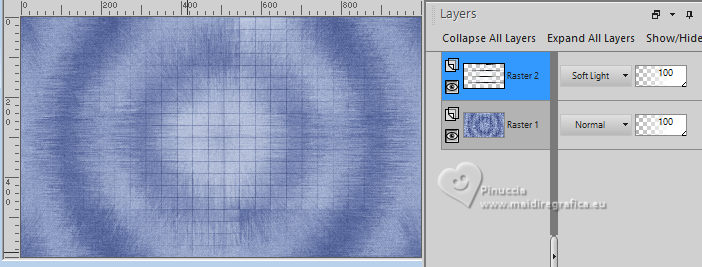
Change the Blend Mode of this layer to Soft Light.
12. Set again your background color with the initial color 
Layers>New Raster Layer.
Flood Fill  the layer with your background color. the layer with your background color.
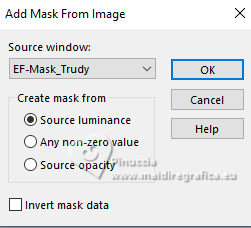
Layers>New Mask layer>From image
Open the menu under the source window and you'll see all the files open.
Select the mask EF-Mask_Trudy .
Layers>Duplicate.
Layers>Merge>Merge Group.
Adjust>Sharpness>Sharpen.
13. Open the tube paysages_0317_lisat 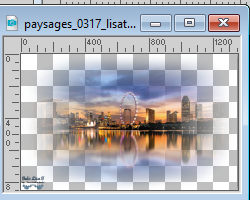
Edit>Copy.
Go back to your work and go to Edit>Paste as new layer.
Image>Resize, to 70%, resize all layers not checked.
Adjust>Sharpness>Sharpen.
14. Layers>Arrange>Move Down.
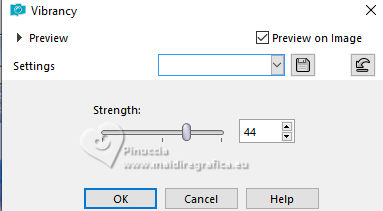
Adjust>Hue and Saturation - Vibrancy
15. K key to activate your Pick Tool 
and set Position X: -1,00 and Position Y: -31,00.

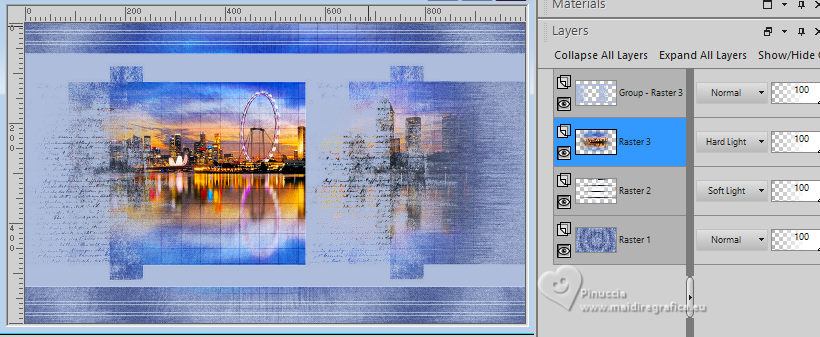
Change the Blend Mode of this layer to Hard Light.
16. Activate your top layer.
Open EF-Trudy_Texto 
Edit>Copy.
Go back to your work and go to Edit>Paste as new layer.
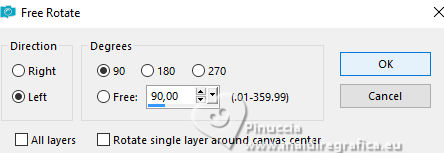
Image>Free Rotate - 90 degrees to left.
17. Set Position X: 9,00 and Position Y: 30,00.

M key to deselect the Tool.
Effects>3D Effects>Drop Shadow, color #ffffff.
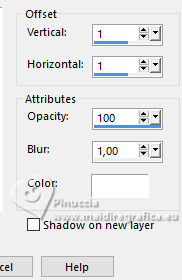
18. Adjust>Add/Remove Noise>Add Noise, same settings

19. Effects>Plugins>FM Tile Tools - Blend Emboss, default settings.

Result.
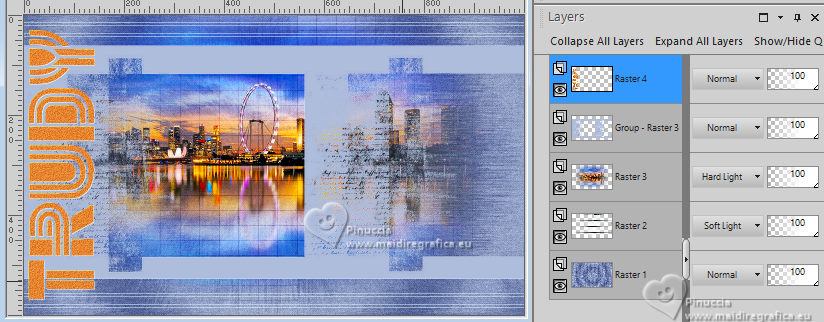
20. Layers>Merge>Merge visible.
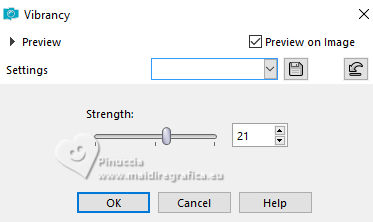
21. Adjust>Hue and Saturation>Vibrancy.
22. Image>Add borders, 1 pixel, symmetric, foreground color
Image>Add borders, 30 pixels, symmetric, color white.
Image>Add borders, 1 pixel, symmetric, foreground color
Image>Add borders, 30 pixels, symmetric, color white.
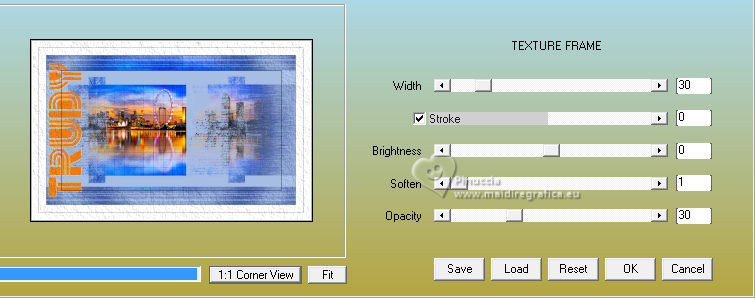
23. Effects>Plugins>AAA Frames - Texture Frame.
24. Ouvrir le tube Mulher626_byRobertaMaver 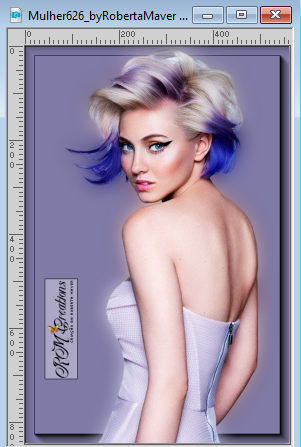
Edit>Copy.
Go back to your work and go to Edit>Paste as new layer.
Erase the watermark.
Image>Resize, to 85%, resize all layers not checked.
25. K key to activate your Pick Tool 
and set Position X: 661,00 and Position Y: 17,00.

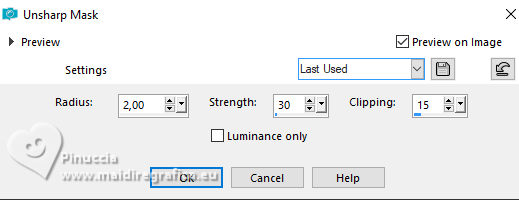
26. Adjust>Sharpness>Unsharp Mask.
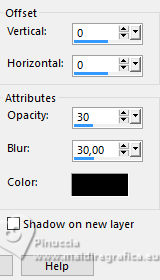
27. Effects>3D Effects>Drop Shadow, color #000000.
28. Image>Add borders, 1 pixel, symmetric, color #000000.
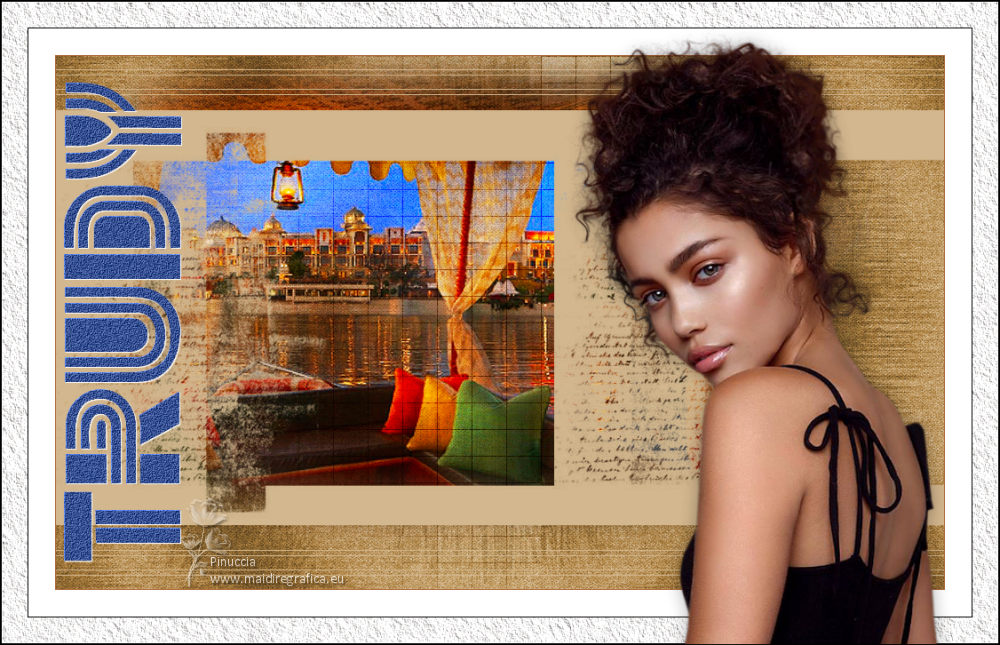
Image>Resize, 1000 pixels width, resize all layers checked.
Save as jpg.
For the tubes of this versions thanks Beatriz and Luz Cristina.


If you have problems or doubts, or you find a not worked link, or only for tell me that you enjoyed this tutorial, write to me.
12 November 2023

|


