|
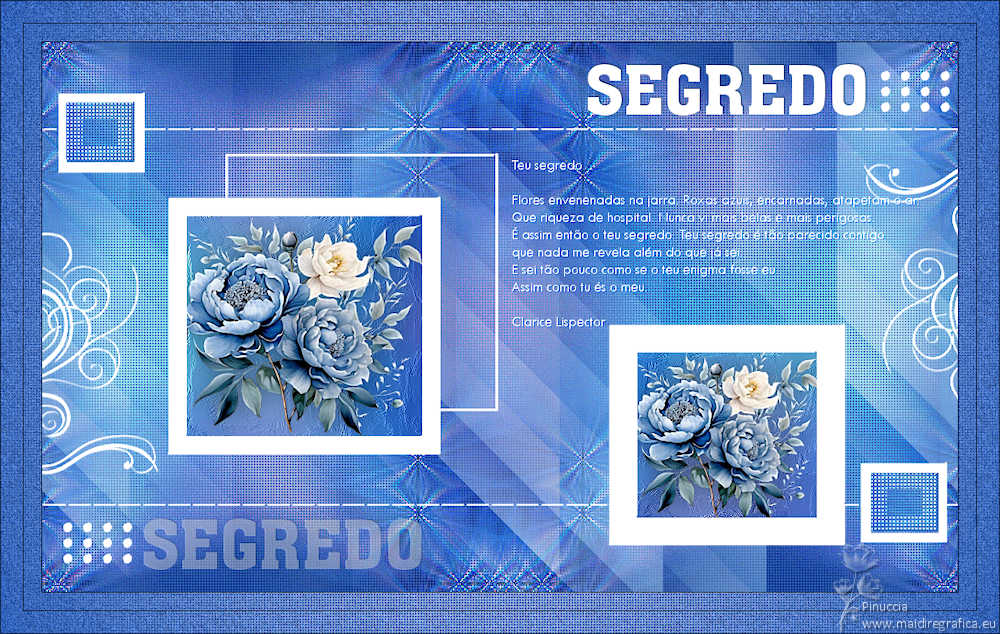
SEGREDO


Thanks Estela for your invitation to translate your tutorials into english

This tutorial, created with PSP2022, was translated with PspX7, but it can also be made using other versions of PSP.
Since version PSP X4, Image>Mirror was replaced with Image>Flip Horizontal,
and Image>Flip with Image>Flip Vertical, there are some variables.
In versions X5 and X6, the functions have been improved by making available the Objects menu.
In the latest version X7 command Image>Mirror and Image>Flip returned, but with new differences.
See my schedule here
 French Translation here French Translation here
 Your versions here Your versions here

For this tutorial, you will need:

Thanks for two tubes Mentali and Kamil.
The rest of the material is by Estela Fonseca.
(The links of the tubemakers here).
*It is forbidden to remove the watermark from the supplied tubes, distribute or modify them,
in order to respect the work of the authors

consult, if necessary, my filter section here
Filters Unlimited 2.0 here
&<Bkg Kaleidoscope> - Kaleidoscope Butterfly, Zandflower (to import in Unlimited) here
Graphics Plus - Horizontal Mirror here
Filter Factory Gallery N - Bulging Edge Average here
Two Moon - Emboston here
VM Distortion - Flip Chop here
&#AFS IMPORT] - sqborder2 here
AAA Frames - Texture Frame here
Filters Graphics Plus, Factory Gallery, Two Moon, VM Distortion, AFS IMPORT can be used alone or imported into Filters Unlimited.
(How do, you see here)
If a plugin supplied appears with this icon  it must necessarily be imported into Unlimited it must necessarily be imported into Unlimited

You can change Blend Modes according to your colors.
In the newest versions of PSP, you don't find the foreground/background gradient (Corel_06_029).
You can use the gradients of the older versions.
The Gradient of CorelX here

Copy the preset Emboss 3 in the Presets Folder.
Open the mask in PSP and minimize it with the rest of the material.
Set your foreground color to #3060b7
and your background color to #ffffff.
1. Open EF-Segredo_Alpha
Window>Duplicate or, on the keyboard, shift+D to make a copy.

Close the original.
The copy, that will be the basis of your work, is not empty,
but contains the selections saved to alpha channel.
2. Selections>Select All.
Open the background image EF-Segredo_Fundo 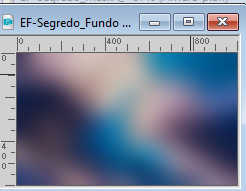
Edit>Copy.
Go back to your work and go to Edit>Paste into Selection.
Selections>Select None.
Colorize the background if you use other colors
3. Effects>Plugins>Filters Unlimited 2.0 - &<Bkg Kaleidoscope> - Kaleidoscope Butterfly.
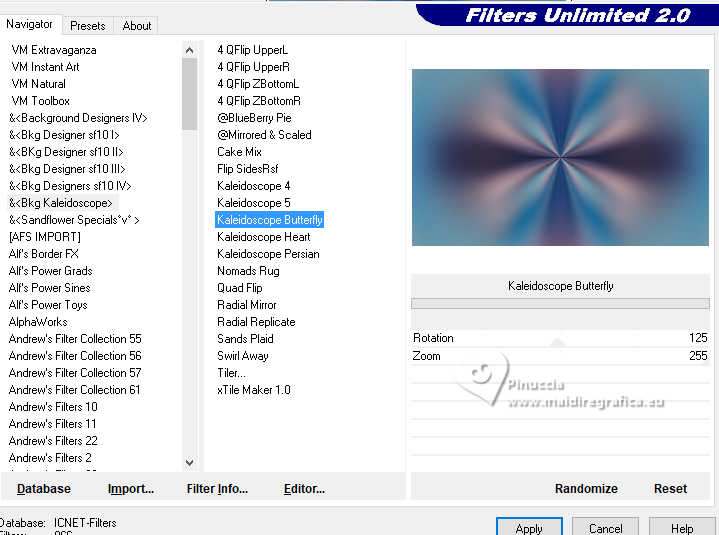
Effects>Image Effects>Seamless Tiling, Side by Side.

4. Effects>Plugins>Graphics Plus - Horizontal Mirror, default settings.
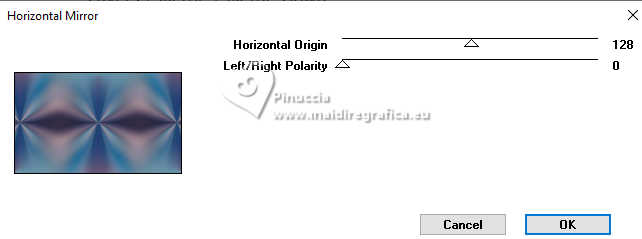
Layers>Duplicate.
Change the Blend Mode of this layer to Hard Light.
Layers>Merge>Merge Down.
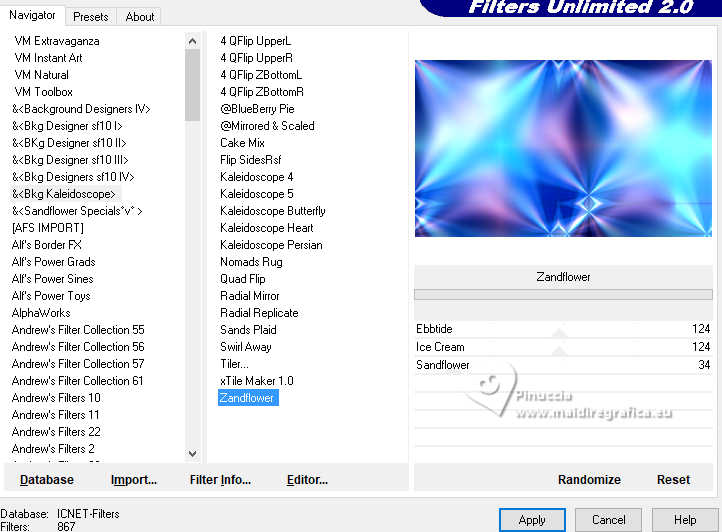
5. Effects>Plugins>Filters Unlimited 2.0 - &<Bkg Kaleidoscope> - Zandflower, default settings.
6. Effects>Plugins>Filter Factory Gallery N - Bulging Edge Average, default settings
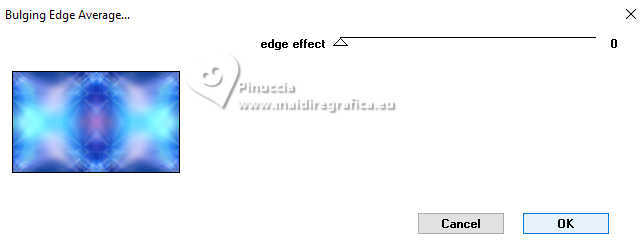
Effects>Edge Effects>Enhance More.
7. Effects>Plugins>Filters Unlimited 2.0 - Two Moon - Emboston, default settings.
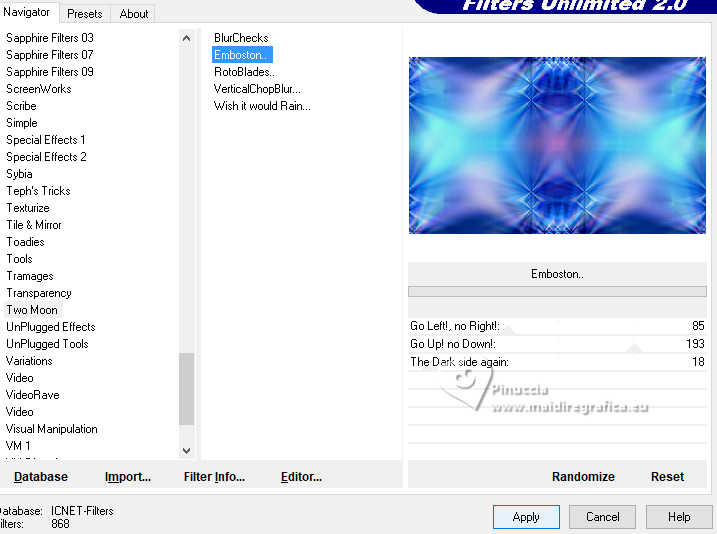
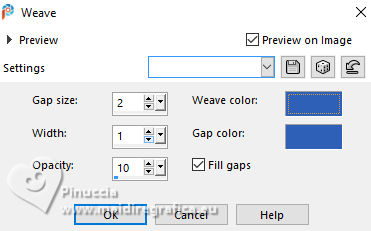
Effects>Texture Effects>Weave
both colors: foreground color #3060b7.
8. Layers>New Raster Layer.
Flood Fill  the layer with color #ffffff. the layer with color #ffffff.
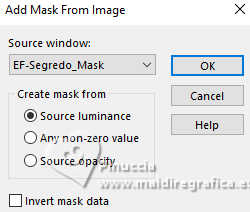
Layers>New Mask layer>From image
Open the menu under the source window and you'll see all the files open.
Select the mask EF-Segredo_Mask.
Layers>Merge>Merge Group.
9. Effects>User Defined Filter - select the preset Emboss 3 et ok.

Layers>Duplicate.
Layers>Merge>Merge Down.
10. Activate your background color, Raster 1.
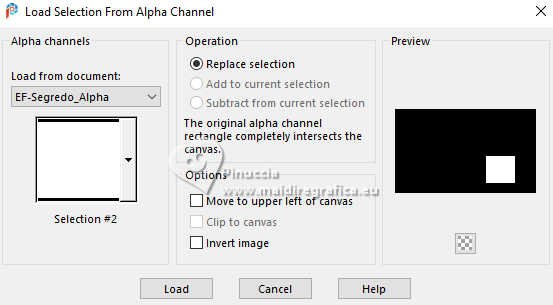
Selections>Load/Save Selection>Load Selection from Alpha Channel.
The selection Selection #1 is immediately available. You just have to click Load.
Selections>Promote Selection to Layer.
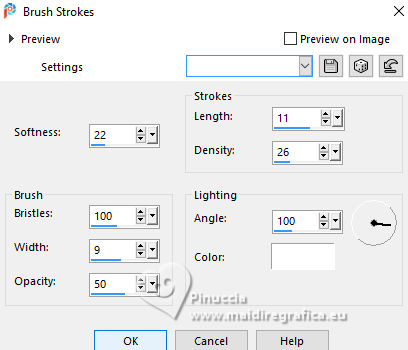
11. Effects>Art Media Effects>Brush Strokes.
12. Layers>New Raster Layer.
Open the tube EF-Flores_Azuis_08_04_2024 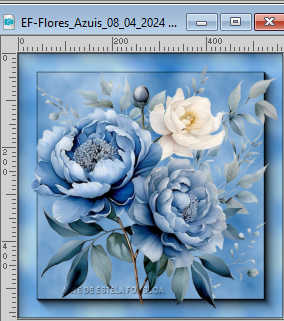
Edit>Copy.
Go back to your work and go to Edit>Paste into Selection.
Selections>Select None.
Adjust>Sharpness>Sharpen More.
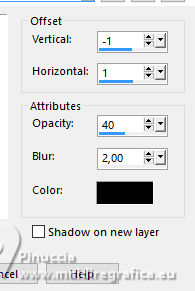
13. Effects>3D Effects>Drop Shadow, color #000000.

Layers>Merge>Merge Down.
14. Activate again your background layer, Raster 1.
Selections>Load/Save Selection>Load Selection from Alpha Channel.
Open the selections menu and load the selection Selection #2
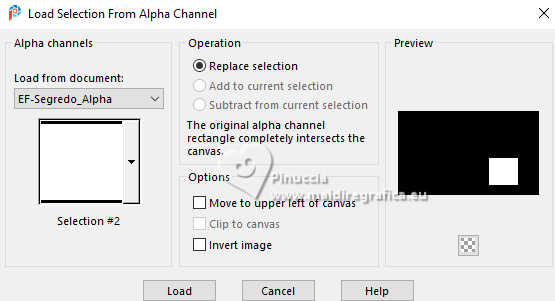
Selections>Promote Selection to Layer.
15. Effects>Art Media Effects>Brush Strokes, same settings

16. Layers>New Raster Layer.
Edit>Paste into Selection (the tube is still in memory).
Selections>Select None.
Adjust>Sharpness>Sharpen More.
17. Effects>3D Effects>Drop Shadow, color #000000.

Layers>Merge>Merge Down.
18. Activate your background layer, Raster 1.
Edit>Paste as new layer (the tube is always in memory).
Adjust>Blur>Gaussian Blur - radius 50.

19. Effects>Plugins>VM Distortion - Flip Shop, default settings.
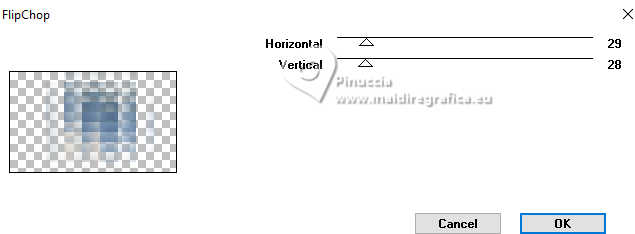
Effects>Geometric Effects>Skew.
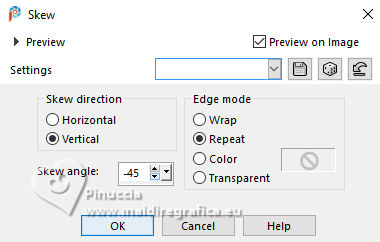
20. Effects>Image Effects>Seamless Tiling, Side by Side.

Change the Blend Mode of this layer to Screen and reduce the opacity to 65%.
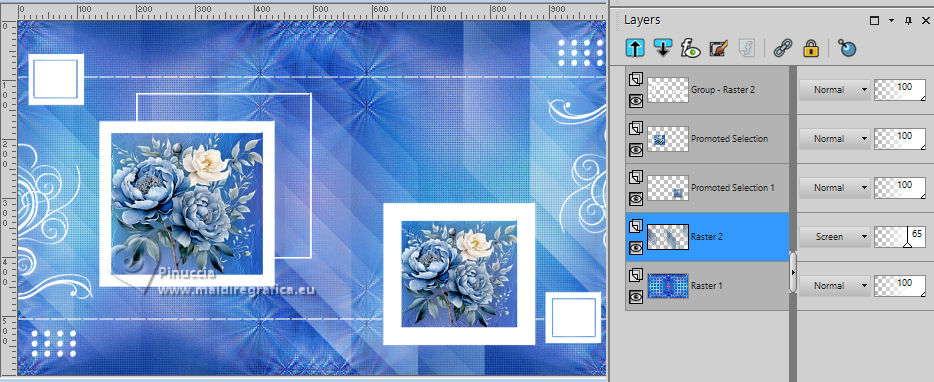
21. Again activate your background layer.
Selections>Load/Save Selection>Load Selection from Alpha Channel.
Open the selections menu and load the selection Selection #3
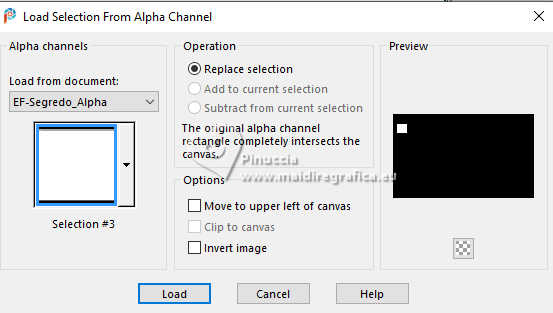
Selections>Promote Selection to Layer.
Layers>Arrange>Bring to top.
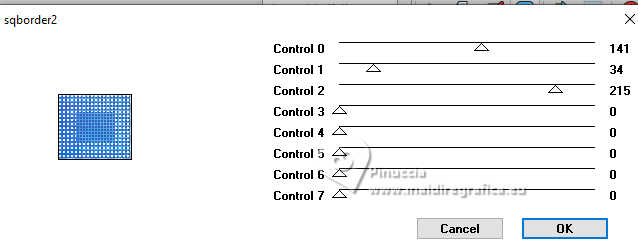
22. Effects>Plugins>AFS IMPORT - sqborder2, default settings.
Edit>Copy
Selections>Select None.
23. Selections>Load/Save Selection>Load Selection from Alpha Channel.
Open the selections menu and load the selection Selection #4
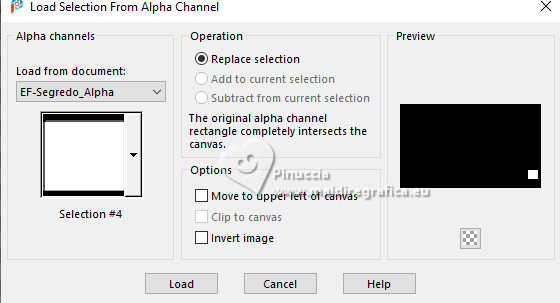
Edit>Paste into Selection
Selections>Select None.
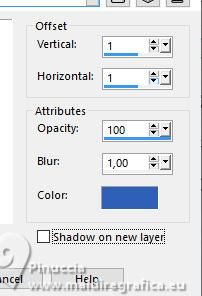
24. Effects>3D Effects>Drop Shadow, foreground color #3060b7.
25. Open EF-Segredo_Texto_1 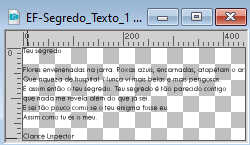
Edit>Copy.
Go back to your work and go to Edit>Paste as new layer.
K key to activate your Pick Tool 
Set Position X: 513,00 and Position Y: 129,00.

Image>Negative Image.
Effects>3D Effects>Drop Shadow, foreground color #3060b7.
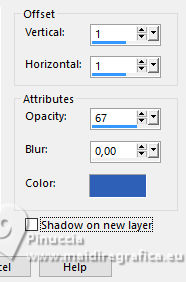
Change the Blend Mode of this layer to Hard Light.
26. Open EF-Segredo_Texto_2 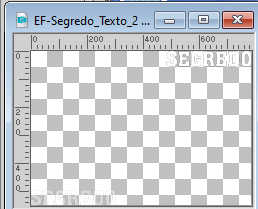
Edit>Copy.
Go back to your work and go to Edit>Paste as new layer.
Set Position X: 111,00 and Position Y: 24,00.

M key to deselect the Tool.
Effects>3D Effects>Drop Shadow, color #000000.
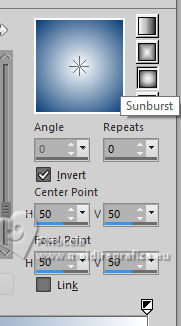
27. Set your foreground color to a Foreground/Background Gradient, style Sunburst.
Image>Add borders, 1 pixels, symmetric, foreground color #3060b7.
Image>Add borders, 45 pixels, symmetric, color #fffffff.
Activate your Magic Wand Tool  , tolerance and feather 0, , tolerance and feather 0,
click in the white border to select it.
Flood Fill  the selection with your Gradient. the selection with your Gradient.
28. Effects>Texture Effects>Weave, same settings.

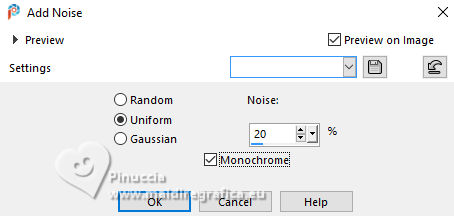
29. Adjust>Add/Remove Noise>Add Noise.
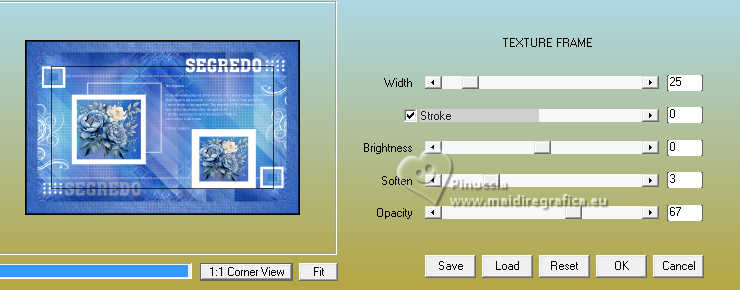
Effects>Plugins>AAA Frames - Texture Frame.
Selections>Invert.
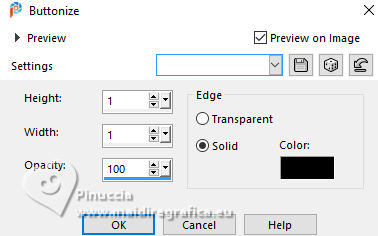
30. Effects>3D Effects>Buttonize, color black.
Selections>Select None.
Image>Resize, 1000 pixels width, resize all layers checked.
Sign your work and save as jpg.
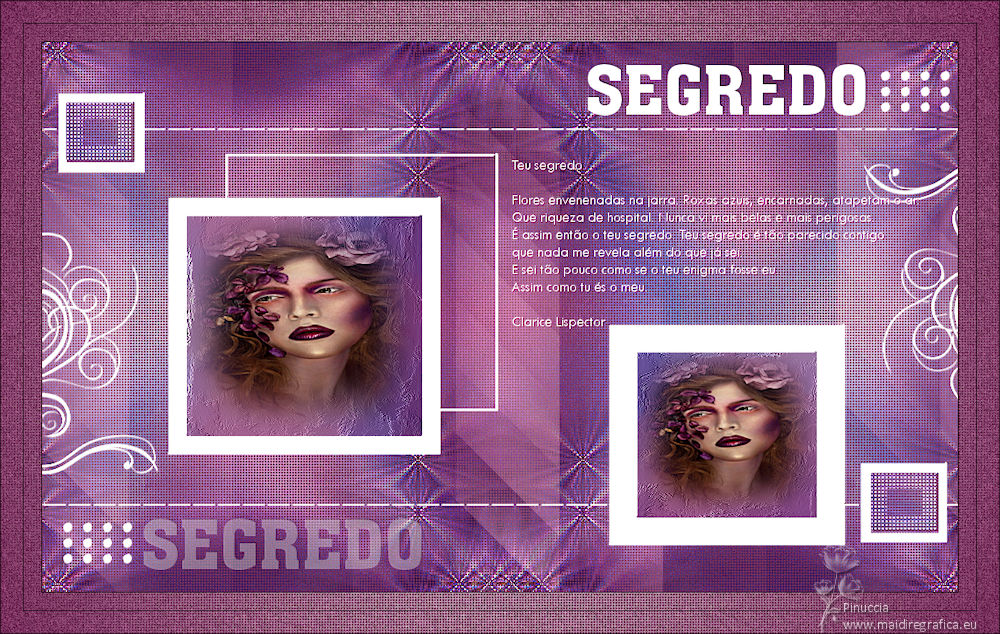
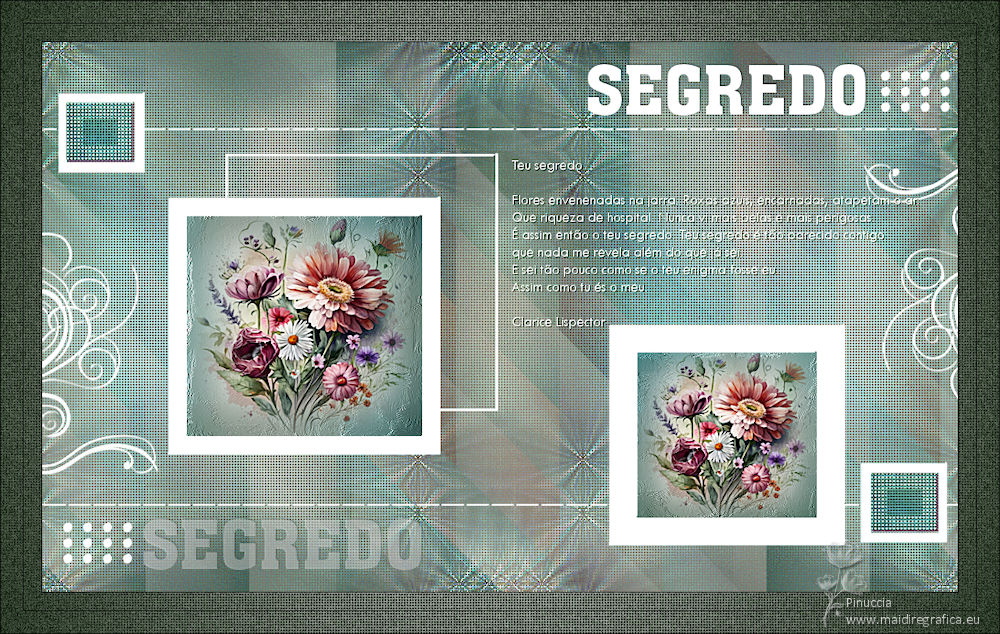
For the tubes of these versions thanks
Mentali
Silvie


If you have problems or doubts, or you find a not worked link,
or only for tell me that you enjoyed this tutorial, write to me.
21 June 2024

|

