Home |
Home |

Mappa sito |
Mappa sito |
Tutorial |
Tutorial |
Tut tecnici |
Tut tecnici |
Links-Banner |
Links-Banner |
Regali-Award |
Regali-Award |
Informatica |
Informatica |
Archivio |
Archivio |
Mail |
Mail |
Privacy policy |
Privacy policy |
Novità |
Novità |
Home |
Home |
Mappa sito |
Mappa sito |
Tutorial |
Tutorial |
Tut tecnici |
Tut tecnici |
Links-Banner |
Links-Banner |
Regali-Award |
Regali-Award |
Informatica |
Informatica |
Archivio |
Archivio |
Mail |
Mail |
Privacy policy |
Privacy policy |
Novità |
Novità |
|
ROSSELLA  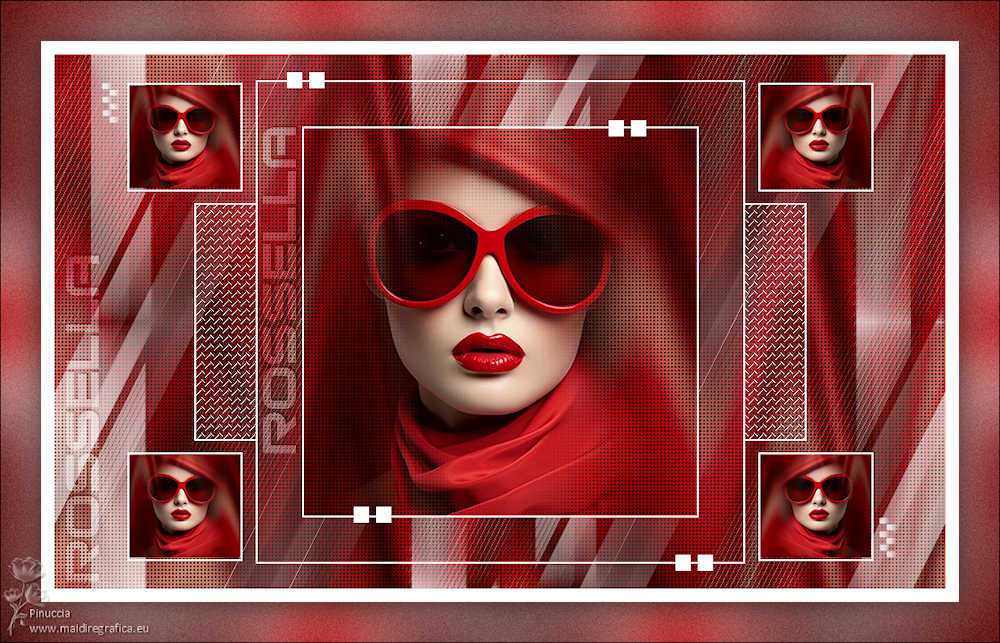

This tutorial, created with PSP2022, was translated with PspX7, but it can also be made using other versions of PSP.  You can change Blend Modes according to your colors.  Set your foreground color to #b00202, and your background color to #ffffff.  1. Open EF-Rossella_Alpha. Window>Duplicate or, on the keyboard, shift+D to make a copy.  Close the original. The copy, that will be the basis of your work, is not empty, but contains the selections saved to alpha channel. 2. Selections>Select All. Open imagem-1 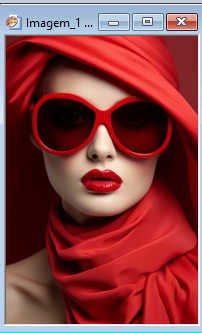 Edit>Copy. Go back to your work and go to Edit>Paste into Selection. Selections>Select None. 3. Effects>Image Effects>Seamless Tiling.  4. Adjust>Blur>Gaussian Blur - radius 35.  5. Effects>Plugins>Filters Unlimited 2.0 - &<Background DesignersIV> - sf10 Diamond Mountian, default settings. 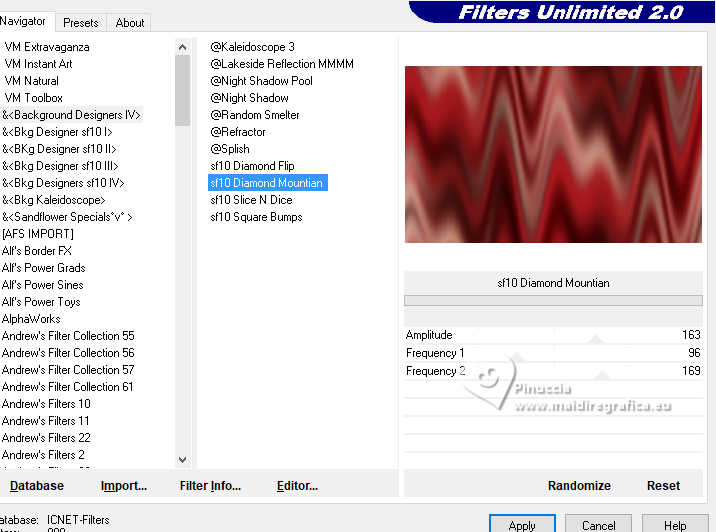 6. Adjust>Hue and Saturation>Vibrancy. 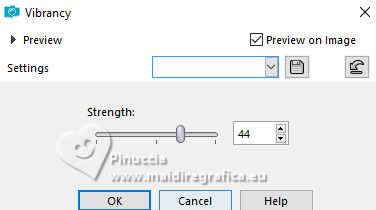 7. Effects>Texture Effects>Weave weave color: foreground color #b00202 gap color: color black #000000. 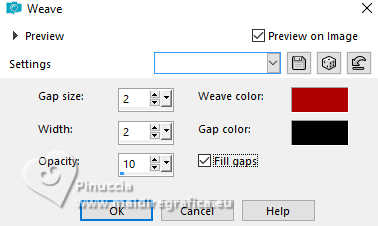 8. Layers>New Raster Layer. Flood Fill  with your white background color. with your white background color.Layers>New Mask layer>From image Open the menu under the source window and you'll see all the files open. Select the mask EF_Mask_243 . 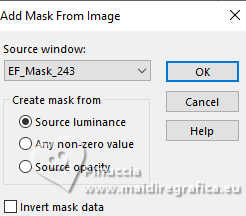 Layers>Merge>Merge Group. 9. Effects>Geometric Effects>Skew. 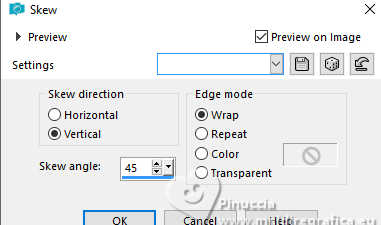 Edit>Repeat Skew. 10. Effects>Image Effects>Seamless Tiling, same settings. Reduce the opacity of this layer to 75%. 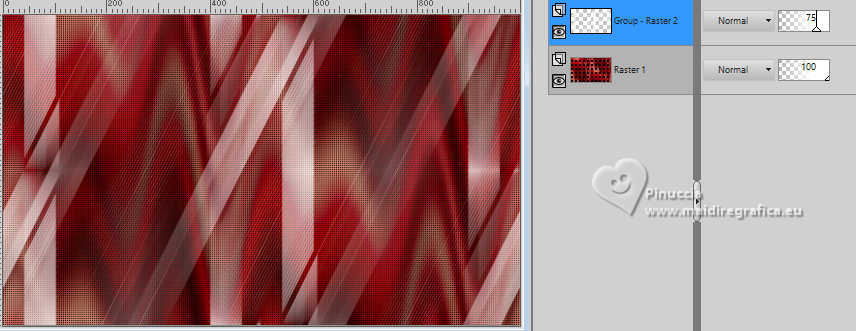 11. Layers>New Raster Layer. Flood Fill with your white background color.Layers>New Mask layer>From image Open the menu under the source window and select the mask EF_Mask_705 . 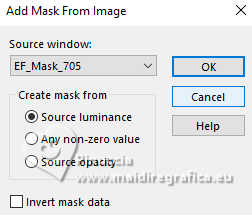 Layers>Merge>Merge Group. 12. Selections>Load/Save Selection>Load Selection from Alpha Channel. The selection Selection #1 is immediately available. You just have to click Load. 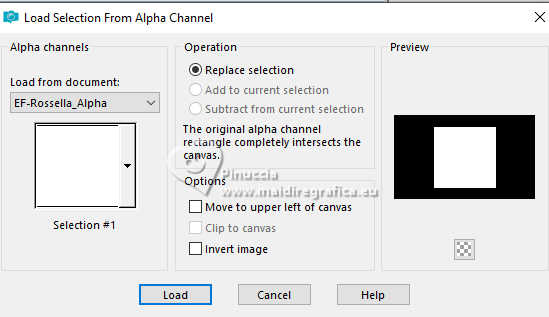 Selections>Promote Selection to Layer. Layers>Arrange>Bring to top. 13. Open Misted_1_EF 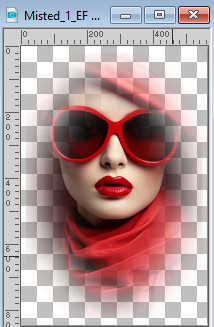 Edit>Copy. Go back to your work and go to Edit>Paste as new layer. Image>Resize, to 70%, resize all layers not checked. Place  the tube on the selection. the tube on the selection.Selections>Invert. Press CANC on the keyboard  Selections>Select None. Adjust>Sharpness>Sharpen. 14. Layers>Merge>Merge Down. Edit>Copy 15. Layers>New Raster Layer. Selections>Load/Save Selection>Load Selection from Alpha Channel. Open the selections menu and load the selection Selection #2 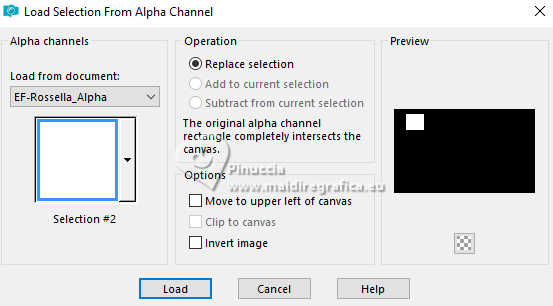 16. Edit>Paste into Selection (image of step 14). Adjust>Sharpness>Sharpen. Selections>Select None. 17. Layers>Duplicate. Image>Mirror>Mirror Horizonta. Layers>Merge>Merge Down. 18. Layers>Duplicate. Image>Mirror>Mirror Vertical. Image>Flip>Flip Vertical. Layers>Merge>Merge Down. 19. Open EF-Rossella_Deco_1 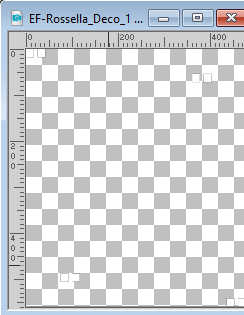 Edit>Copy. Go back to your work and go to Edit>Paste as new layer. It is at its place. Position horiz.:261,00 - Position vert.: 20,00. 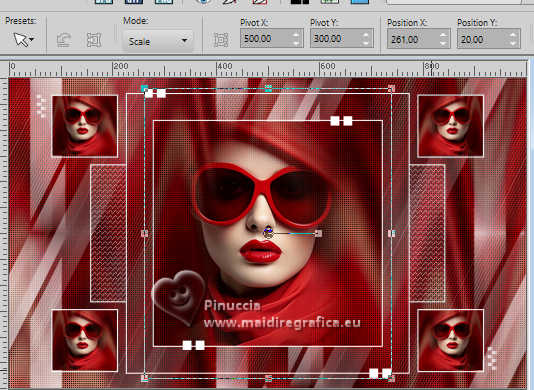 20. Image>Add borders, 15 pixels, symmetric, color #ffffff. Image>Add borders, 45 pixels, symmetric, foreground color #b00202. Activate your Magic Wand Tool  and click in the last border to select it. 21. Effects>Plugins>Graphics Plus - Quick Tile II, default settings. 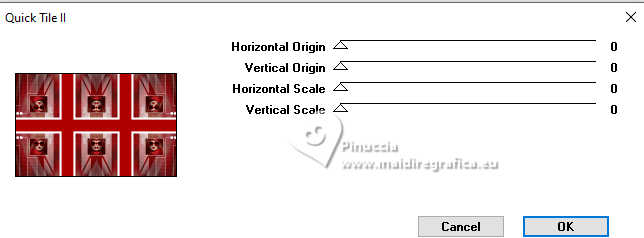 22. Adjust>Blur>Gaussian Blur - radius 35. 23. Adjust>Add/Remove Noise>Add Noise. 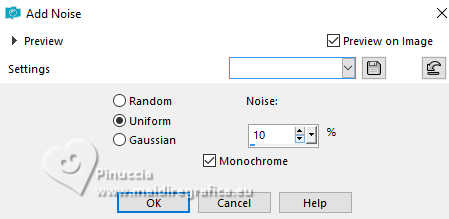 24. Selections>Invert. Effects>3D Effects>Drop Shadow, color #000000. 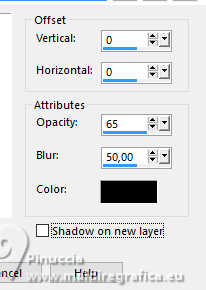 Selections>Select None. 25. Open EF-Rossella_Texto 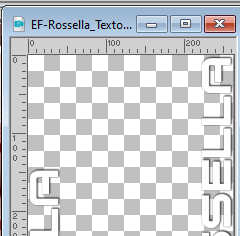 Edit>Copy. Go back to your work and go to Edit>Paste as new layer. 26. K key to activate your Pick Tool  Position X: 71,00 - Position Y: 138,00. 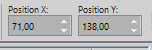 M key to deselect the Tool. Change the Blend Mode of this layer to Soft Light. 27. Sign your work. Image>Add borders, 1 pixel, symmetric, color #000000. 28. Image>Resize, 1000 pixels width, resize all layers checked. Save as jpg. Second version  For the tube of this version thanks Luz Cristina    If you have problems or doubts, or you find a not worked link, or only for tell me that you enjoyed this tutorial, write to me. 13 July 2024 |


 French Translation
  Your versions

 it must necessarily be imported into Unlimited
