|
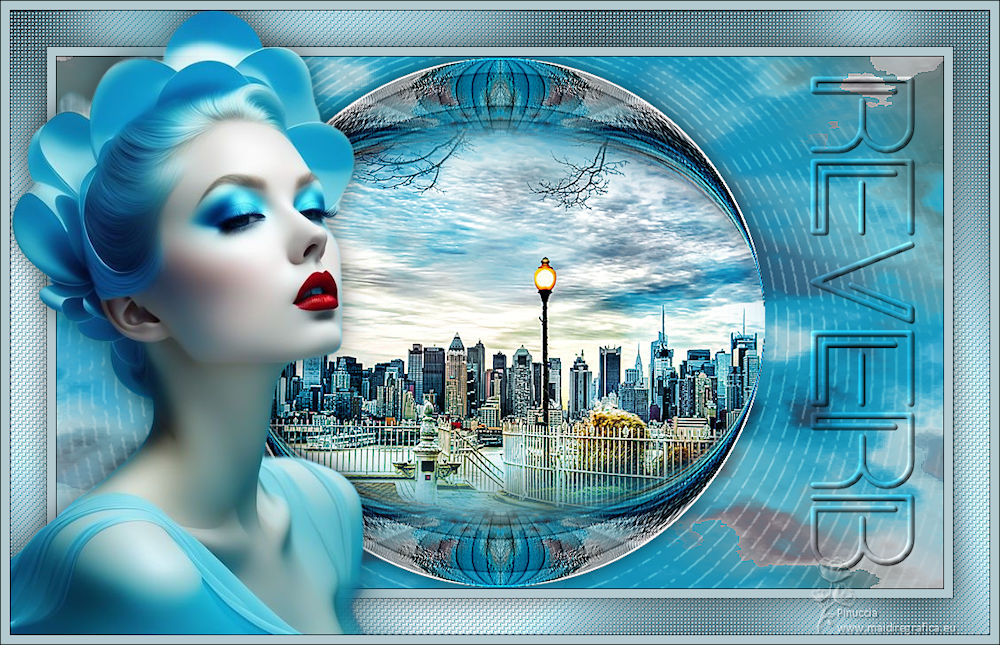
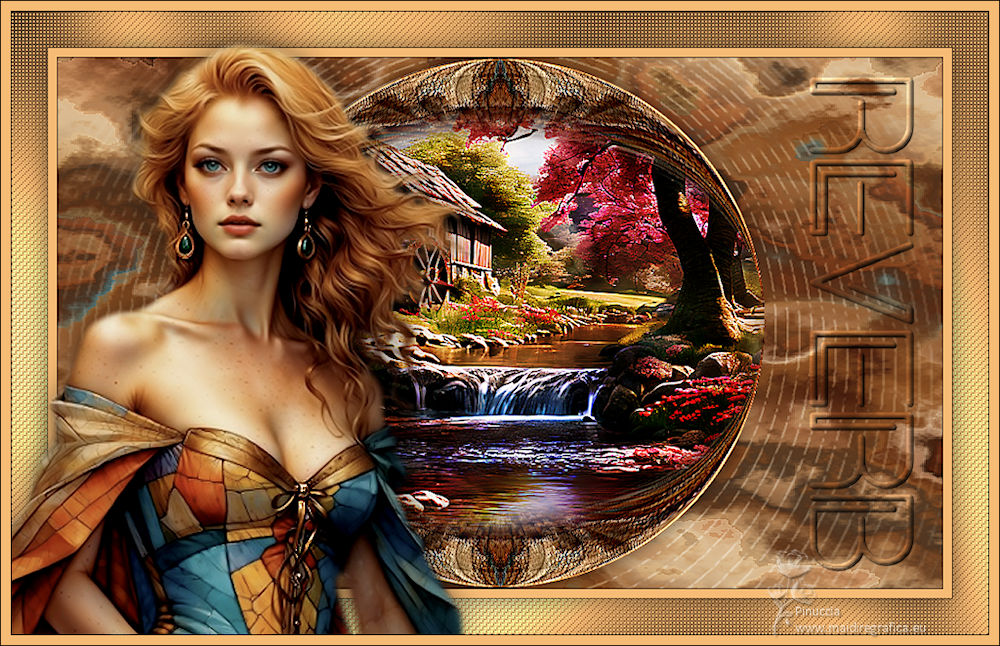
REVERB


Thanks Estela for your invitation to translate your tutorials into english

This tutorial, created with PSP2022, was translated with PspX7, but it can also be made using other versions of PSP.
Since version PSP X4, Image>Mirror was replaced with Image>Flip Horizontal,
and Image>Flip with Image>Flip Vertical, there are some variables.
In versions X5 and X6, the functions have been improved by making available the Objects menu.
In the latest version X7 command Image>Mirror and Image>Flip returned, but with new differences.
See my schedule here
 French Translation here French Translation here
 Your versions here Your versions here

For this tutorial, you will need:

Thanks for the tubes Renée and PqnaAlice.
(The links of the tubemakers here).
*It is forbidden to remove the watermark from the supplied tubes, distribute or modify them,
in order to respect the work of the authors

consult, if necessary, my filter section here
Filters Unlimited 2.0 here
&<Bkg Designer sf10IV> - @Random Smelter, sf10 Square Bumps (to import in Unlimited) here
Mura's Meister - Perspective Tiling here
Alien Skin Eye Candy 5 Impact - Backlight here
Graphics Plus - Cross Shadow here
Filters Graphics Plus can be used alone or imported into Filters Unlimited.
(How do, you see here)
If a plugin supplied appears with this icon  it must necessarily be imported into Unlimited it must necessarily be imported into Unlimited

You can change Blend Modes according to your colors.
Copy the preset  in the folder of the plugin Alien Skin Eye Candy 5 Impact>Settings>Backlight. in the folder of the plugin Alien Skin Eye Candy 5 Impact>Settings>Backlight.
One or two clic on the file (it depends by your settings), automatically the preset will be copied in the right folder.
why one or two clic see here

Copy the preset Emboss 3 in the Presets Folder
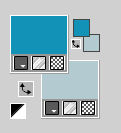
1. Set your foreground color to #1492b7,
and your background color to #b3cad1.
1. Open EF-Reverb_Alpha.
Window>Duplicate or, on the keyboard, shift+D to make a copy.

Close the original.
The copy, that will be the basis of your work, is not empty,
but contains the selections saved to alpha channel.
Flood Fill  the transparent image with your foreground color #1492b7. the transparent image with your foreground color #1492b7.
2- Selections>Select All.
Open the tube Renee-TUBES-Avril-2024-44 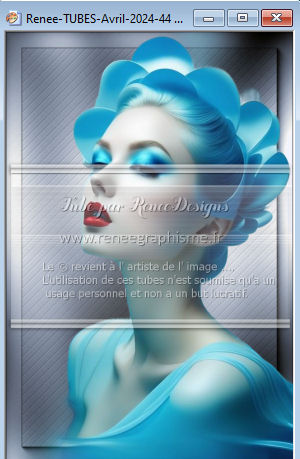
Edit>Copy.
Go back to your work and go to Edit>Paste into Selection.
Selections>Select None.
3. Effects>Image Effects>Seamless Tiling.

4. Adjust>Blur>Gaussian Blur - radius 30.

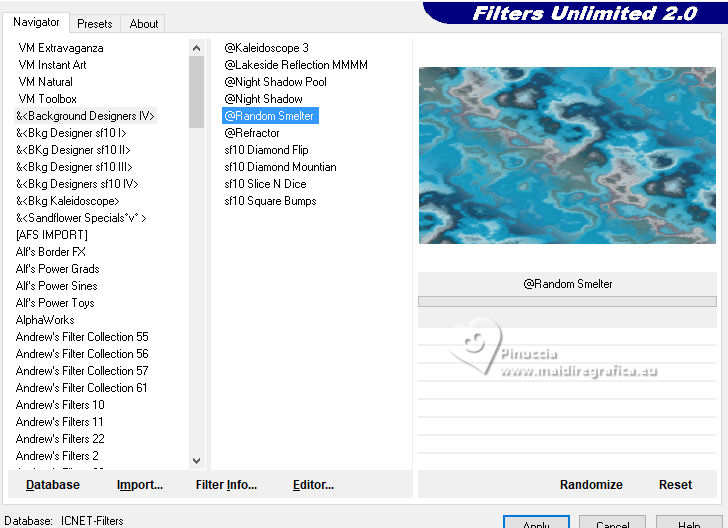
5. Effects>Plugins>Filters Unlimited 2.0 - &<Background Designers IV> - @Random Smelter.
Adjust>Sharpness>Sharpen More.
6. Layers>Duplicate.
Effects>Art Media Effects>Brush Strokes - color #ffffff.
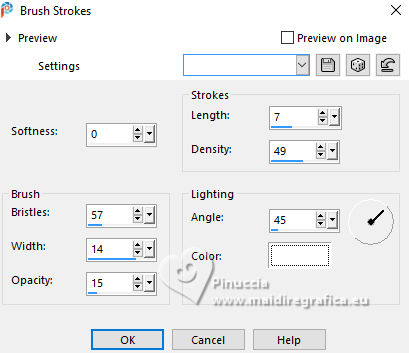
7. Effects>Plugins>Filters Unlimited 2.0 - &<Background Designers IV> - sf10 Square Bumps.
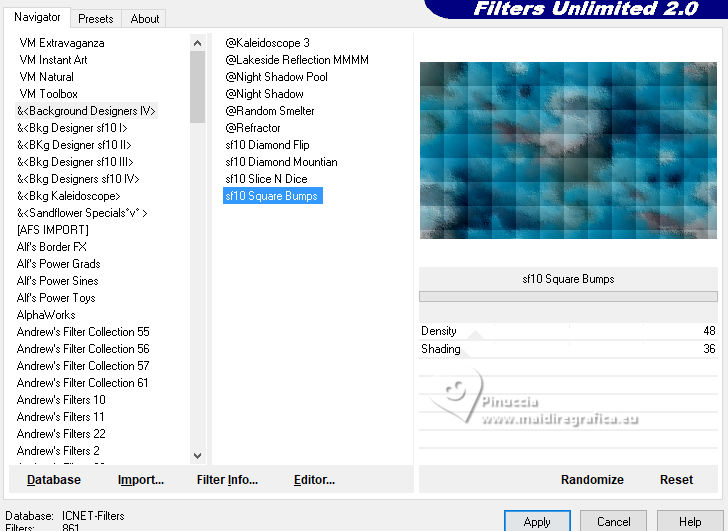
8. Effects>Plugins>Mura's Meister - Perspective Tiling.
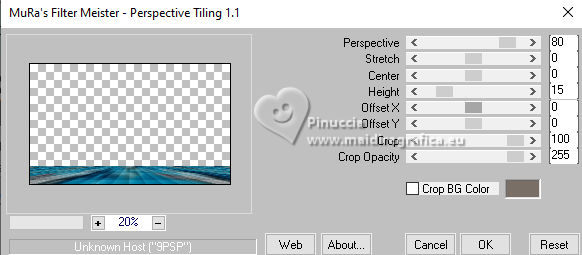
9. Activate your Magic Wand Tool  , tolerance 10 and feather 50, , tolerance 10 and feather 50,

and click in the transparent part to select it.
Press 4 times CANC on the keyboard 
Selections>Select None.
9. Effects>Geometric Effects>Circle.

10. Effects>User Defined Filter - select the preset Emboss 3 and ok.

Layers>Duplicate.
Layers>Merge>Merge Down.
11. Layers>Duplicate.
Image>Mirror>Mirror Vertical.
Layers>Merge>Merge Down.
12. Effects>Reflection Effects>Rotating Mirror, default settings.

13. Layers>New Raster Layer.
Set your background color to white
Flood Fill  the layer with color white. the layer with color white.
Effects>Geometric Effects>Circle.

14. Effects>Plugins>Alien Skin Eye Candy 5 Impact - Backlight.
Select the preset EF-The_Best
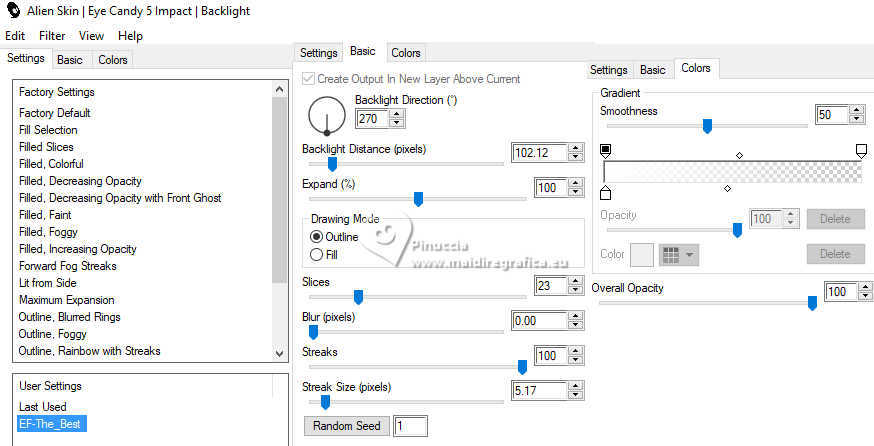
15. Selections>Load/Save Selection>Load Selection from Alpha Channel.
The selection Selection #1 is immediately available. You just have to click Load.
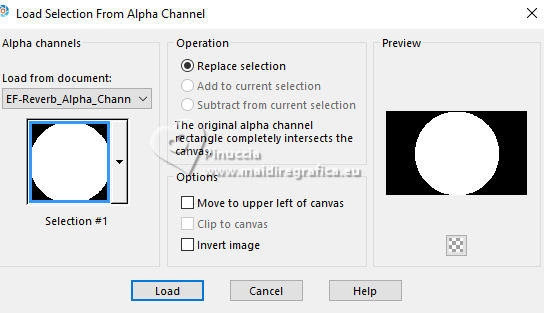
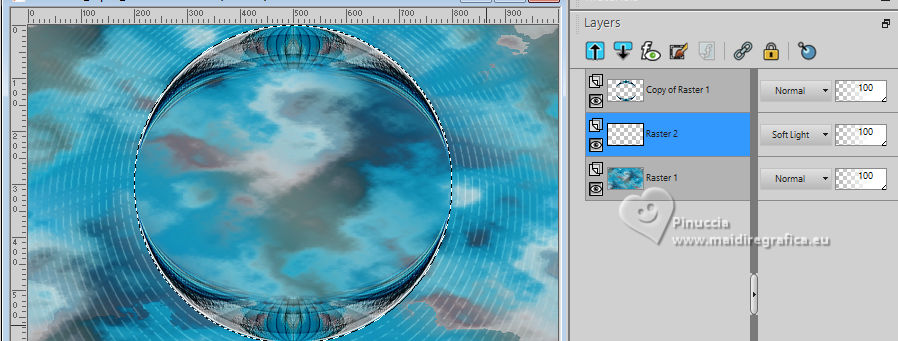
Press CANC on the keyboard 
Keep selected.
Layers>Arrange>Move Down.
Change the Blend Mode of this layer to Soft Light.
16. Open the tube 150PaisagemByPqnaAlice 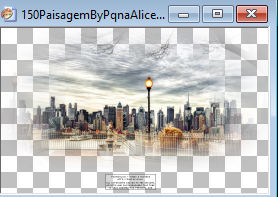
Erase the watermark and go to Edit>Copy.
Go back to your work and go to Edit>Paste as new layer.
Image>Resize, to 85%, resize all layers not checked.
Adjust>Sharpness>Sharpen More.
Change the Blend Mode of this layer to Hard Light.
17. Selections>Invert.
Press CANC on the keyboard.
Selections>Select None.
Layers>Arrange>Move Down.
18. Activate your top layer.
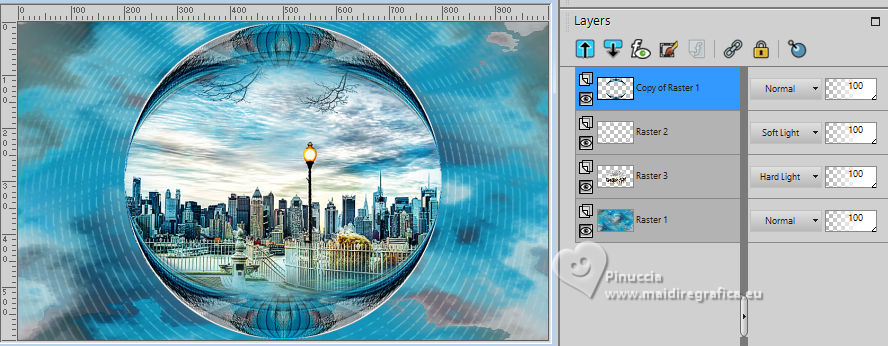
Effects>3D Effects>Drop Shadow, color #000000.

19. Activate your bottom layer, Raster 1.
Selections>Load/Save Selection>Load Selection from Alpha Channel.
Open the selections menu and load the selection Selection #2
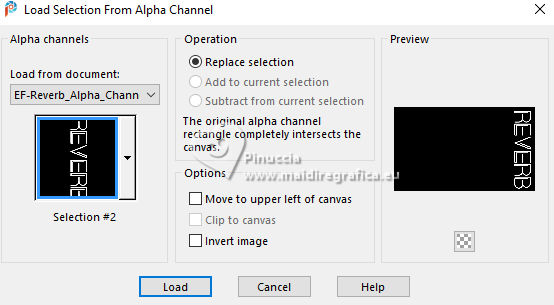
Selections>Promote Selection to Layer.
Layers>Arrange>Bring to Top.
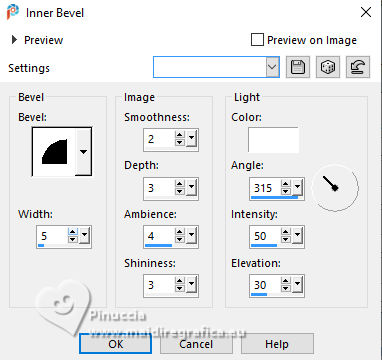
20. Effects>3D Effects>Inner Bevel.
21. Effects>3D Effects>Drop Shadow, color #000000.

Selections>Select None.
22. Set again your background color to #b3cad1.

Image>Add borders, 1 pixel, symmetric, color #000000.
Image>Add borders, 10 pixels, symmetric, background color #b3cad1.
Image>Add borders, 1 pixel, symmetric, color #000000.
Image>Add borders, 40 pixels, symmetric, background color #b3cad1.
23. Activate your Magic Wand Tool  , tolerance and feather 0, , tolerance and feather 0,
and click in the last border to select it.
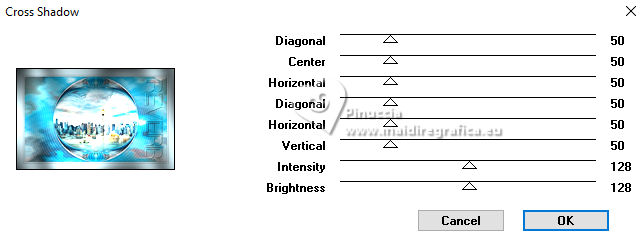
Effects>Plugins>Graphics Plus - Cross Shadow, default settings.
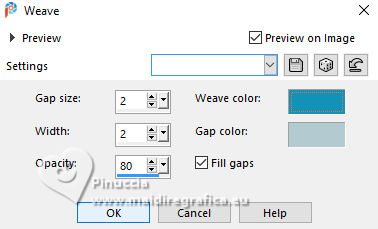
24. Effects>Texture Effects>Weave
weave color: foreground color #1492b7
gap color: background color #b3cad1
Selections>Invert.
25. Effects>3D Effects>Drop Shadow, color #000000.

Selections>Select None.
26. Activate again the tube Renee-TUBES-Avril-2024-44 and go to Edit>Copy.
Go back to your work and go to Edit>Paste as new layer.
Image>Mirror>Mirror Horizontal.
Move  the tube to the left side. the tube to the left side.
27. Effects>3D Effects>Drop Shadow, color #000000.

28. Sign your work.
Image>Add borders, 1 pixel, symmetric, color #000000.
Image>Add borders, 10 pixels, symmetric, background color #b3cad1.
Image>Add borders, 1 pixel, symmetric, color #000000.
29. Image>Resize, 1000 pixels width, resize all layers checked.
30. Save as jpg.
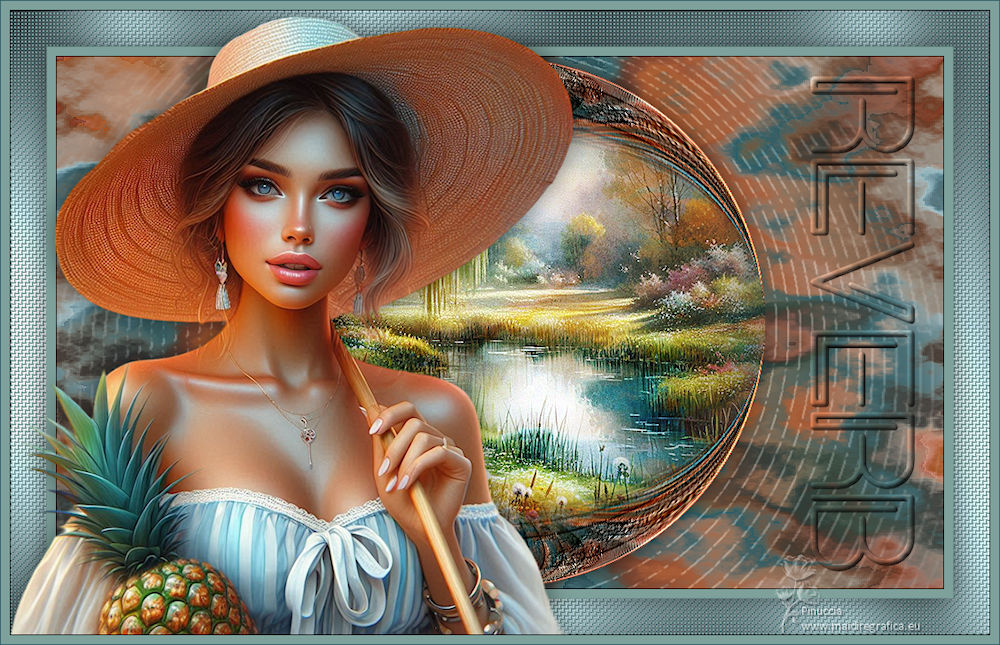
For the tubes of these versions thanks
Luz Cristina and Mentali
Le monde de Bea


If you have problems or doubts, or you find a not worked link,
or only for tell me that you enjoyed this tutorial, write to me.
7 June 2024

|

