|
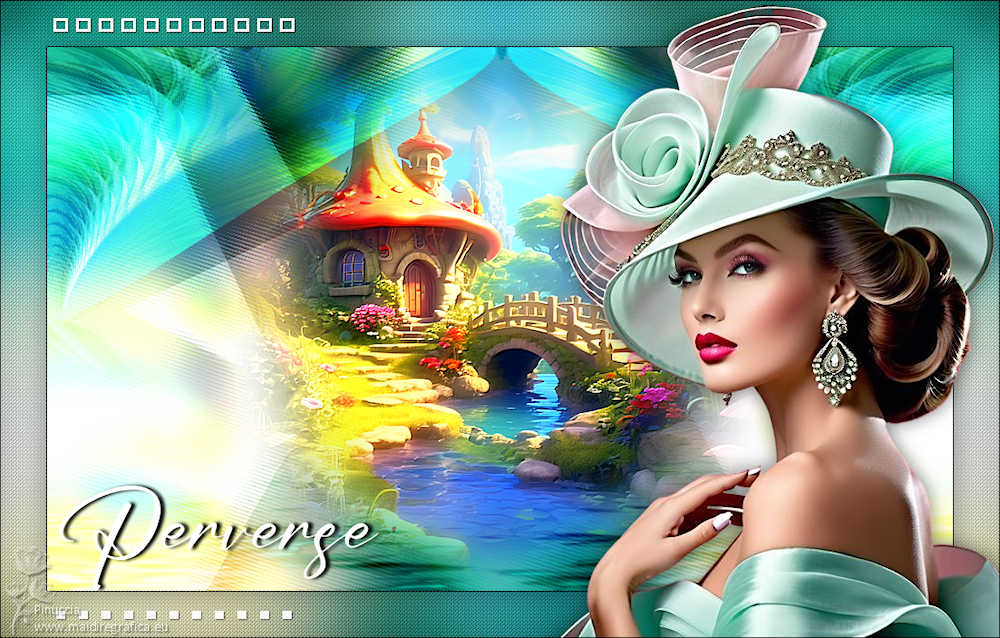
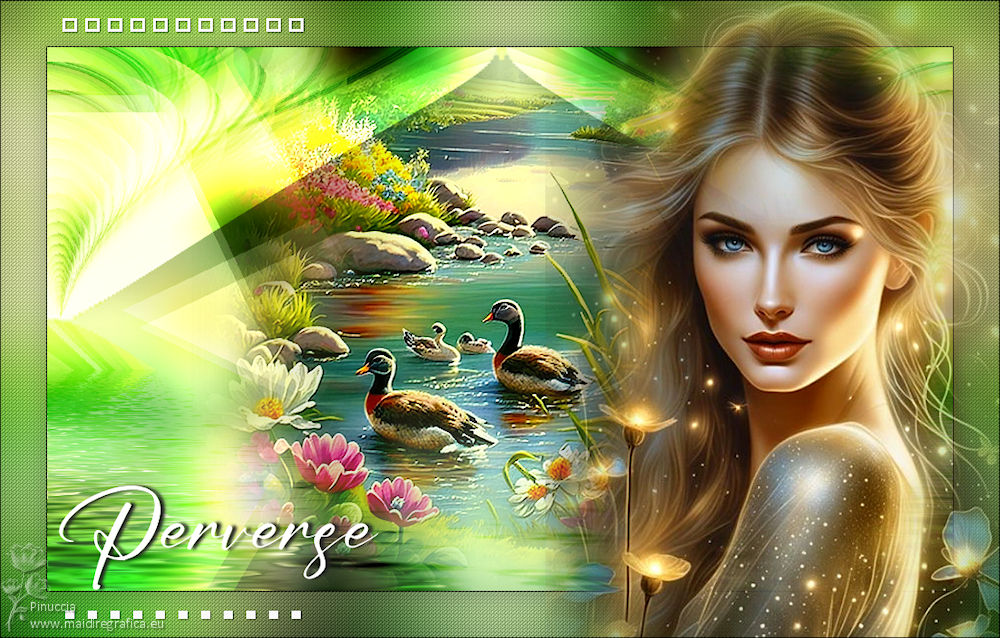
PERVERSE


Thanks Estela for your invitation to translate your tutorials into english

This tutorial, created with PSP2022, was translated with PspX7, but it can also be made using other versions of PSP.
Since version PSP X4, Image>Mirror was replaced with Image>Flip Horizontal,
and Image>Flip with Image>Flip Vertical, there are some variables.
In versions X5 and X6, the functions have been improved by making available the Objects menu.
In the latest version X7 command Image>Mirror and Image>Flip returned, but with new differences.
See my schedule here
 French Translation here French Translation here
 Your versions here Your versions here
For this tutorial, you will need:

For the misted thanks Mentali.
The rest of the material is by Estela Fonseca
(The links of the tubemakers here).
*It is forbidden to remove the watermark from the supplied tubes, distribute or modify them,
in order to respect the work of the authors

consult, if necessary, my filter section here
Filters Unlimited 2.0 here
Graphics Plus - Horizontal Mirror here
Flaming Pear - Flood here
Simple - Half Wrap here
VM Instant Art - Three Cuts here
°V°Kiwi's Oelfilter - 3,5 Promille here
Funhouse - Perverse here
Filter Factory Gallery G - Double Image here
L&K's - L&K's - Raisa here
Cybia - Screenworks here
Filters Graphics Plus, Simple, VM Instant Art, Kiwi, Funhouse and Cybia can be used alone or imported into Filters Unlimited.
(How do, you see here)
If a plugin supplied appears with this icon  it must necessarily be imported into Unlimited it must necessarily be imported into Unlimited

You can change Blend Modes according to your colors.

1. Set your foreground color to #83bab5 
Open a new transparent image 1000 x 600 pixels.
Flood Fill  the transparent image with your foreground color #83bab5. the transparent image with your foreground color #83bab5.
Selections>Select All.
2. Open the tube mentali-misted3086 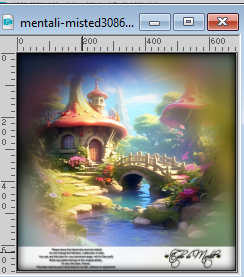
Edit>Copy.
Go back to your work and go to Edit>Paste into Selection.
Selections>Select None.
Effects>Image Effects>Seamless Tiling.

3. Adjust>Blur>Gaussian Blur - radius 25.

4. Layers>Duplicate.
Change the Blend Mode of this layer to Hard Light.
Layers>Merge>Merge Down.
5. Layers>Duplicate.
Effects>Plugins>VM Instant Art - Three Cuts, default settings.
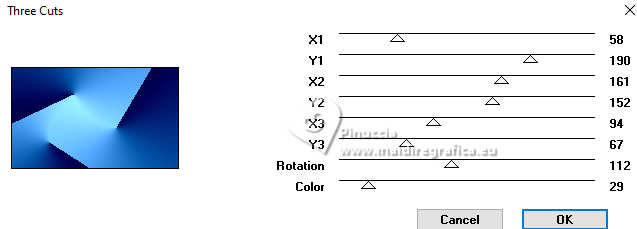
6. Change the Blend Mode of this layer to Luminance (legacy) and reduce the opacity to 48%.
Layers>Merge>Merge Down.
7. Effects>Plugins>°V°Kiwi's Oelfilter - 3,5 Promille, default settings
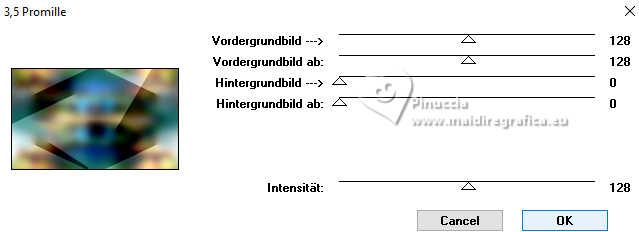
8. Effects>Reflexion Effects>Rotating Mirror, default settings.

Effects>Plugins>Filters Unlimited 2.0 - FunHouse - Perverse, default settings
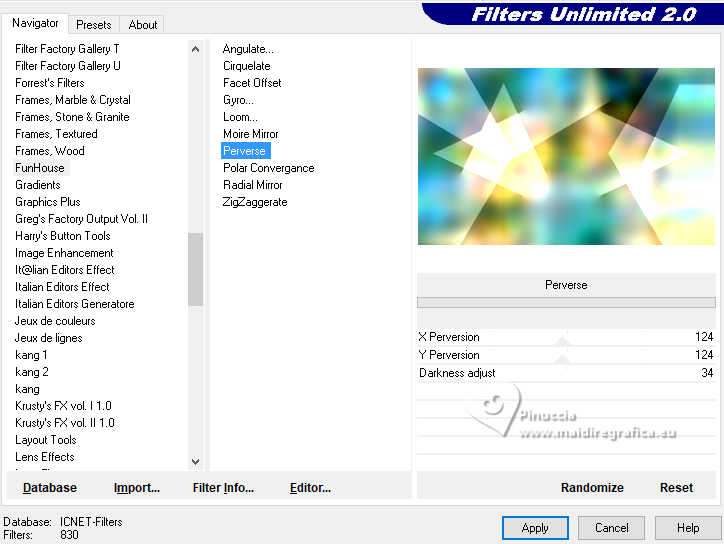
9. Effects>Reflexion Effects>Rotating Mirror, default settings.

Effects>Plugins>Filters Unlimited 2.0 - Filter Factory Gallery G - Double Image, default settings
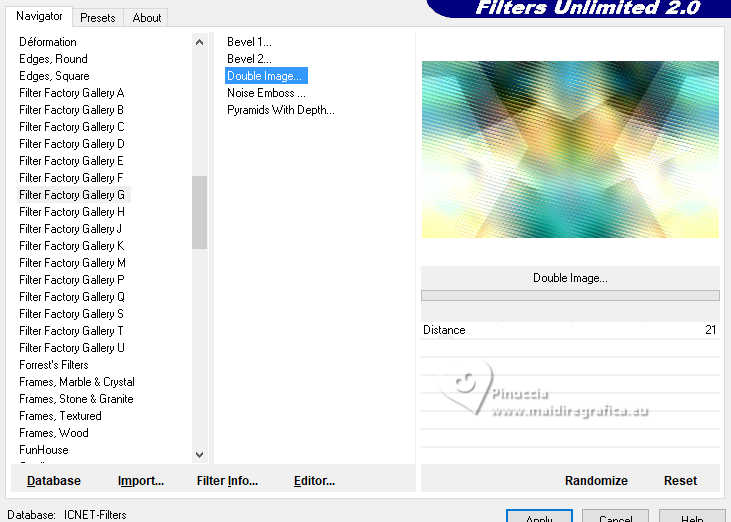
10. Layers>Duplicate.
Effects>Plugins>L&K's - L&K's Raisa, default settings
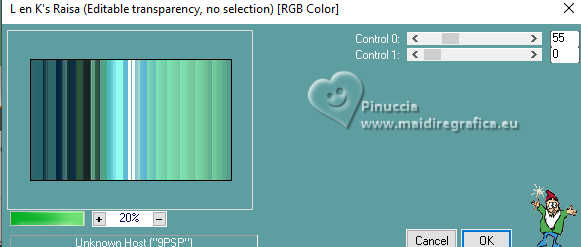
Vous devriez avoir ceci

11. Effects>Geometric Effects>Skew.

Adjust>Sharpness>Sharpen.
12. Effects>Distortion Effects>Polar Coordinates.
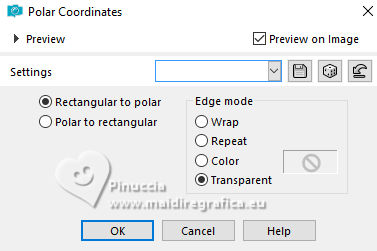
Image>Mirror>Mirror Horizontal.
13. Effects>Reflexion Effects>Feedback.

Change the Blend Mode of this layer to Overlay.

14. Effects>Plugins>Simple - Half Wrap
This Effect works without window; result
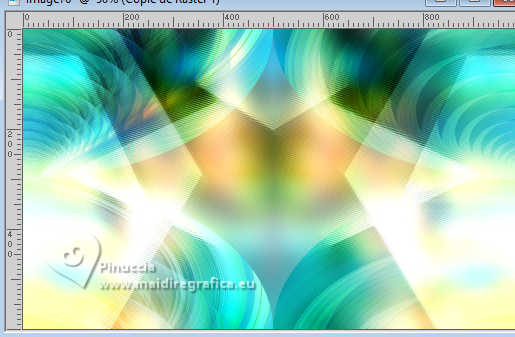
Layers>Duplicate.
Layers>Merge>Merge Down.
15. Effects>Plugins>Graphics Plus - Horizontal Mirror, default settings.
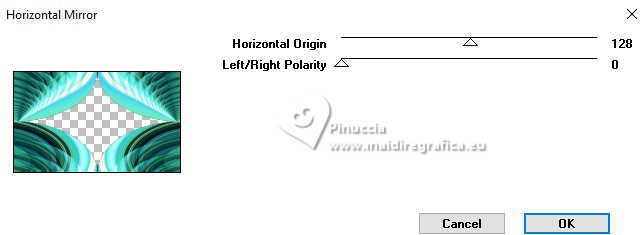
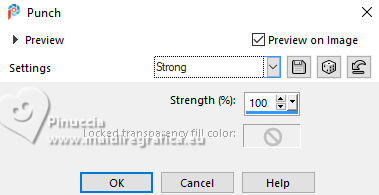
16. Effects>Distortion Effects>Bombage.
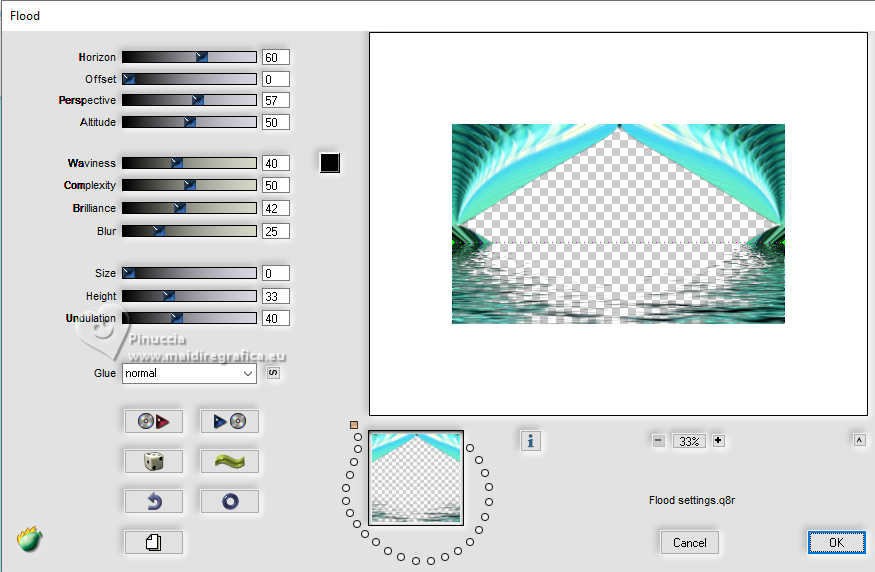
Effects>Plugins>Flaming Pear - Flood
17. The tube mentali-misted3086 should be still in memory:
Edit>Paste as new layer.
Layers>Arrange>Move Down.
Image>Resize, to 90%, resize all layers not checked.
Move  the tube a little down, to center it. the tube a little down, to center it.

18. Effects>Plugins>FM Tile Tools - Saturation Emboss, default settings.

19. Image>Add borders, 1 pixel, symmetric, color black #000000.
Edit>Copy
20. Selections>Select All.
Image>Add borders, 50 pixels, symmetric, whatever color.
21. Selections>Invert.
Edit>Paste into Selection.
Adjust>Blur>Gaussian Blur - radius 50.

Selections>Promoted selection to layer.
22. Effects>Plugins>Cybia - Screenworks - Close Knit
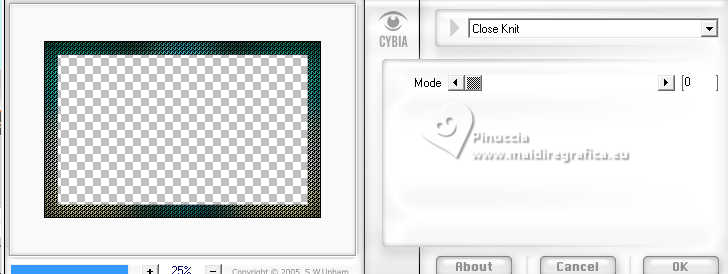
Change the Blend Mode of this layer to Screen.

Layers>Merge>Merge Down.
Selections>Invert.
23. Effects>3D Effects>Drop Shadow, color #000000.

Selections>Select None.
24. Open the tube EF-Perverse_Texto 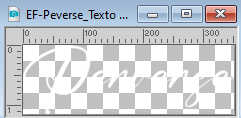
Edit>Copy.
Go back to your work and go to Edit>Paste as new layer.
25. Effects>3D Effects>Drop Shadow, color #000000.

K key to activate your Pick Tool 
Set Position X: 64,00 and Position Y: 530,00.

M key to deselect the tool.
26. Open the woman's tube EF-Tube_Perverse_Pinterest 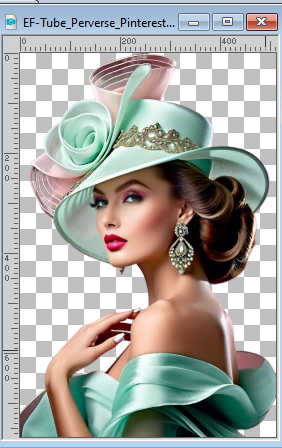
Edit>Copy.
Go back to your work and go to Edit>Paste as new layer.
Move  the tube to the right, see my example. the tube to the right, see my example.
Adjust>Sharpness>Unsharp Mask.

27. Effects>3D Effects>Drop Shadow, color #000000.

28. Open EF-Perverse_Deco 
Edit>Copy.
Go back to your work and go to Edit>Paste as new layer.
Move  the tube to the left side. the tube to the left side.
29. Effects>3D Effects>Drop Shadow, color #000000.

30. Image>Add borders, 1 pixel, symmetric, color black #000000.
Sign your work.
Layers>Merge>Merge All.
Image>Resize, 1000 pixels width, resize all layers checked.
Save as jpg.
For the tubes of this version thanks Silvie.


If you have problems or doubts, or you find a not worked link,
or only for tell me that you enjoyed this tutorial, write to me.
7 May 2024

|

