|
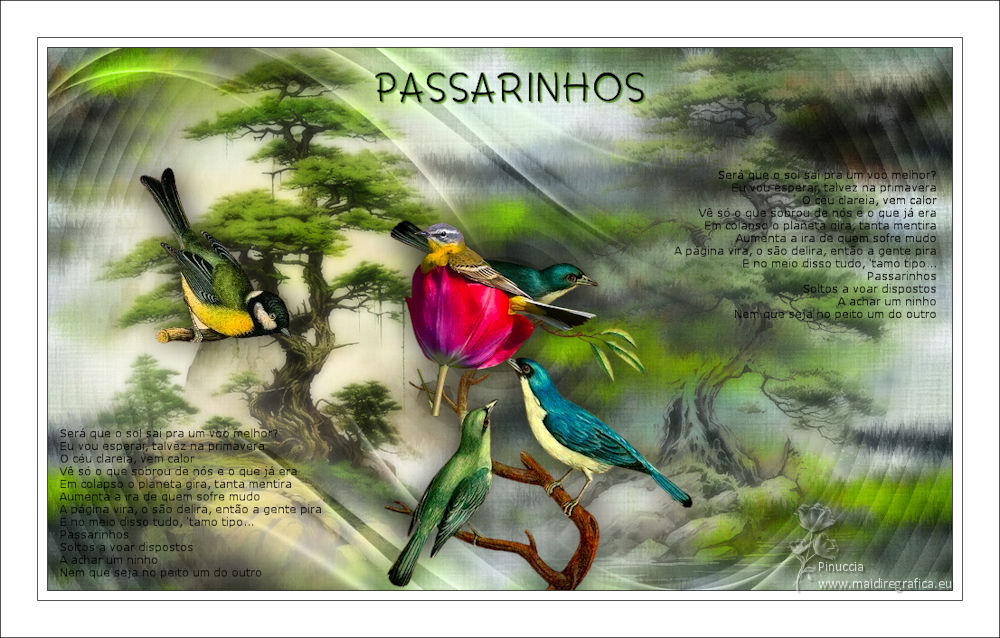
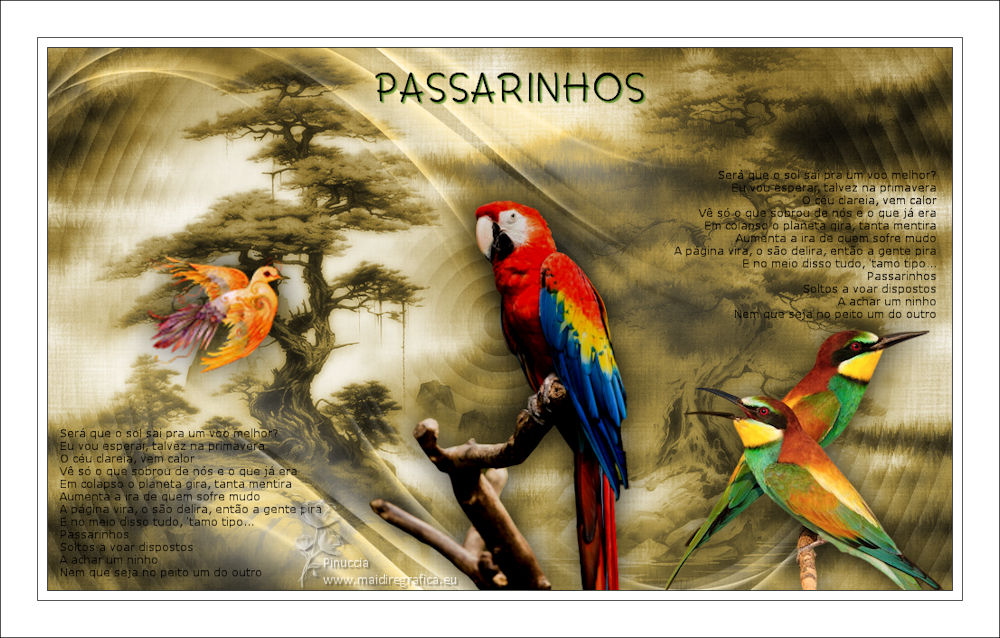
PASSARINHOS
 LITTLE BIRDS LITTLE BIRDS

Thanks Estela for your invitation to translate your tutorials into english

This tutorial, created with PSP2022, was translated with PspX7, but it can also be made using other versions of PSP.
Since version PSP X4, Image>Mirror was replaced with Image>Flip Horizontal,
and Image>Flip with Image>Flip Vertical, there are some variables.
In versions X5 and X6, the functions have been improved by making available the Objects menu.
In the latest version X7 command Image>Mirror and Image>Flip returned, but with new differences.
See my schedule here
 French Translation here French Translation here
 Your versions here Your versions here

For this tutorial, you will need:

For the tube thanks Mentali.
The rest of the material by Estela Fonseca.
Lyrics to the song Little Birds by Emicida.
(The links of the tubemakers here).
*It is forbidden to remove the watermark from the supplied tubes, distribute or modify them,
in order to respect the work of the authors

consult, if necessary, my filter section here
Filters Unlimited 2.0 here
&<Bkg Designer sf10IV> (to import in Unlimited) here
Simple - Top Left Mirror here
Neology - Radial Blender here
Nik Software - Color Efex Pro here
Filters Graphics Plus can be used alone or imported into Filters Unlimited.
(How do, you see here)
If a plugin supplied appears with this icon  it must necessarily be imported into Unlimited it must necessarily be imported into Unlimited

You can change Blend Modes according to your colors.

1. Open a new transparent image 1000 x 600 pixels.
Selections>Select All.
2. Open the image JPG-1 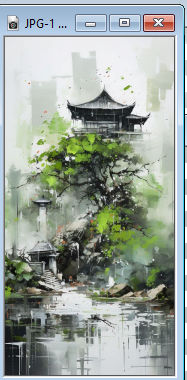
Edit>Copy.
Go back to your work and go to Edit>Paste into Selection.
Selections>Select None.
3. Effects>Image Effects>Seamless Tiling, default settings.

4. Effects>Texture Effects>Fur.
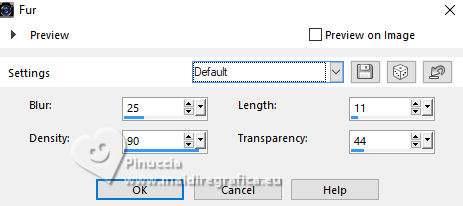
5. Adjust>Add/Remove Noise>Add Noise.
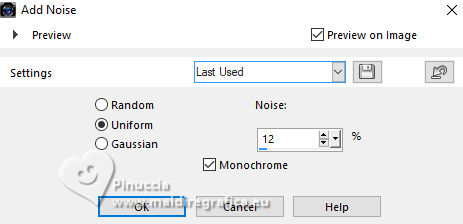
6. Adjust>Hue and Saturation>Vibrancy.
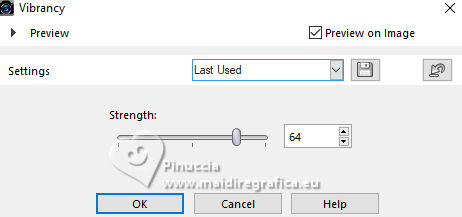
7. Effects>Texture Effects>Texture - select the texture Hatch Fine.
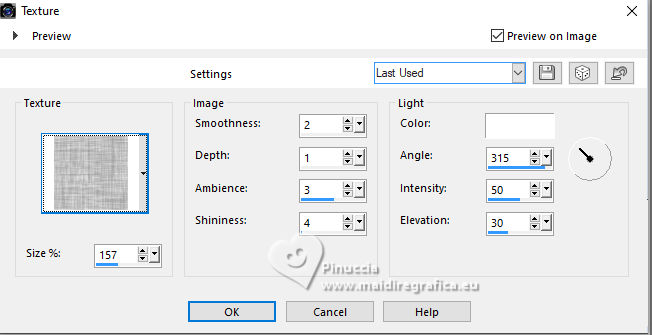
8. Open the image imagem-1 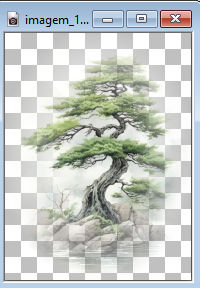
Edit>Copy.
Go back to your work and go to Edit>Paste as new layer.
Objects>Align>Right.
9. Effects>Image Effects>Offset.
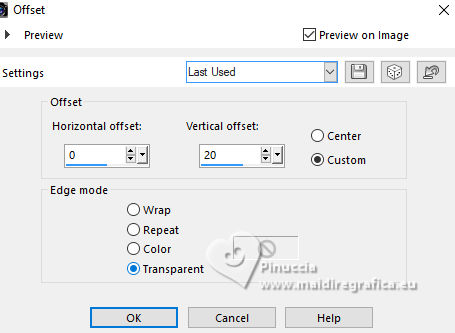
10. Change the Blend Mode of this layer to Darken.
Adjust>Sharpness>Sharpen.
11. Open the image imagem-2 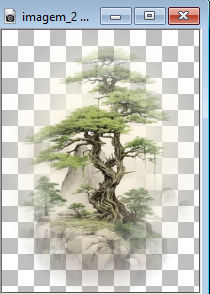
Edit>Copy.
Go back to your work and go to Edit>Paste as new layer.
Image>Resize, to 90%, resize all layers not checked.
Objects>Align>Left.
Change the Blend Mode of this layer to Multiply.
12. Layers>Duplicate.
Change the Blend Mode of this layer to Hard Light.
Adjust>Sharpness>Sharpen.
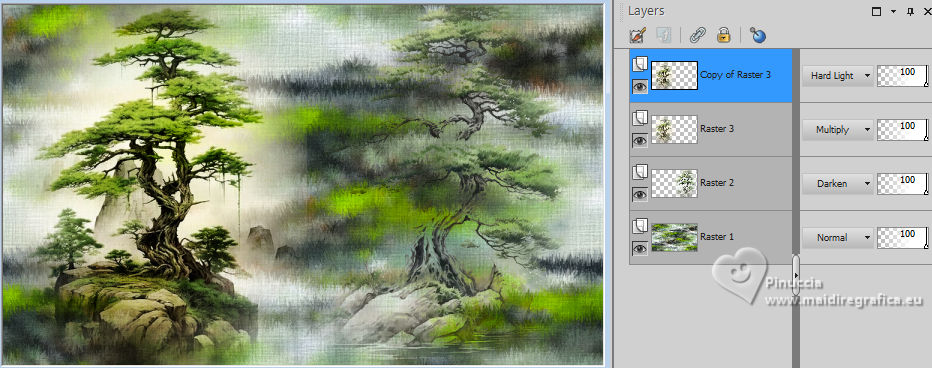
13. Layers>Merge>Merge visible.
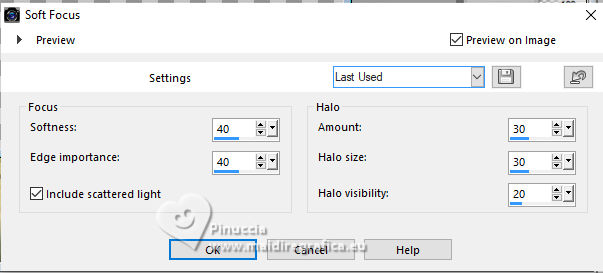
Adjust>Softness>Soft Focus.
14. Open the image imagem-4 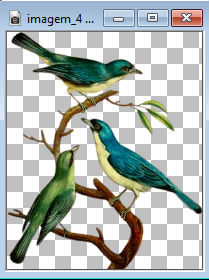
Edit>Copy.
Go back to your work and go to Edit>Paste as new layer.
K key to activate your Pick Tool 
Position X: 371,00 - Position Y: 190,00

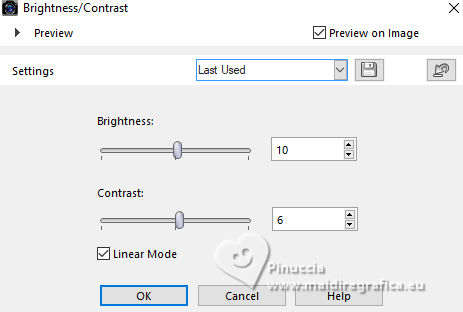
15. Adjust>Brightness and Contrast>Brightness and Contrast.
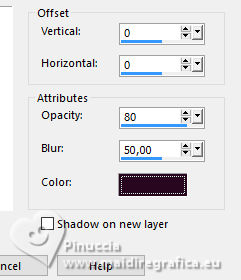
16. Effects>3D Effects>Drop Shadow, color #2a2820.
17. Open the image imagem-3 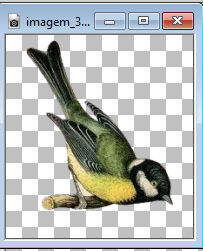
Edit>Copy.
Go back to your work and go to Edit>Paste as new layer.
Position X: 101,00 - Position Y: 132,00

M key to deselect the Tool.
18. Adjust>Hue and Saturation>Vibrancy, same settings.

19. Effects>3D Effects>Drop Shadow, color #2a2820.

20. Open the tube mentali-fleur-oiseau5 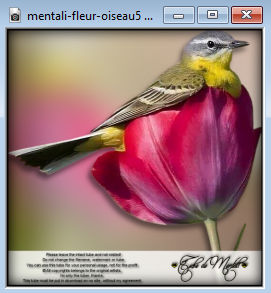
Edit>Copy.
Go back to your work and go to Edit>Paste as new layer.
Image>Mirror>Mirror Horizontal .
Image>Resize, 1 time to 50% and 1 time to 80%, resize all layers not checked.
Adjust>Sharpness>Sharpen.
Move  the tube at the bottom right. the tube at the bottom right.
21. Adjust>Hue and Saturation>Vibrancy, same settings.

22. Effects>3D Effects>Drop Shadow, color #2a2820.

23. Activate the layer Merged.
Open EF-Passarinhos_Deco_1 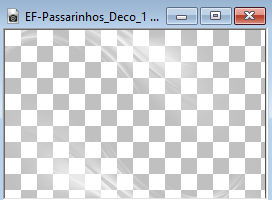
Edit>Copy.
Go back to your work and go to Edit>Paste as new layer.
Objects>Align>Left.
Change the Blend Mode of this layer to Luminance (legacy) or according to your work.
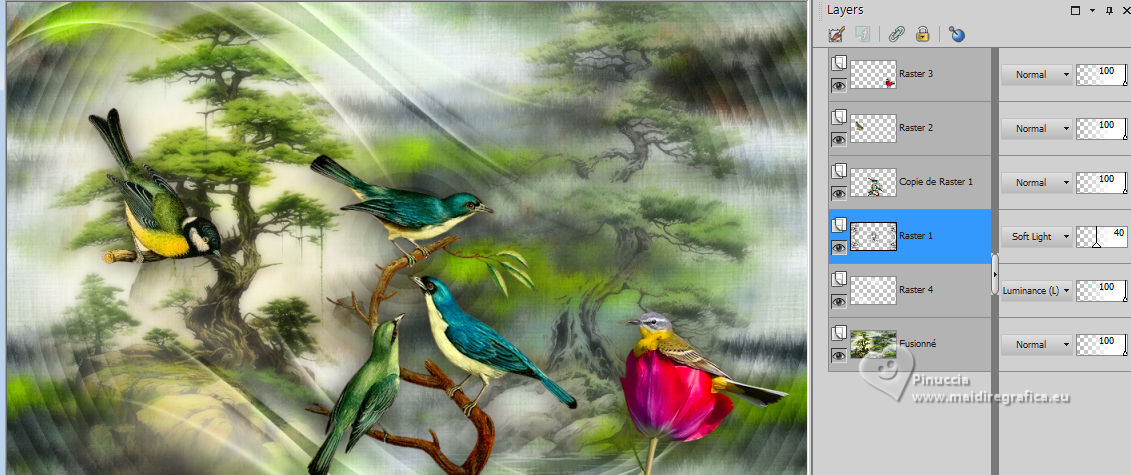
24. Activate the layer Raster 1.
Layers>Duplicate.
25. Activate again the layer Raster 1.
Effects>Image Effects>Seamless Tiling, default settings.

26. Adjust>Blur>Gaussian Blur - radius 30.

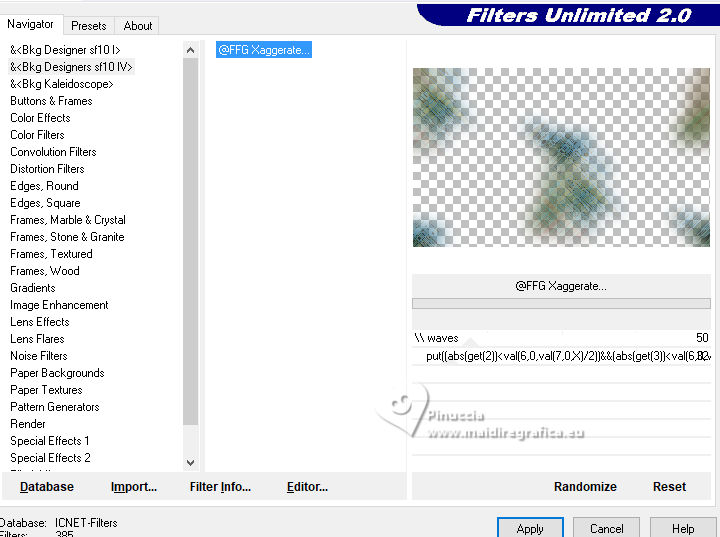
27. Effects>Plugins>Filters Unlimited 2.0 - &<Bkg Designer sf10IV> - @FFG Xaggerate, default settings.
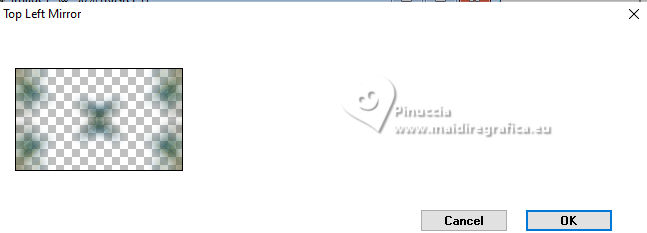
28. Effects>Plugins>Simple - Top Left Mirror.
29. Effects>Plugins>Neology - Radial Blender, default settings.
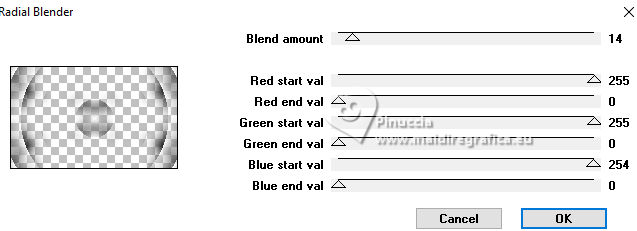
Change the Blend Mode of this layer to Soft Light and reduce the opacity to 40%.
30. Open EF-Passarinhos_Texto 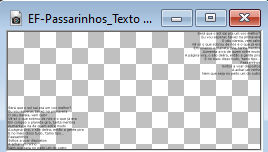
Edit>Copy.
Go back to your work and go to Edit>Paste as new layer.
K key to activate your Pick Tool 
Position X: 12,00 - Position Y: 135,00

31. Open EF-Passarinhos_Texto_2 
Edit>Copy.
Go back to your work and go to Edit>Paste as new layer.
Position X: 362,00 - Position Y: 27,00

32. Effects>3D Effects>Drop Shadow, color #5f9a23
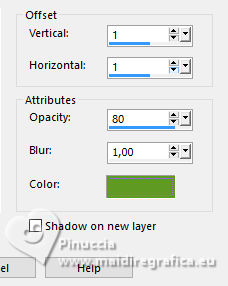
Edit>Repeat Drop Shadow.
Layers>Merge>Merge visible.
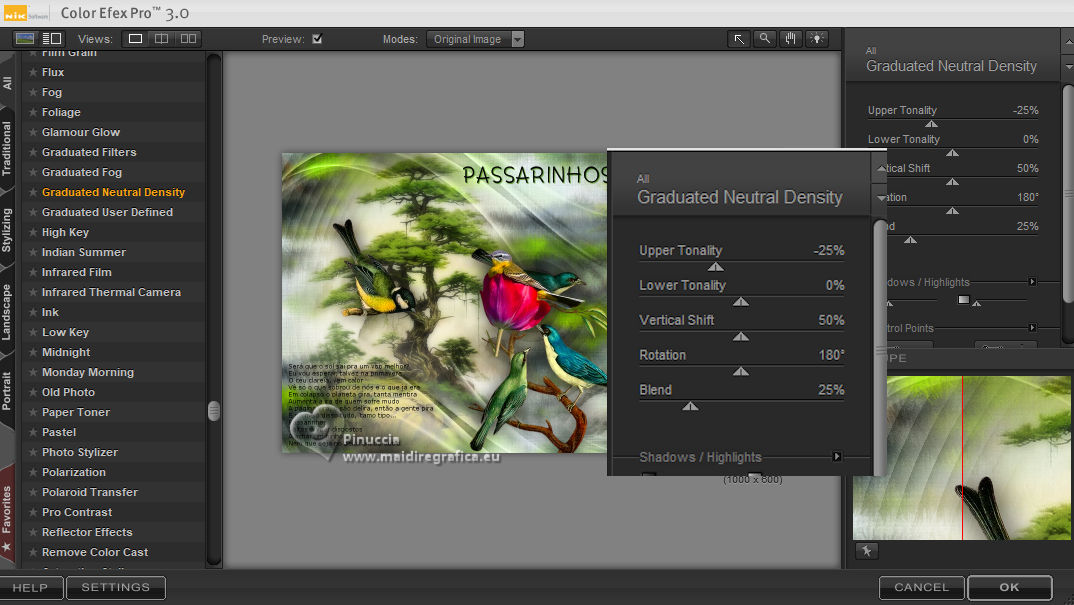
33. Effects>Plugins>Nik Software - Color Efex Pro - Graduated Neutral Density.
34. Image>Add borders, 1 pixel, symmetric, color #000000.
Image>Add borders, 10 pixels, symmetric, color #ffffff.
Image>Add borders, 1 pixel, symmetric, color #000000.
Image>Add borders, 40 pixels, symmetric, color #ffffff.
Image>Add borders, 1 pixel, symmetric, color #000000.
35. Sign your work.
Image>Resize, 1000 pixels width, resize all layers checked.
Save as jpg.
For the tubes of this version thanks Suizabella and Colybrix


If you have problems or doubts, or you find a not worked link,
or only for tell me that you enjoyed this tutorial, write to me.
29 Luglio 2024

|
 LITTLE BIRDS

 LITTLE BIRDS