|
MORENA ROSA


Thanks Estela for your invitation to translate your tutorials into english

This tutorial, created with PSP2022, was translated with PspX7, but it can also be made using other versions of PSP.
Since version PSP X4, Image>Mirror was replaced with Image>Flip Horizontal,
and Image>Flip with Image>Flip Vertical, there are some variables.
In versions X5 and X6, the functions have been improved by making available the Objects menu.
In the latest version X7 command Image>Mirror and Image>Flip returned, but with new differences.
See my schedule here
 French Translation here French Translation here
 Your versions here Your versions here
For this tutorial, you will need:

For the tube thanks Syl.
The rest of the material is by Estela Fonseca.
(The links of the tubemakers here).
*It is forbidden to remove the watermark from the supplied tubes, distribute or modify them,
in order to respect the work of the authors

consult, if necessary, my filter section here
Filters Unlimited 2.0 here
Filter Factory Gallery G - Double Image here
Graphics Plus - Horizontal Mirror here
DSB Flux - Linear Transmission here
Filters Graphics Plus and Factory Gallery can be used alone or imported into Filters Unlimited.
(How do, you see here)
If a plugin supplied appears with this icon  it must necessarily be imported into Unlimited it must necessarily be imported into Unlimited

You can change Blend Modes according to your colors.

Colors

1. Open a new transparent image 1000 x 600 pixels.
Selections>Select All.
2. Open the graphic Grafico 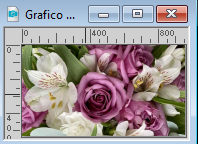
Edit>Copy.
Go back to your work and go to Edit>Paste into Selection.
Selections>Select None.
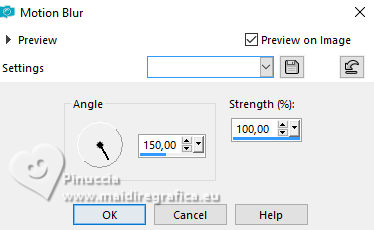
3. Adjust>Blur>Motion Blur - 3 times.
4. Effects>Edge Effects>Enhance More.
Layers>Duplicate.
Image>Mirror.
5. Change the Blend Mode of this layer to Hard Light.
6. Layers>Merge>Merge Down.
Effects>Edge Effects>Enhance More.
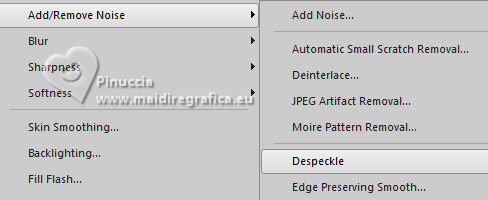
7. Adjust>Add/Remove Noise>Despeckle.
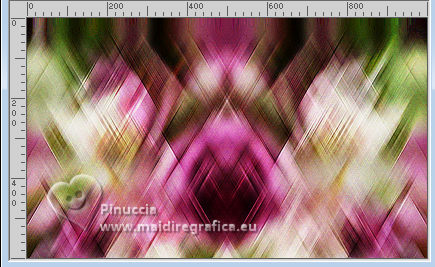
Result
8. Effects>Plugins>Graphics Plus - Horizontal Mirror, default settings.
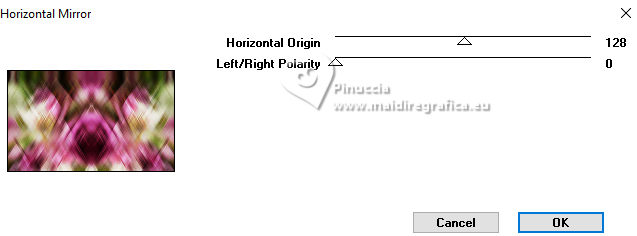
9. Effects>Plugins>Filters Unlimited 2.0 - Filter Factory Gallery G - Double image, default settings.
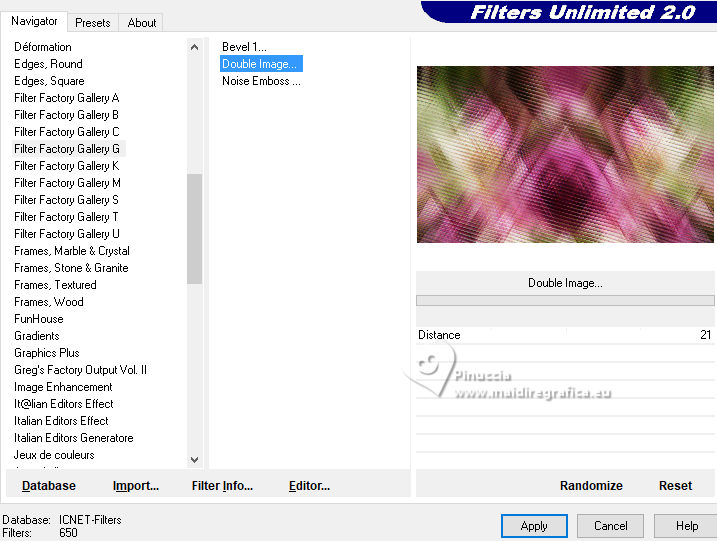
10. Set your foreground color to white.
Layers>New Raster Layer.
Flood Fill  the layer with your white foreground color. the layer with your white foreground color.
11. Effects>Geometric Effects>Circle.

12. Effects>Plugins>DSB Flux - Linear Transmission.
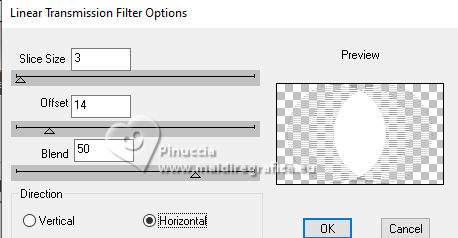
Change the Blend Mode of this layer to Soft Light.
13. Set your foreground color to #edbed8.
Layers>New Raster Layer.
Flood Fill  the layer with your foreground color. the layer with your foreground color.
Effects>Geometric Effects>Circle, same settings.
14. Objects>Align>Left.
Change the Blend Mode of this layer to Multiply.
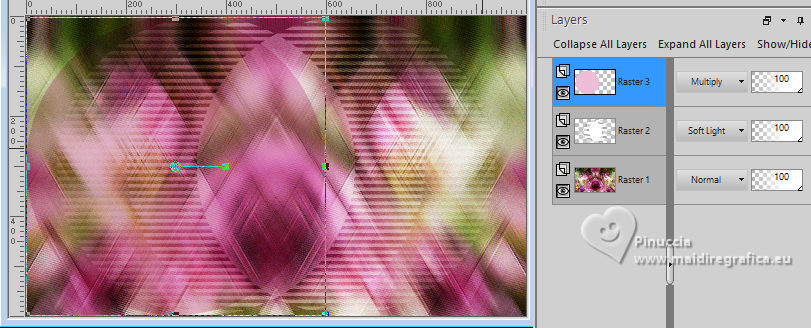
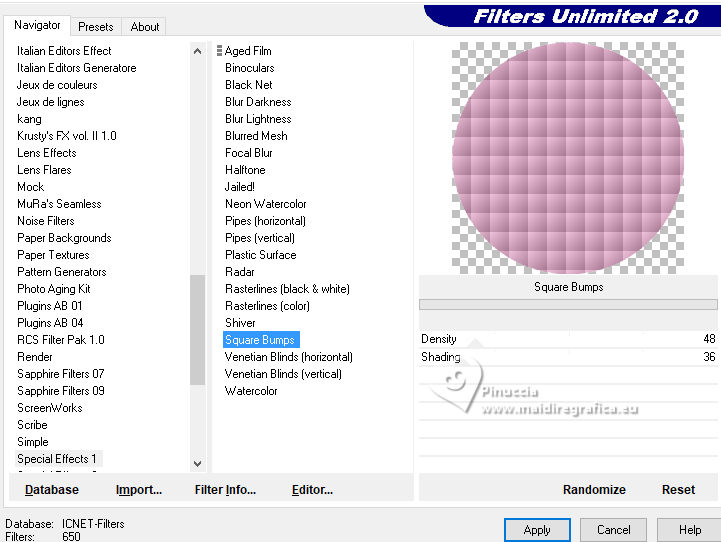
15. Effects>Plugins>Filters Unlimited 2.0 - Special Effects 1 - Square Bumps, default settings.
16. Open the misted EF-Misted_Flor_03_09_20236 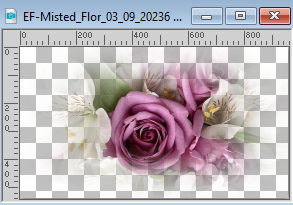
Edit>Copy.
Go back to your work and go to Edit>Paste as new layer.
Image>Resize, to 70%, resize all layers not checked.
K key on the keyboard to activate your Pick Tool 
and set Position X: -77,00 and Position Y: 108,00.

Adjust>Sharpness>Sharpen.
Reduce the opacity of this layer to 81%.
17. Open EF-Morena_Rosa_Texto 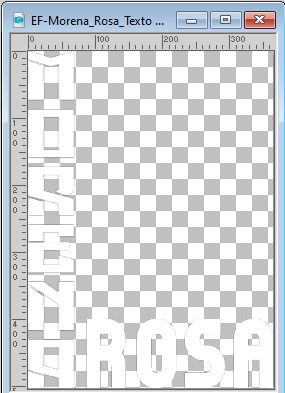
Edit>Copy.
Go back to your work and go to Edit>Paste as new layer.
Set Position X: 19,00 and Position Y: 76,00.

M key to deselect the Tool.
Change the Blend Mode of this layer to Soft Light.
18. Open EF-Morena_Rosa_Deco_1 
Edit>Copy.
Go back to your work and go to Edit>Paste as new layer.
Result
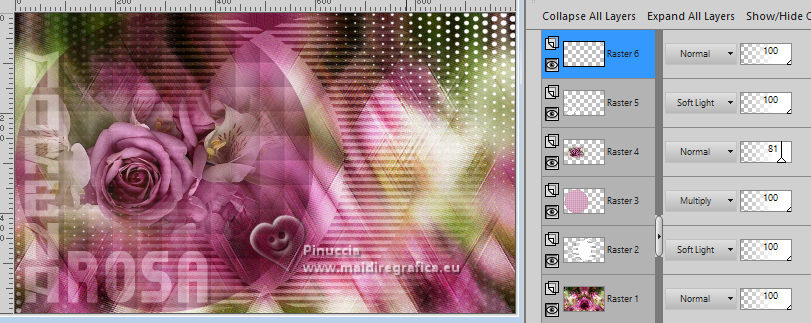
19. Layers>Merge>Merge visible.
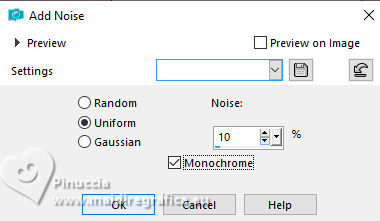
20. Adjust>Add/Remove Noise>Add Noise.
21. Open Svb(1091) Beauty 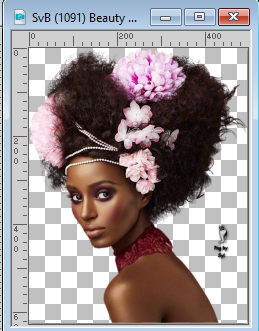
Edit>Copy.
Go back to your work and go to Edit>Paste as new layer.
Move  the tube to the right side. the tube to the right side.
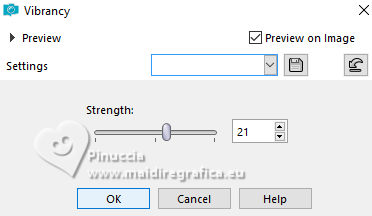
22. Adjust>Hue and Saturation>Vibrancy.
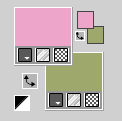
23. For the borders: set your foreground color to color 2 #eda5ca,
and your background color to color 3
Image>Add borders, 1 pixel, symmetric, color #000000.
Image>Add borders, 3 pixels, symmetric, color 2 #eda5ca.
Image>Add borders, 1 pixel, symmetric, color #000000.
Image>Add borders, 3 pixels, symmetric, color 2 #eda5ca.
Image>Add borders, 1 pixel, symmetric, color #000000.
Image>Add borders, 3 pixels, symmetric, color 3 .
Image>Add borders, 1 pixel, symmetric, color #000000.
Image>Add borders, 3 pixels, symmetric, color 2 #eda5ca.
Image>Add borders, 1 pixel, symmetric, color #000000.
mage>Add borders, 3 pixels, symmetric, color 2 #eda5ca.
Image>Add borders, 1 pixel, symmetric, color #000000.
24. Sign your work.
Image>Resize, 1000 pixels width, resize all layers checked.
Save as jpg.
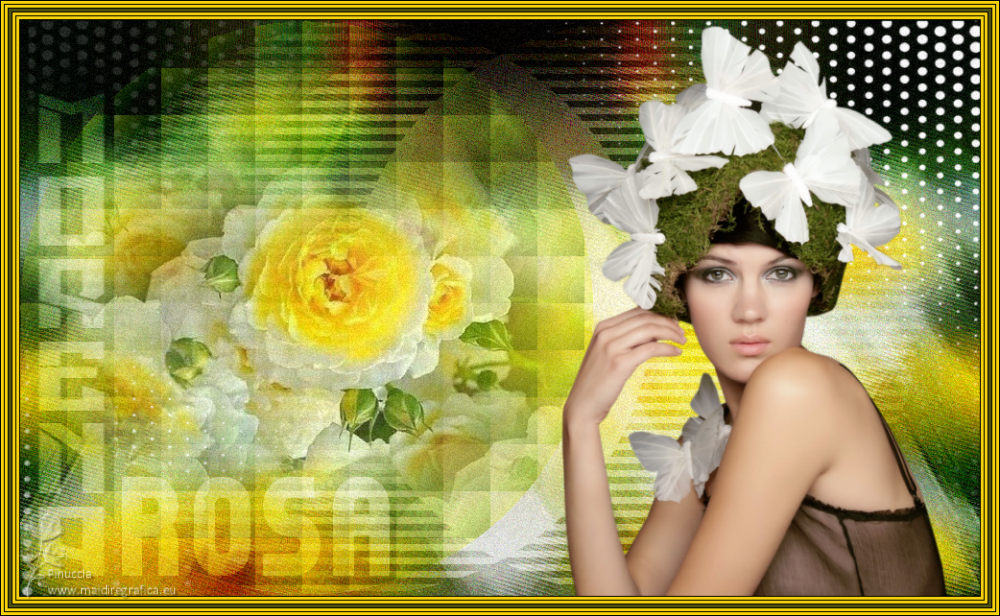
For the tube of this version thanks Karine


If you have problems or doubts, or you find a not worked link,
or only for tell me that you enjoyed this tutorial, write to me.
12 November 2023

|


