Home |
Home |

Mappa sito |
Mappa sito |
Tutorial |
Tutorial |
Tut tecnici |
Tut tecnici |
Links-Banner |
Links-Banner |
Regali-Award |
Regali-Award |
Informatica |
Informatica |
Archivio |
Archivio |
Mail |
Mail |
Privacy policy |
Privacy policy |
Novità |
Novità |
Home |
Home |
Mappa sito |
Mappa sito |
Tutorial |
Tutorial |
Tut tecnici |
Tut tecnici |
Links-Banner |
Links-Banner |
Regali-Award |
Regali-Award |
Informatica |
Informatica |
Archivio |
Archivio |
Mail |
Mail |
Privacy policy |
Privacy policy |
Novità |
Novità |
|
MAMÃE  

This tutorial, created with PSP2022, was translated with PspX7, but it can also be made using other versions of PSP.  You can change Blend Modes according to your colors.  Copy the preset in the Presets Folder. Set your foreground color to color #51bdee, and your background color to color #e1e3e0. 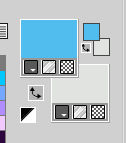 Set your foreground color to a Foreground/Background Gradient, style Linear. 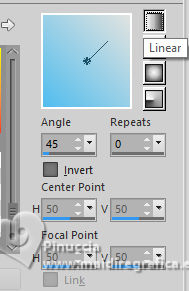 1. Open a new transparent image 1000 x 600 pixels. Flood Fill  the transparent image with your Gradient. the transparent image with your Gradient.2. Adjust>Hue and Saturation>Vibrancy. 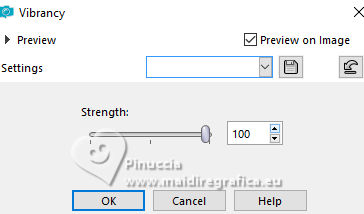 3. Effects>Plugins>Graphics Plus - Cross Shadow. 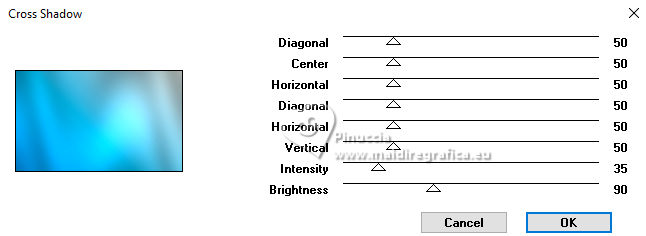 4. Layers>New Raster Layer. Selections>Select All. Open the tube EF-Mae_11_05_2024.pspimage 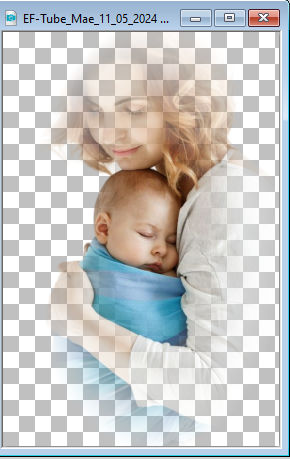 Edit>Copy. Go back to your work and go to Edit>Paste into Selection. Selections>Select None. 5. Adjust>Hue and Saturation>Vibrancy, same setting. 6. Effects>Image Effects>Seamless Tiling.  7. Adjust>Blur>Motion Blur. 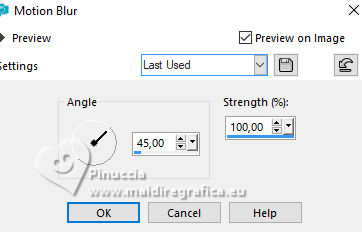 Edit>Repeat Motion Blur - 2 times. Effexts>Edge Effects>Erode. Effects>Edge Effects Enhance More. 8. Layers>Duplicate Image>Mirror>Mirror horizontal. Reduce the opacity of this layer to 50%. 9. Layers>Merge>Merge Down. Layers>Duplicate. Change the Blend Mode of this layer to Hard Light. 10. Layers>Merge>Merge visible. Adjust>Sharpness>Sharpen More. 11. Layers>New Raster Layer. Selections>Select All. 12. Selections>Modify>Contract - 50 pixels. Set your foreground color to #ffffff. Flood Fill the selection with color white.Selections>Modify>Contract - 3 pixels. Press CANC on the keyboard  13. Selections>Modify>Contract - 50 pixels. Flood Fill the selection with color white.Selections>Modify>Contract - 3 pixels. Press CANC on the keyboard Selections>Select None. 14. Effects>User Defined Filter - select the preset Emboss 3 and ok.  Effects>Image Effects>Seamless Tiling, same settings. 15. Edit>Paste as new layer - the tube EF-Mae_11_05_2024.pspimage is still in memory. K key to activate your Pick Tool  Position X: 536,00 - Position Y: 0,00. 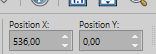 M key to deselect the Tool. 16. Adjust>Hue and Saturation>Vibrancy. 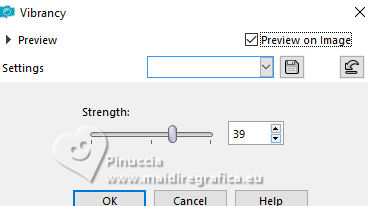 Layers>Duplicate. 17. Activate the layer Raster 2. Effects>Image Effects>Seamless Tiling, Side by Side.  18. Effects>Plugins>Artistiques - Pastels - 2 times 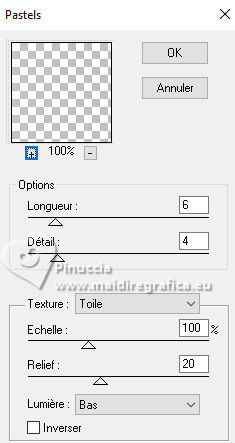 Change the Blend Mode of this layer to Overlay. 19. Activate your top layer. Layers>Duplicate (optional, for the images light as the tutorial one). 20. Open EF-Mamãe_Deco_1 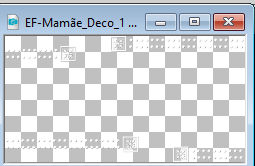 Edit>Copy. Go back to your work and go to Edit>Paste as new layer. 21. Open EF-Mamãe_Deco_Texto 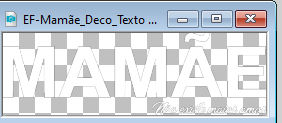 Edit>Copy. Go back to your work and go to Edit>Paste as new layer. Move  the tube to the left. the tube to the left. 22. Effects>Plugins>Alien Skin Eye Candy 5 Impact - Gradient Glow. 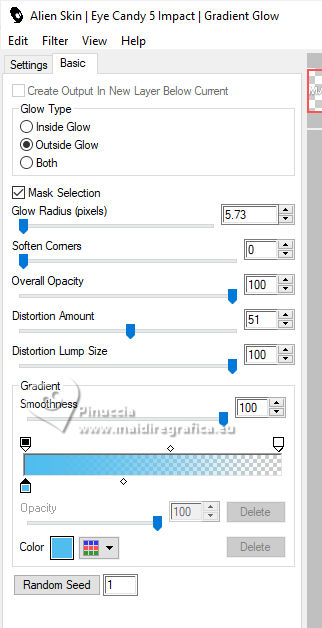 23. Your tag and the layers 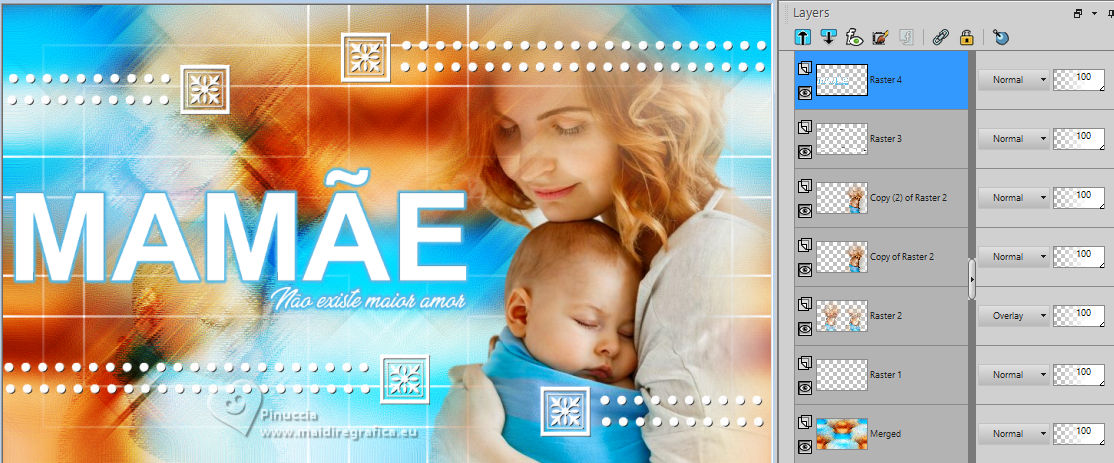 Layers>Merge>Merge visible. 24. Effects>Plugins>Nik Software - Color Efex Pro - Graduated Neutral Density, default settings, 2 times.  25. Image>Add borders, 1 pixel, symmetric, color #000000. Image>Add borders, 10 pixels, symmetric, color #ffffff. Image>Add borders, 1 pixel, symmetric, color #000000. Image>Add borders, 40 pixels, symmetric, color #ffffff. Image>Add borders, 1 pixel, symmetric, color #000000. 26. Sign your work. Image>Resize, 1000 pixels width, resize all layers checked. Save as jpg. Version with image from the net 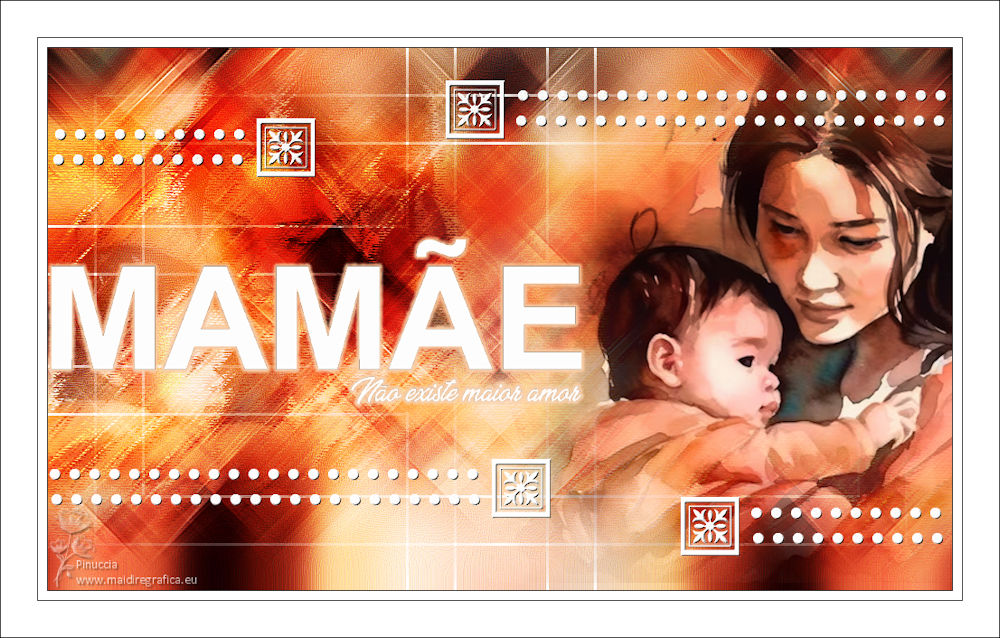 For the tube of these versions thanks Irene 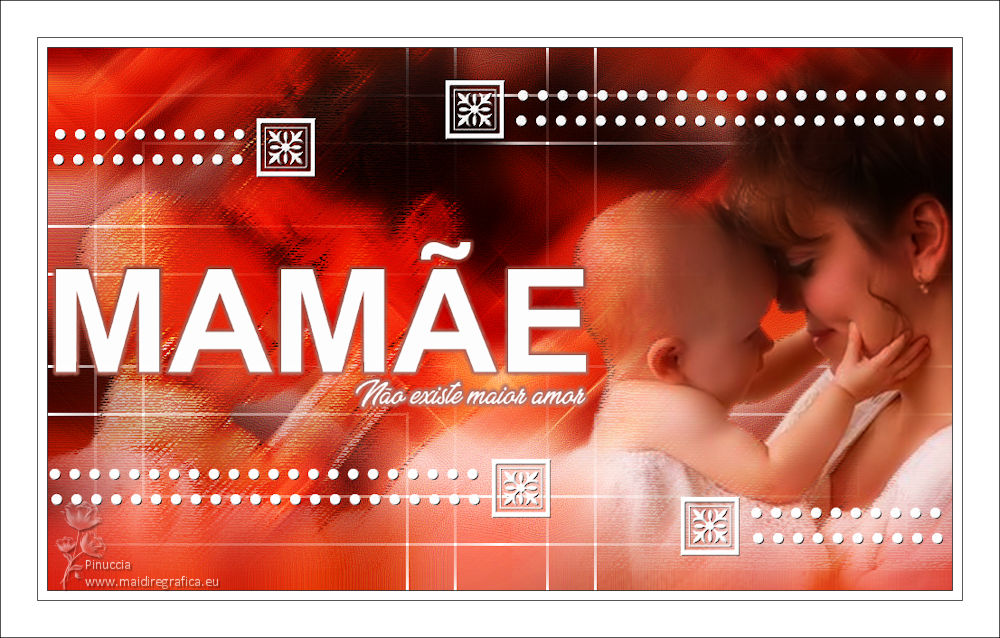 Gabry 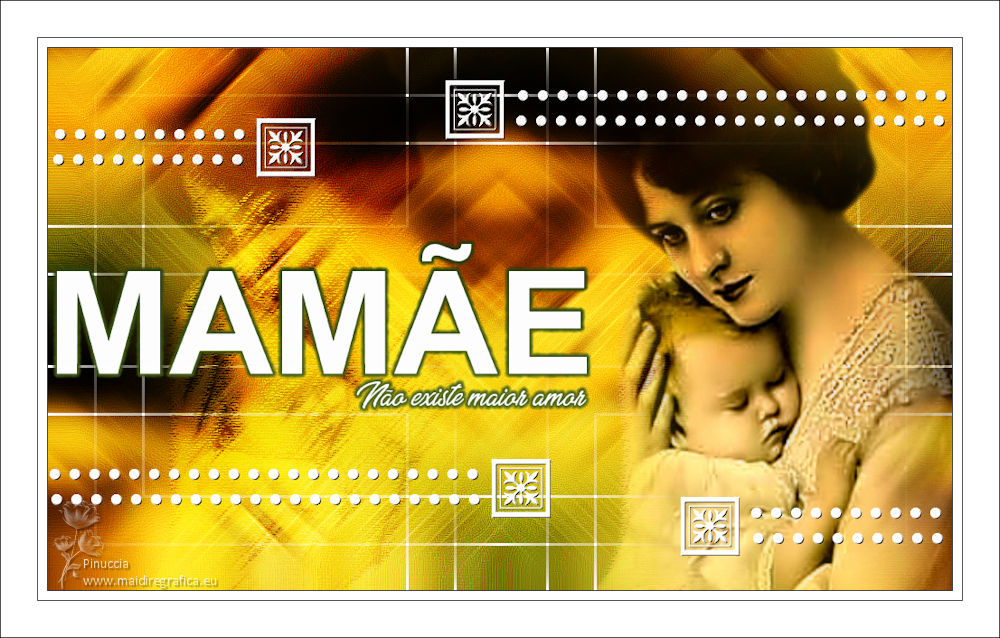   If you have problems or doubts, or you find a not worked link, or only for tell me that you enjoyed this tutorial, write to me. 13 July 2024 |


 French Translation
  Your versions

 it must necessarily be imported into Unlimited
