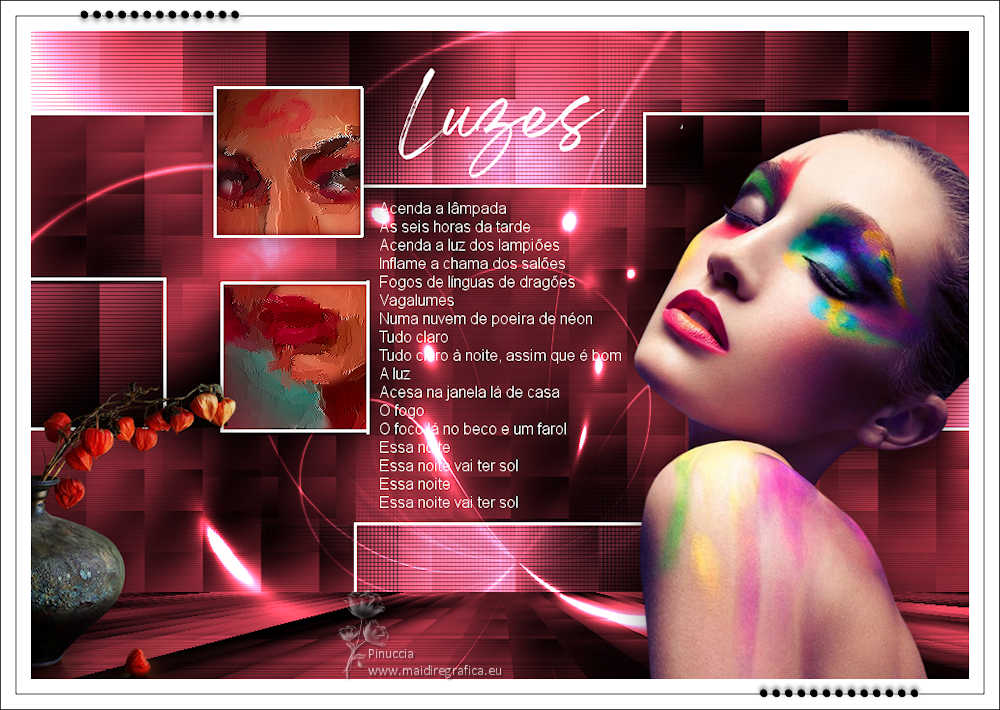
|
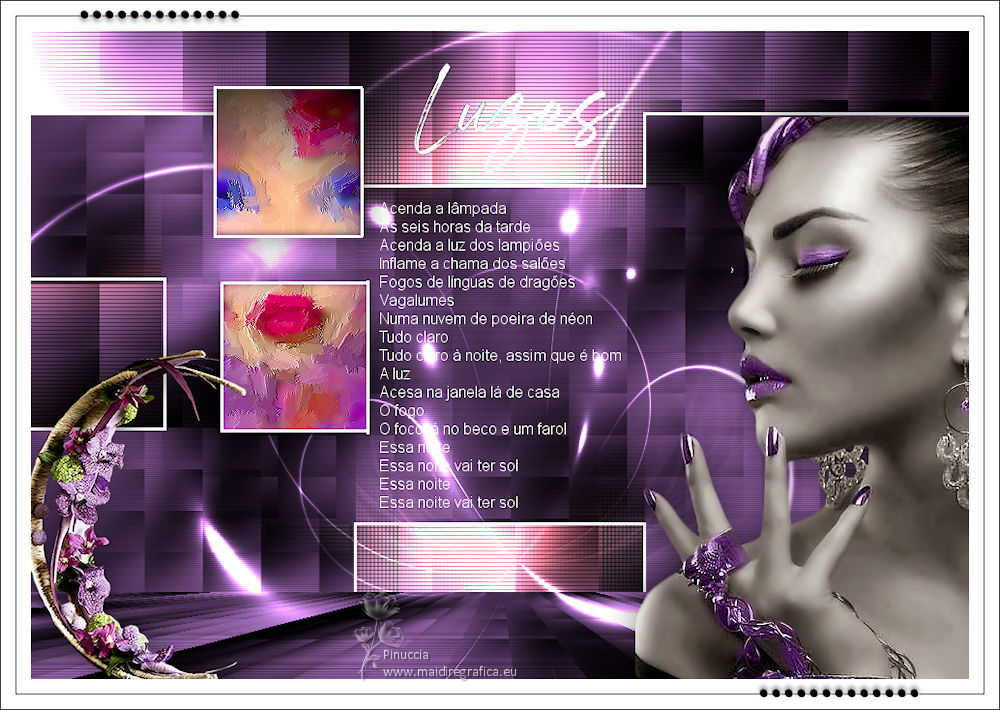
LUZES


Thanks Estela for your invitation to translate your tutorials into english

This tutorial, created with PSP2022, was translated with PspX7, but it can also be made using other versions of PSP.
Since version PSP X4, Image>Mirror was replaced with Image>Flip Horizontal,
and Image>Flip with Image>Flip Vertical, there are some variables.
In versions X5 and X6, the functions have been improved by making available the Objects menu.
In the latest version X7 command Image>Mirror and Image>Flip returned, but with new differences.
See my schedule here
 French Translation here French Translation here
 Your versions here Your versions here

For this tutorial, you will need:

The tubes are realized from images du net.
The text Luzes is from the Music of Estrela Leminski and Téo Ruiz.
(The links of the tubemakers here).
*It is forbidden to remove the watermark from the supplied tubes, distribute or modify them,
in order to respect the work of the authors

consult, if necessary, my filter section here
Filters Unlimited 2.0 here
Flaming Pear - Flexify 2 here
VM Distortion - Center Mirror, Mosaic Ripple here
Kohan's Filters - Autointerlace here
Mura's Meister - Perspective Tiling here
L&K's - L&K's Katharina here
Filters VM Distortion and Kohan can be used alone or imported into Filters Unlimited.
(How do, you see here)
If a plugin supplied appears with this icon  it must necessarily be imported into Unlimited it must necessarily be imported into Unlimited

You can change Blend Modes according to your colors.
In the newest versions of PSP, you don't find the foreground/background gradient (Corel_06_029).
You can use the gradients of the older versions.
The Gradient of CorelX here

Set your foreground color to #a93545,
and your background color to #000000.
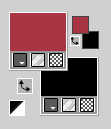
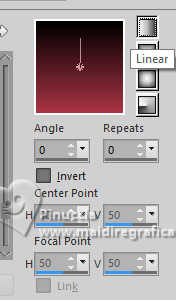
Set your foreground color to a Foreground/Background Gradient, style Linear.
1. Open a new transparent image 1000 x 700 pixels.
Flood Fill  the transparent image with your Gradient. the transparent image with your Gradient.
2. Effects>Plugins>Filters Unlimited 2.0 - VM Distortion - Center Mirror, default settings
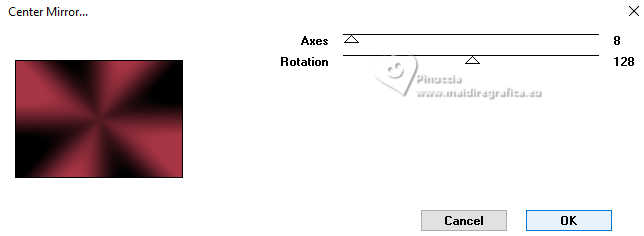
Adjust>Blur>Gaussian Blur - radius 55.

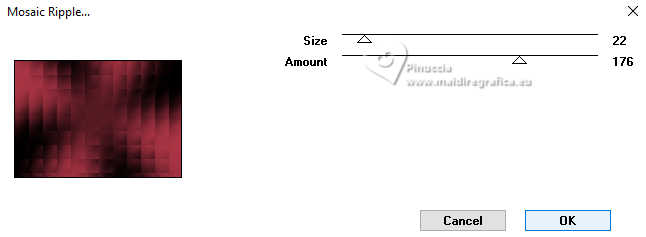
3. Effects>Plugins>Filters Unlimited 2.0 - VM Distortion - Mosaic Ripple, default settings.
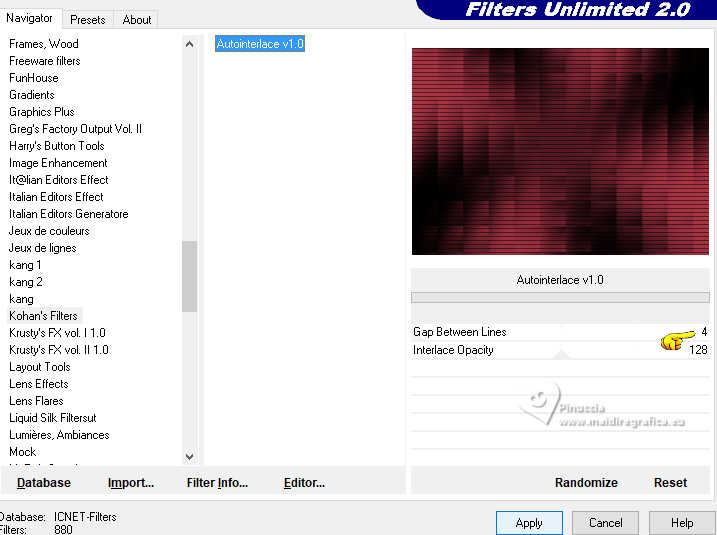
Effects>Plugins>Filters Unlimited 2.0 - Kohan's Filter - Autointerlace.
4. Layers>Duplicate.
Image>Resize, to 70%, resize all layers not checked.
Effects>Image Effects>Seamless Tiling, default settings.

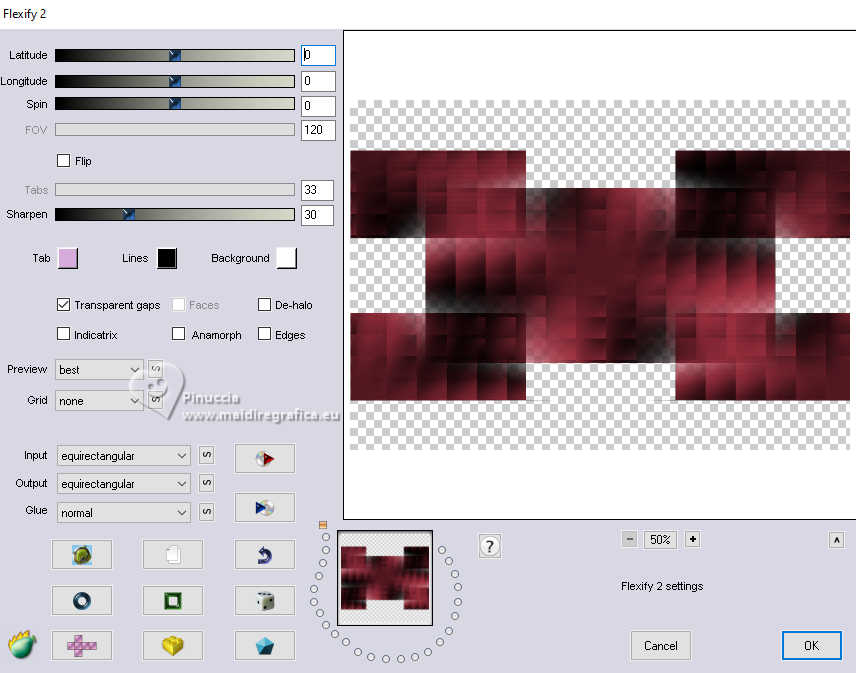
5. Effects>Plugins>Flaming Pear - Flexify 2.
6. Open EF-Luzes_Deco_1 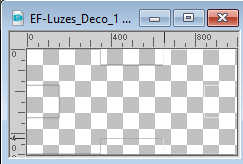
Edit>Copy.
Go back to your work and go to Edit>Paste as new layer.
Layers>Merge>Merge Down.
7. Effects>3D Effects>Drop Shadow, color #ffffff,
shadow on new layer checked
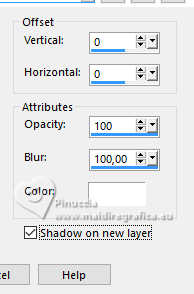
Stay on the shadow's layer.
8. Adjust>Blur>Gaussian Blur - radius 55.

9. Effects>Texture Effects>Weave
both colors: #017f85
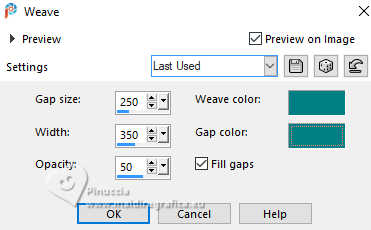
10. Activate the layer Raster 1.
Layers>Duplicate.
Layers>Arrange>Bring to Top.
11. Effects>Plugins>Mura's Meister - Perspective Tiling.
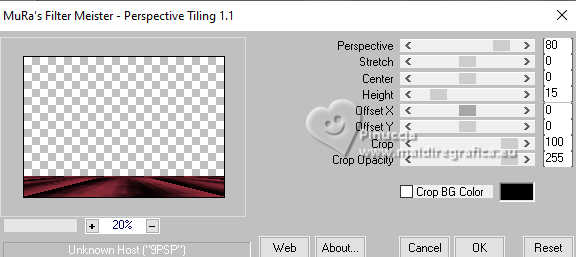
12. Activate the layer Copy of Raster 1.
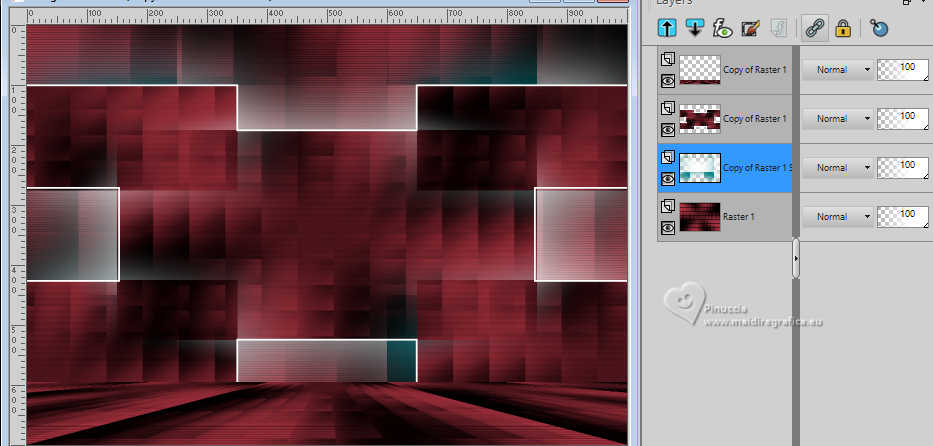
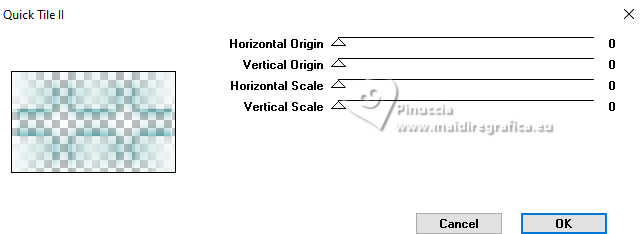
Effects>Plugins>Graphics Plus - Quick Tile II, default settings.
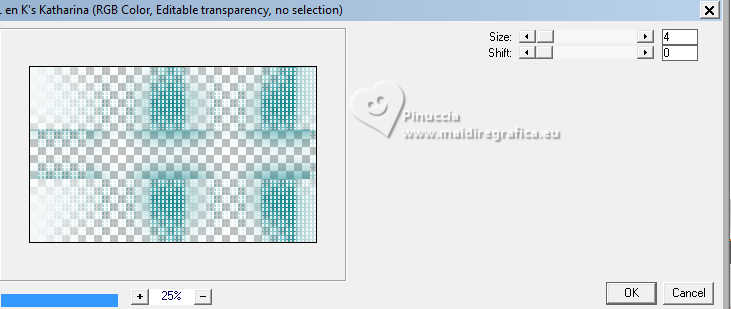
13. Effects>Plugins>L&K's - L&K's Katharina.
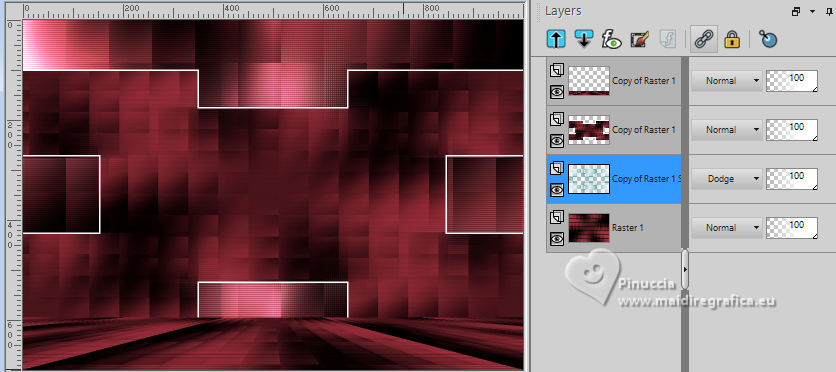
14. Effects>Reflection Effects>Rotating Mirror.

Change the Blend Mode of this layer to Dodge.
15. Activate your top layer.
Open EF-Luzes_Deco_2 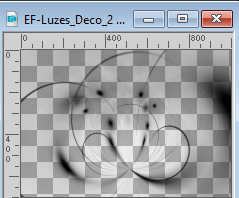
Edit>Copy.
Go back to your work and go to Edit>Paste as new layer.
16. Open Tube-196-EF 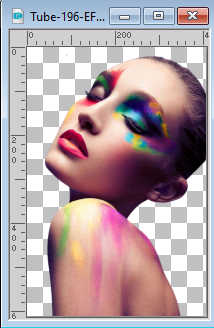
Erase the watermark and Edit>Copy.
Go back to your work and go to Edit>Paste as new layer.
K key to activate your Pick Tool 
Position X: 637,00 - Position Y: 110,00.

17. Effects>3D Effects>Drop Shadow, color #000000.

18. Open EF-Luzes_Deco_3 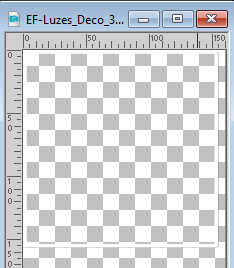
Edit>Copy.
Go back to your work and go to Edit>Paste as new layer.
Position X: 204,00 - Position Y: 72,00.

M key to deselect the Tool.
19. Activate your Magic Wand Tool  , tolerance and feather 0, , tolerance and feather 0,
and click on the two frams to select them.
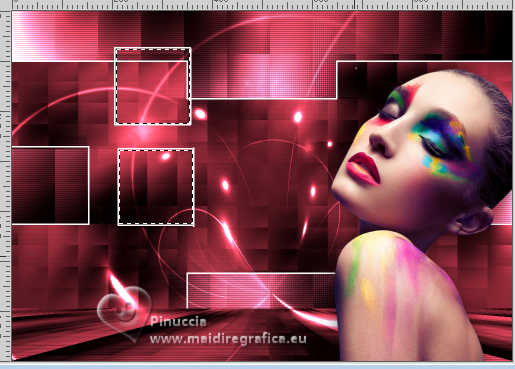
20. Selections>Modify>Expand - 2 pixels.
Layers>New Raster Layer.
Flood Fill  the selection with your Gradient. the selection with your Gradient.
21. Open Tube-197-EF 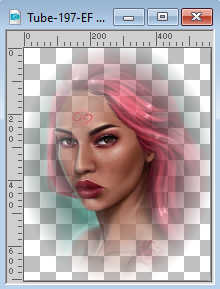
Edit>Copy.
Go back to your work and go to Edit>Paste as new layer.
K key to activate your Pick Tool 
Position X: 206,00 - Position Y: 74,00.

22. Selections>Invert.
Press CANC on the keyboard 
Selections>Invert.
23. Effects>Art Media Effects>Brush Strokes, default settings.
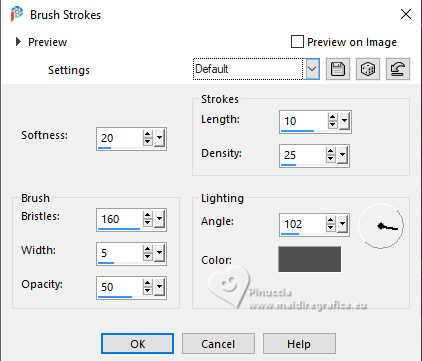
Selections>Select None.
24. Layers>Merge>Merge Down.
Layers>Arrange>Move Down.
Adjust>Hue and Saturation>Vibrancy.
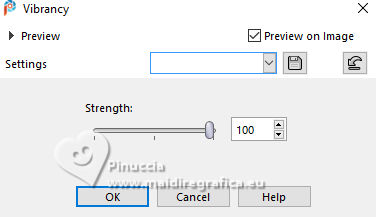
25. Activate your top layer.
Layers>Merge>Merge Down.
Effects>3D Effects>Drop Shadow, color #000000.

26. Open EF-Luzes_Deco-4 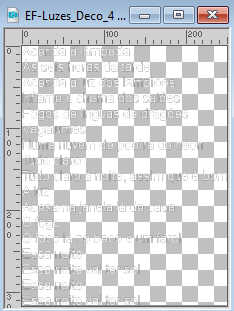
Edit>Copy.
Go back to your work and go to Edit>Paste as new layer.
27. Open EF-Luzes_Deco-5 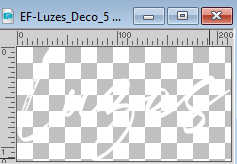
Edit>Copy.
Go back to your work and go to Edit>Paste as new layer.
Move  the tube to your liking. the tube to your liking.
28. Open Tube-198-EF 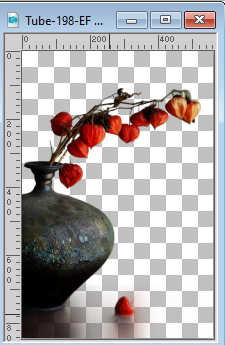
Edit>Copy.
Go back to your work and go to Edit>Paste as new layer.
Image>Resize, to 45%, resize all layers not checked.
Move  the tube at the bottom left. the tube at the bottom left.
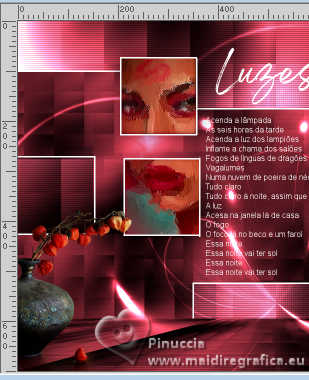
Effects>3D Effects>Drop Shadow, color #000000.

29. Layers>Merge>Merge visible.
30. Layers>New Raster Layer.
Set your foreground color to #ffffff.
Flood Fill  the layer with color white. the layer with color white.
31. Selections>Select All.
Selections>Modify>Contract - 15 pixels.
Press CANC on the keyboard.
Selections>Select none.
32. Image>Add borders, 1 pixel, symmetric, color #000000.
Image>Add borders, 15 pixels, symmetric, color #ffffff.
Image>Add borders, 1 pixel, symmetric, color #000000.
33. Open EF-Luzes_Deco-6 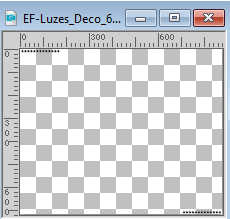
Edit>Copy.
Go back to your work and go to Edit>Paste as new layer.
Sign your work on a new layer.
Layers>Merge>Merge All.
Image>Resize, 1000 pixels width, resize all layers checked.
Save as jpg.
For the tubes of these versions thanks
Riet, Mentali and Nena Silva
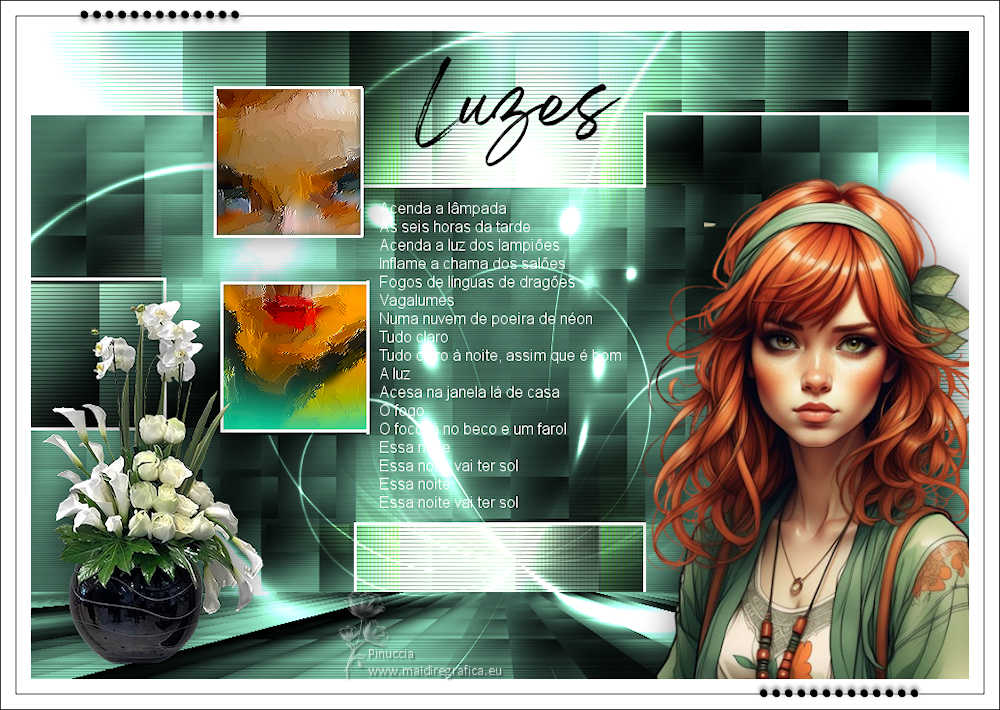
Isa


If you have problems or doubts, or you find a not worked link,
or only for tell me that you enjoyed this tutorial, write to me.
5 July 2024

|

