Home |
Home |

Mappa sito |
Mappa sito |
Tutorial |
Tutorial |
Tut tecnici |
Tut tecnici |
Links-Banner |
Links-Banner |
Regali-Award |
Regali-Award |
Informatica |
Informatica |
Archivio |
Archivio |
Mail |
Mail |
Privacy policy |
Privacy policy |
Novità |
Novità |
Home |
Home |
Mappa sito |
Mappa sito |
Tutorial |
Tutorial |
Tut tecnici |
Tut tecnici |
Links-Banner |
Links-Banner |
Regali-Award |
Regali-Award |
Informatica |
Informatica |
Archivio |
Archivio |
Mail |
Mail |
Privacy policy |
Privacy policy |
Novità |
Novità |
|
JOLCSI  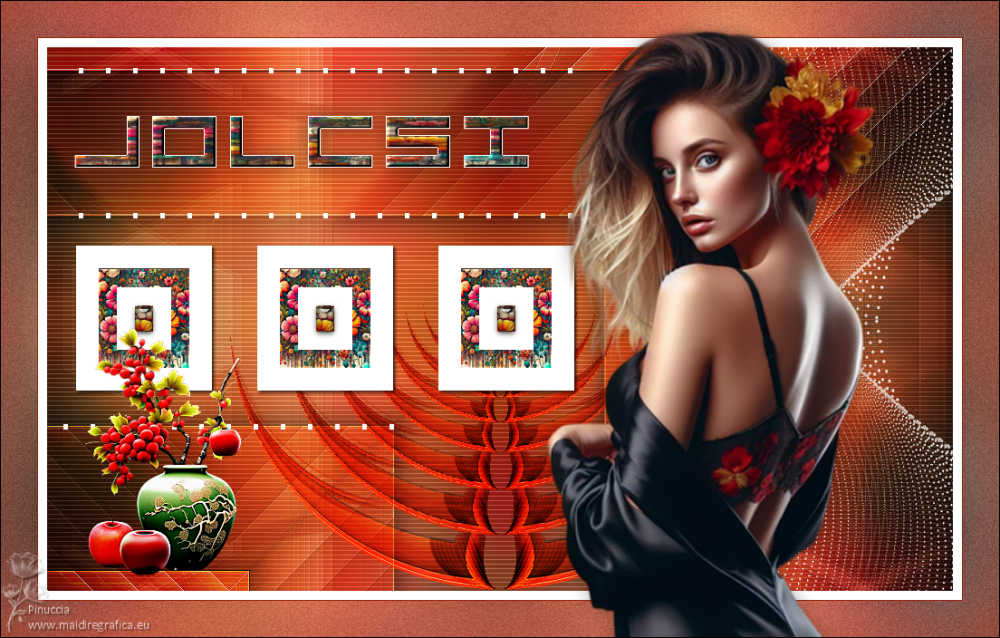

This tutorial, created with PSP2022, was translated with PspX7, but it can also be made using other versions of PSP.  You can change Blend Modes according to your colors.  Copy the selections in the Selections Folder. 1. Open a new transparent image 1000 x 600 pixels. Selections>Select All. 2. Open the image Grafico 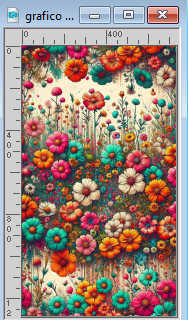 Edit>Copy. Go back to your work and go to Edit>Paste into Selection. Selections>Select None. 3. Adjust>Blur>Gaussian Blur - radius 50.  Adjust>Hue and Saturation>Vibrancy  Note: at this point you can colorize with the plugin Adjust>Variations. 4. Effects>Texture Effects>Weave - weave color #ffffff. 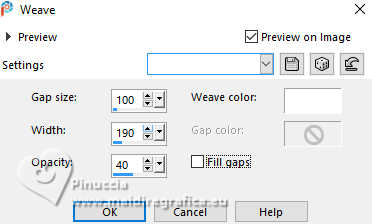 Effects>Edge Effect>Erode. Effects>Edge Effects>Enhance. 5. Effects>Plugins>Filter Factory Gallery A - Zoom in, default settings. 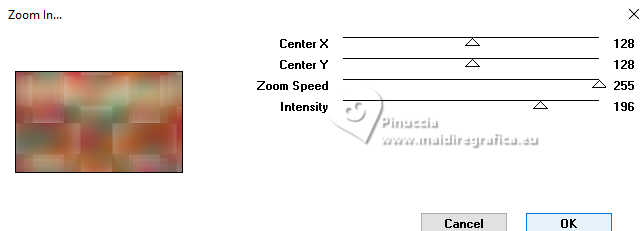 Effects>Plugins>DC Special - PerssianRug 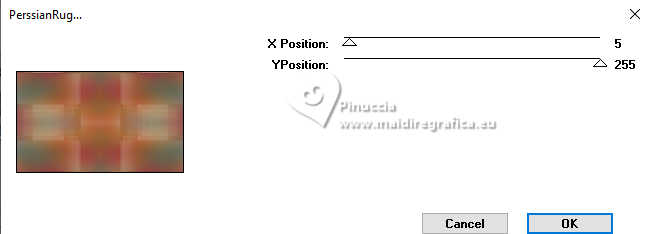 6. Effects>Plugins>Deformation - Fluttering Flag, default settings. 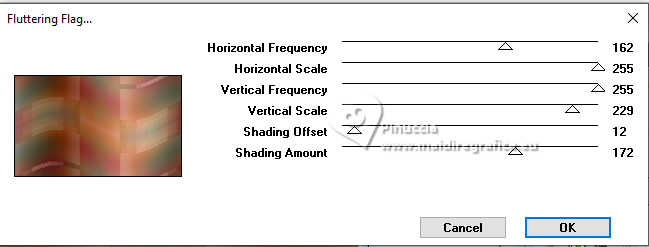 This effect, added by an unknown user to a collection of effects titled "Deformation", is part of the Factory Gallery B Filter ici 7. Effects>Reflection Effects>Rotating Mirror, default settings.  8. Layers>Duplicate. Image>Mirror>Mirror Vertical. Change the Blend Mode of this layer to Hard Light. Layers>Merge>Merge Down. 9. Layers>Duplicate. Selection Tool  (no matter the type of selection, because with the custom selection your always get a rectangle) clic on the Custom Selection  and set the following settings. 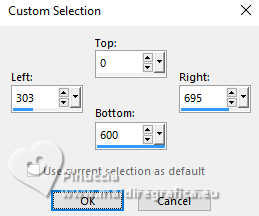 Press CANC on the keyboard  Selections>Select None. 10. Effects>Plugins>Italian Editors - Effetto Fantasma, default settings. 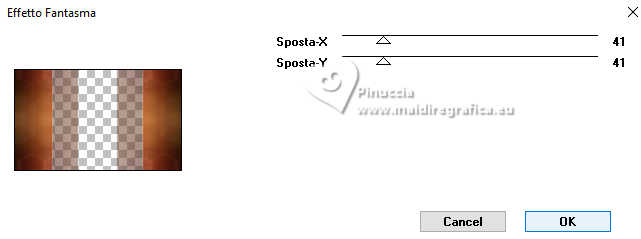 Change the Blend Mode of this layer to Hard Light. 11. Effects>Texture Effects>Blinds. 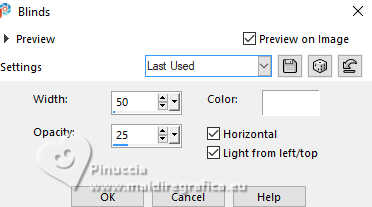 12. Effects>3D Effects>Drop Shadow, color #000000. 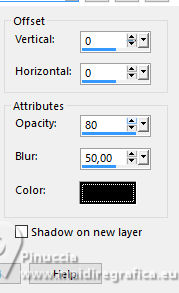 13. Activate the layer Raster 1. Effects>Plugins>Carolaine and Sensibility - CS_Texture, default settings. 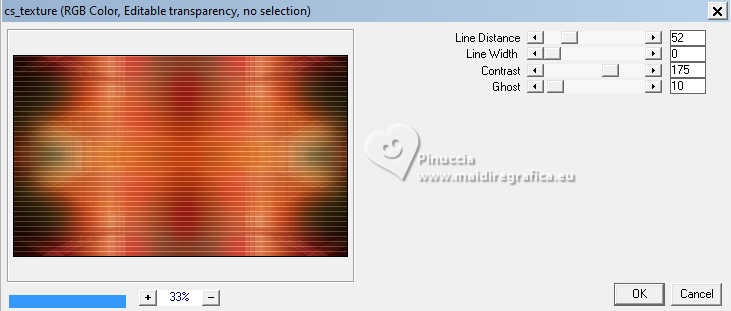 14. Activate your top layer, Copy of Raster 1. Effects>Geometric Effects>Skew. 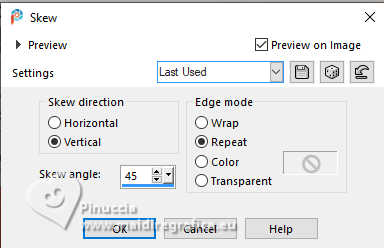 Effects>Edge Effects>Enhance. 15. Effects>Reflection Effects>Rotating Mirror. 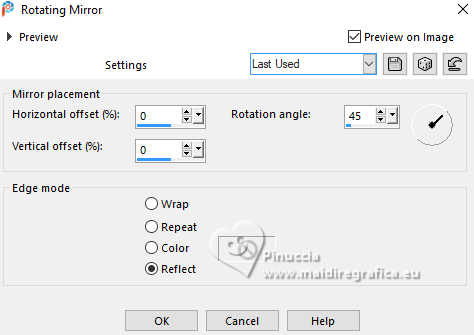 16. Layers>Duplicate. Image>Mirror>Mirror horizontal. Image>Mirror>Mirror vertical. 17. Image>Resize, to 70%, resize all layers not checked. Effects>Reflection Effects>Kaleidoscope. 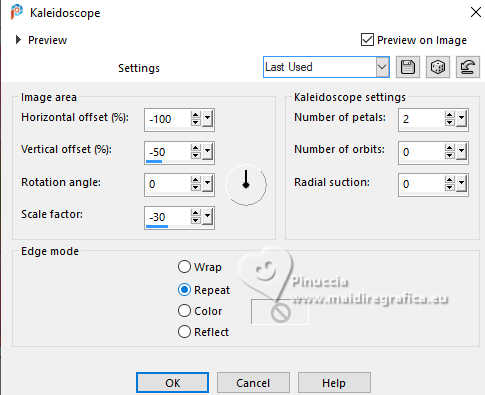 Layers>Duplicate. Layers>Merge>Merge Down. 18. Effects>Plugins>Mura's Meister - Perspective Tiling. 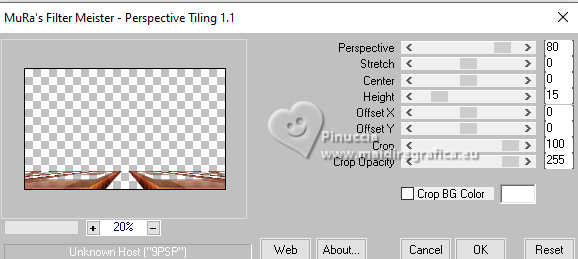 19. Selections>Load/Save Selection>Load Selection from Disk. Look for and load the selection Jolcsi_1 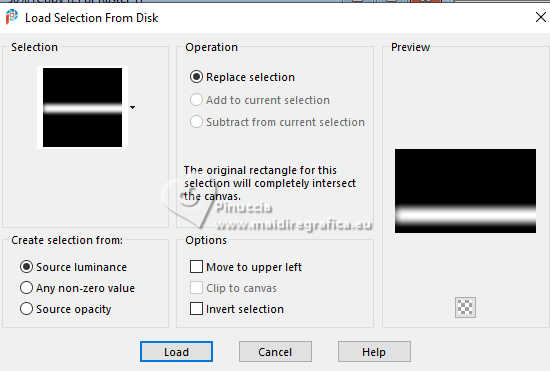 Press 3-4 times CANC on the keyboard. Selections>Select None. 20. Effects>Geometric Effects>Circle.  21. Effects>Reflection Effects>Feedback. 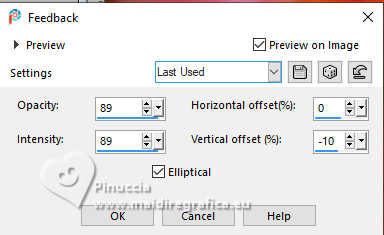 Layers>Duplicate. Layers>Merge>Merge Down. 22. Open the tube EF-Jolcsi_Deco_1  Edit>Copy. Go back to your work and go to Edit>Paste as new layer. K key to activate your Pick Tool  Position X: 32,00 - Position Y: 219,00. 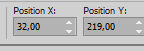 M key to deselect the Tool. 23. Activate your Magic Wand Tool  , tolerance and feather 0, , tolerance and feather 0,click on the first frame to select it. Layers>New Raster Layer. 24. Open the image Grafico 2  Edit>Copy. Go back to your work and go to Edit>Paste into Selection. Selections>Select None. Adjust>Sharpness>Sharpen More. 25. Layers>Duplicate. Effects>Image Effects>Offset. 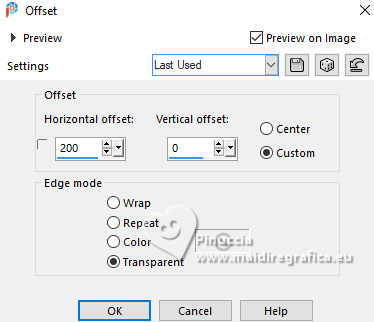 Repeat Layers>Duplicate. Effects>Image Effects>Offset, same settings. Layers>Merge>Merge Down - 2 times. 26. Selections>Load/Save Selection>Load Selection from Disk. Look for and load the selection Jolcsi_2 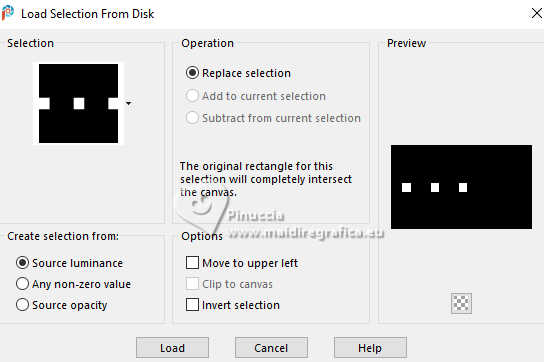 27. Set your foreground color to white. Layers>New Raster Layer. Flood Fill  the selection with color white. the selection with color white.Selections>Modify>Contract - 20 pixels. Press CANC on the keyboard. Keep selected. Layers>Merge>Merge Down - 2 times. 28. Effects>Plugins>Alien Skin Eye Candy 5 Impact - Glass. 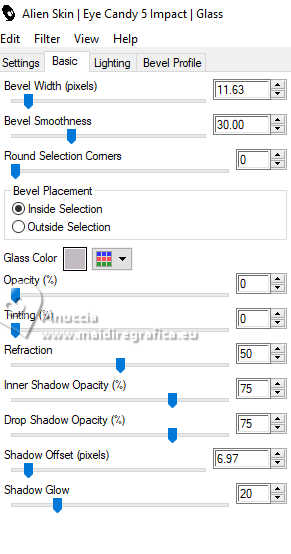 Selections>Select None. 29. Effects>3D Effects>Drop Shadow, color #000000. 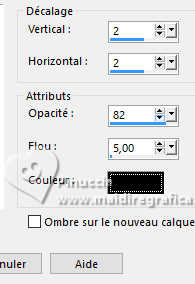 30. Open EF-Jolcsi_Deco_2  Edit>Copy. Go back to your work and go to Edit>Paste as new layer. 31. Open EF-Jolcsi_Deco_3  Edit>Copy. Go back to your work and go to Edit>Paste as new layer. Pick Tool Position X: 18,00 - Position Y: 23,00.  32. Open EF-Jolcsi_Deco_4  Edit>Copy. Go back to your work and go to Edit>Paste as new layer. Position X: 30,00 - Position Y: 78,00.  33. Selections>Select All. Selections>Float. Selections>Defloat. 34. Selections>Modify>Contract - 1 pixel. Open again the image Grafico 2 and go to Edit>Copy. Go back to your work and go to Edit>Paste into Selection. 35. Effects>3D Effects>Inner Bevel. 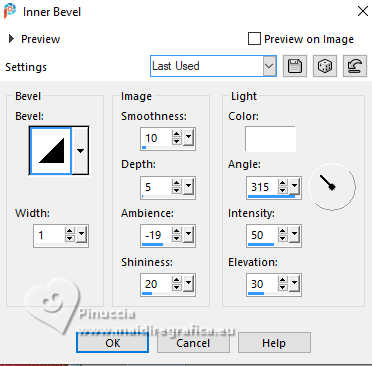 Selections>Select None. 36. Effects>3D Effects>Drop Shadow, color #6b2d17. 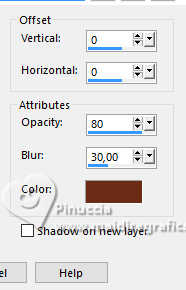 37. Image>Add borders, 10 pixels, symmetric, color #ffffff. Image>Add borders, 1 pixel, symmetric, color #97250c. Edit>Copy 38. Selections>Selecti All. Image>Add borders, 40 pixels, symmetric, color #ffffff. Selections>Invertr. Edit>Paste into Selection 39. Adjust>Blur>Gaussian Blur - radius 35.  40. Adjust>Add/Remove Noise>Add Noise. 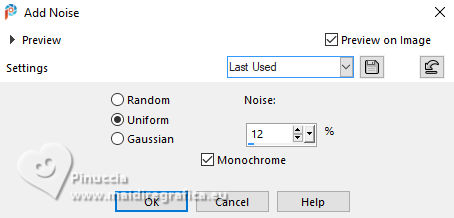 Selections>Select None. 41. Open the tube femme918-coly 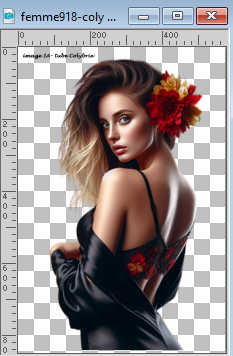 Erase the watermark and Edit>Copy. Go back to your work and go to Edit>Paste as new layer. Image>Resize, to 85%, resize all layers not checked. Move  the tube to the right side. the tube to the right side.Effects>3D Effects>Drop Shadow, color #000000. 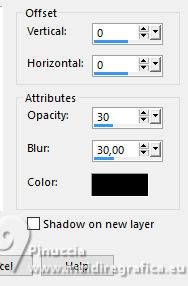 42. Open the tube Tube_269_EF 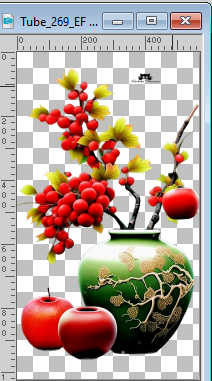 Erase the watermark and go to Edit>Copy. Go back to your work and go to Edit>Paste as new layer. Image>Resize, to 30%, resize all layers not checked. Move the tube to the left side.Adjust>Sharpness>Sharpen More. 43. Effects>3D Effects>Drop Shadow, same settings. 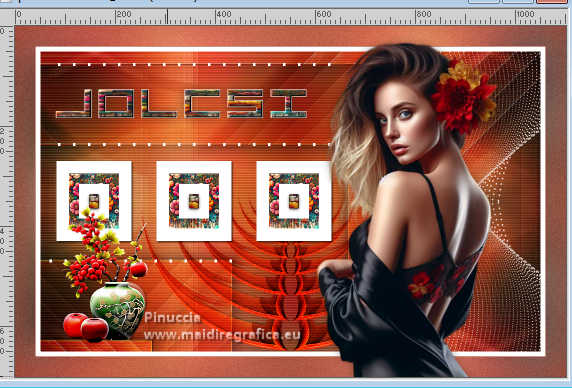 44. Sign your work. Image>Add borders, 1 pixel, symmetric, color #000000. Image>Resize, 1000 pixels width, resize all layers checked. Save as jpg. For the tubes of these versions thanks Colybrix and NaiseM 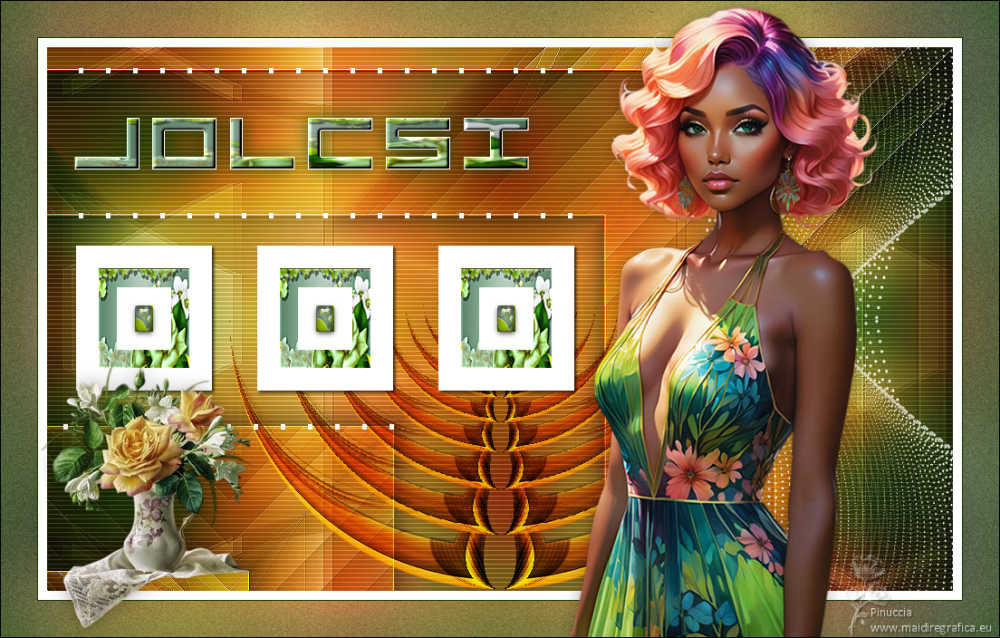 Isa. 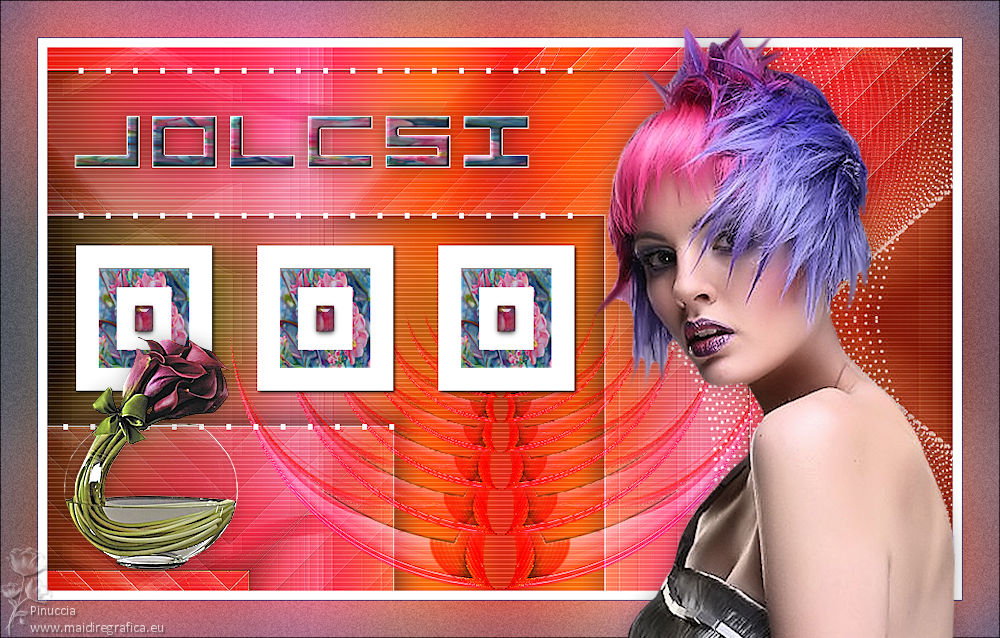   If you have problems or doubts, or you find a not worked link, or only for tell me that you enjoyed this tutorial, write to me. 14 August 2024 |


 French Translation
  Your versions

 it must necessarily be imported into Unlimited
