Home |
Home |

Mappa sito |
Mappa sito |
Tutorial |
Tutorial |
Tut tecnici |
Tut tecnici |
Links-Banner |
Links-Banner |
Regali-Award |
Regali-Award |
Informatica |
Informatica |
Archivio |
Archivio |
Mail |
Mail |
Privacy policy |
Privacy policy |
Novità |
Novità |
Home |
Home |
Mappa sito |
Mappa sito |
Tutorial |
Tutorial |
Tut tecnici |
Tut tecnici |
Links-Banner |
Links-Banner |
Regali-Award |
Regali-Award |
Informatica |
Informatica |
Archivio |
Archivio |
Mail |
Mail |
Privacy policy |
Privacy policy |
Novità |
Novità |
|
FLORESCER  FLOURISH FLOURISH 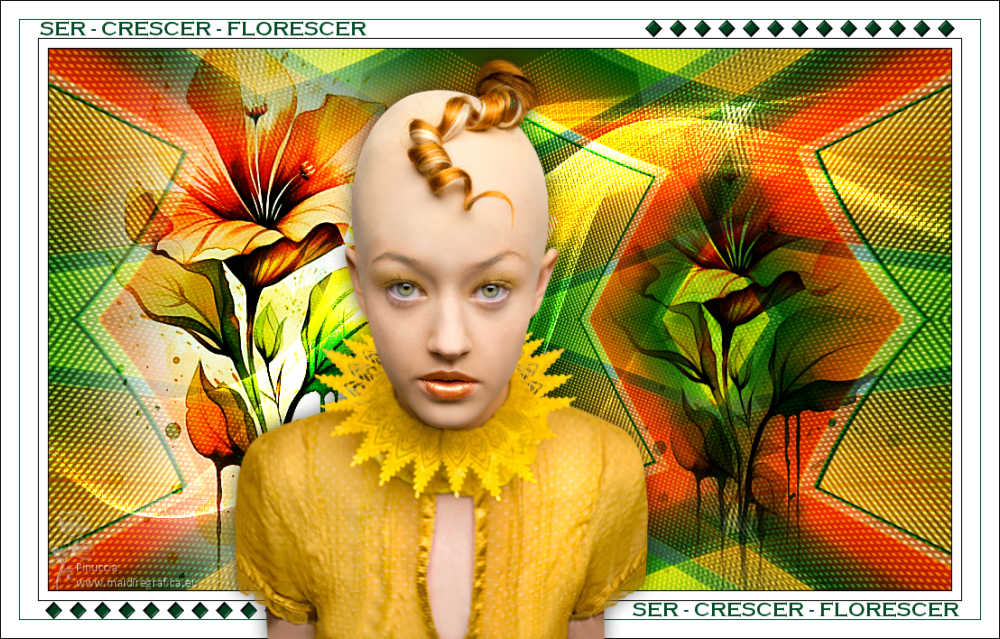

This tutorial, created with PSP2022, was translated with PspX7, but it can also be made using other versions of PSP.  You can change Blend Modes according to your colors.  Colors  Set your foreground color to #ffdf04, and your background color to #cf600e. 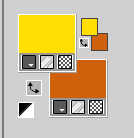 1. Open EF-Florescer_Alpha Window>Duplicate or, on the keyboard, shift+D to make a copy.  Close the original. The copy, that will be the basis of your work, is not empty, but contains the selections saved to alpha channel. 2. Selections>Load/Save Selection>Load Selection from Alpha Channel. The selection Selection #1 is immediately available. You just have to click Load. 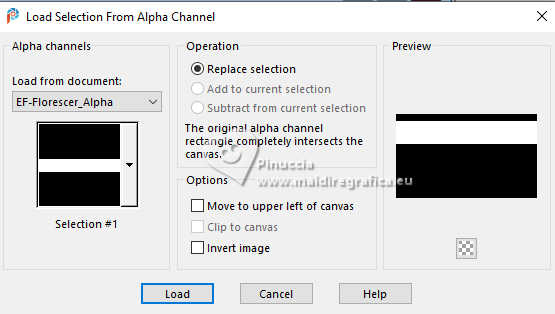 Flood Fill  the selection with your foreground color. the selection with your foreground color.Selections>Select None. 3. On the same layer: Selections>Load/Save Selection>Load Selection from Alpha Channel. Open the Selections menu and load the selection Selection #2 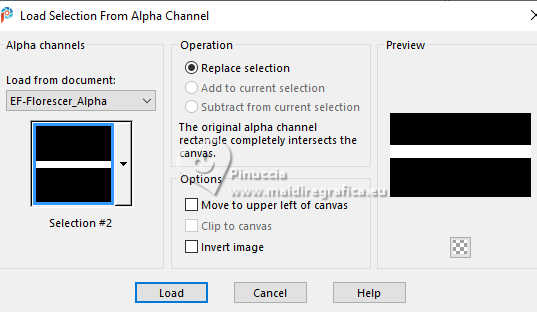 Flood Fill the selection with your background color.Selections>Select None. 4. Again on the same layer. Selections>Load/Save Selection>Load Selection from Alpha Channel. Open the Selections menu and load the selection Selection #3 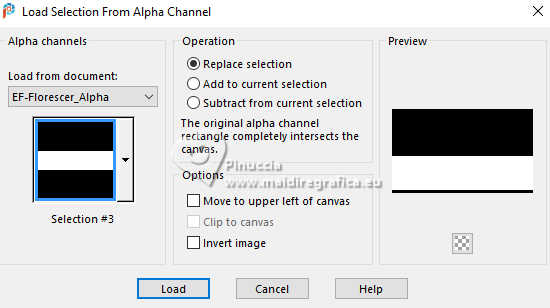 5. Set your foreground color to color 3 #014d26 and your background color to color 4 #ffffff 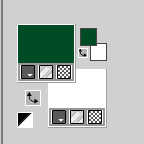 Flood Fill the selection with your foreground color #014d26 (color 3).Selections>Select None. 6. Effects>Edge Effects>Enhance. Effects>Image Effects>Seamless Tiling.  7. Layers>Duplicate. Effects>Plugins>[AFS IMPORT] - sqborder2, default settings.  8. Change the Blend Mode of this layer to Hard Light. 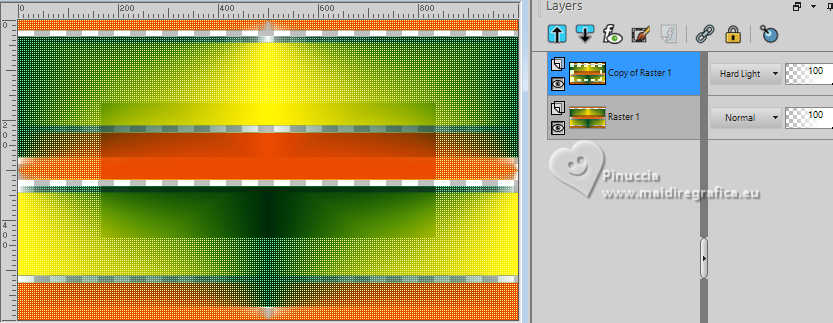 Layers>Merge>Merge Down. Layers>Duplicate. 9. Effects>Plugins>Toadies - Weaver, default settings. 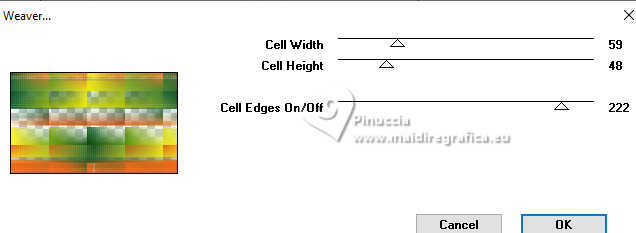 10. Effects>Geometric Effects>Skew. 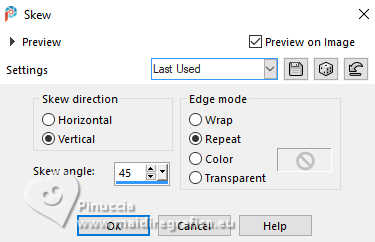 11. Change the Blend Mode of this layer to Hard Light. 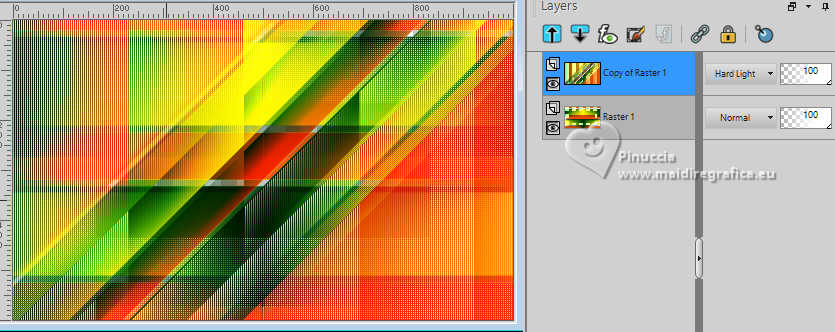 Layers>Merge>Merge Down. 12. Effects>Reflections Effects>Rotating Mirror. 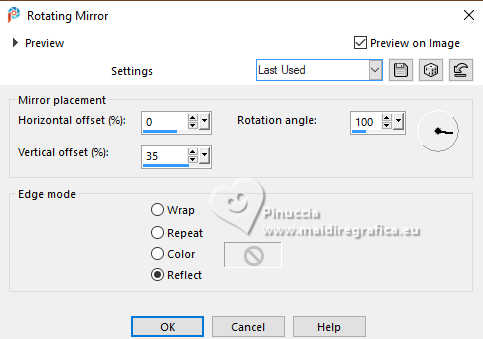 13. Effects>Plugins>Simple - Top Left Mirror. 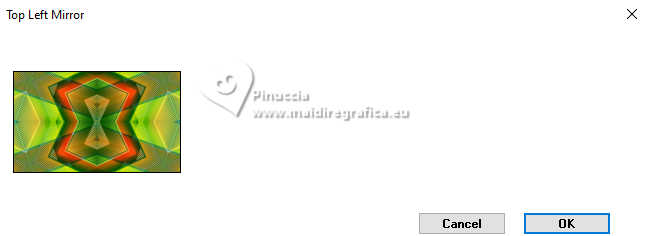 14. Effects>Image Effects>Seamless Tiling. 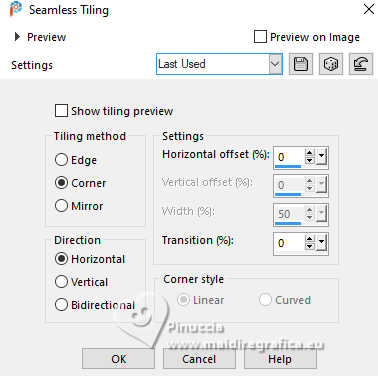 15. Adjust>Fisheye Distortion Correction. 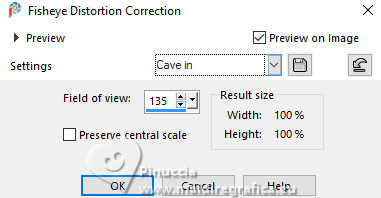 16. Open the misted Misted_Floral 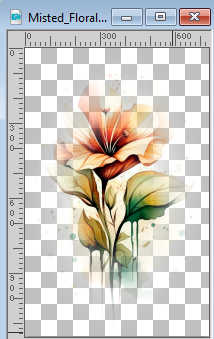 Edit>Copy. Go back to your work and go to Edit>Paste as new layer. Image>Resize, to 70%, resize all layers not checked. Move  the tube to the left side. the tube to the left side.Adjust>Sharpness>Sharpen More. Change the Blend Mode of this layer to Hard Light. 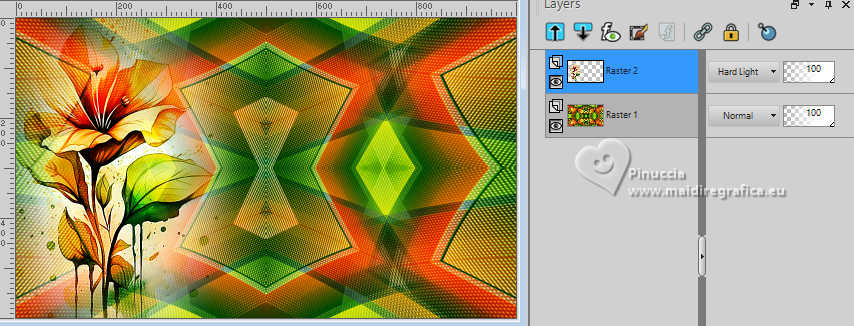 17. Layers>Duplicate. Image>Resize, to 85%, resize all layers not checked. Move the tube to the right side.Change the Blend Mode of this layer to Multiply. 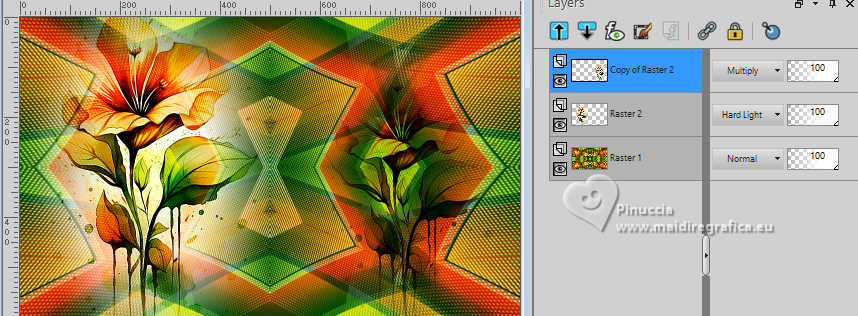 18. Open the tube EF-Florescer_Deco_1  Edit>Copy. Go back to your work and go to Edit>Paste as new layer. Change the Blend Mode of this layer to Dodge. 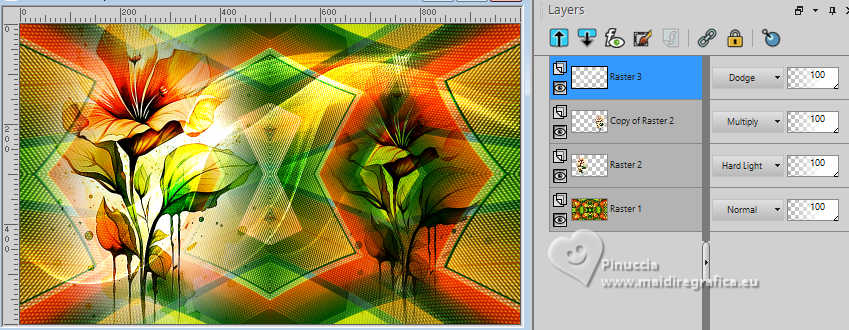 19. Image>Add borders, 1 pixel, symmetric, color #000000. Image>Add borders, 10 pixels, symmetric, color #ffffff. Image>Add borders, 1 pixel, symmetric, color #000000. Image>Add borders, 20 pixels, symmetric, color #ffffff. Image>Add borders, 1 pixel, symmetric, foreground color #014d26 (color 3). Image>Add borders, 20 pixels, symmetric, color #ffffff. Image>Add borders, 1 pixel, symmetric, color #000000. 20. Open the tube EF-Florescer_Deco_2  Edit>Copy. Go back to your work and go to Edit>Paste as new layer. 21. Open the tube Alies 511-face-27052011 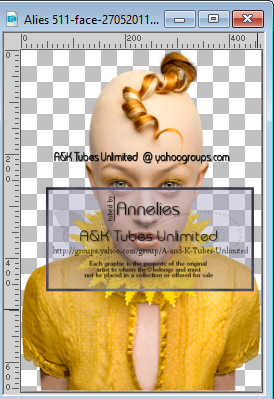 Edit>Copy. Go back to your work and go to Edit>Paste as new layer. Move the tube to your liking.22. Effects>3D Effects>Drop Shadow, color #000000. 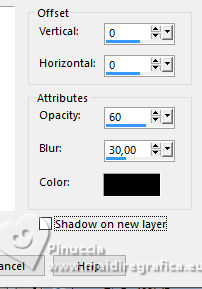 23. Open the tube EF-Florescer_Texto 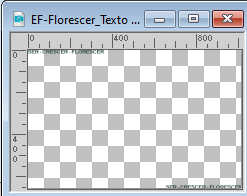 Edit>Copy. Go back to your work and go to Edit>Paste as new layer. 24. Effects>3D Effects>Drop Shadow, color 4 #ffffff. 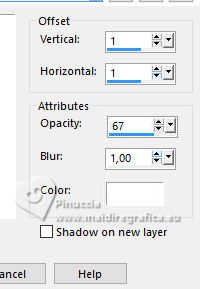 25. Sign your work. Layers>Merge>Merge All. 26. Image>Resize, 1000 pixels width, resize all layers checked. Save as jpg. For the tube of this version thanks Beatriz 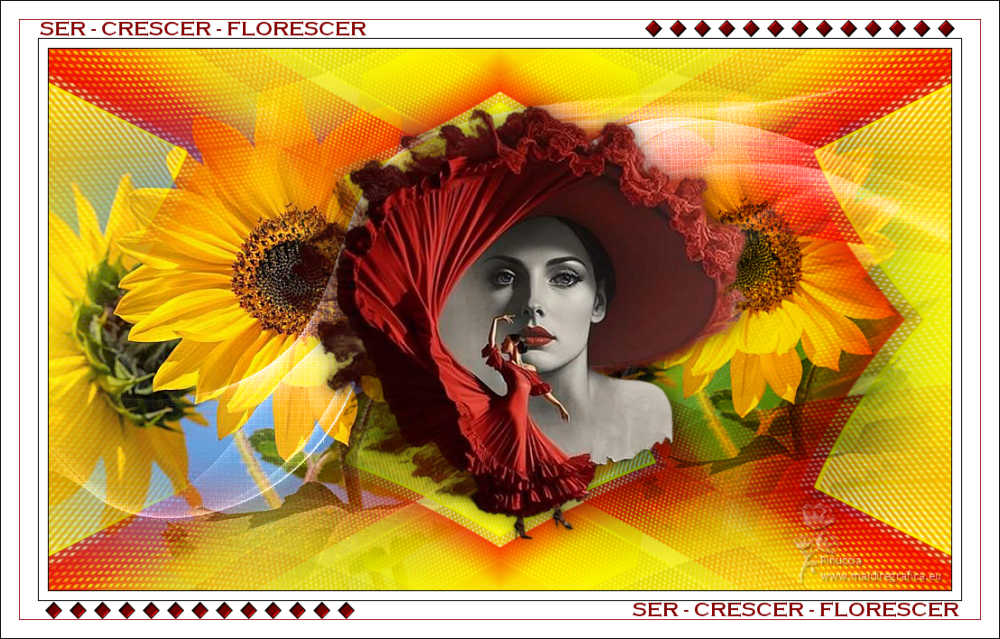   If you have problems or doubts, or you find a not worked link, or only for tell me that you enjoyed this tutorial, write to me. 5 August 2024 |


 French Translation
  Your versions

 it must necessarily be imported into Unlimited
