|
DOUBLE


Thanks Estela for your invitation to translate your tutorials into english

This tutorial, created with PSP2022, was translated with PspX7, but it can also be made using other versions of PSP.
Since version PSP X4, Image>Mirror was replaced with Image>Flip Horizontal,
and Image>Flip with Image>Flip Vertical, there are some variables.
In versions X5 and X6, the functions have been improved by making available the Objects menu.
In the latest version X7 command Image>Mirror and Image>Flip returned, but with new differences.
See my schedule here
 French Translation here French Translation here
 Your versions here Your versions here
For this tutorial, you will need:

Thanks for the tube Suizabella and for the masks Narah and Silvie.
The rest of the material is by Estela Fonseca
(The links of the tubemakers here).
*It is forbidden to remove the watermark from the supplied tubes, distribute or modify them,
in order to respect the work of the authors

consult, if necessary, my filter section here
Filters Unlimited 2.0 here
VM Natural - Weave Distortion here
&<Background Designers IV> - (to import in Unlimited) here
L&K's - L&K's Paris here
[AFS IMPORT] - sqborder2 here
Filters VM Natural and [AFS IMPORT] can be used alone or imported into Filters Unlimited.
(How do, you see here)
If a plugin supplied appears with this icon  it must necessarily be imported into Unlimited it must necessarily be imported into Unlimited

You can change Blend Modes according to your colors.
In the newest versions of PSP, you don't find the foreground/background gradient (Corel_06_029).
You can use the gradients of the older versions.
The Gradient of CorelX here

Open the masks in PSP and minimize them with the rest of the material.
Colors

Set your foreground color to color 1 #90a083
and your background color to color 2 #252525
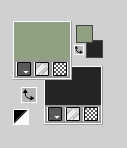
Set your foreground color to a Foreground/Background Gradient, style Sunburst.
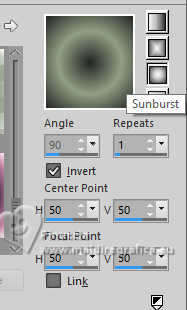
1. Open a new transparent image 1000 x 600 pixels.
Flood Fill  the transparent image with your Gradient. the transparent image with your Gradient.
Layers>Duplicate.
Adjust>Blur>Gaussian Blur - radius 25.

2. Effects>Texture Effects>Mosaic - Glass.
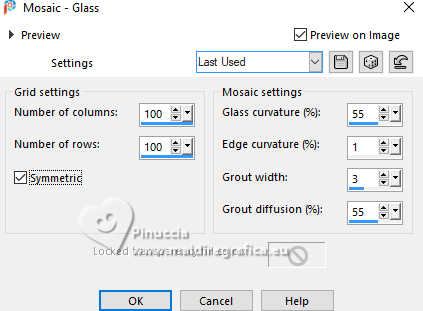
Change the Blend Mode of this layer to Hard Light and reduce the opacity to 71%.
Layers>Merge>Merge Down.
3. Effects>Reflexion Effects>Feedback.
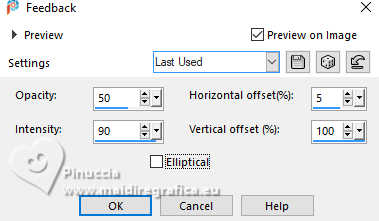
Effects>Reflexion Effects>Rotating Mirror.

Effects>Image Effects>Seamless Tiling.

4. Layers>Duplicate.
Image>Miroir>Miroir vertical (Image>Flip).
Reduce the opacity of this layer to 50%.
Layers>Merge>Merge Down.
Adjust>Sharpness>Sharpen.
5. Layers>Duplicate.
Effects>Plugins>VM Natural - Weave Distortion.
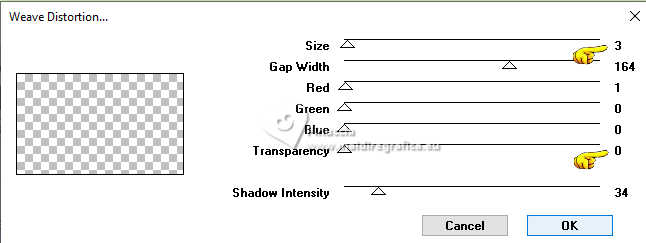
Change the Blend Mode of this layer to Soft Light.
Layers>Merge>Merge Down.
6. Layers>New Raster Layer.
Flood Fill  the layer with your background color. the layer with your background color.
Layers>New Mask layer>From image
Open the menu under the source window and you'll see all the files open.
Select the mask 205_Silvie_Mask_Abstract55Q
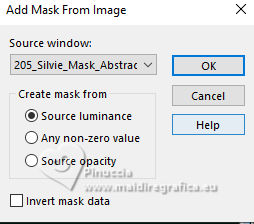
Layers>Merge>Merge Group.
7. Set your background color to #ffffff.
Layers>New Raster Layer.
Flood Fill  the layer with color white. the layer with color white.
Layers>New Mask layer>From image
Open the menu under the source window
and select the mask NarahsMask_1804
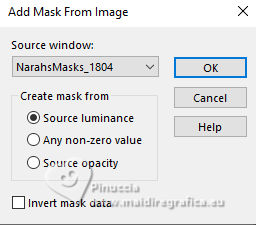
Layers>Merge>Merge Group.
Change the Blend Mode of this layer to Soft Light.
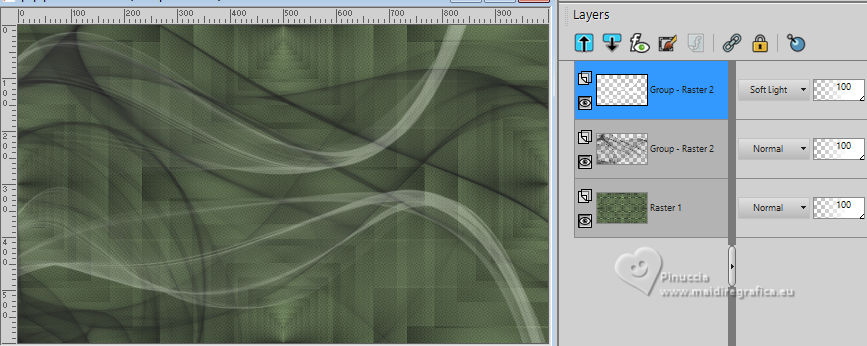
8. Activate your background layer.
Open the tube EF-Double_Deco_1 
Edit>Copy.
Go back to your work and go to Edit>Paste as new layer.
Change the Blend Mode of this layer to Overlay and reduce the opacity to 53%.
9. Activate again your background layer.
Selection Tool 
(no matter the type of selection, because with the custom selection your always get a rectangle)
clic on the Custom Selection 
and set the following settings.
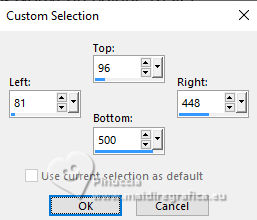
Selections>Promote Selection to Layer.
Layers>Arrange>Bring to Top.
Keep selected.
10. Layers>New Raster Layer.
Set again your background color with #252525 to get your Gradient.
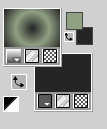
Flood Fill  the layer with your Gradient. the layer with your Gradient.
Selections>Modify>Contract - 10 pixels.
Press CANC on the keyboard 
Selections>Select None.
Effects>Edge Effects>Enhance More.
11. Activate your Magic Wand Tool  , tolerance and feather 0, , tolerance and feather 0,
and click in the frame to select it.
Open the woman's tube Suizabella_Ref_AG-003560 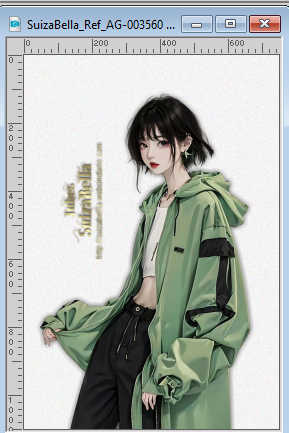
Edit>Copy.
Go back to your work and go to Edit>Paste as new layer.
Place  the tube on the selection to your liking. the tube on the selection to your liking.
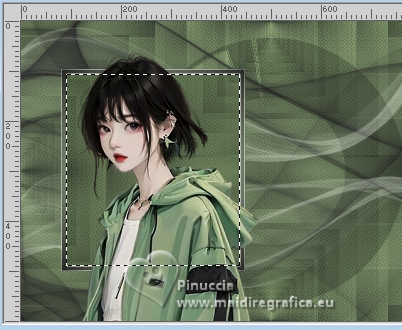
12. Selections>Invert.
Press CANC on the keyboard.
Selections>Select None.
Layers>Merge>Merge Down - 2 times.
Effects>3D Effects>Drop Shadow, background color or #000000.
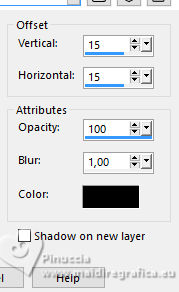
Repeat Effects>3D Effects>Drop Shadow, color #ffffff.
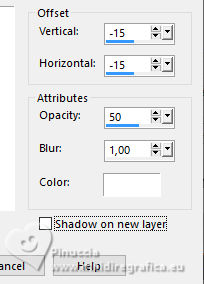
One more time Effects>3D Effects>Drop Shadow, background color or #000000.
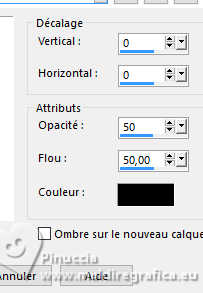
13. Edit>Paste as new layer (the woman's tube is still in memory).
Move  the tube to the right side. the tube to the right side.
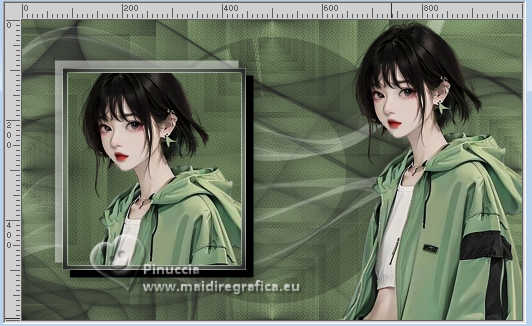
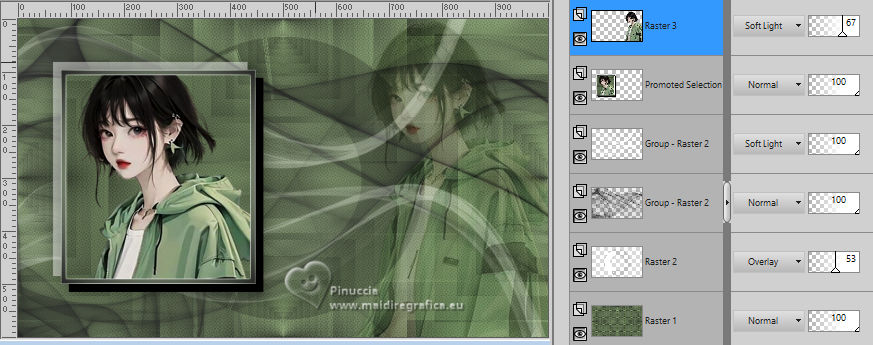
Change the Blend Mode of this layer to Soft Light and reduce the opacity to 57%
(adapt the opacity according to your colors and your tube).
14. Open the tube EF-Double_Deco_2 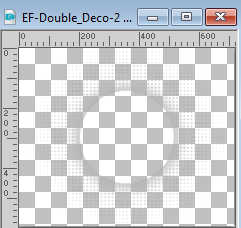
Edit>Copy.
Go back to your work and go to Edit>Paste as new layer.
K key to activate your Pick Tool 
Set Position X: 420,00 and Position Y: 0,00.

M key to deselect the Tool.
Keep the Blend Mode of this layer to Soft Light.
Adjust>Sharpness>Sharpen More.
15. Activate again your woman's tube and go to Edit>Copy.
Go back to your work and go to Edit>Paste as new layer.
Image>Resize, to 65%, resize all layers not checked.
Move  the tube as in my example. the tube as in my example.
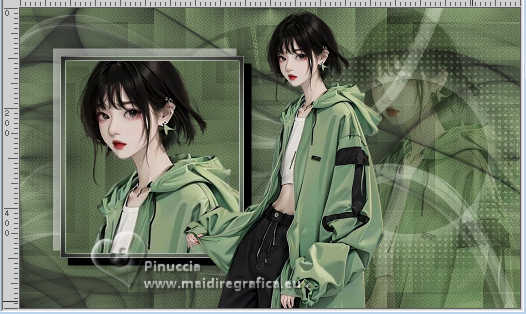
Effects>3D Effects>Drop Shadow, color #000000.

16. Open EF-Double_Deco_3 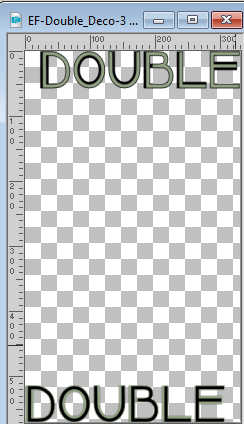
Edit>Copy.
Go back to your work and go to Edit>Paste as new layer.
K key to activate your Pick Tool 
Set Position X: 99,00 and Position Y: 12,00.

M key to deselect the Tool.
17. Activate your bottom layer.
Edit>Copy
Image>Add borders, 2 pixels, symmetric, background color.
Selections>Select All.
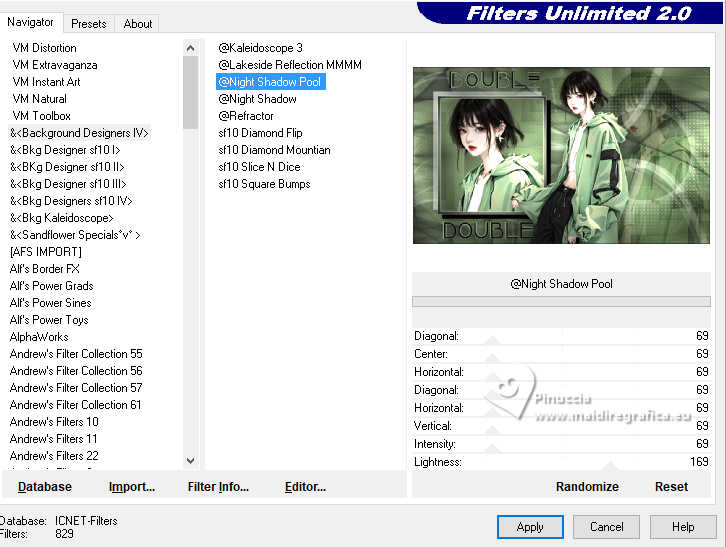
Effects>Plugins>Filters Unlimited 2.0 - &<Background Designers IV> - @Night Shadow Pool, default settings (optional).
18. Image>Add borders, 50 pixels, symmetric, whatever color.
Selections>Invert.
Edit>Paste into Selection.
Adjust>Blur>Gaussian Blur - radius 25.

Effects>Plugins>Filters Unlimited 2.0 - &<Background Designers IV> - @Night Shadow Pool, default settings.
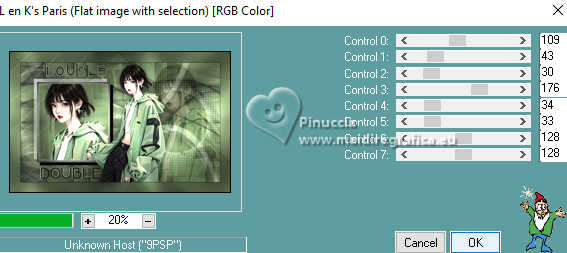
19. Effects>Plugins>L&K's - L&K's Paris, default settings.
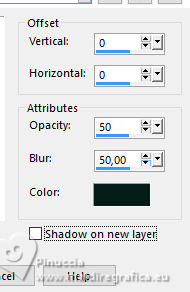
Effects>3D Effects>Drop Shadow, background color.
Selections>Select None.
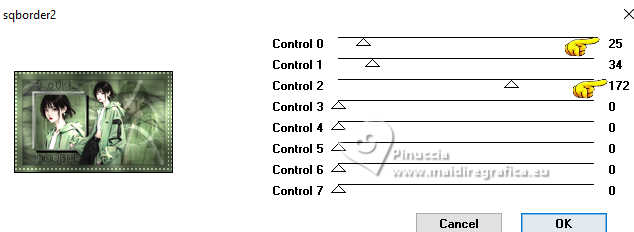
Effects>Plugins>[AFS IMPORT] - sqborder2
20. Sign your work.
Image>Add borders, 1 pixel, symmetric, color #000000
Image>Resize, 1000 pixels width, resize all layers checked.
Save as jpg.
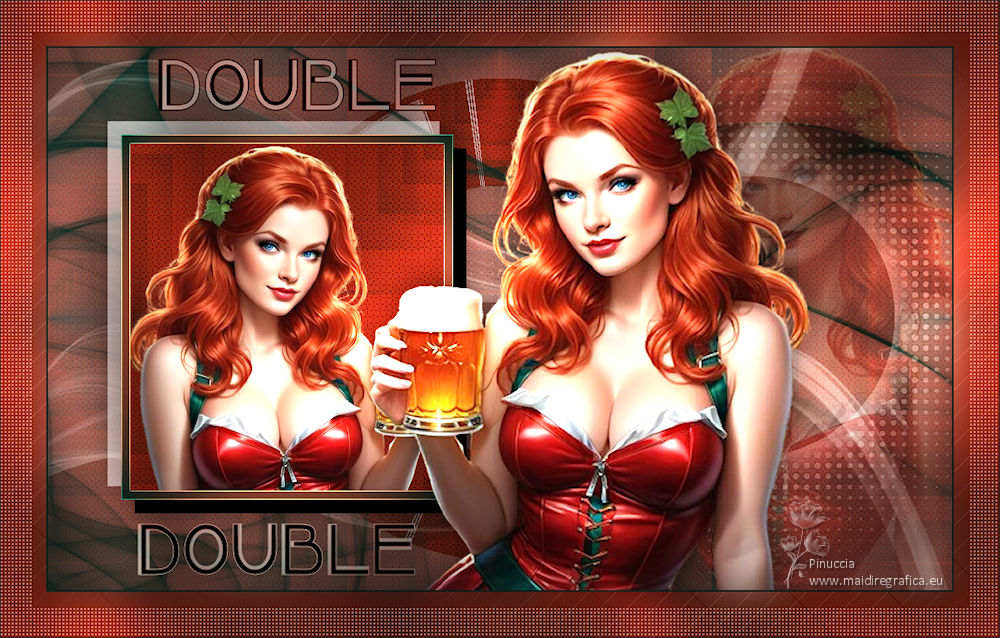
For the tube of this version thank Cupcake.


If you have problems or doubts, or you find a not worked link,
or only for tell me that you enjoyed this tutorial, write to me.
7 May 2024

|


