|
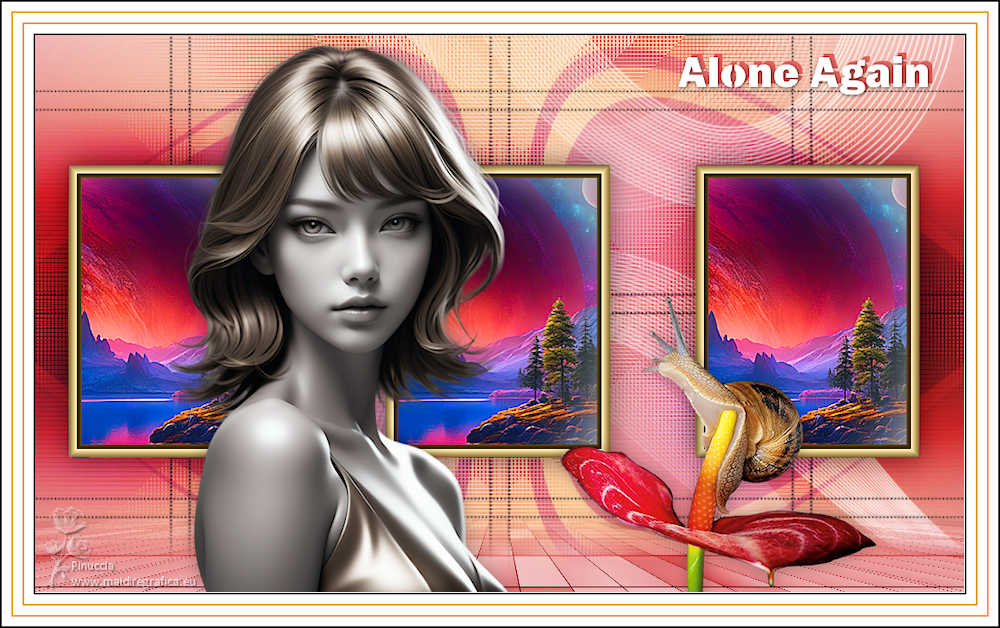
ALONE AGAIN


Thanks Estela for your invitation to translate your tutorials into english

This tutorial, created with PSP2022, was translated with PspX7, but it can also be made using other versions of PSP.
Since version PSP X4, Image>Mirror was replaced with Image>Flip Horizontal,
and Image>Flip with Image>Flip Vertical, there are some variables.
In versions X5 and X6, the functions have been improved by making available the Objects menu.
In the latest version X7 command Image>Mirror and Image>Flip returned, but with new differences.
See my schedule here
 French Translation here French Translation here
 Your versions here Your versions here

For this tutorial, you will need:

Thanks for two tubes Mentali and Kamil.
The rest of the material is by Estela Fonseca.
(The links of the tubemakers here).
*It is forbidden to remove the watermark from the supplied tubes, distribute or modify them,
in order to respect the work of the authors

consult, if necessary, my filter section here
Filters Unlimited 2.0 here
Simple - Pizza Slice Mirror here
Mura's Meister - Perspective Tiling here
L&K's - L&K's Katharina here
AP [Lines] - Lines SilverLining here
Toadies - Plain Mosaic Blur here
Filters Graphics Plus can be used alone or imported into Filters Unlimited.
(How do, you see here)
If a plugin supplied appears with this icon  it must necessarily be imported into Unlimited it must necessarily be imported into Unlimited

You can change Blend Modes according to your colors.
In the newest versions of PSP, you don't find the foreground/background gradient (Corel_06_029).
You can use the gradients of the older versions.
The Gradient of CorelX here

1. Set your foreground color to #70cfe4,
and your background color to #12466b.

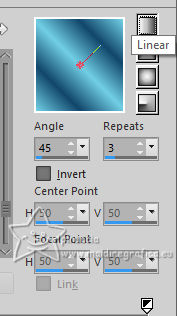
Set your foreground color to a Foreground/Background Gradient, style Linear.
1. Open EF-Alpha_Alone_Again.
Window>Duplicate or, on the keyboard, shift+D to make a copy.

Close the original.
The copy, that will be the basis of your work, is not empty,
but contains the selections saved to alpha channel.
Flood Fill  the transparent image with your Gradient. the transparent image with your Gradient.
3. Layers>Duplicate.
Image>Mirror>Mirror horizontal.
Reduce the opacity of this layer to 50%.
Layers>Merge>Merge Down.
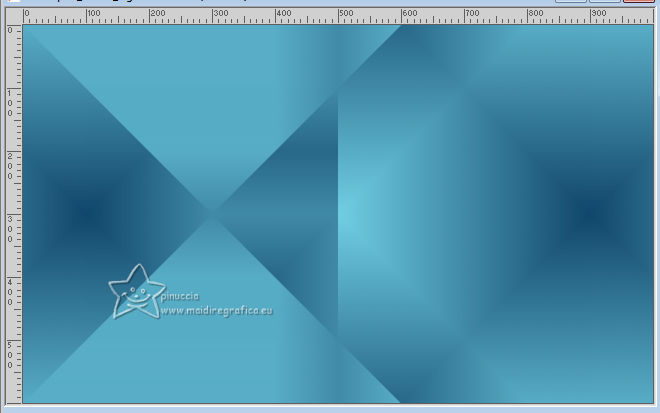
4. Effects>Plugins>Simple - Pizza Slice Mirror.
This Effect works without window; result
5. Effects>Plugins>L&k's - L&K's Katharina, default settings.
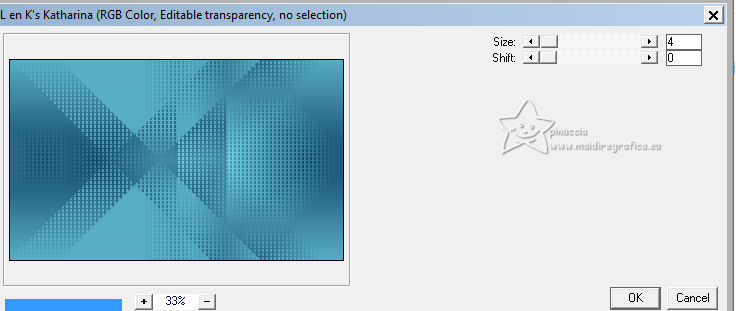
Repeat this Effect another time.
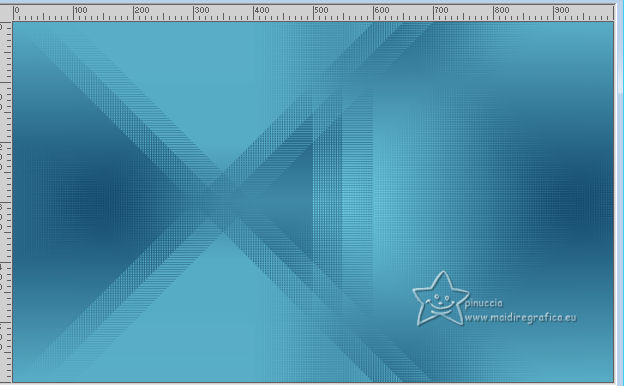
6. Adjust>Hue and Saturation>Vibrancy
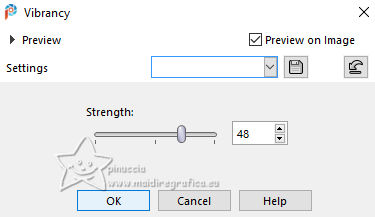
7. Effects>Plugins>Filters Unlimited 2.0 - Tile & Mirror - Seamless Blend (Horizontal).
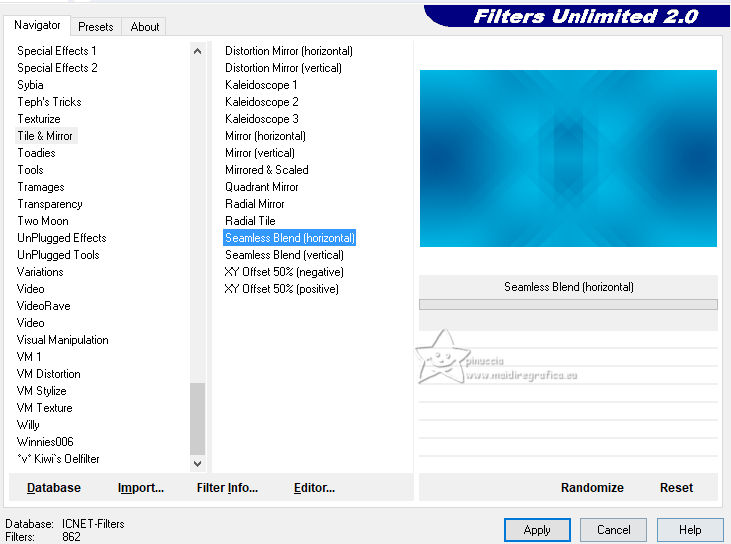
Adjust>Sharpness>Sharpen More
9. Layers>Duplicate.
Change the Blend Mode of this layer to Hard Light.
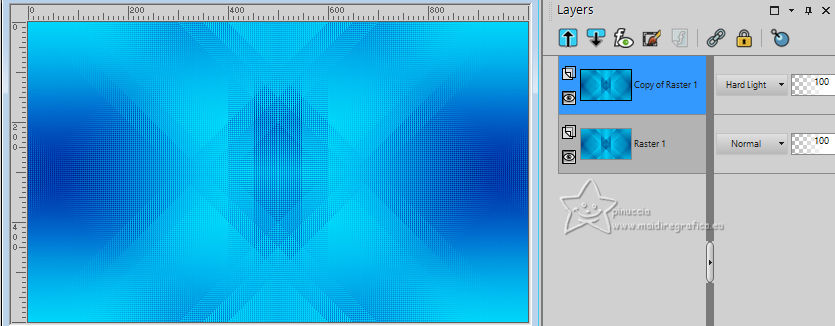
Layers>Merge>Merge Down.
10. Open EF-Alone_Again_Deco_1 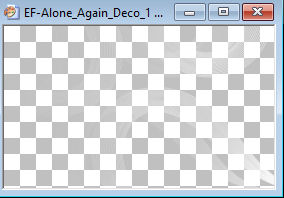
Edit>Copy.
Go back to your work and go to Edit>Paste as new layer.
11. Open EF-Alone_Again_Deco_2 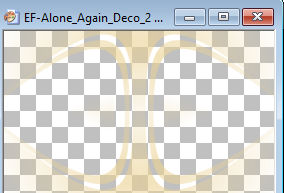
Edit>Copy.
Go back to your work and go to Edit>Paste as new layer.
Keep the Blend Mode of this layer to Overlay.
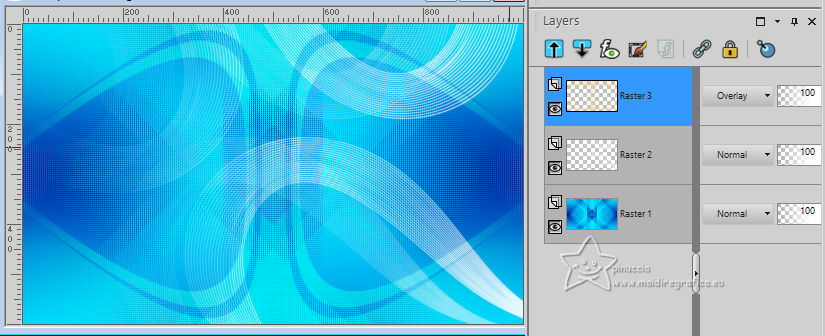
12. Open EF-Alone_Again_Deco_3 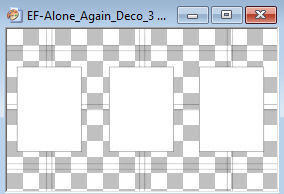
Edit>Copy.
Go back to your work and go to Edit>Paste as new layer.
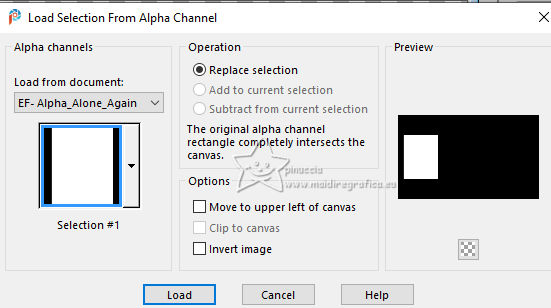
13. Selections>Load/Save Selection>Load Selection from Alpha Channel.
The selection Selection #1 is immediately available. You just have to click Load.
14. Open mentali-misted3123 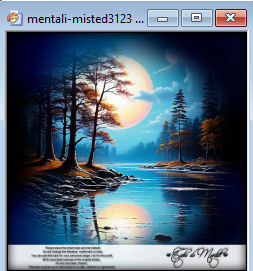
Edit>Copy.
Go back to your work and go to Edit>Paste as new layer.
Image>Resize, to 70%, resize all layers not checked.
Place  the tube on the selection. the tube on the selection.
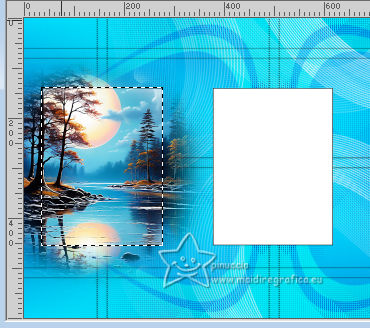
Selections>Invert.
Press CANC on the keyboard 
Selections>Select None.
Adjust>Sharpness>Sharpen More
15. Adjust>Hue and Saturation>Vibrancy, same settings.

Edit>Copy
16. Selections>Load/Save Selection>Load Selection from Alpha Channel.
Open the selections menu and load the selection Selection #2
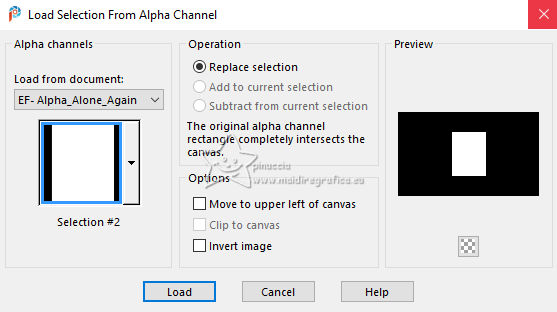
Edit>Paste into Selection
Selections>Select None.
17. Selections>Load/Save Selection>Load Selection from Alpha Channel.
Open the selections menu and load the selection Selection #3
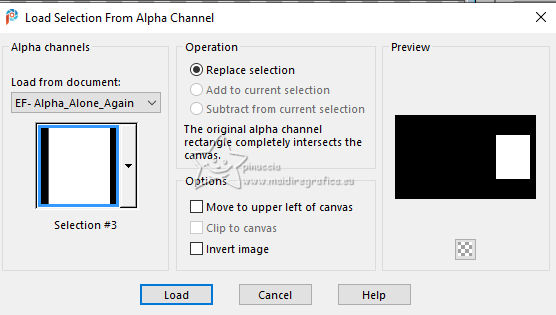
Edit>Paste into Selection
Selections>Select None.
18. Layers>Duplicate.
Activate the layer below, Raster 5.
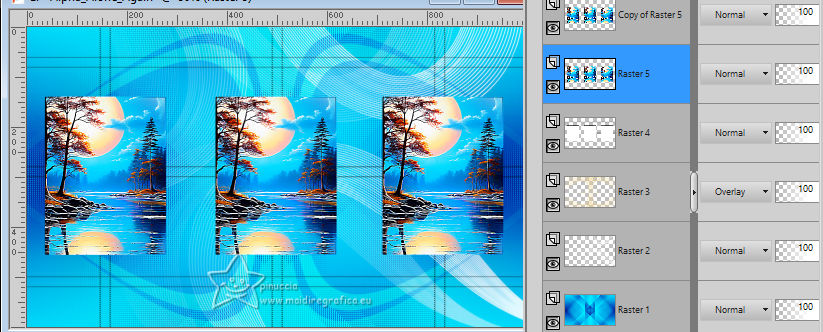
19. Adjust>Blur>Gaussian Blur - radius 50.

20. Effects>Plugins>AP [Lines] - Lines SilverLining.
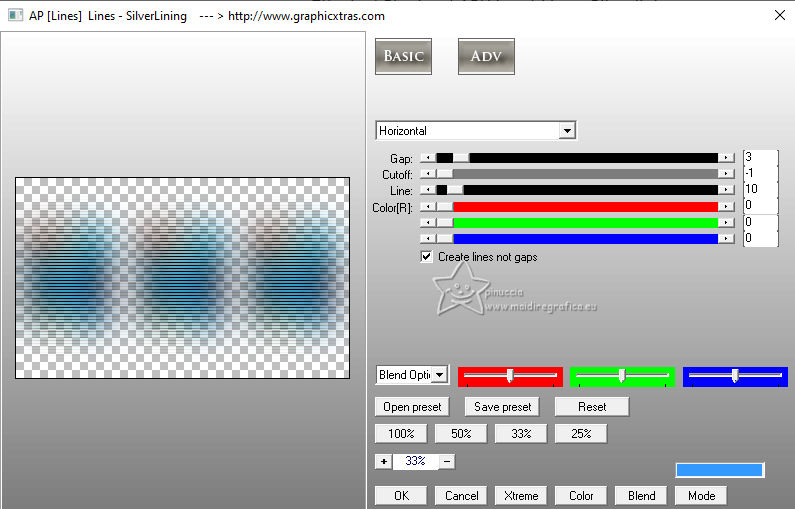
Change the Blend Mode of this layer to Overlay.
21. Activate your bottom layer, Raster 1.
Layers>Duplicate.
Layers>Arrange>Bring to Top.
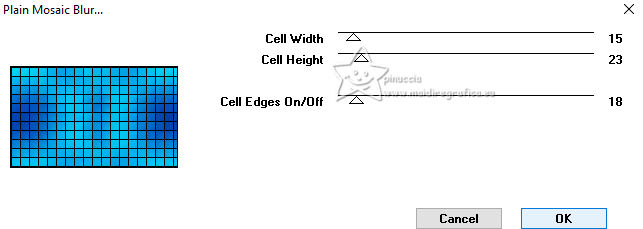
22. Effects>Plugins>Toadies - Plain Mosaic Blur, default settings.
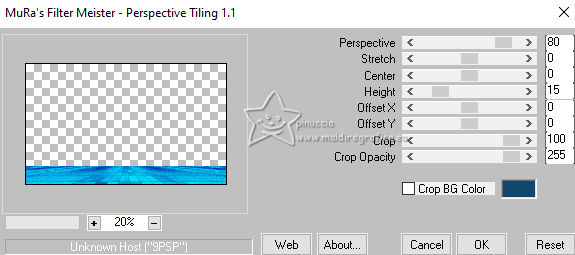
23. Effects>Plugins>Mura's Meister - Perspective Tiling.
24. Activate your Magic Wand Tool  , tolerance 0 and feather 65, , tolerance 0 and feather 65,

Click on the transparent part to select it.
Press 5 times CANC on the keyboard.
Selections>Select None.
don't forget to set again the feather to 0
25. Activate the layer Copy of Raster 5.
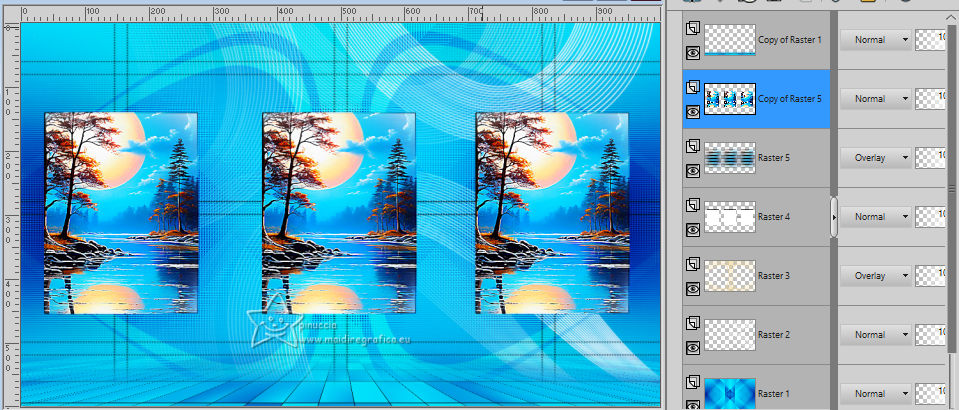
Open EF-Alone_Again_Deco_5 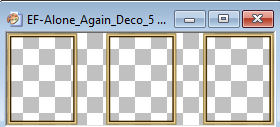
Edit>Copy.
Go back to your work and go to Edit>Paste as new layer.
K key to activate your Pick Tool 
set Position X: 35,00 and Position Y: 139,00.

M key to deselect the Tool.
Layers>Merge>Merge Down.
26. Effects>3D Effects>Drop Shadow, color #000000.
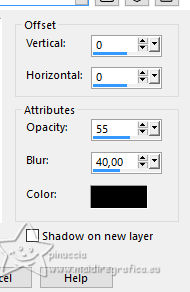
Layers>Merge>Merge visible.
27. Open the tube KamilTubes-480 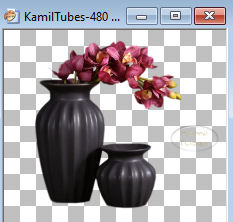
Erase the watermark and go to Edit>Copy.
Go back to your work and go to Edit>Paste as new layer.
Image>Resize, to 70%, resize all layers not checked.
Move  the tube to the right, or to your liking. the tube to the right, or to your liking.
28. Effects>3D Effects>Drop Shadow, color #000000.
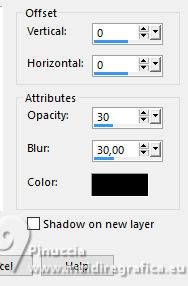
29. Open the tube EF-Tube_Mulher_155 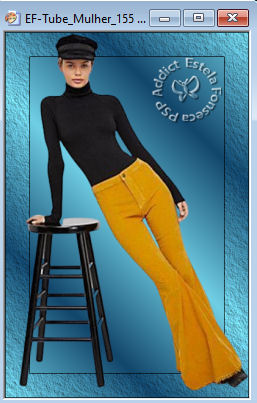
Edit>Copy.
Go back to your work and go to Edit>Paste as new layer.
Move  the tube to the left. the tube to the left.
30. Adjust>Hue and Saturation>Vibrancy, same settings.

Effects>3D Effects>Drop Shadow, color #000000.
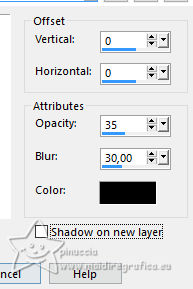
31. Layers>Merge>Merge All.
32. Open EF-Alone_Again_Deco_4 
Edit>Copy.
Go back to your work and go to Edit>Paste as new layer.
Move  the tube at the upper right, or to your liking. the tube at the upper right, or to your liking.
Effects>3D Effects>Drop Shadow, color #000000.

33. Edit>Copy Special>Copy Merged
Open EF-Frame_Alone_Again 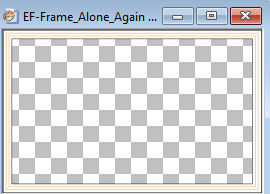
Edit>Paste as new layer.
34. Sign your work.
Image>Resize, 1000 pixels width, resize all layers checked.
Save as jpg.
For the tubes of this version thanks Kamil and Mentali


If you have problems or doubts, or you find a not worked link,
or only for tell me that you enjoyed this tutorial, write to me.
14 June 2024

|


