|
TEARS


Thanks Estela for your invitation to translate your tutorials into english

This tutorial was created with PSP2022 and translated with Psp17, but it can also be made using other versions of PSP.
Since version PSP X4, Image>Mirror was replaced with Image>Flip Horizontal,
and Image>Flip with Image>Flip Vertical, there are some variables.
In versions X5 and X6, the functions have been improved by making available the Objects menu.
In the latest version X7 command Image>Mirror and Image>Flip returned, but with new differences.
See my schedule here
 French Translation here French Translation here
 Your versions here Your versions here
For this tutorial, you will need:

For the tube thanks K@rine.
The rest of the material is by Estela Fonseca.
(The links of the tubemakers here).
*It is forbidden to remove the watermark from the supplied tubes, distribute or modify them,
in order to respect the work of the authors

consult, if necessary, my filter section here
Filters Unlimited 2.0 here
Graphics Plus - Instant Frame, Emboss here
Simple - 4 Way Average here
Mura's Meister - Perspective Tiling here
Alien Skin Eye Candy 5 Impact - Perspective Shadow here
Filters Graphics Plus and Simple can be used alone or imported into Filters Unlimited.
(How do, you see here)
If a plugin supplied appears with this icon  it must necessarily be imported into Unlimited it must necessarily be imported into Unlimited

You can change Blend Modes according to your colors.
In the newest versions of PSP, you don't find the foreground/background gradient (Corel_06_029).
You can use the gradients of the older versions.
The Gradient of CorelX here

Open the mask in PSP and minimize it with the rest of the material.
Colors

1. Set your foreground color to #e2a0aa,
and your background color to #ffffff.
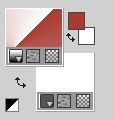
Set your foreground color to a Foreground/Background Gradient, style Radial.
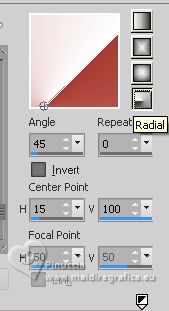
2. Open a new transparent image 800 x 600 pixels.
Flood Fill  the transparent image with your Gradient. the transparent image with your Gradient.
3. Adjust>Blur>Gaussian Blur - radius 50.

4. Effects>Plugins>Graphics Plus - Instant Frame.
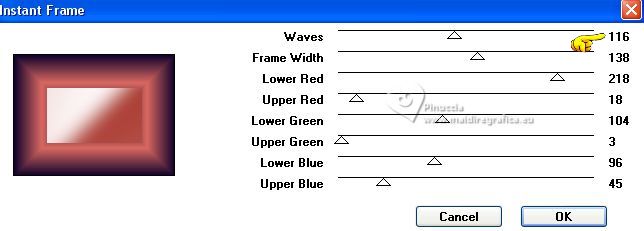
If you use other colors, change the Lower Red, Green and Blue color values, according to your colors.
For my second version, I place the Red, Green and Blue values of my foreground color.
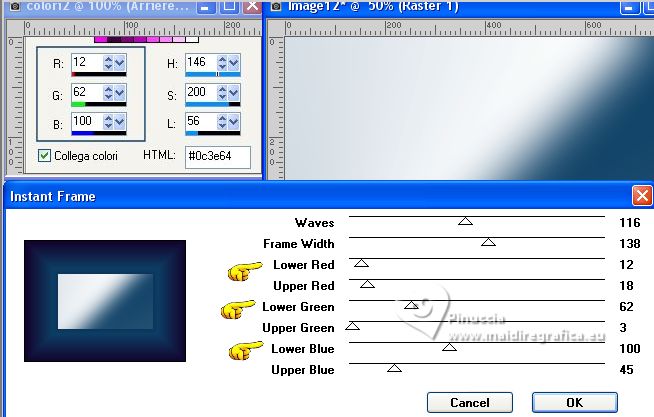
5. Adjust>Blur>Gaussian Blur - radius 50.

6. Layers>New Raster Layer.
Flood Fill  the layer with your white background color #ffffff. the layer with your white background color #ffffff.
Layers>New Mask layer>From image
Open the menu under the source window and you'll see all the files open.
Select the mask #EF_Mask_Tears.
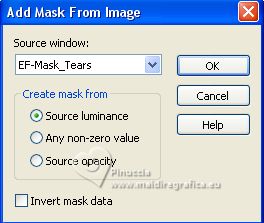
Layers>Duplicate.
Layers>Merge>Merge Group.
7. Layers>Merge>Merge Down.
8. Effects>Image Effects>Seamless Tiling - side by side.

9. Selection Tool 
(no matter the type of selection, because with the custom selection your always get a rectangle)
clic on the Custom Selection 
and set the following settings.
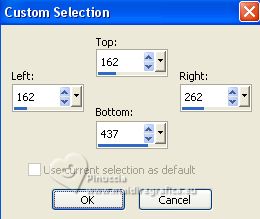
10. Effects>Texture Effets>Blinds - foreground color.
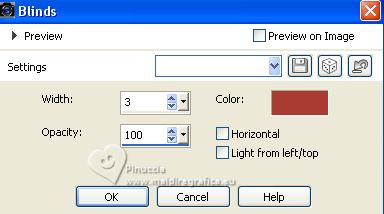
11. Selections>Promote Selection to Layer.
Selections>Select None.
12. Layers>Duplicate.
Image>Mirror.
Layers>Merge>Merge visible.
13. Effects>Reflection Effects>Rotating Mirror.

14. Effects>Plugins>Simple - 4 Way Average
This effect works without window; result
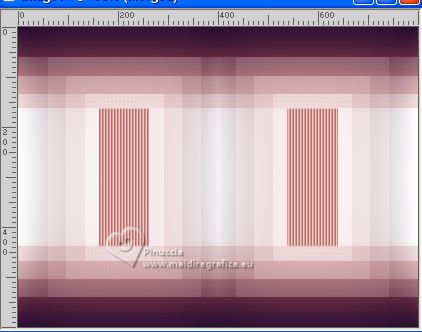
15. Custom Selection 
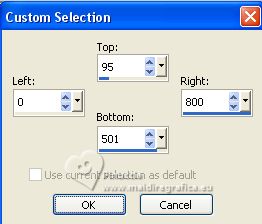
Selections>Promote Selection to Layer.
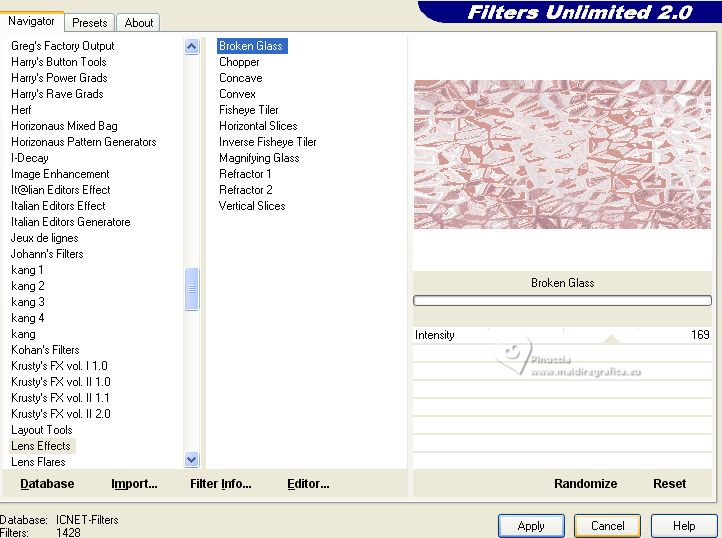
16. Effects>Plugins>Filters Unlimited 2.0 - Lens Effects - Broken Glass.
Change the Blend Mode of this layer to Soft Light.
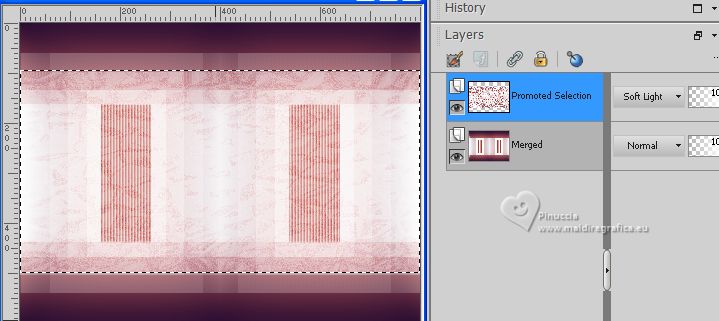
Selections>Select None.
17. Effects>Plugins>Graphics Plus - Emboss.
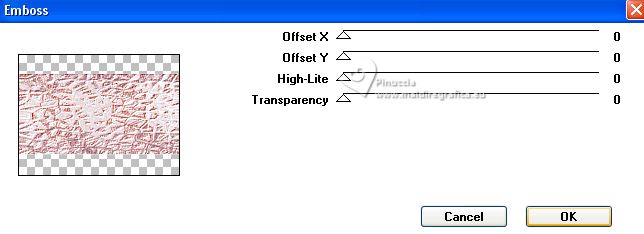
Layers>Merge>Merge Down.
18. Image>Add borders, 40 pixels, symmetric, color white.
19. Effects>Image Effects>Seamless Tiling - side by side.

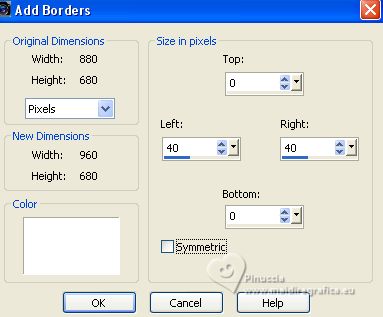
20. Image>Add borders, symmetric, not checked, color white.
21. Open EF-Tears_Deco 1 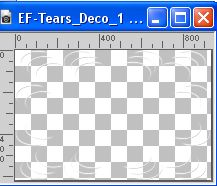
Edit>Copy.
Go back to your work and go to Edit>Paste as new layer.
22. Effects>3D Effects>Drop Shadow, color 2 #feeee1.
Layers>Merge>Merge Down.
23. Effects>Reflection Effects>Rotating Mirror.

Layers>Duplicate.
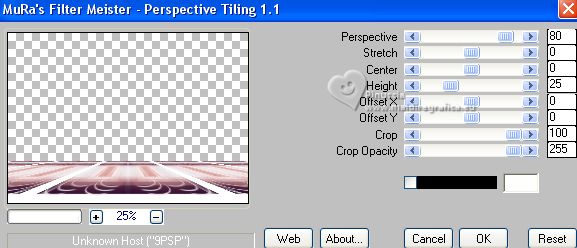
24. Effects>Plugins>Mura's Meister - Perspective Tiling.
25. Activate your Magic Wand Tool  , feather 80 , feather 80

Click on the transparent part to select it.
Press 4 times CANC on the keyboard 
Selections>Select None.
Adjust>Sharpness>Sharpen.
don't forget to set again the feather to 80
26. Open the tube EF_Vasos 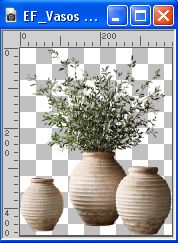
Edit>Copy.
Go back to your work and go to Edit>Paste as new layer.
Move  the tube to the right. the tube to the right.
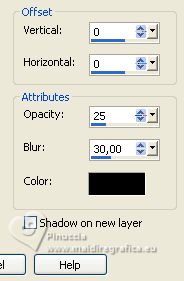
27. Effects>3D Effects>Drop shadow, color #000000.
28. Open Texto 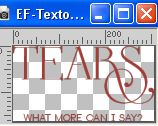
Edit>Copy.
Go back to your work and go to Edit>Paste as new layer.
Move  the tube to your liking. the tube to your liking.
29. Effects>3D Effects>Drop Shadow, color 2 #feeee1.

30. Open the tube k@rine_ dreams _Little_Doll_1467_Fevrier_2011 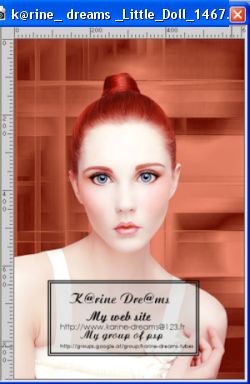
Edit>Copy.
Go back to your work and go to Edit>Paste as new layer.
Image>Resize, 1 time to 80% and 1 time to 95%, resize all layers not checked.
Move  the tube to the left side. the tube to the left side.
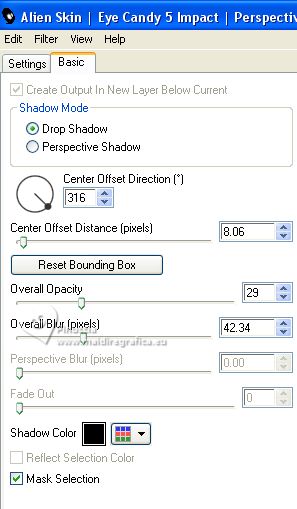
31. Effects>Plugins>Alien Skin Eye Candy 5 Impact - Perspective Shadow.

32. Image>Add borders, 1 pixel, symmetric, color #000000.
Image>Add borders, 10 pixels, symmetric, color #ffffff.
Image>Add borders, 1 pixel, symmetric, color #000000.
Image>Add borders, 3 pixels, symmetric, foreground color.
33. Sign your work on a new layer.
Layers>Merge>Merge all and save as jpg.
For the tubes of this version thanks Luz Cristina and Louise



If you have problems or doubts, or you find a not worked link, or only for tell me that you enjoyed this tutorial, write to me.
5 August 2023

|

