|
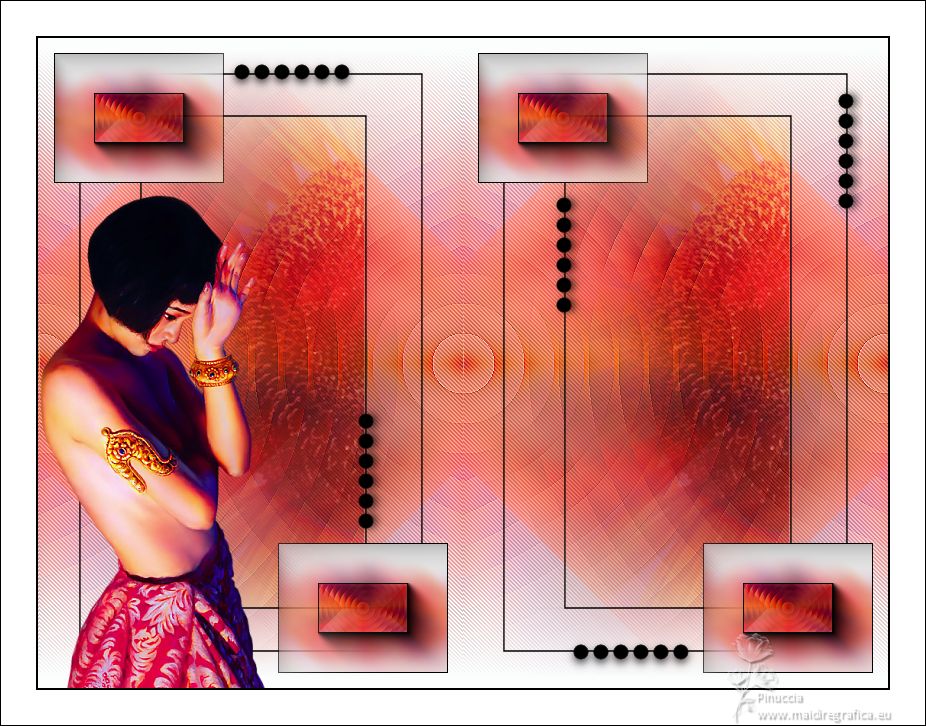
SIMETRICA


Thanks Estela for your invitation to translate your tutorials into english

This tutorial was translated with PspX17, but it can also be made using other versions of PSP.
Since version PSP X4, Image>Mirror was replaced with Image>Flip Horizontal,
and Image>Flip with Image>Flip Vertical, there are some variables.
In versions X5 and X6, the functions have been improved by making available the Objects menu.
In the latest version X7 command Image>Mirror and Image>Flip returned, but with new differences.
See my schedule here
 French Translation here French Translation here
 Your versions here Your versions here
For this tutorial, you will need:

For the tubes thanks Filly and @nn.
The rest of the material is by Estela Fonseca.
(The links of the tubemakers here).
*It is forbidden to remove the watermark from the supplied tubes, distribute or modify them,
in order to respect the work of the authors

consult, if necessary, my filter section here
Filters Unlimited 2.0 here
RCS Filter Pak 1.0 - RCS Digi Lens-Spiral Cut here
VM Toolbox - Softborder here
Penta.com - Jeans here
Simple - Pizza Slice Mirror here
Simple - Left Right Wrap (bonus) here
AAA Frames - Foto Frame here
Filters RCS Filter, VM Toolbox, Penta.com and Simple can be used alone or imported into Filters Unlimited.
(How do, you see here)
If a plugin supplied appears with this icon  it must necessarily be imported into Unlimited it must necessarily be imported into Unlimited

You can change Blend Modes according to your colors.
In the newest versions of PSP, you don't find the foreground/background gradient (Corel_06_029).
You can use the gradients of the older versions.
The Gradient of CorelX here

1. Open a new transparent image 850 x 650 pixels.
Set your foreground color to #e00347,
and your background color to #f7bca4.
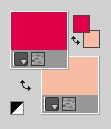
Set your foreground color to a Foreground/Background Gradient, style Linear.
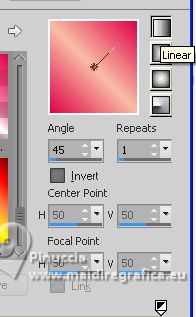
Flood Fill  the transparent image with your Gradient. the transparent image with your Gradient.
2. Selections>Select All.
Open the tube Tube_filly(1234)Jia Lu Art 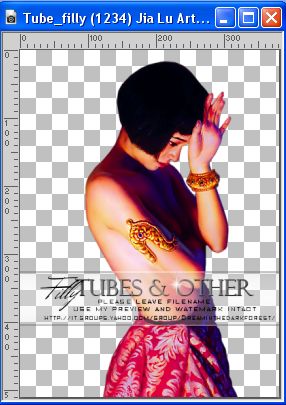
Edit>Copy.
Go back to your work and go to Edit>Paste into Selection.
Selections>Select None.
3. Effects>Image Effects>Seamless Tiling, default settings.

4. Adjust>Blur>Radial Blur.
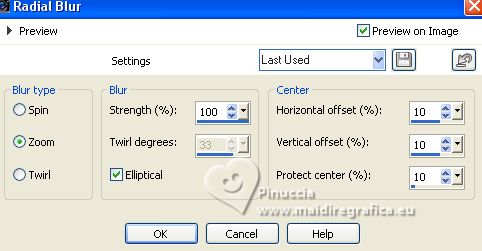
5. Adjust>Blur>Gaussian Blur - radius 10.

6. Effects>Plugins>RCS Filter Pak 1.0 - RCS Digi-Lens-Spiral Cut.
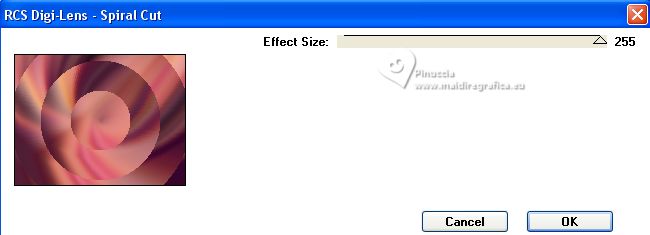
Effects>Edge Effects>Enhance.
7. Effects>Plugins>VM Toolbox - Softborder, default settings.
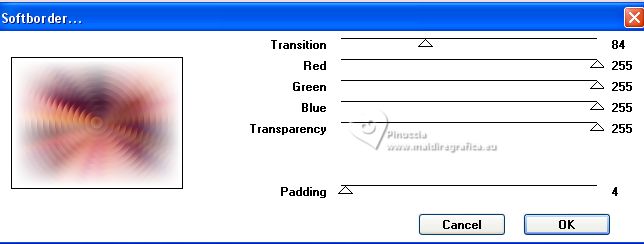
8. Adjust>Hue and Saturation>Vibrancy (or according to your colors).
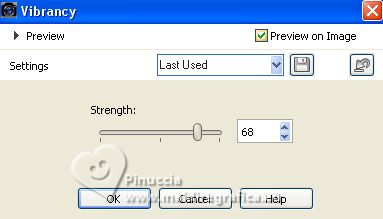
9. Layers>Duplicate.
Effects>Plugins>Simple - Pizza Slice Mirror.
10. Effects>Image Effects>Seamless Tiling.

11. Effects>Reflection Effects>Rotating Mirror.

12. Effects>Plugins>Penta.com - Jeans, default settings.
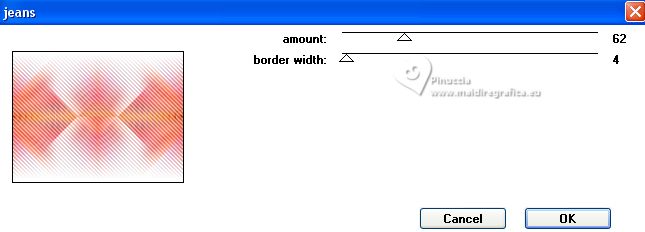
13. Change the Blend Mode of this layer to Multiply.
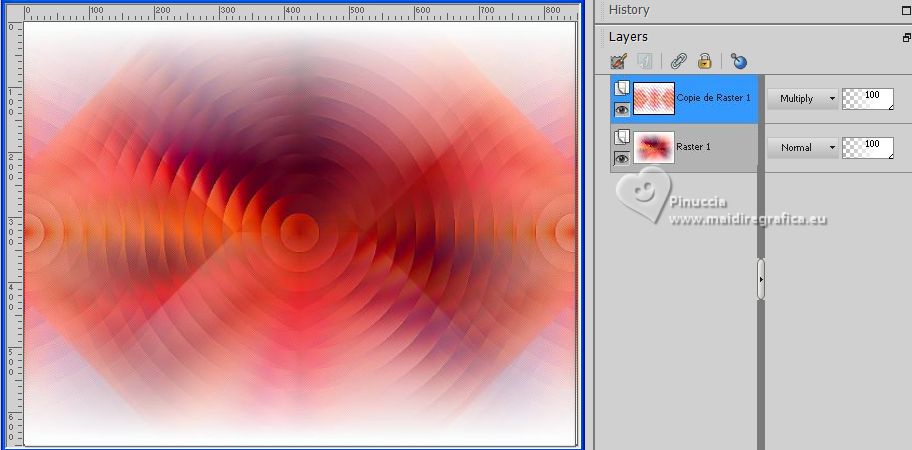
Layers>Merge>Merge Down.
14. Window>Duplicate, and go on this image.
Image>Resize, to 20%, resize all layers checked.
Effects>Plugins>AAA Frames - Foto Frame.
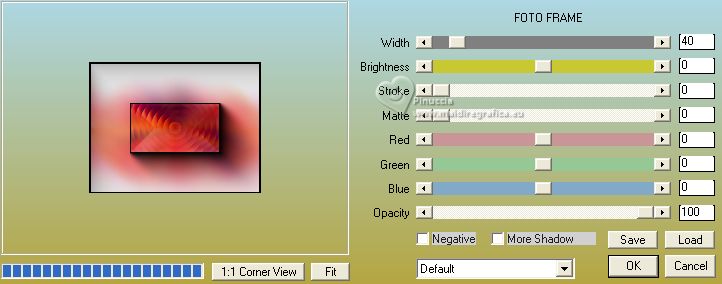
Edit>Copy.
Go back to your work and go to Edit>Paste as new layer.
15. Move  the image at the upper left the image at the upper left
Pick Tool 
Position X and Y 15,00.

16. Layers>Duplicate.
Move  the image at the bottom right. the image at the bottom right.
Pick Tool 
Position X: 665,00 and Position Y: 505,00.

Layers>Merge>Merge Down.
17. Open EF-Simetrica_Deco 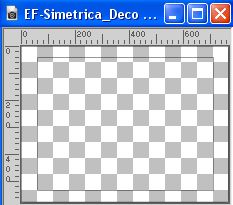
Edit>Copy.
Go back to your work and go to Edit>Paste as new layer.
Layers>Arrange>Move Down.
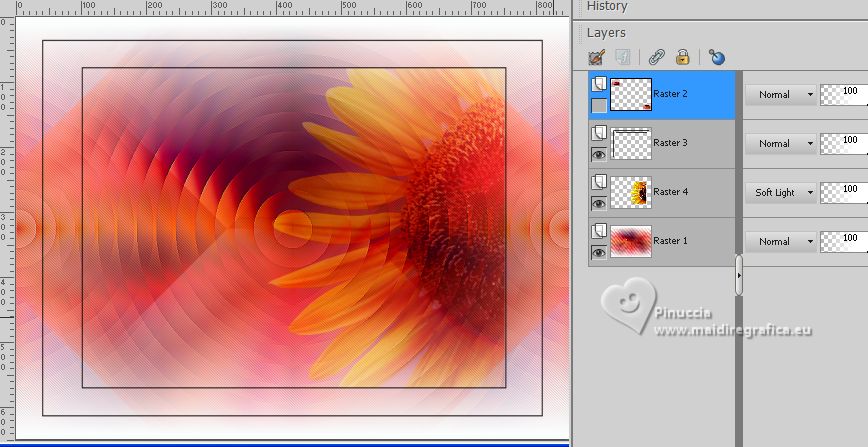
18. Close the top layer.
Activate your bottom layer, Raster 1.
Open the tube @nn_290306_zonnebloem_TD 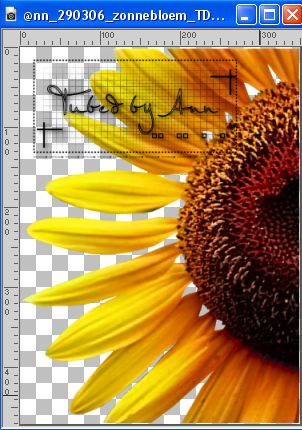
Edit>Copy.
Go back to your work and go to Edit>Paste as new layer.
Image>Resize, to 105%, resize all layers checked.
Pick Tool 
Position X: 385,00 and Position Y: 77,00.

Adjust>Sharpness>Sharpen.
Change the Blend Mode of this layer to Soft Light.
19. Open the top layer.
Layers>Merge>Merge visible.
20. Effects>Plugins>Simple - Left Right Wrap.
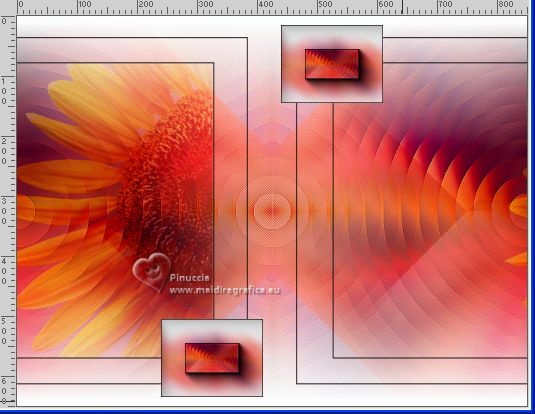
21. Effects>Image Effects>Seamless Tiling, same settings

22. Open EF-Simetric_Deco_1 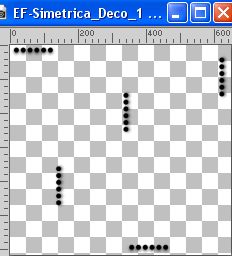
Edit>Copy.
Go back to your work and go to Edit>Paste as new layer.
Pick Tool 
Position X: 185,00 and Position Y: 19,00.

23. Activate again the tube Tube_filly (1234) Jia Lu Art and go to Edit>Copy.
Go back to your work and go to Edit>Paste as new layer.
Move  the tube at the bottom left. the tube at the bottom left.
Reduce the opacity of this layer to 87% (according to your tube; for my example I didn't it)
24. Image>Add borders, 2 pixels, symmetric, color #000000.
Image>Add borders, 35 pixels, symmetric, color #ffffff.
Image>Add borders, 1 pixel, symmetric, color #000000.
24. Sign your work and save as jpg.
For the tubes of these versions thanks Luz Cristina
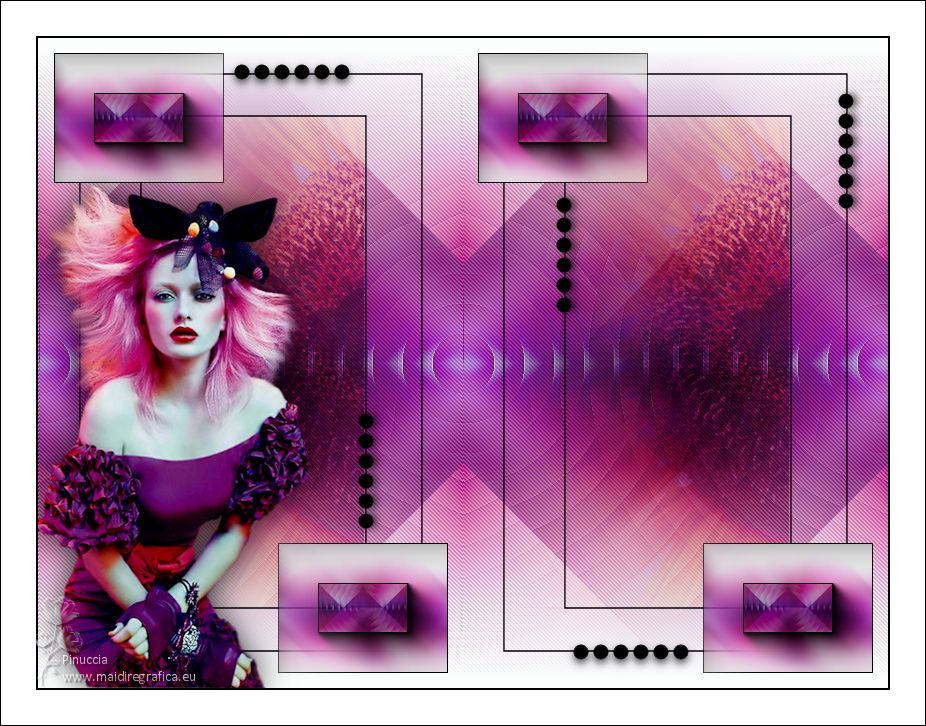
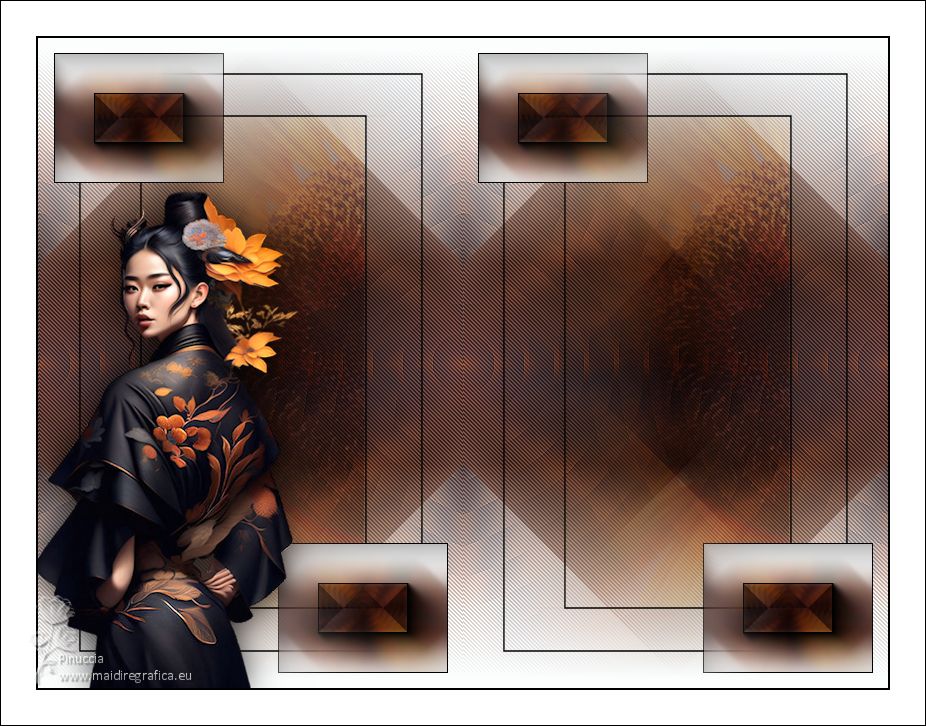
For the tube of this version thanks Beatriz
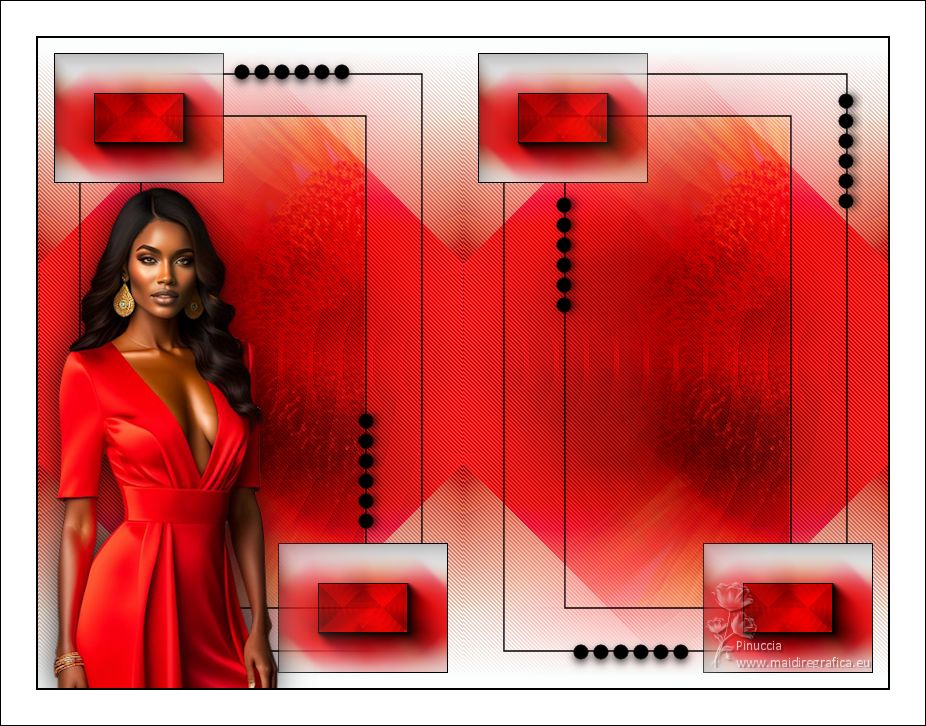


If you have problems or doubts, or you find a not worked link, or only for tell me that you enjoyed this tutorial, write to me.
25 July 2023

|

