|
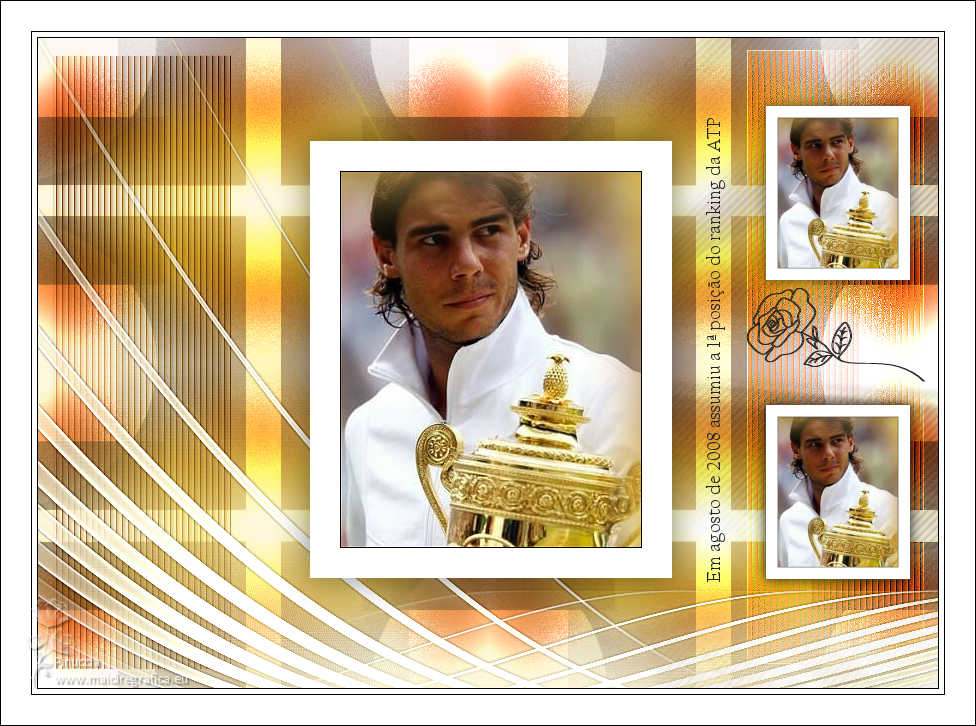
NUMERO UM


Thanks Estela for your invitation to translate your tutorials into english

This tutorial was created with PSP2022 and translated with PspX9, but it can also be made using other versions of PSP.
Since version PSP X4, Image>Mirror was replaced with Image>Flip Horizontal,
and Image>Flip with Image>Flip Vertical, there are some variables.
In versions X5 and X6, the functions have been improved by making available the Objects menu.
In the latest version X7 command Image>Mirror and Image>Flip returned, but with new differences.
See my schedule here
 French Translation here French Translation here
 Your versions here Your versions here
For this tutorial, you will need:

Tube de Estela Fonseca (image de Pinterest)
(The links of the tubemakers here).
*It is forbidden to remove the watermark from the supplied tubes, distribute or modify them,
in order to respect the work of the authors

consult, if necessary, my filter section here
Filters Unlimited 2.0 here
VM Natural - Speed here
Filter Factory Gallery F - Quadrant Replicate here
Simple - Zoom out and flip here
AAA Frames - Foto Frame here
Filters VM Natural, Factory Gallery and Simple can be used alone or imported into Filters Unlimited.
(How do, you see here)
If a plugin supplied appears with this icon  it must necessarily be imported into Unlimited it must necessarily be imported into Unlimited

You can change Blend Modes according to your colors.

Copy the Selections in the Selections Folder.
Open the mask in PSP and minimize it with the rest of the material.
1. Open a new transparent image 900 x 650 pixels.
Selections>Select All.
2. Open the image RN-1 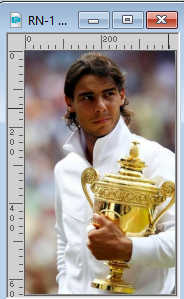
Edit>Copy.
Go back to your work and go to Edit>Paste into Selection.
Selections>Select None.
3. Effects>Image Effects>Seamless Tiling - default settings.

4. Adjust>Blur>Gaussian Blur - radius 50.

5. Adjust>Hue and Saturation>Vibration.
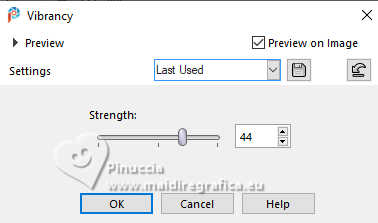
6. Effects>Plugins>Filters Unlimited 2.0 - VM Natural - Speed, default settings.
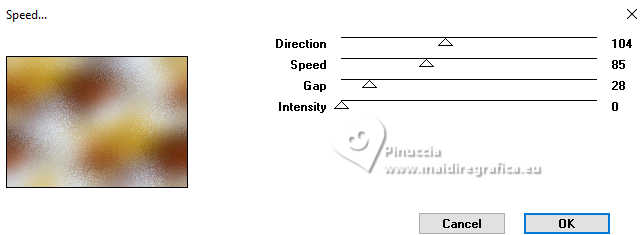
7. Set your foreground color to white #ffffff.
Layers>New Raster Layer.
Flood Fill  the layer with color white. the layer with color white.
Layers>New Mask layer>From image
Open the menu under the source window and you'll see all the files open.
Select the mask ao_45_mask7
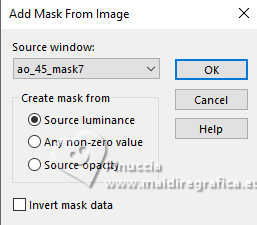
Layers>Duplicate - 3 times.
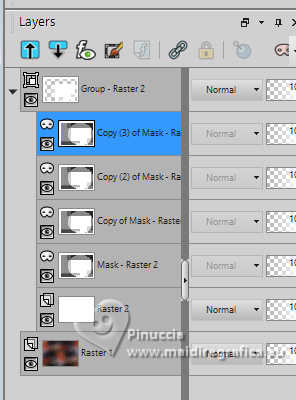
Layers>Merge>Merge Group.
8. Set your foreground color to Overlay.
Layers>Merge>Merge Down.
9. Effects>Plugins>Filters Unlimited 2.0 - Filter Factory Gallery F - Quadrant Replicate.
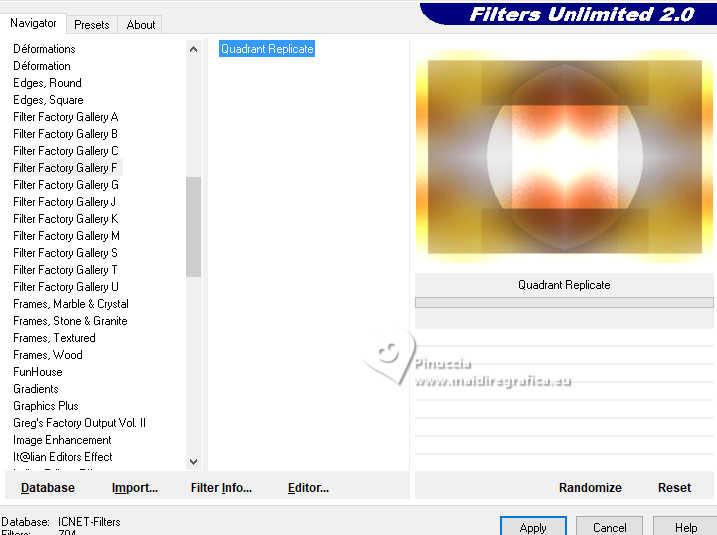
10. Effects>Plugins>Filters Unlimited 2.0 - Simple - Zoom out and flip.
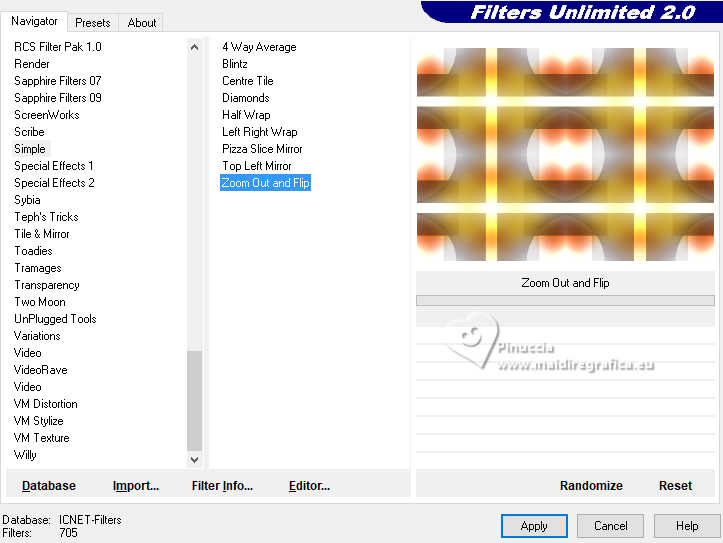
11. Selections>Load/Save Selection>Load Selection from Disk.
Look for and load the selection Numero_1
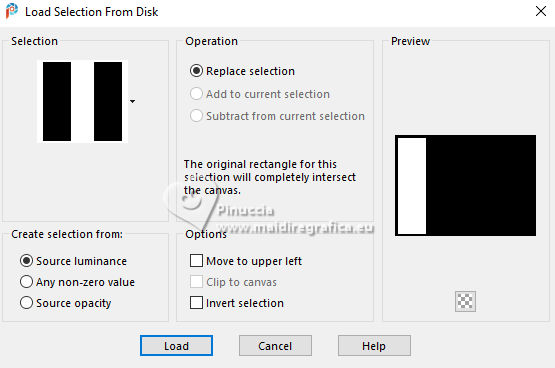
Selections>Promote Selection to Layer.
12. Adjust>Blur>Gaussian Blur - radius 50.

13. Effects>Texture Effects>Blinds - color #ffffff.
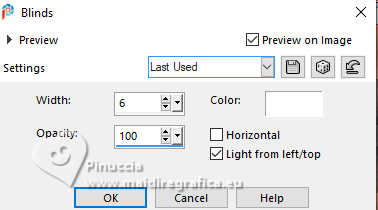
Selections>Select None.
Change the Blend Mode of this layer to Multiply.
Effects>Edge Effects>Enhance.
Layers>Merge>Merge down.
14. Selections>Load/Save Selection>Load Selection from Disk.
Look for and load the selection Numero_2
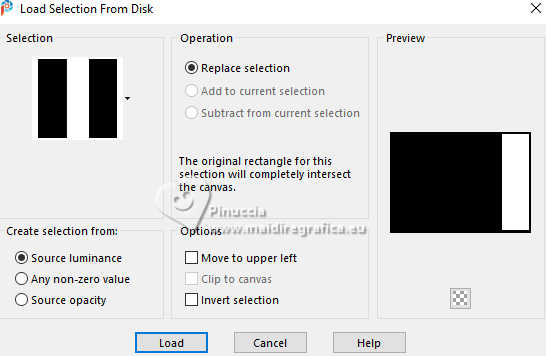
Selections>Promote Selection to Layer.
15. Effects>Texture Effects>Blinds, color #ff8b51.
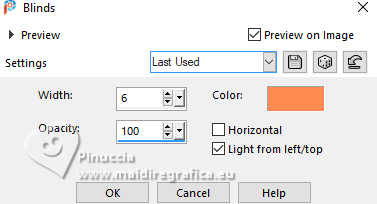
Selections>Select None.
16. Effects>Edge Effects>Enhance.
Change the Blend Mode of this layer to Overlay.
Layers>Merge>Merge Down.
17. Selections>Load/Save Selection>Load Selection from Disk.
Look for and load the selection Numero_3
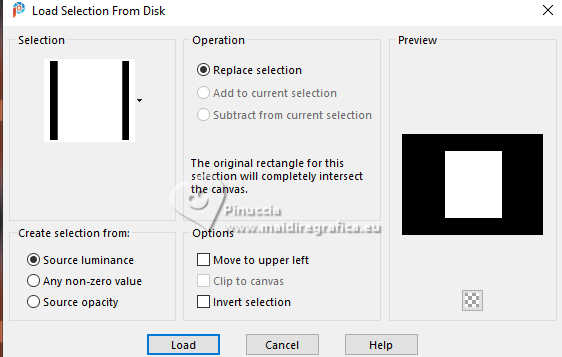
Selections>Promote Selection to Layer.
18. Adjust>Blur>Gaussian Blur - radius 50.

19. Effects>Plugins>AAA Frames - Foto Frame.
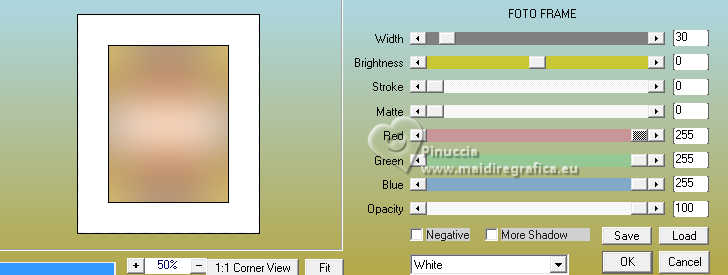
20. Selections>Modify>Contract - 31 pixels.
Adjust>Hue and Saturation>Vibration, same settings.

21. Open the tube EF-Rafael_Nadal 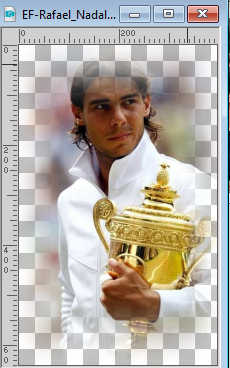
Edit>Copy.
Go back to your work and go to Edit>Paste as new layer.
Place  the tube on the selection. the tube on the selection.
22. Selections>Invert.
Press CANC on the keyboard 
Selections>Select None.
23. Adjust>Sharpness>Sharpen.
Layers>Merge>Merge Down.
24. Effects>3D Effects 3D>Drop Shadow, color #000000.

25. Activate your background layer.
Open EF-Numero_Um_Deco_1 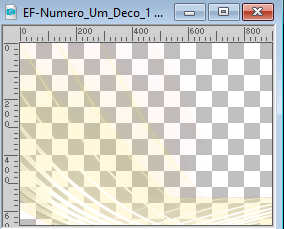
Edit>Copy.
Go back to your work and go to Edit>Paste as new layer.
Adjust>Sharpness>Sharpen More.
26. Open the tube EF-Numero_Um_Deco_2 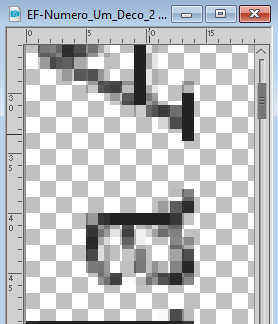
Edit>Copy.
Go back to your work and go to Edit>Paste as new layer.
Note: Write your text for your number 1, with a font at your choice.
23. Layers>Arrange>Move Up.
Place  correctly the text, see my example. correctly the text, see my example.
27. Activate the layer Promoted Selection.
Layers>Duplicate.
Image>Resize, to 40%, resize all layers not checked.
28. K key to activate your Pick Tool 
and set Position X: 713,00 and Position Y: 352,00.

29. Layers>Duplicate.
Set Position Y: 53,00.

M key to activate the Tool.
Layers>Merge>Merge Down (2 times).
30. Layers>Duplicate.
Adjust>Blur>Radial Blur.
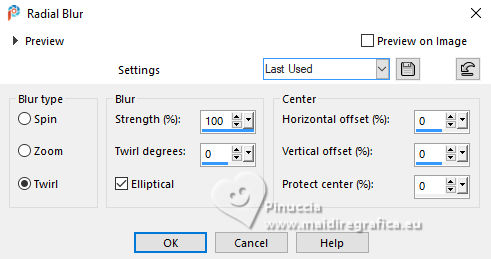
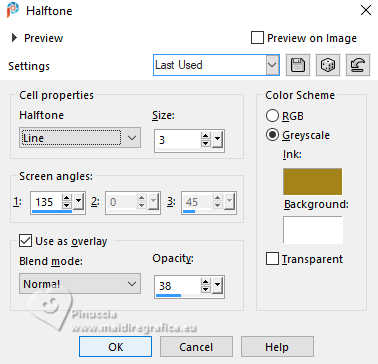
31. Effects>Artistic Effects>Halftone - color #a4831a.
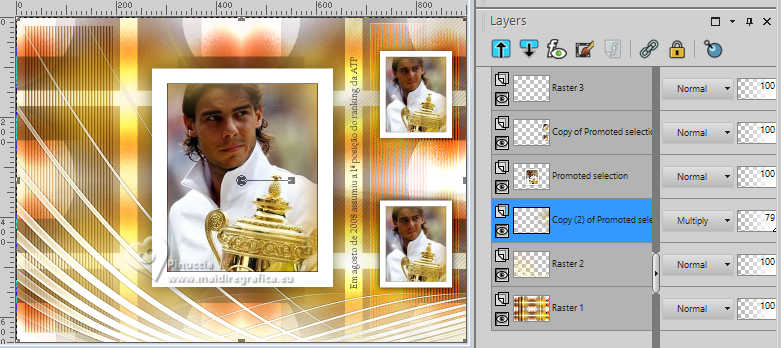
Layers>Arrange>Move Down - 2 times.
Change the Blend Mode of this layer to Multiply and reduce the opacity to 79%.
32. Activate your top layer.
Open the tube EF-Numero_Um_Deco_3 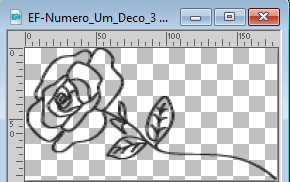
Edit>Copy.
Go back to your work and go to Edit>Paste as new layer.
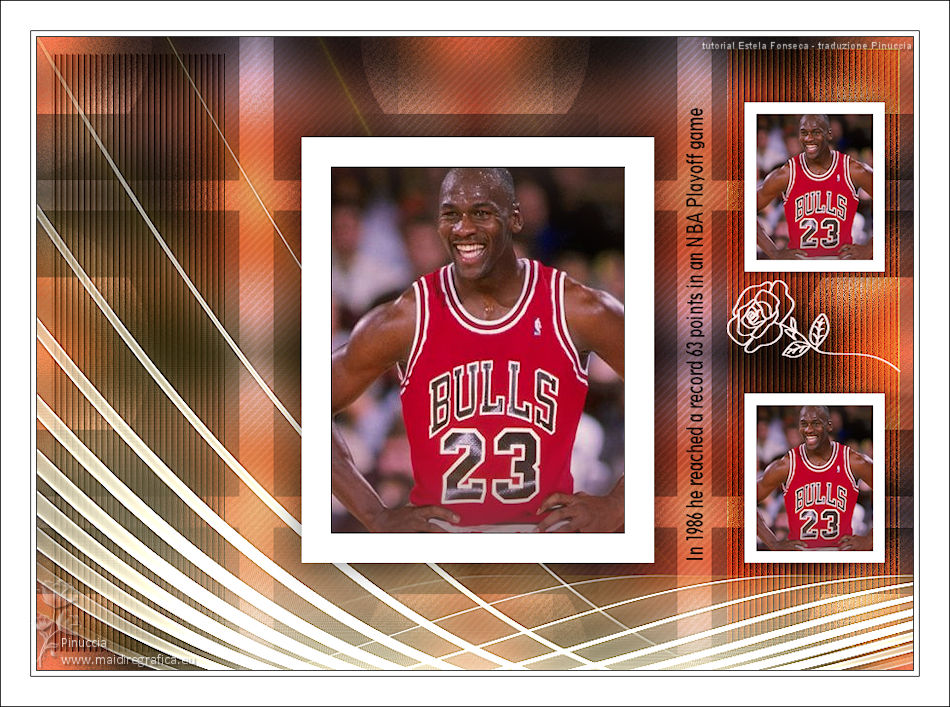
Plave  the tube between the little frames. the tube between the little frames.
33. Layers>Merge>Merge All.
34. Image>Add borders, 1 pixel, symmetric, color #000000.
Image>Add borders, 5 pixels, symmetric, color #ffffff.
Image>Add borders, 1 pixel, symmetric, color #000000.
Image>Add borders, 30 pixels, symmetric, color #ffffff.
Image>Add borders, 1 pixel, symmetric, color #000000.
35. Sign your work and save as jpg.


If you have problems or doubts, or you find a not worked link, or only for tell me that you enjoyed this tutorial, write to me.
18 December 2023

|

