|
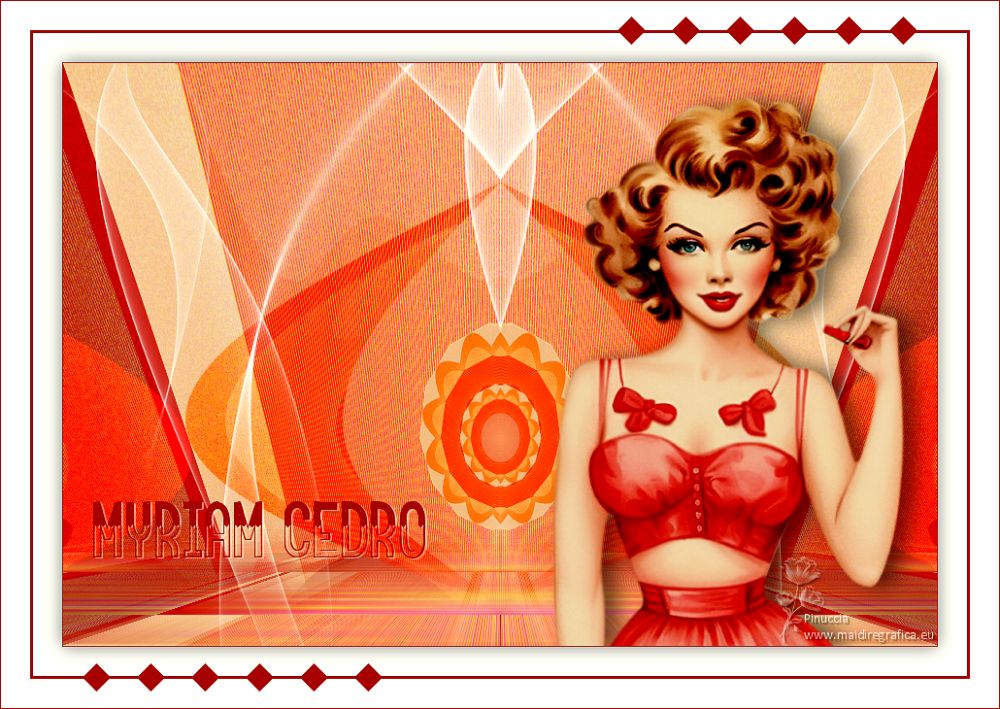
MYRIAM CEDRO


Thanks Estela for your invitation to translate your tutorials into english

This tutorial was created with PSP2022 and translated with Psp17, but it can also be made using other versions of PSP.
Since version PSP X4, Image>Mirror was replaced with Image>Flip Horizontal,
and Image>Flip with Image>Flip Vertical, there are some variables.
In versions X5 and X6, the functions have been improved by making available the Objects menu.
In the latest version X7 command Image>Mirror and Image>Flip returned, but with new differences.
See my schedule here
 French Translation here French Translation here
 Your versions here Your versions here
For this tutorial, you will need:

For the tube thanks Luz Cristina.
The rest of the material is by Estela Fonseca.
(The links of the tubemakers here).
*It is forbidden to remove the watermark from the supplied tubes, distribute or modify them,
in order to respect the work of the authors

consult, if necessary, my filter section here
Filters Unlimited 2.0 here
Andrew's Filter 5 - Behind Bars here
Flaming Pear - Flexify 2 here
Mehdi - Kaleidoscope here
Toadies - Weaver here
Mura's Meister - Perspective Tiling here
AAA Filters - Custom here
Filters Andrew's and Toadies can be used alone or imported into Filters Unlimited.
(How do, you see here)
If a plugin supplied appears with this icon  it must necessarily be imported into Unlimited it must necessarily be imported into Unlimited

You can change Blend Modes according to your colors.
In the newest versions of PSP, you don't find the foreground/background gradient (Corel_06_029).
You can use the gradients of the older versions.
The Gradient of CorelX here

1. Set your foreground color to #a00302,
and your background color to #e8d1ad.
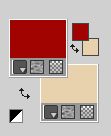
Set your foreground color to a Foreground/Background Gradient, style Radial.
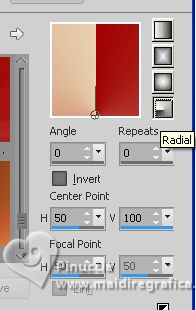
2. Open a new transparent image 900 x 600 pixels.
Flood Fill  the transparent image with your Gradient. the transparent image with your Gradient.
3. Effects>Distortion Effects>Wave - foreground color.
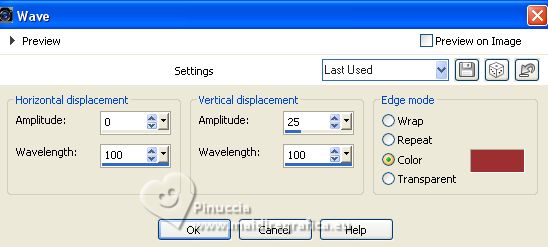
4. Layers>Duplicate.
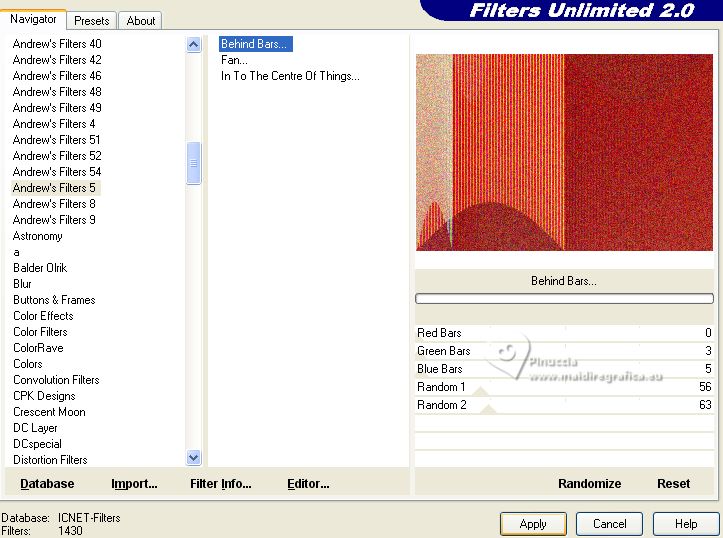
Effects>Plugins>Filters Unlimited 2.0 - Andrew's Filter 5 - Behind Bars..., default settings
5. Change the Blend Mode of this layer to Hard Light (or according to your colors)
and reduce the opacity to 59%.
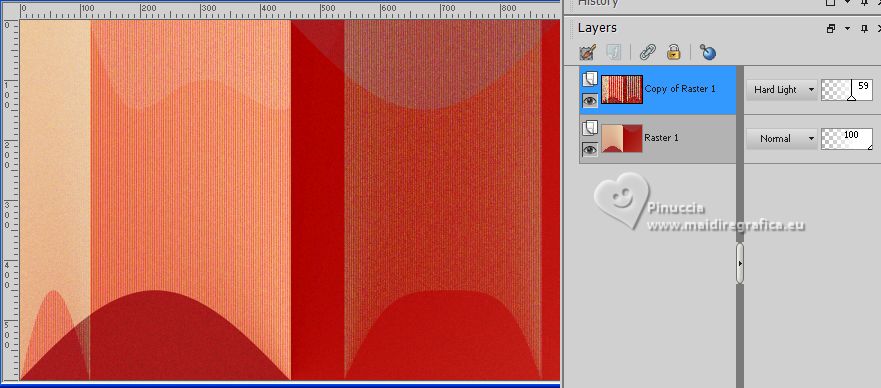
Layers>Merge>Merge Down.
6. Layers>Duplicate.
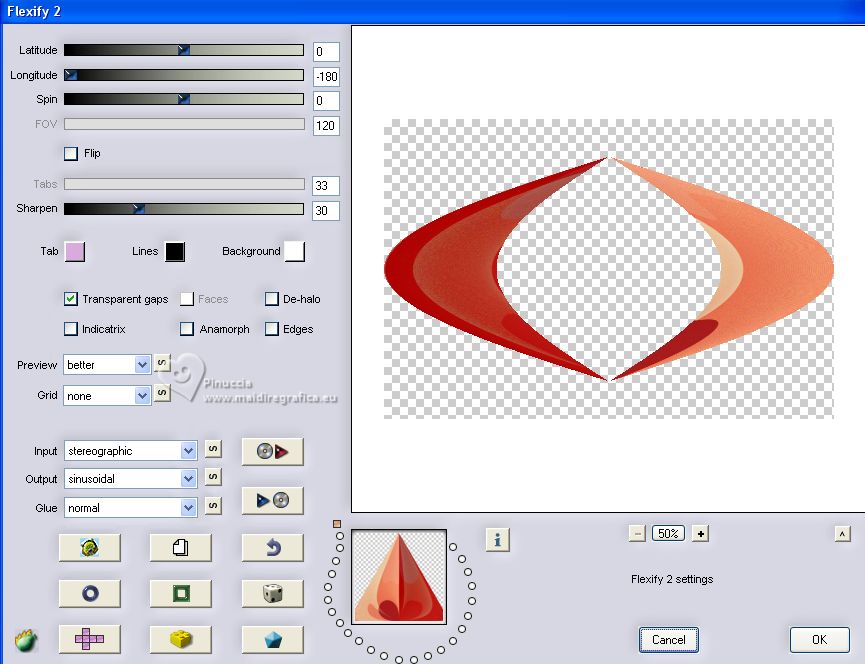
Effects>Plugins>Flaming Pear - Flexify 2.
7. Change the Blend Mode of this layer to Overlay.
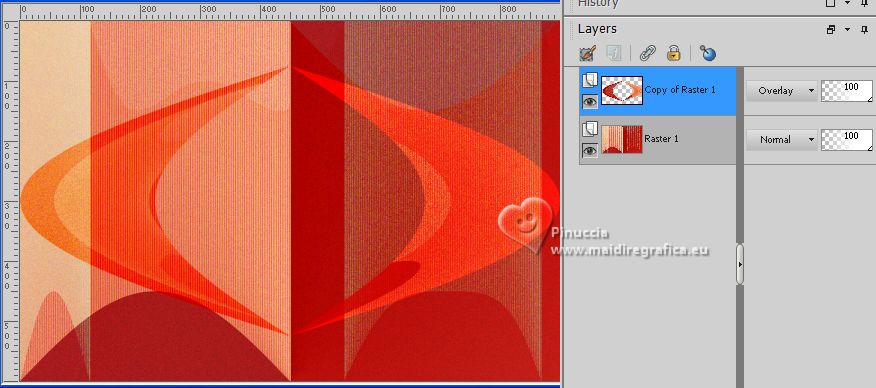
Layers>Merge>Merge visible.
8. Layers>Duplicate.
Image>Resize, to 50%, resize all layers not checked.
9. Effects>Plugins>Mehdi - Kaleidoscope.
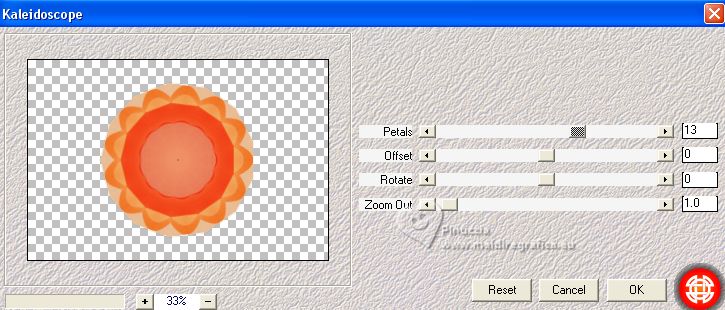
Image>Resize, to 50%, resize all layers not checked.
Adjust>Sharpness>Sharpen.
10. Layers>Duplicate.
Image>Resize, to 50%, redimensionner, tous les calques décoché.
Layers>Merge>Merge visible.
11. Effects>Geometric Effects>Perspective Vertical.
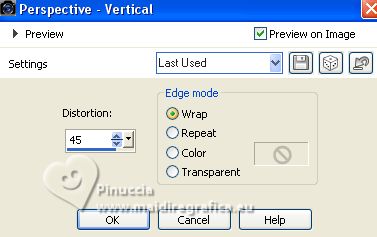
Layers>Duplicate.
Image>Mirror>Mirror vertical (Image>Flip).
12. Effects>Plugins>Toadies - Weaver, default settings.
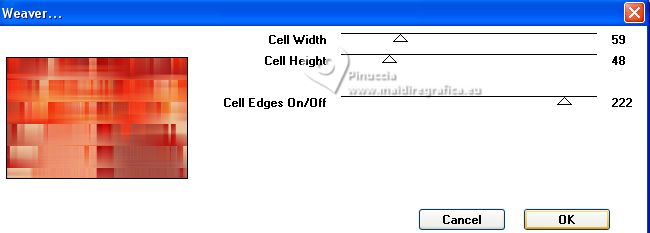
13. Effects>Plugins>Mura's Meister - Perspective Tiling.
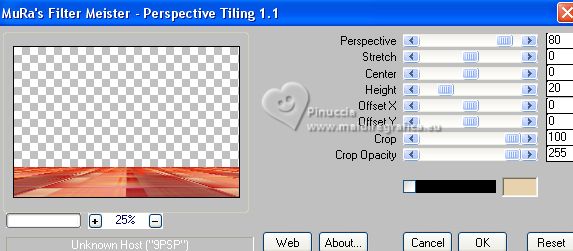
14. Effects>Reflection Effects>Rotating Mirror.

15. Activate your Magic Wand Tool  , feather 80 , feather 80

and click in the transparent part to select it.
Press 4 times CANC on the keyboard 
Selections>Select None.
16. Layers>Merge>Merge visible.
Adjust>Hue and Saturation>Vibrancy.
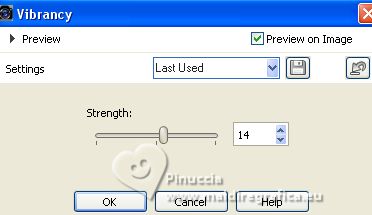
17. Effects>Reflection Effects>Rotating Mirror, same settings.

18. Open EF-Myriam_Cedro_Deco_1 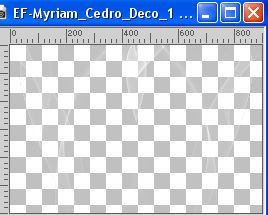
Edit>Copy.
Go back to your work and go to Edit>Paste as new layer.
Layers>Duplicate.
Note: for the versions with light results: Image>Negative Image
19. Open the tube 8141-LuzCristina3 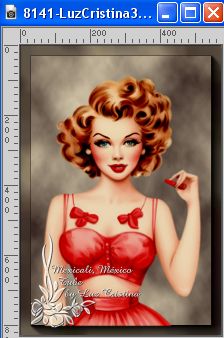
Edit>Copy.
Go back to your work and go to Edit>Paste as new layer.
Image>Resize, to 80%, resize all layers not checked.
Adjust>Sharpness>Unsharp Mask.
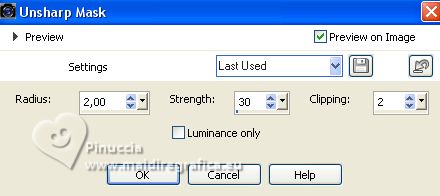
Move  the tube to the right side. the tube to the right side.
20. Effects>3D Effects>Drop Shadow, color #000000.
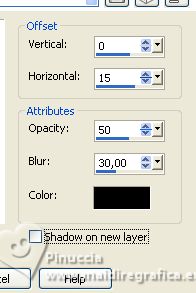
21. Image>Add borders, 1 pixel, symmetric, foreground color #a00302.
Selections>Select All.
Image>Add borders, 30 pixels, symmetric, color #ffffff.
Effects>3D Effects>Drop Shadow, color #000000.
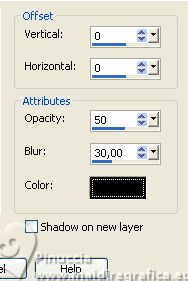
Selections>Select None.
22. Image>Add borders, 3 pixels, symmetric, foreground color #a00302.
Image>Add borders, 30 pixels, symmetric, color #ffffff.
23. Open EF-Myriam_Cedro_Deco_2 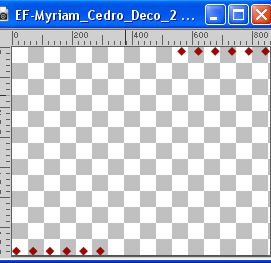
Edit>Copy.
Go back to your work and go to Edit>Paste as new layer.
24. Open EF-Myriam_Cedro_Texto 
Edit>Copy.
Go back to your work and go to Edit>Paste as new layer.
Move  the text at the bottom left, or to your liking. the text at the bottom left, or to your liking.
25. Effects>3D Effects>Drop Shadow, color #ffffff.
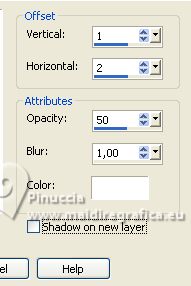
26. Sign your work on a new layer.
Layers>Merge>Merge All.
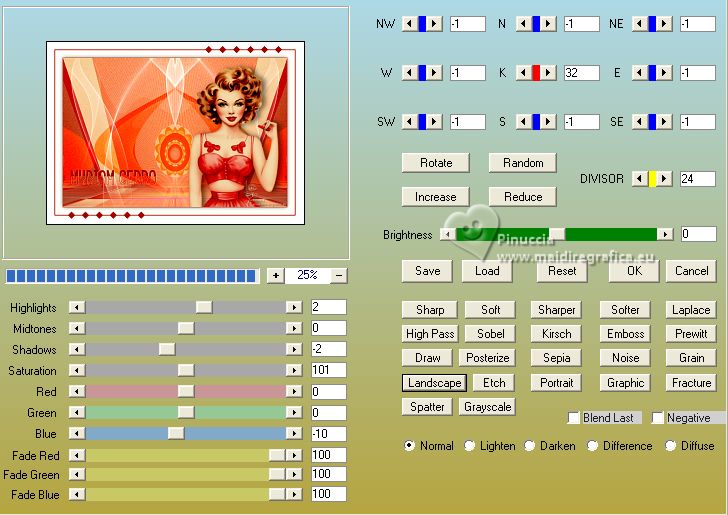
27. Effects>Plugins>AAA Filters - Custom - click on Landscape and ok.
28. Image>Add borders, 1 pixel, symmetric, foreground color #a00302.
Image>Resize, 1000 pixels width, resize all layers checked.
Save as jpg.
For the tubes of these versions thanks
NaiseM
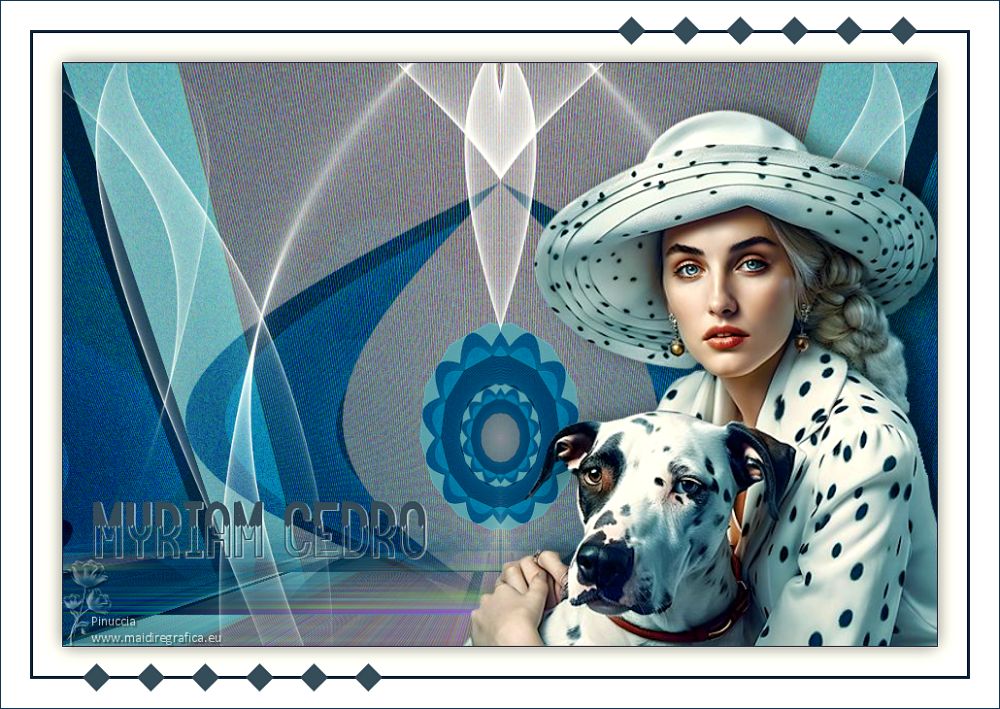
LindaM
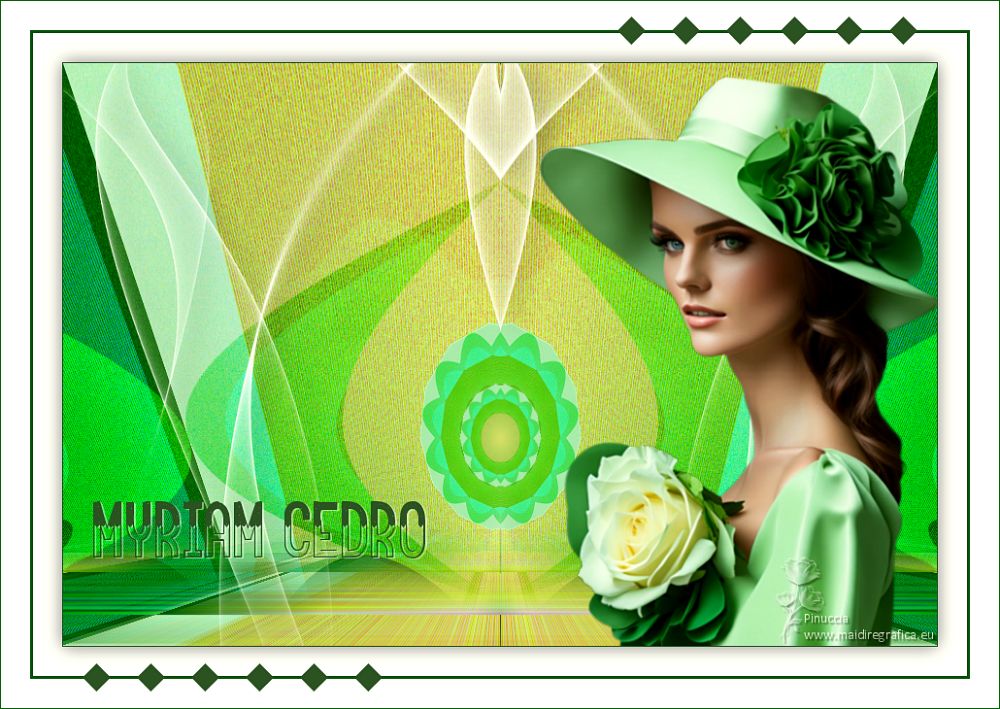


If you have problems or doubts, or you find a not worked link, or only for tell me that you enjoyed this tutorial, write to me.
6 August 2023

|

