|
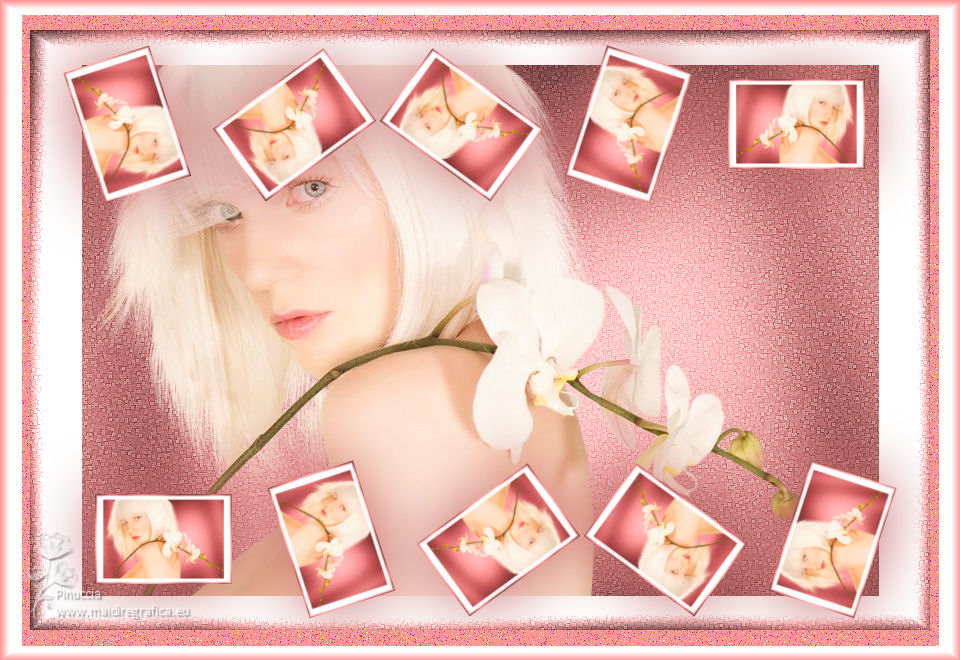
MOSAIC


Thanks Estela for your invitation to translate your tutorials into english

This tutorial was created with PSP2022 and translated with Psp17, but it can also be made using other versions of PSP.
Since version PSP X4, Image>Mirror was replaced with Image>Flip Horizontal,
and Image>Flip with Image>Flip Vertical, there are some variables.
In versions X5 and X6, the functions have been improved by making available the Objects menu.
In the latest version X7 command Image>Mirror and Image>Flip returned, but with new differences.
See my schedule here
This tutorial is an update of the 2018 tutorial, translated into french
 French Translation here French Translation here
 Your versions here Your versions here
For this tutorial, you will need:

For the tube thanks Guismo
(The links of the tubemakers here).
*It is forbidden to remove the watermark from the supplied tubes, distribute or modify them,
in order to respect the work of the authors

consult, if necessary, my filter section here
Filters Unlimited 2.0 here
Alf's Border FX - Border Fade I here
Graphics Plus - Cross Shadow here
Mura's Meister - Copies here
Filters Alf's Border FX and Graphics Plus can be used alone or imported into Filters Unlimited.
(How do, you see here)
If a plugin supplied appears with this icon  it must necessarily be imported into Unlimited it must necessarily be imported into Unlimited

You can change Blend Modes according to your colors.

1. Set your foreground color to a color choose from your tube; for me #e69a9a 
Open a new transparent image 900 X 600 pixels.
Flood Fill  the transparent image with your foreground color. the transparent image with your foreground color.
2. Effects>Plugins>Graphics Plus - Cross Shadow.
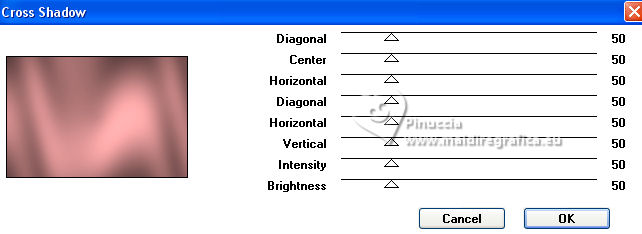
3. Of you don't see the script's toolbar, go to View>Toolbars>Script
Look for and select the script Mosaic (standard in PSP)
and click on the blue arrow to run the script

At the end you should have this
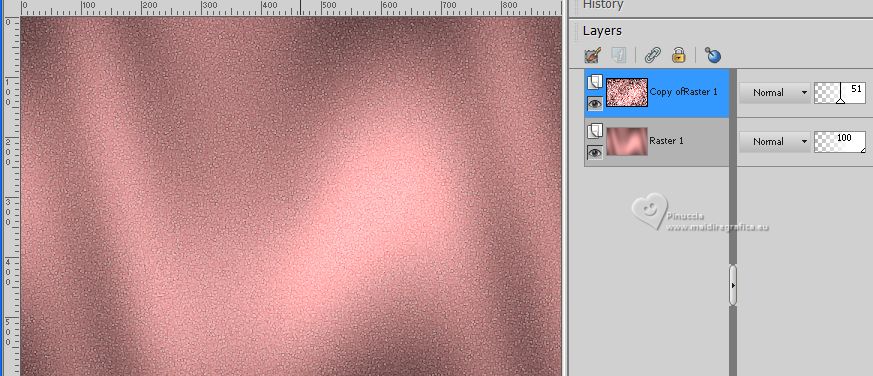
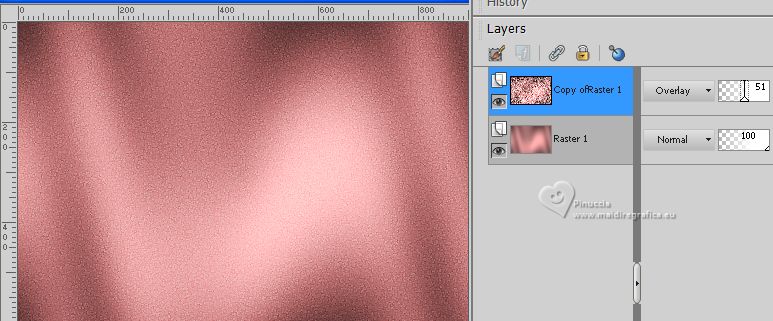
Change the Blend Mode of this layer to Overlay.
if you have problems with the script,
copy/paste as new layer the file livelloscript 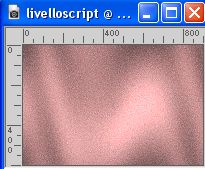
and after Change the Blend Mode of this layer to Overlay and reduce the opacity to 51
4. Open the tube calguisdouceorchide26119 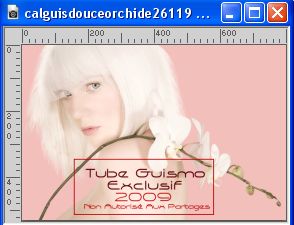
Edit>Copy.
Go back to your work and go to Edit>Paste as new layer.
Don't move it.
Adjust>Hue and Saturation>Vibracy
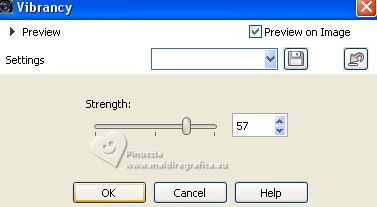
In older versions of PSP, you can't find this effect.
You can use another effect from the Adjust menu or skip this step.
In the first version of the tutorial, Estela did: Adjust>One Step Photo Fix.
Here below the difference before and after applying the effect

Layers>Merge>Merge visible.
5. Effects>Plugins>Filters Unlimited 2.0 - Alf's Border FX - Border Fade 1.
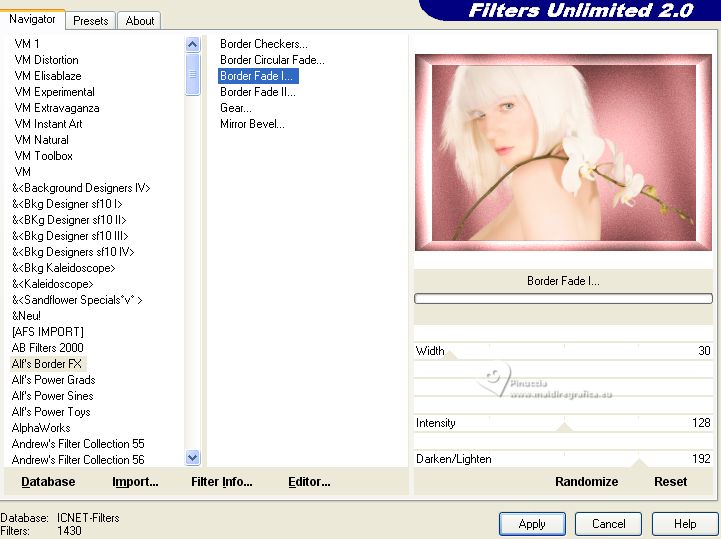
Edit>Copy
6. Selection Tool 
(no matter the type of selection, because with the custom selection your always get a rectangle)
clic on the Custom Selection 
and set the following settings.
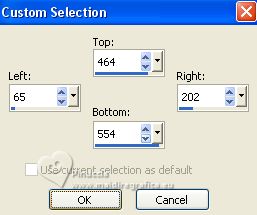
Layers>New Raster Layer.
Paste into Selection
Selections>Select None.
7. Effects>Plugins>Mura's Meister - Copies.
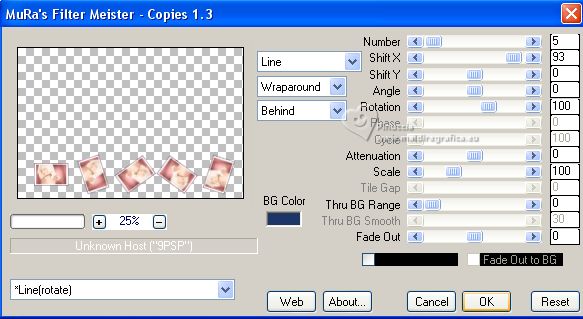
Adjust>Hue and Saturation>Vibrancy, same settings

8. Layers>Duplicate.
Image>Flip>Flip Horizontal
Result
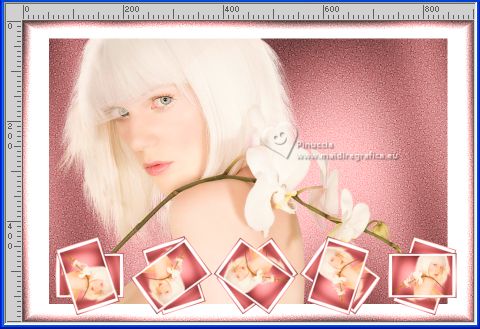
If you are working with a previous version: Image>Mirror
Pick Tool (K) 
and set Position X: 33,00 and Position Y: 15,00.
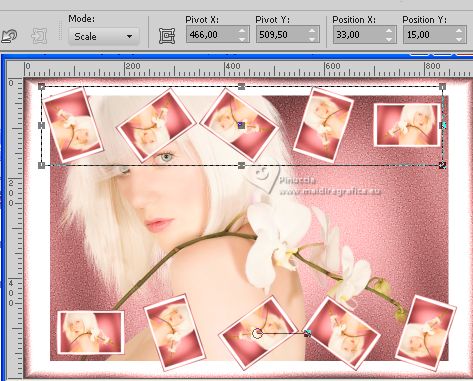
Layers>MErge>Merge Down.
Effects>3D Effects>Drop Shadow, color #c26969.
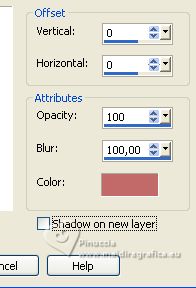
9. Image>Add borders, 30 pixels, symmetric, color #fe9494.
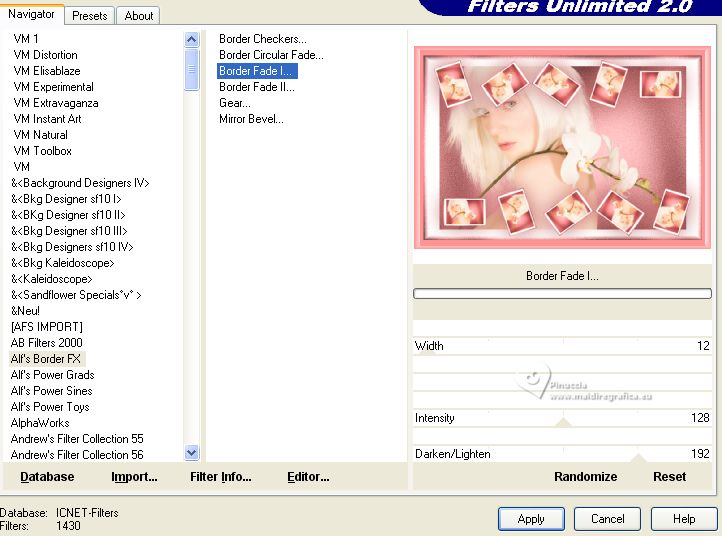
10. Effects>Plugins>Filters Unlimited 2.0 - Alf's Border FX - Border Fade 1
11. Activate your Magic Wand Tool 
and click in the solid border to select it
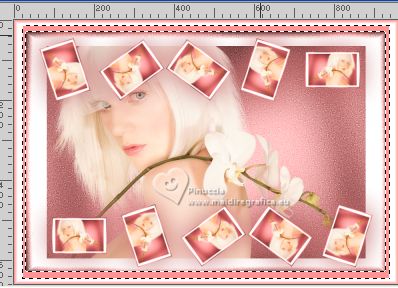
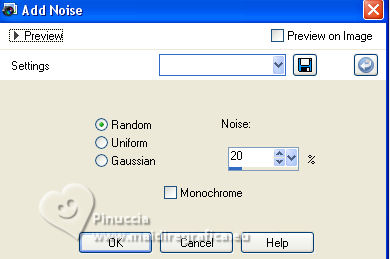
12. Adjust>Add/Remove Noise>Add Noise.
Selections>Select None.
13. Sign your work on a new layer.
Layers>Merge>Merge All and save as jpg.
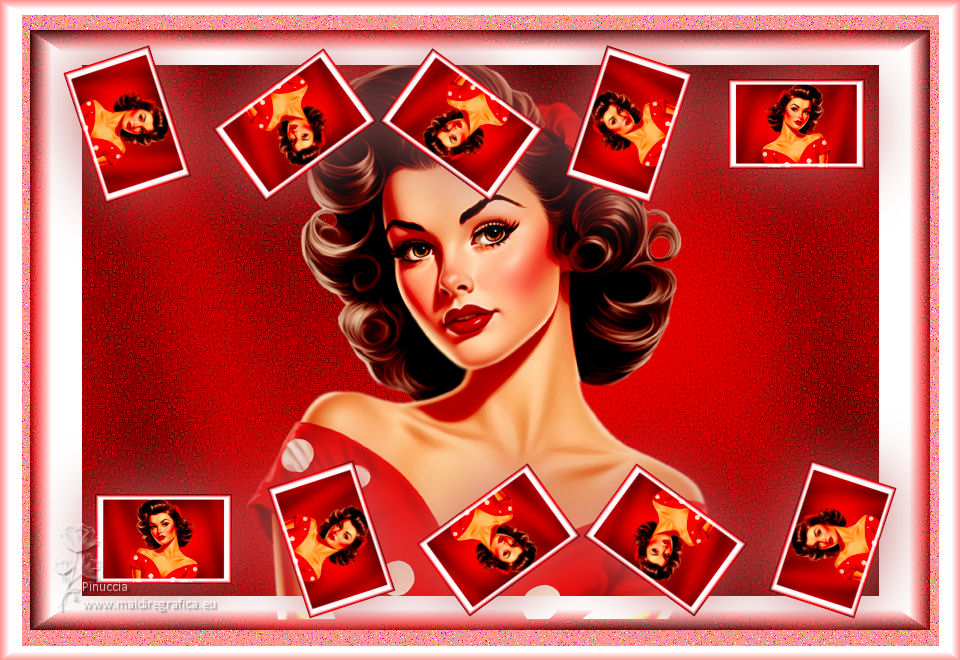
For the tube of this version thanks Luz Cristina


If you have problems or doubts, or you find a not worked link, or only for tell me that you enjoyed this tutorial, write to me.
9 September 2023

|

