|
MISS AUTUMN


Thanks Estela for your invitation to translate your tutorials into english

This tutorial was created with PSP2022 and translated with PspX9, but it can also be made using other versions of PSP.
Since version PSP X4, Image>Mirror was replaced with Image>Flip Horizontal,
and Image>Flip with Image>Flip Vertical, there are some variables.
In versions X5 and X6, the functions have been improved by making available the Objects menu.
In the latest version X7 command Image>Mirror and Image>Flip returned, but with new differences.
See my schedule here
 French Translation here French Translation here
 Your versions here Your versions here
For this tutorial, you will need:

Thanks for the tubes and for Alies and Mentali.
The rest of material is by Estela Fonseca.
(The links of the tubemakers here).
*It is forbidden to remove the watermark from the supplied tubes, distribute or modify them,
in order to respect the work of the authors

consult, if necessary, my filter section here
Filters Unlimited 2.0 here
Photo Aging Kit - Centerspot Vignetting (to import in Unlimited) here
&<Background Designers IV> - @Night Shadow Pool (to import in Unlimited) here
Mehdi - Sorting Tiles here
Simple - Top Left Mirror here
AFS [IMPORT] - sqborder2 here
Flaming Pear - Flexify 2 here
Mura's Meister - Perspective Tiling here
Graphics Plus - Cross Shadow here
Filters Simple and Graphics Plus can be used alone or imported into Filters Unlimited.
(How do, you see here)
If a plugin supplied appears with this icon  it must necessarily be imported into Unlimited it must necessarily be imported into Unlimited

You can change Blend Modes according to your colors.

Copy the texture in the Textures Folder.
Copy the selections in the Selections Folder.
1. Set your foreground color #8d3b2d,
and your background color to #fab433
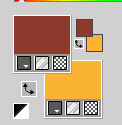
Open a new transparent image 900 x 730 pixels.
Flood Fill  the transparent image with your foreground color #8d3b2d. the transparent image with your foreground color #8d3b2d.
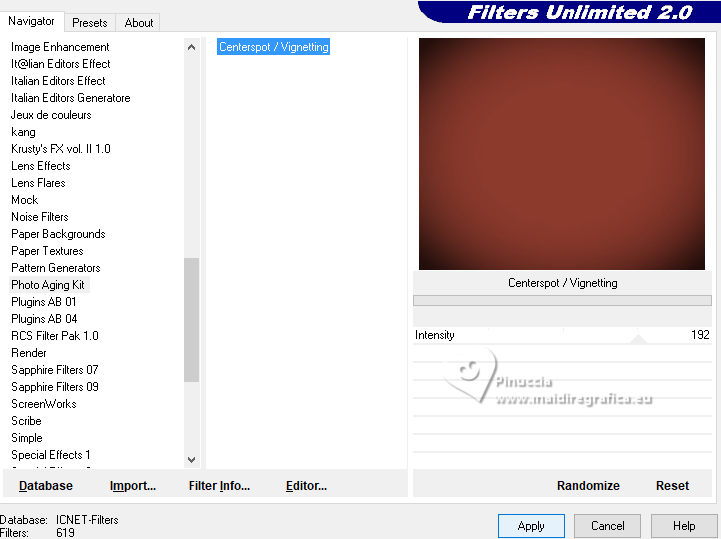
2. Effects>Plugins>Filters Unlimited 2.0 - Photo Agint Kit - Centerspot Vignetting, default settings.
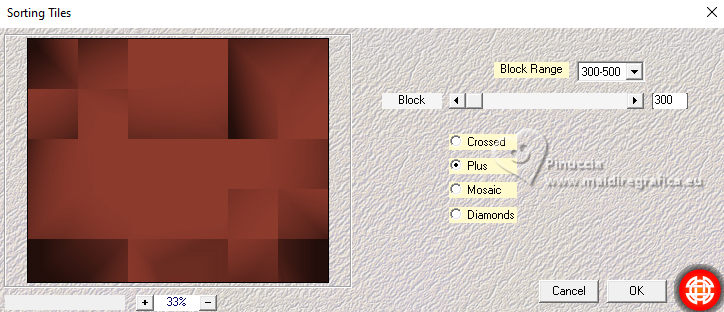
3. Effects>Plugins>Mehdi - Sorting Tiles.
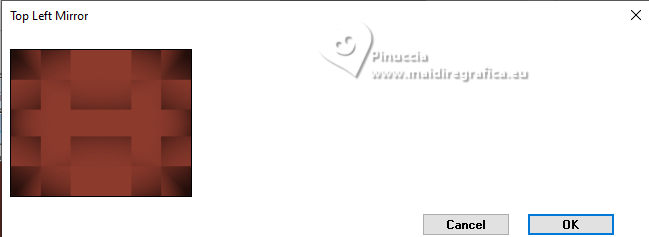
4. Effects>Plugins>Simple - Top Left Mirror.
5. Selections>Load/Save Selection>Load Selection from Disk.
Look for and load the selection Miss_Autumn_1
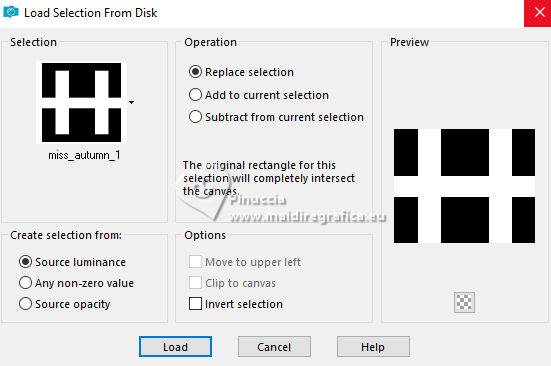
Selections>Promote Selection to Layer.
Selections>Select None.
Effects>Edge Effects>Enhance More.
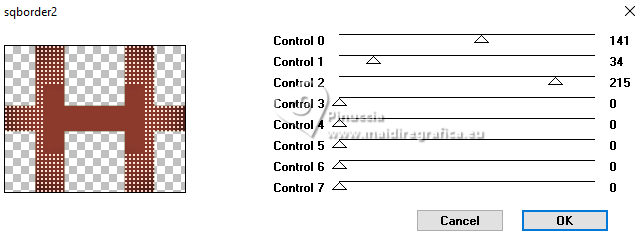
6. Effects>Plugins>AFS [IMPORT] - sqborder2, default settings.
7. Vous positionner sur le calque Raster 1.
Selections>Load/Save Selection>Load Selection from Disk.
Look for and load the selection Miss_Autumn_2
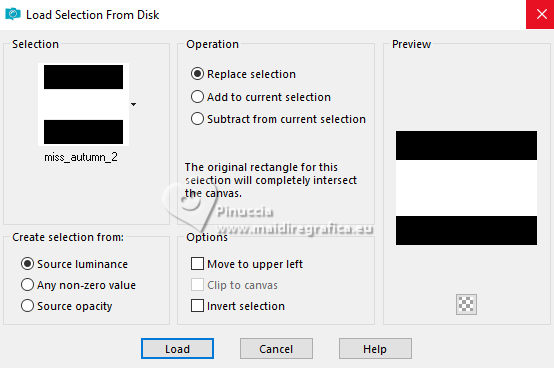
Selections>Promote Selection to Layer.
Selections>Select None.
Effects>Edge Effects>Enhance More.
8. Activate your top layer.
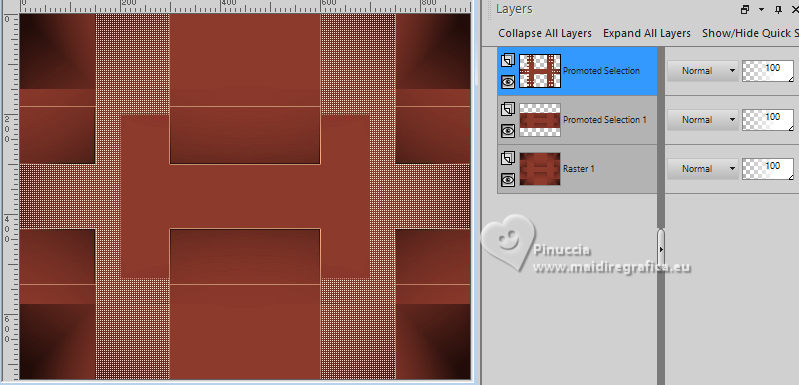
Effects>Plugins>Flaming Pear - Flexify 2.
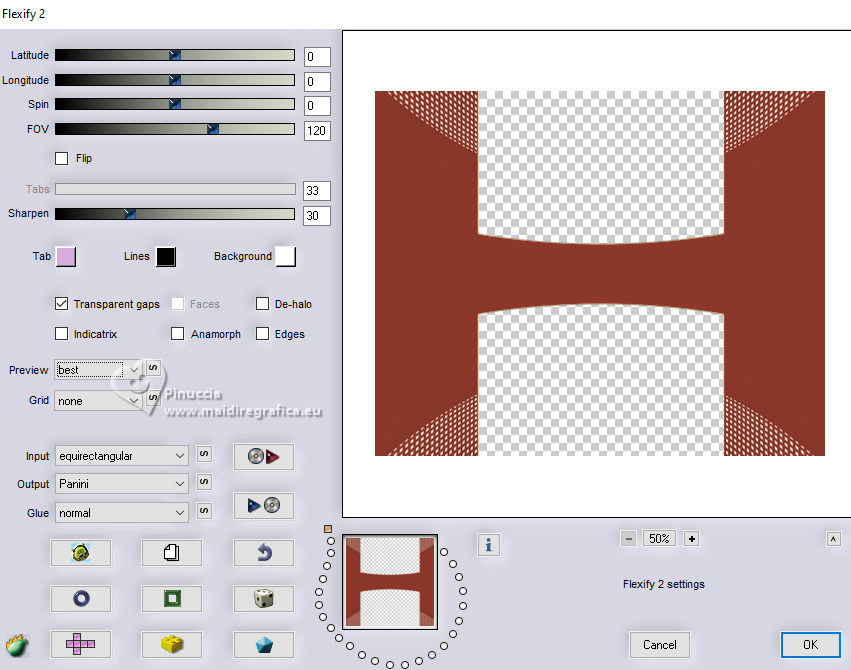
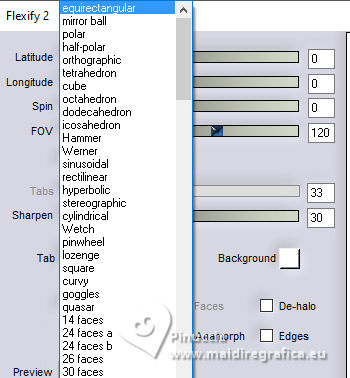
to look for easily the preset Panini, open the menu
and click the letter P on the keyboard 10 times
Layers>Arrange>Move Down.
9. Activate your top Layer.
Effects>Reflection Effects>Feedback.

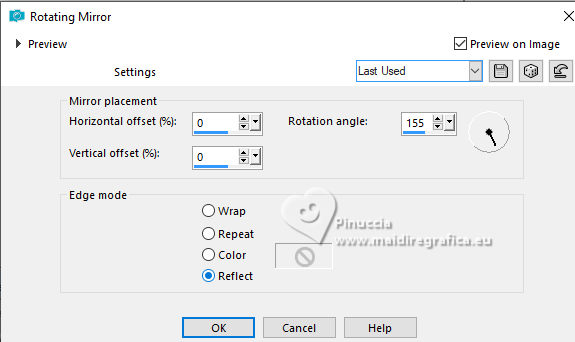
Effects>Reflection Effects>Rotating Mirror.

Effects>Reflection Effects>Rotating Mirror.
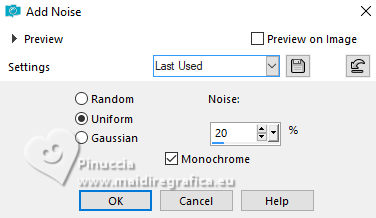
10. Adjust>Add/Remove Noise>Add Noise.
11. Activate the central layer, Promoted Selection.
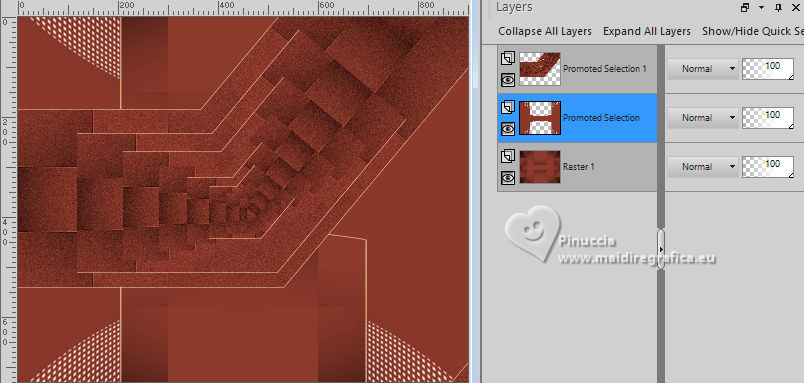
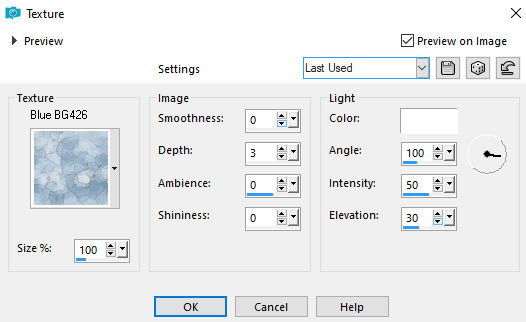
12. Effects>Texture Effects>Texture - select the texture Blue BG426
13. Layers>Merge>Merge visible.
14. Effects>Plugins>Simple - Top Left Mirror.
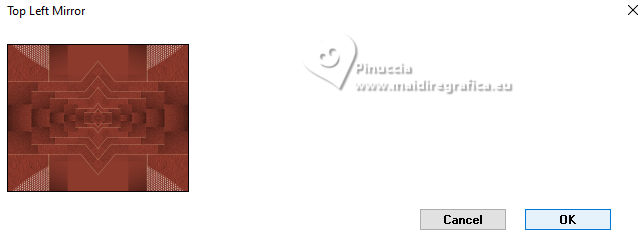
15. Effects>Image Effects>Seamless Tiling.

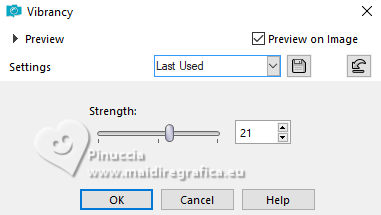
Adjust>Sharpness>Sharpen.
Adjust>Hue and Saturation>Vibrancy.
16. Selections>Load/Save Selection>Load Selection from Disk.
Look for and load the selection Miss_Autumn_3
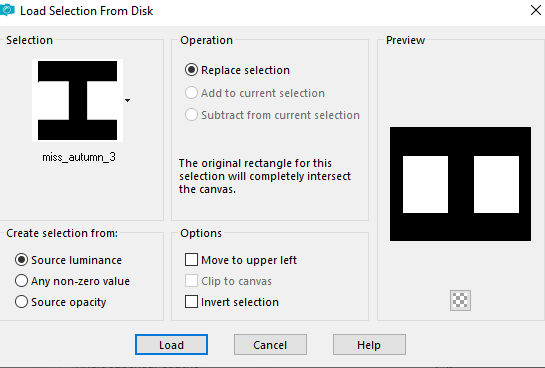
Selections>Promote Selection to Layer.
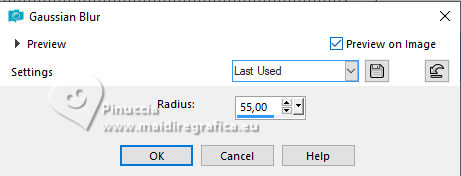
17. Adjust>Blur>Gaussian Blur - radius 55.
18. Effects>Plugins>Simple - Top Left Mirror.
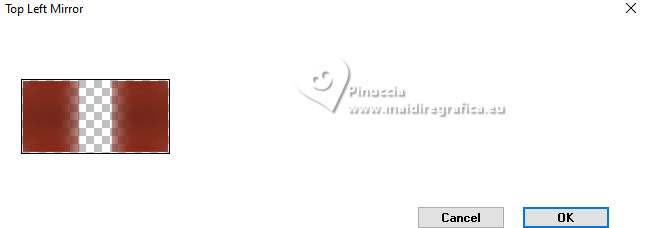
Keep selected.
Effects>Texture Effects>Texture, same settings.

19. Layers>New Raster Layer.
Flood Fill  the layer with your background color #fab433. the layer with your background color #fab433.
Selections>Modify>Contract - 2 pixels.
Press CANC on the keyboard 
Selections>Modify>Contract - 20 pixels.
Set your foreground color to #e5ad59.
Flood Fill  the selection with color #e5ad59. the selection with color #e5ad59.
Selections>Modify>Contract - 2 pixels.
Press CANC on the keyboard.
Keep selected.
20. Open the tube mentali-misted2529 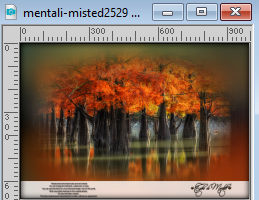
Edit>Copy.
Go back to your work and go to Edit>Paste as new layer.
Objects>Align>Top.
21. Selections>Invert.
Press CANC on the keyboard.
Selections>Select None.
22. Adjust>Brightness and Contrast>Brightness and Contrast.
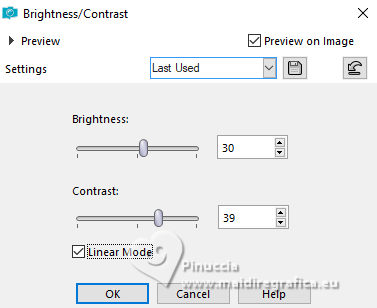
Layers>Merge>Merge Down - 2 times.
Edit>Paste as new layer (the landscape is still in memory).
23. Effects>Image Effects>Seamless Tiling, same settings.
Adjust>Brightness and Contrast>Brightness and Contrast.
(you can change these settings according to your tube and your colors)

Layers>Arrange>Move Down.
24. Activate the layer Merged.
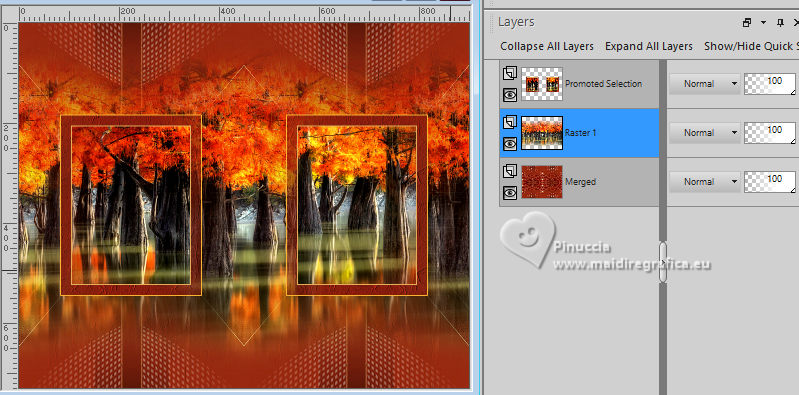
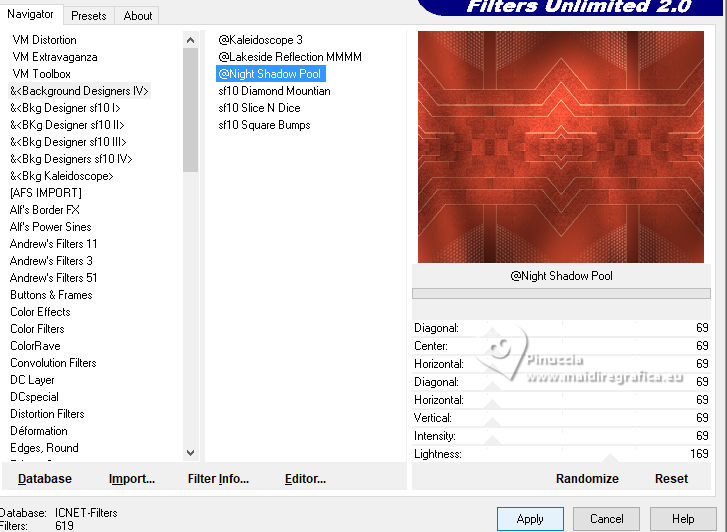
Effects>Plugins>Filters Unlimited 2.0 - &<Background Designers IV> - @Night Shadow Pool, default settings.
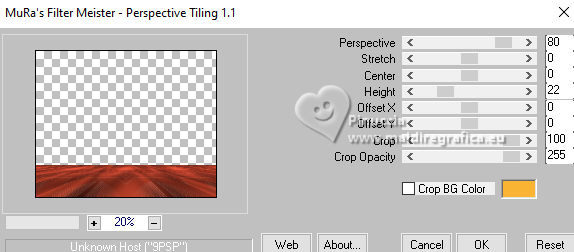
25. Layers>Duplicate.
Effects>Plugins>Mura's Meister - Perspective Tiling.
Adjust>Sharpness>Sharpen.
26. Open the tube EF-Miss_Autumn_Deco 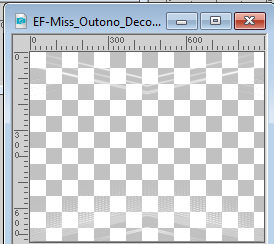
Edit>Copy.
Go back to your work and go to Edit>Paste as new layer.
Layers>Arrange>Move Up.
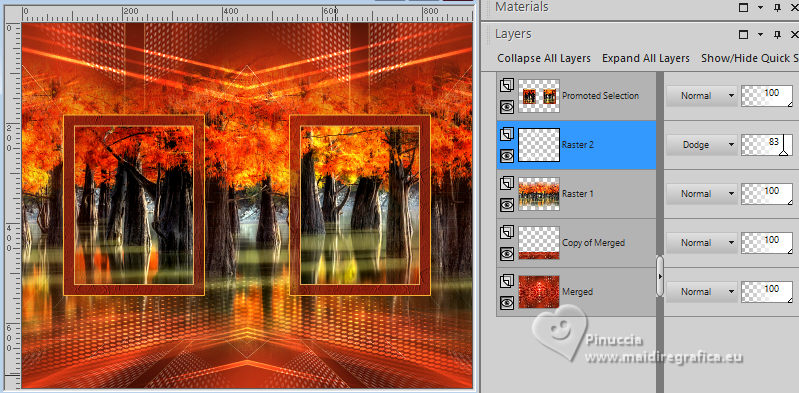
Change the Blend Mode of this layer to Dodge and reduce the opacity to 83%.
27. Open the tube Alies 1-2VR261-woman-29042015 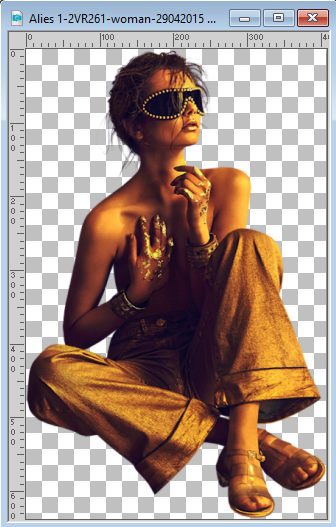
Edit>Copy.
Go back to your work and go to Edit>Paste as new layer.
Layers>Arrange>Move Up.
Move  the tube to the left side. the tube to the left side.
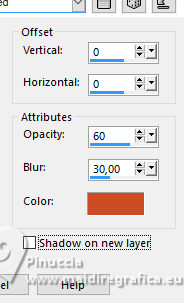
28. Effects>3D Effects>Drop Shadow, color 3 #cd4c25
29. Open the texte EF-Miss Autumn_Texto 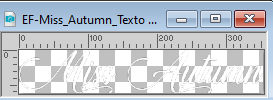
Edit>Copy.
Go back to your work and go to Edit>Paste as new layer.
Move  the text at the bottom right. the text at the bottom right.
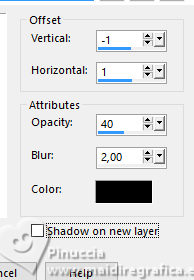
Effects>3D Effects>Drop Shadow, color #000000.
30. Image>Add borders, 4 pixels, symmetric, color 2.
Image>Add borders, 4 pixels, symmetric, color 3.
Image>Add borders, 4 pixels, symmetric, color 2.
Image>Add borders, 30 pixels, symmetric, color 1.
Activate your Magic Wand Tool 
and click in the last border to select it.
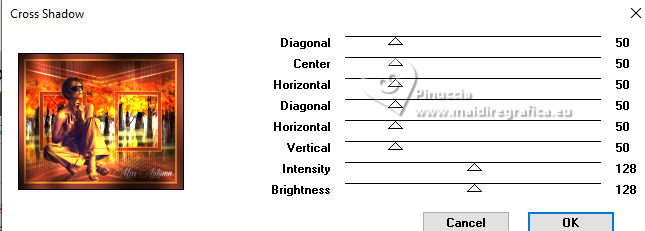
31. Effects>Plugins>Graphics Plus - Cross Shadow, default settings.
Selections>Select None.
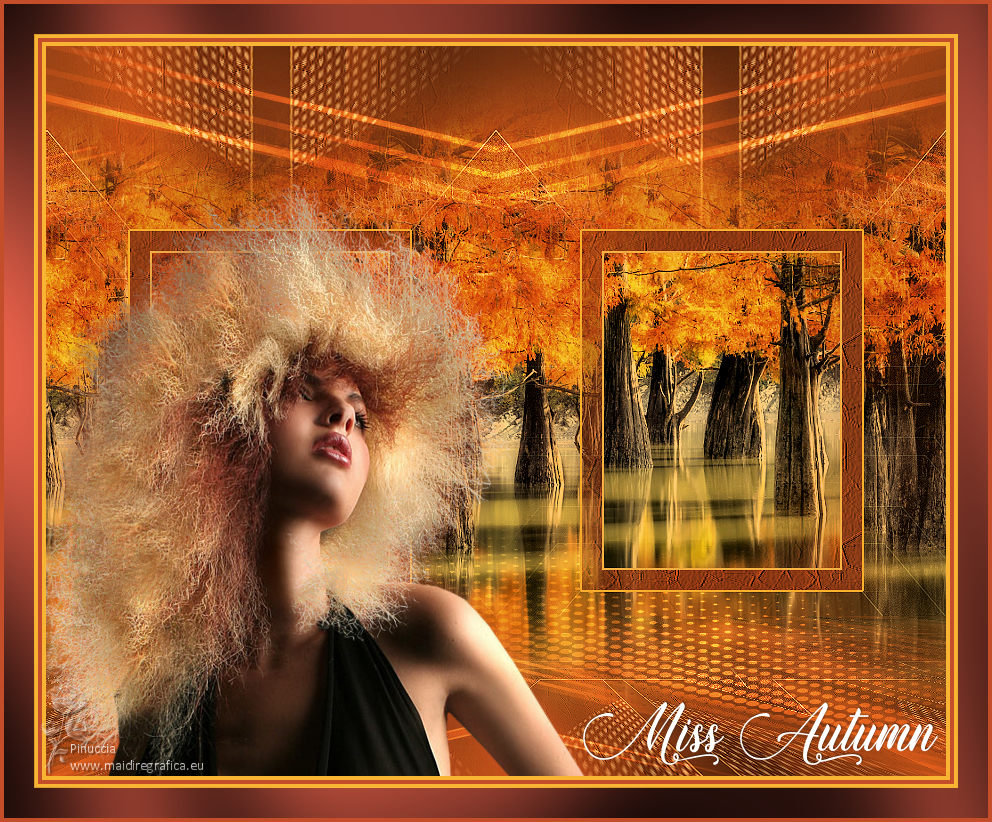
32. Sign your work.
Image>Add borders, 4 pixels, symmetric, color 3 #cd4c25.
Save as jpg.
For the tube of this version thanks @nn-Tdstudio


If you have problems or doubts, or you find a not worked link, or only for tell me that you enjoyed this tutorial, write to me.
20 October 2023

|


