|
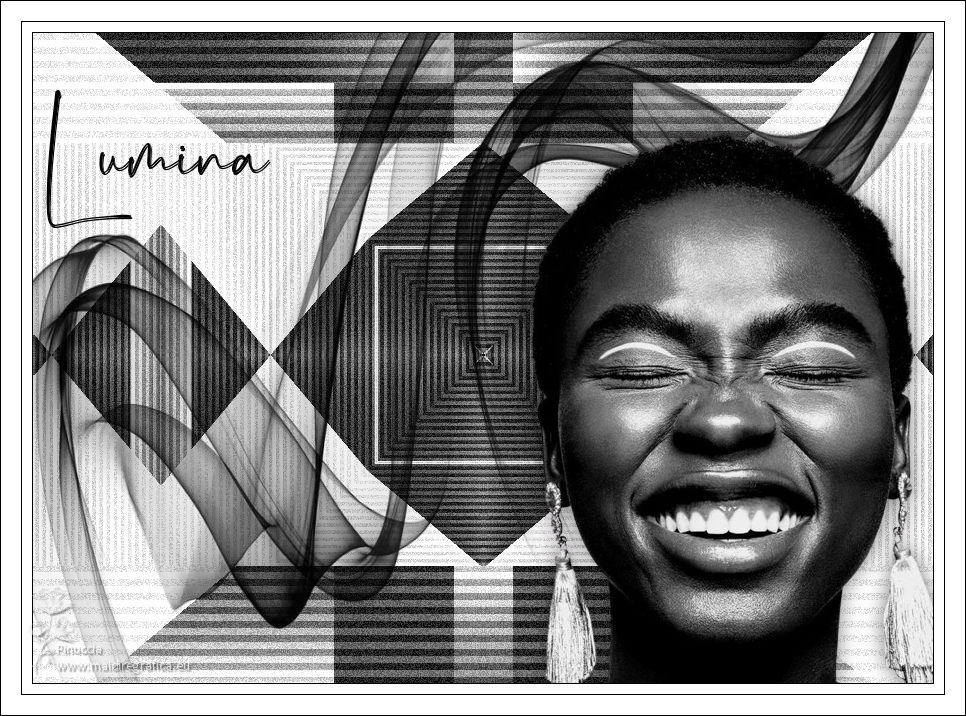
LUMINA


Thanks Estela for your invitation to translate your tutorials into english

This tutorial was created with PSP2022 and translated with PspX9, but it can also be made using other versions of PSP.
Since version PSP X4, Image>Mirror was replaced with Image>Flip Horizontal,
and Image>Flip with Image>Flip Vertical, there are some variables.
In versions X5 and X6, the functions have been improved by making available the Objects menu.
In the latest version X7 command Image>Mirror and Image>Flip returned, but with new differences.
See my schedule here
 French Translation here French Translation here
 Your versions here Your versions here
For this tutorial, you will need:

Material by Estela Fonseca.
(The links of the tubemakers here).
*It is forbidden to remove the watermark from the supplied tubes, distribute or modify them,
in order to respect the work of the authors

consult, if necessary, my filter section here
Filters Unlimited 2.0 here
&<Bkg Designer sf19IV> - @Instant Tile (to import in Unlimited) here
VM Extravaganza - Transmission here
DSB Flux - Bright Noise here
Filters VM Extravaganza can be used alone or imported into Filters Unlimited.
(How do, you see here)
If a plugin supplied appears with this icon  it must necessarily be imported into Unlimited it must necessarily be imported into Unlimited

You can change Blend Modes according to your colors.
In the newest versions of PSP, you don't find the foreground/background gradient (Corel_06_029).
You can use the gradients of the older versions.
The Gradient of CorelX here

1. Set your foreground color to #ffffff,
and your background color to #000000.
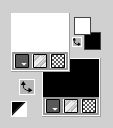
Set your foreground color to a Foreground/Background Gradient, style Radial.
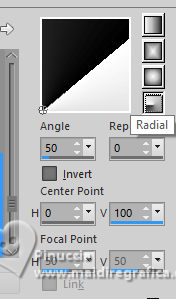
2. Open a new transparent image 900 x 650 pixels.
Flood Fill  the transparent image with your Gradient. the transparent image with your Gradient.
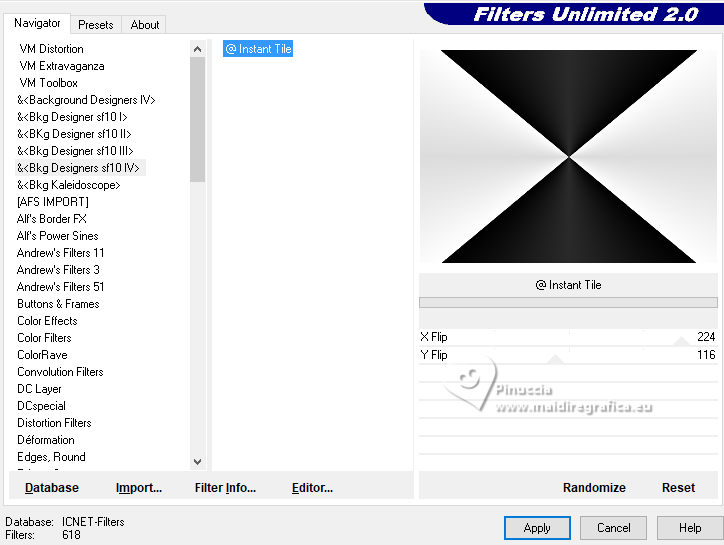
3. Effects>Plugins>Filters Unlimited 2.0 - &>Bkg Designer sf10IV> - @Instant Tile.
4. Effects>Texture Effects>Weave - weave color #ffffff.
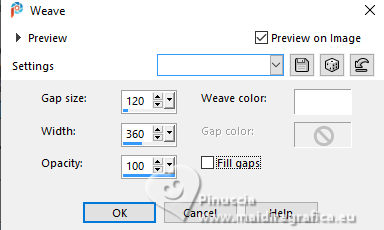
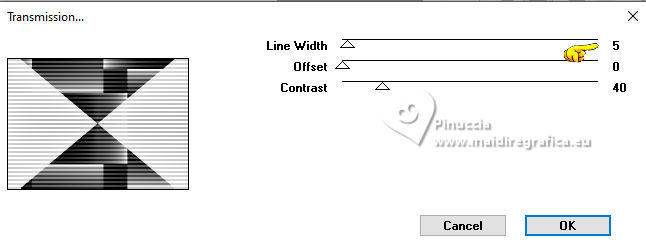
5. Effects>Plugins>VM Extravaganza - Transmission.
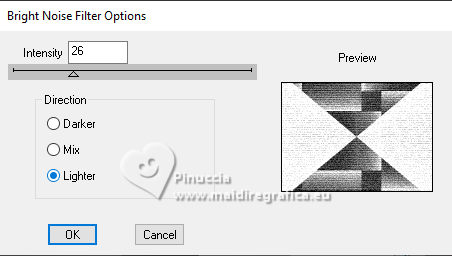
6. Effects>Plugins>DSB Flux - Bright Noise.
7.Selection Tool 
(no matter the type of selection, because with the custom selection your always get a rectangle)
clic on the Custom Selection 
and set the following settings.
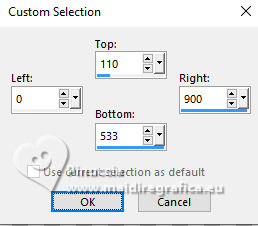
8. Effects>Reflection Effects>Kaleidoscope.
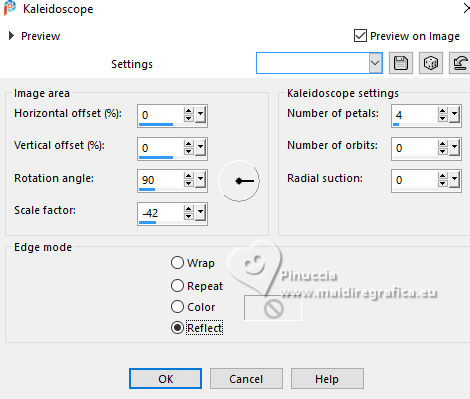
Selections>Select None.
9. Effects>Reflection Effects>Rotating Mirror, default settings.

10. Open EF-Lumina_deco_1 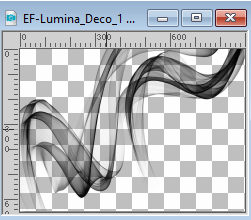
Edit>Copy.
Go back to your work and go to Edit>Paste as new layer.
Colorize, if you use other colors.
11. Open the woman's tube EF-Mulher_12 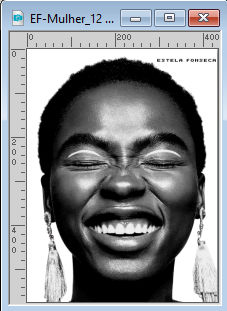
Edit>Copy.
Go back to your work and go to Edit>Paste as new layer.
Move  the tube to the right side. the tube to the right side.
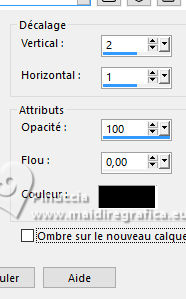
Effects>3D Effects>Drop Shadow, color #000000.

12. Image>Add borders, 1 pixel, symmetric, background color.
Image>Add borders, 10 pixels, symmetric, foreground color.
Image>Add borders, 1 pixel, symmetric, background color.
Image>Add borders, 20 pixels, symmetric, foreground color.
13. Open EF-Lumina_Texto 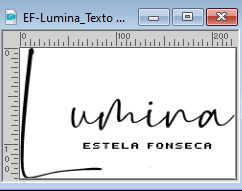
Edit>Copy.
Go back to your work and go to Edit>Paste as new layer.
Move  the text to your liking. the text to your liking.
Effects>3D Effects>Drop shadow, background color.
14. Sign your work.
Image>Add borders, 1 pixel, symmetric, background color.
Save as jpg.
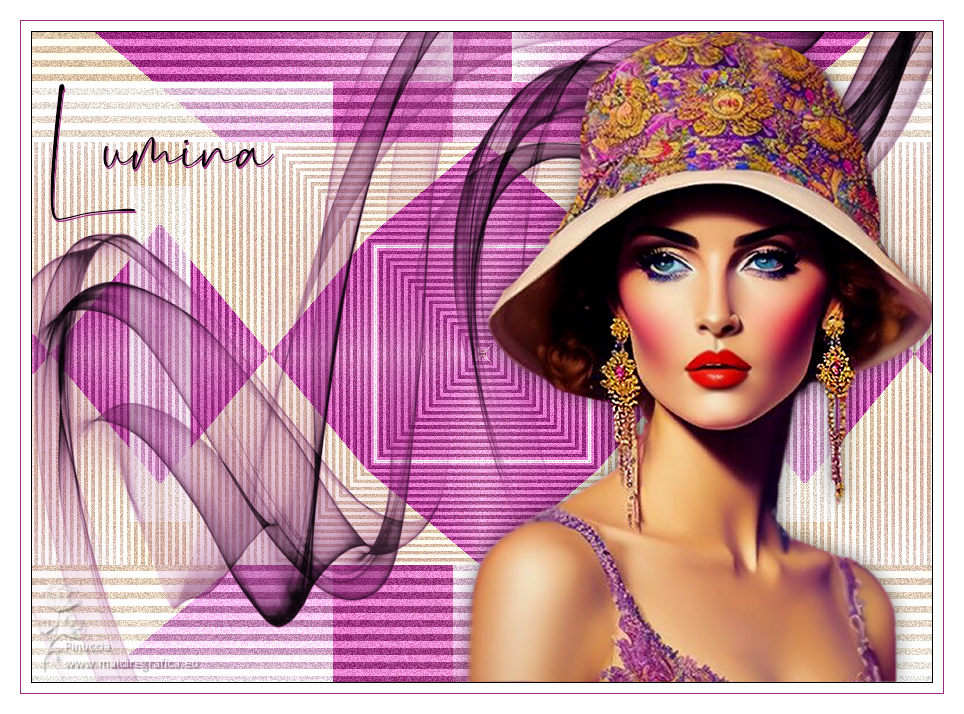
For the tube of this version thanks Luz Cristina


If you have problems or doubts, or you find a not worked link, or only for tell me that you enjoyed this tutorial, write to me.
20 October 2023

|

