|
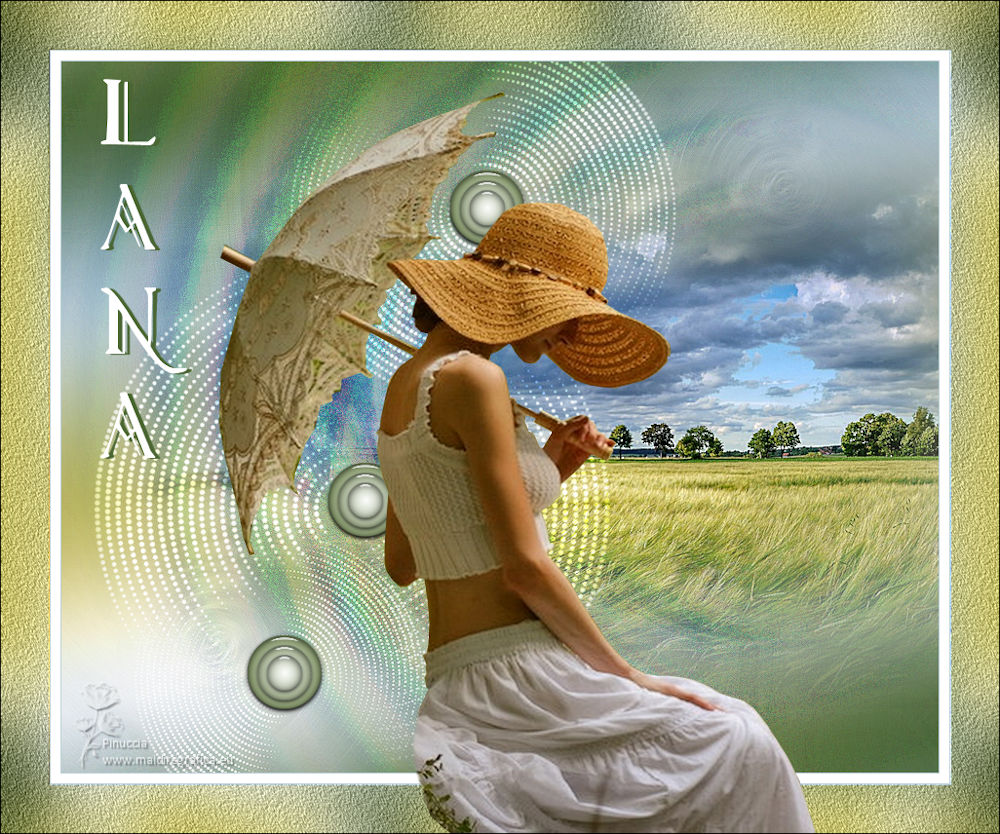
LANA


Thanks Estela for your invitation to translate your tutorials into english

This tutorial was created with PSP2022 and translated with Psp17, but it can also be made using other versions of PSP.
Since version PSP X4, Image>Mirror was replaced with Image>Flip Horizontal,
and Image>Flip with Image>Flip Vertical, there are some variables.
In versions X5 and X6, the functions have been improved by making available the Objects menu.
In the latest version X7 command Image>Mirror and Image>Flip returned, but with new differences.
See my schedule here
 French Translation here French Translation here
 Your versions here Your versions here
For this tutorial, you will need:

For the tube thanks Lana.
The rest of the material is by Estela Fonseca.
(The links of the tubemakers here).
*It is forbidden to remove the watermark from the supplied tubes, distribute or modify them,
in order to respect the work of the authors

consult, if necessary, my filter section here
Filters Unlimited 2.0 here
Mehdi - Wavy Lab 1.1. here
Plugins AB 1 - Darkened Random (to import in Unlimited) here

You can change Blend Modes according to your colors.

Copy the preset in the Presets Folder.
Colors

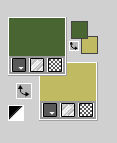
1. Set your foreground color to color 1 #496532,
and your background color to color 2 #c0ba62.
2. Open a new transparent image 900 x 730 pixels.
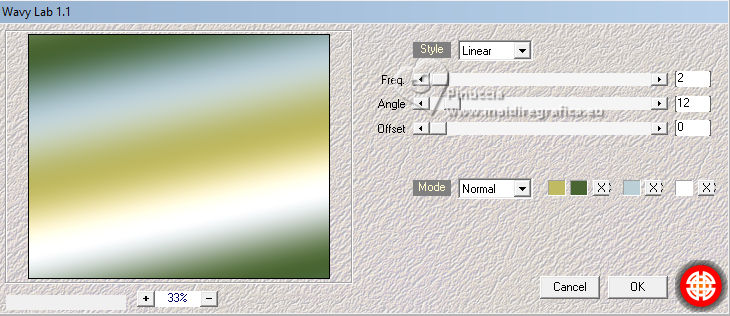
Effects>Plugins>Mehdi - Wavy Lab 1.1.
This filter creates gradients with the colors of your Materials palette.
The first is your background color, the second is your foreground color.
Change the last two colors created by the filtre:
the third color with color 3 #bbcfd6 and the forth color with color 4 #ffffff.
3. Layers>New Raster Layer.
Selections>Select All.
Open EF_Misted 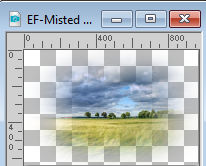
Edit>Copy.
Go back to your work and go to Edit>Paste into Selection.
Selections>Select None.
4. Adjust>Blur>Radial blur.
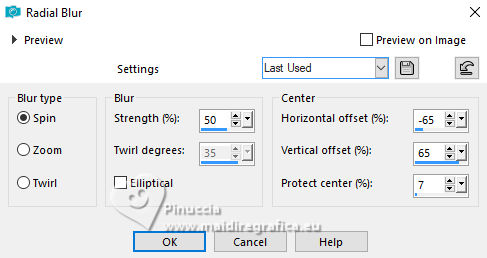
Effects>Edge Effects>Enhance.
5. Layers>Duplicate.
Image>Mirror.
Image>Flip.
Change the Blend Mode of this layer to Hard light.
Layers>Merge>Merge Down.
Adjust>Sharpness>Sharpen.
6. Adjust>Brightness and Contrast>Fill Light/Clarity.
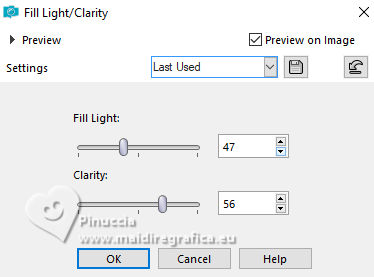
7. Layers>Duplicate.
Effects>Distortion Effects>Ripple.
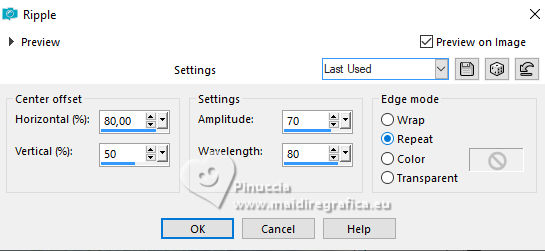
Reduce the opacity of this layer to 51%.
8. Edit>Paste as new layer (the misted is still in memory).
K key to activate your Pick Tool 
and set Position X: 167,00 and Position Y: 26,00.

Adjust>Sharpness>Sharpen More.
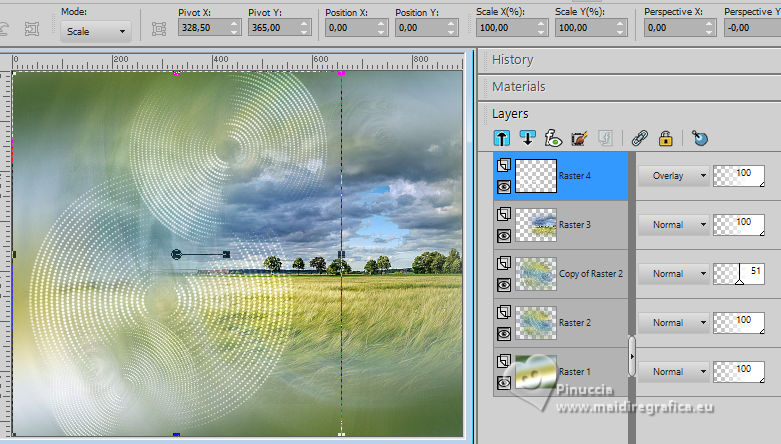
9. Open EF-Lana_Deco_1 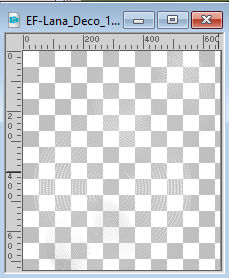
Edit>Copy.
Go back to your work and go to Edit>Paste as new layer.
Objects>Align>Left.
Change the Blend Mode of this layer to Overlay.
10. Open EF-Lana_Deco_2 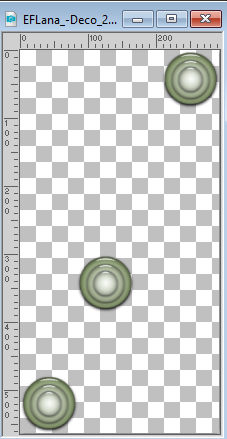
Edit>Copy.
Go back to your work and go to Edit>Paste as new layer.
Set Position X: 186,00 and Position Y: 108,00.

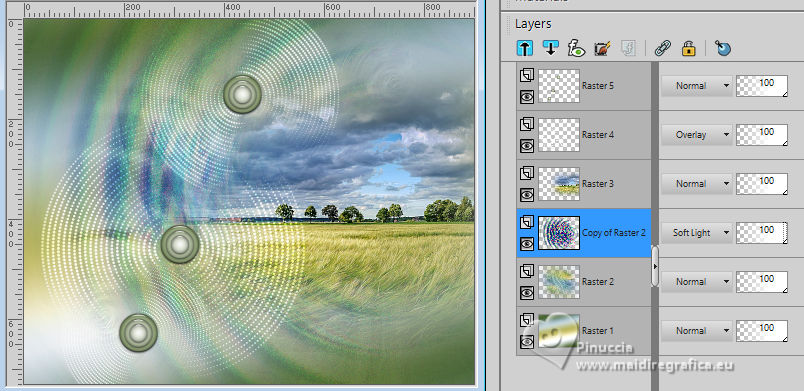
11. Activate the layer Copy of Raster 2.
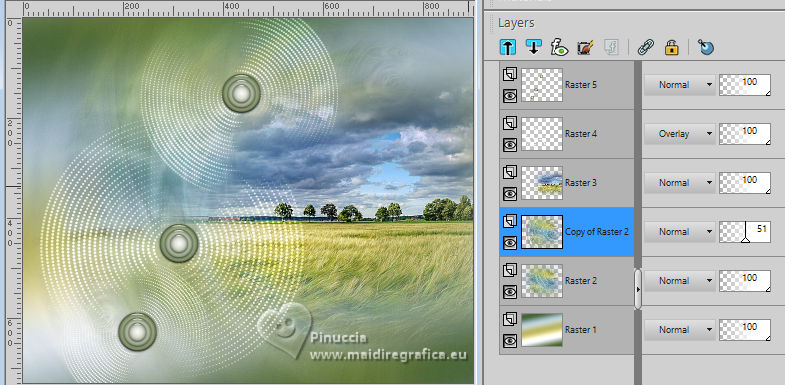
Effects>Plugins>Filters Unlimited 2.0 - AB 1 - Darkened Random.
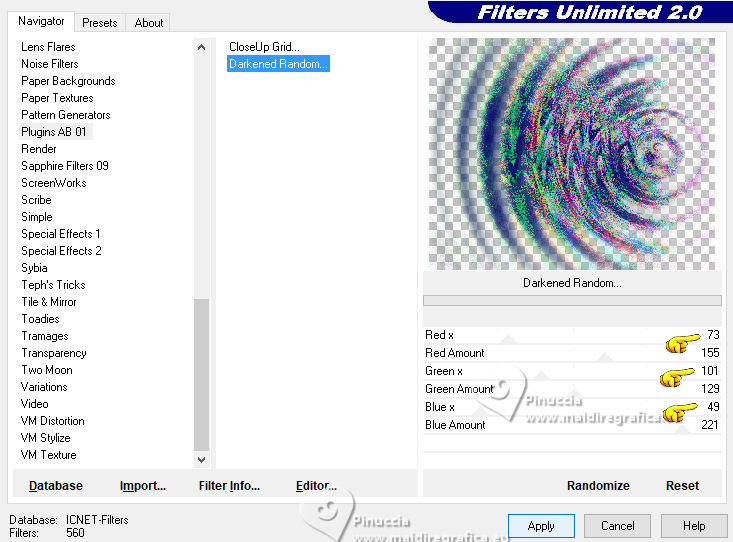
adapt the settings Red, Green and blue according to your colors;
I used the codes of my foreground color

12. Change the Blend Mode of this layer to Soft Light, opacity 100.
13. Image>Add borders, 1 pixel, symmetric, color 3 #bbcfd6.
Image>Add borders, 10 pixels, symmetric, color 4 #ffffff.
Image>Add borders, 1 pixel, symmetric, color 3 #bbcfd6.
Image>Add borders, 50 pixels, symmetric, background color (color 2).
14. Activate your Magic Wand Tool 
and click in the last border to select it.
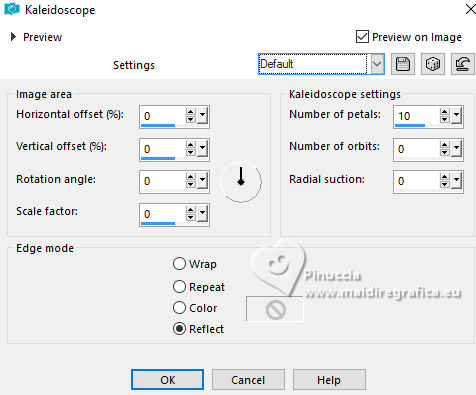
15. Effects>Reflection Effects>Kaleidoscope, default settings.
Adjust>Blur>Gaussian Blur - radius 30.

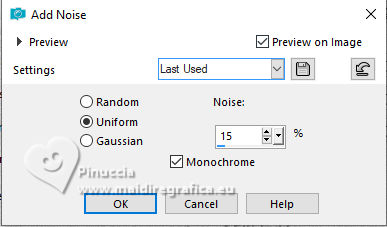
16. Adjust>Add/Remove Noise>Add Noise.
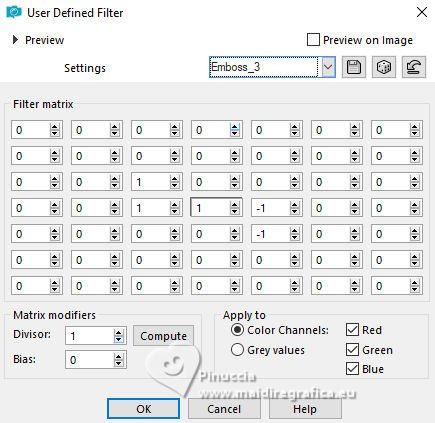
17. Effects>User Defined Filter - select the preset Emboss 3 and ok.
Selections>Select None.
18. Open EF-Lana_Texto 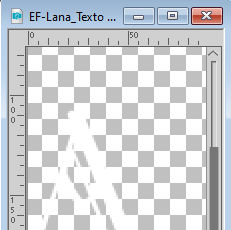
Edit>Copy.
Go back to your work and go to Edit>Paste as new layer.
Move  the text to the left, or to your liking. the text to the left, or to your liking.
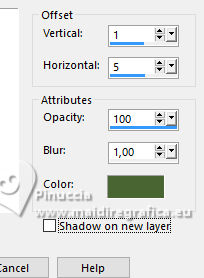
19. Effects>3D Effects>Drop shadow, foreground color.
20. Open your main tube LD-girl with umbrella 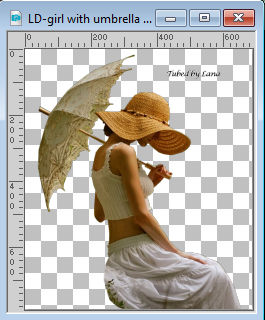
Erase the watermark and go to Edit>Copy.
Go back to your work and go to Edit>Paste as new layer.
Move  the tube to your liking. the tube to your liking.
Effects>3D Effects>Drop Shadow, at your choice.
21. Image>Add borders, 1 pixel, symmetric, color black.
22. Sign your work and save as jpg.
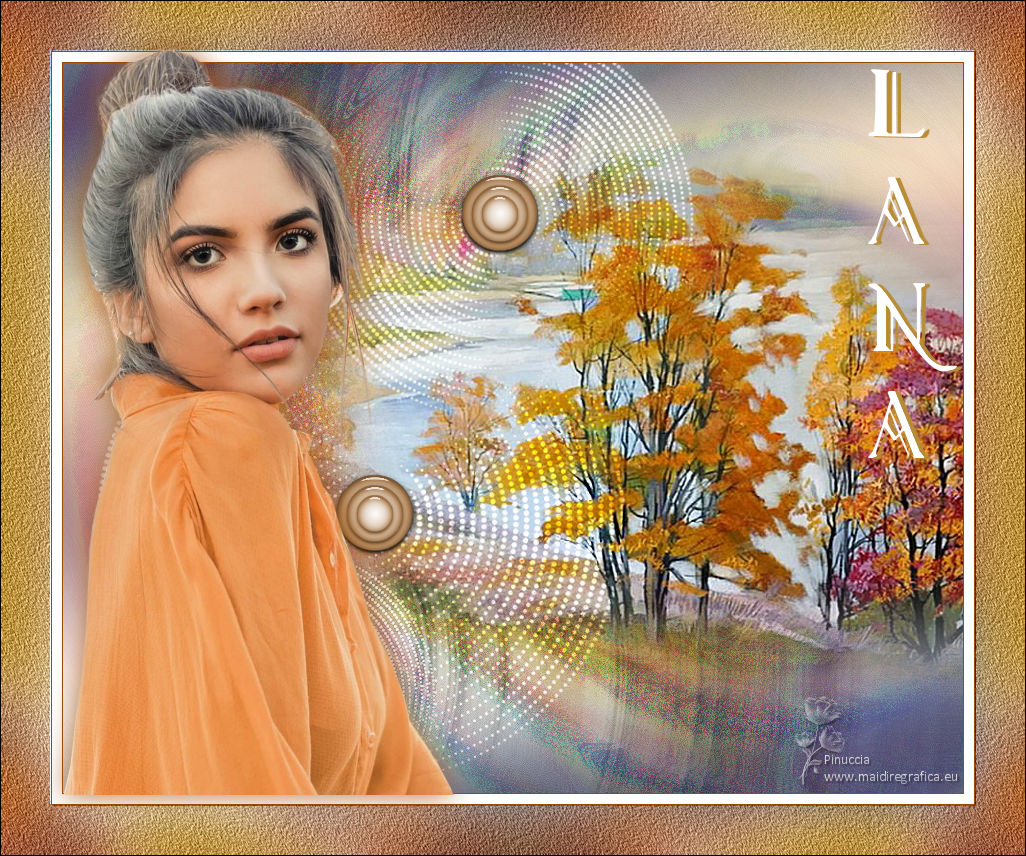
For the tubes of this version thanks Lana and Jewel


If you have problems or doubts, or you find a not worked link, or only for tell me that you enjoyed this tutorial, write to me.
27 September 2023

|

