|
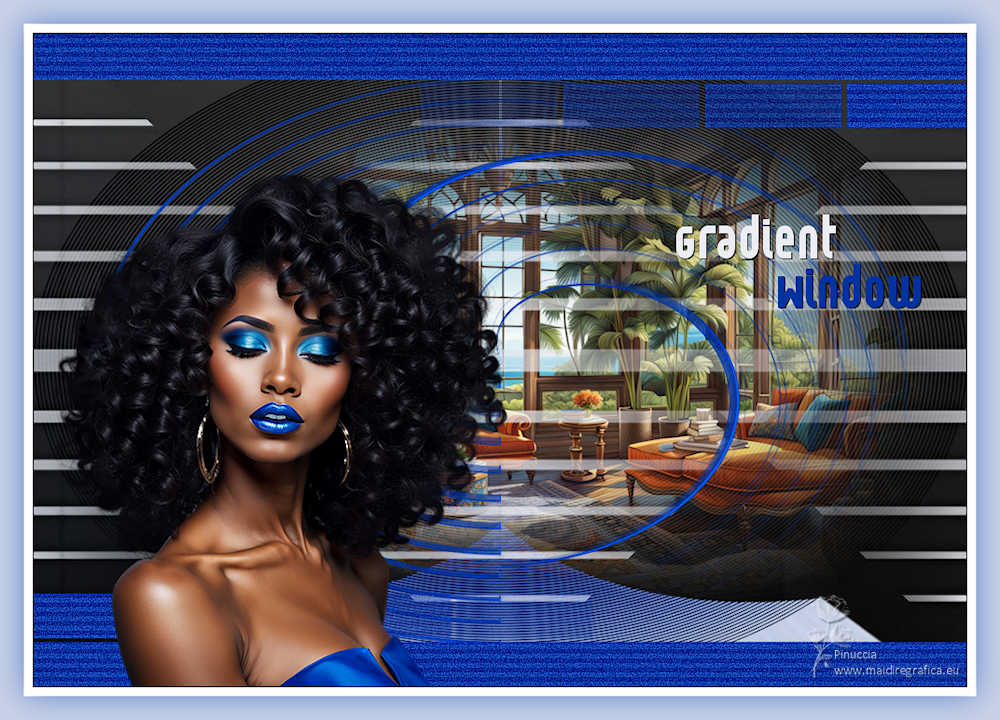
GRADIENT WINDOW


Thanks Estela for your invitation to translate your tutorials into english

This tutorial, created with PSP2022, was translated with PspX7, but it can also be made using other versions of PSP.
Since version PSP X4, Image>Mirror was replaced with Image>Flip Horizontal,
and Image>Flip with Image>Flip Vertical, there are some variables.
In versions X5 and X6, the functions have been improved by making available the Objects menu.
In the latest version X7 command Image>Mirror and Image>Flip returned, but with new differences.
See my schedule here
 French Translation here French Translation here
 Your versions here Your versions here
For this tutorial, you will need:

For the tubes thanks Mentali and Kamil.
The rest of the material is by Estela Fonseca
(The links of the tubemakers here).
*It is forbidden to remove the watermark from the supplied tubes, distribute or modify them,
in order to respect the work of the authors

consult, if necessary, my filter section here
Filters Unlimited 2.0 here
Filter Factory Gallery B - Gradient Window, Circulator 2 here
Italian Editors Effects - Disturbo Zoom here
VanDerLee - Unplugged-X here
Graphics Plus - Horizontal Mirror here
Carolaine and Sensibility - CS-HLines here
Filters Factory Gallery, Italian Editors and Graphics Plus can be used alone or imported into Filters Unlimited.
(How do, you see here)
If a plugin supplied appears with this icon  it must necessarily be imported into Unlimited it must necessarily be imported into Unlimited

You can change Blend Modes according to your colors.
In the newest versions of PSP, you don't find the foreground/background gradient (Corel_06_029).
You can use the gradients of the older versions.
The Gradient of CorelX here

Copy the preset Emboss 3 in the Presets Folder.
Open the masks in PSP and minimize them with the rest of the material.
1. Set your foreground color to #0032a2,
and your background color to #ebedf3.
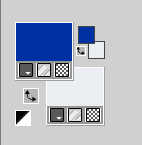
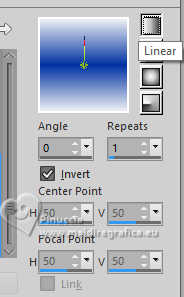
Set your foreground color to a Foreground/Background Gradient, style Linear.
2. Open a new transparent image 1000 x 700 pixels.
Flood Fill  the transparent image with your Gradient. the transparent image with your Gradient.
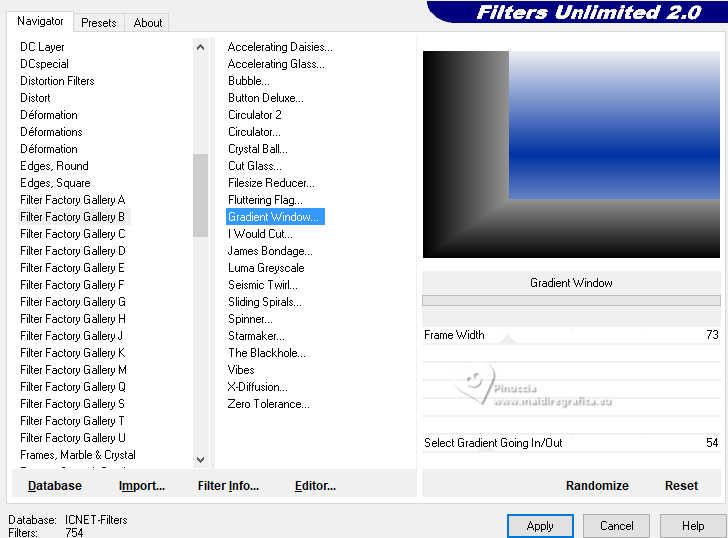
3. Effects>Plugins>Filters Unlimited 2.0 - Filter Factory Gallery B - Gradient Window, default settings
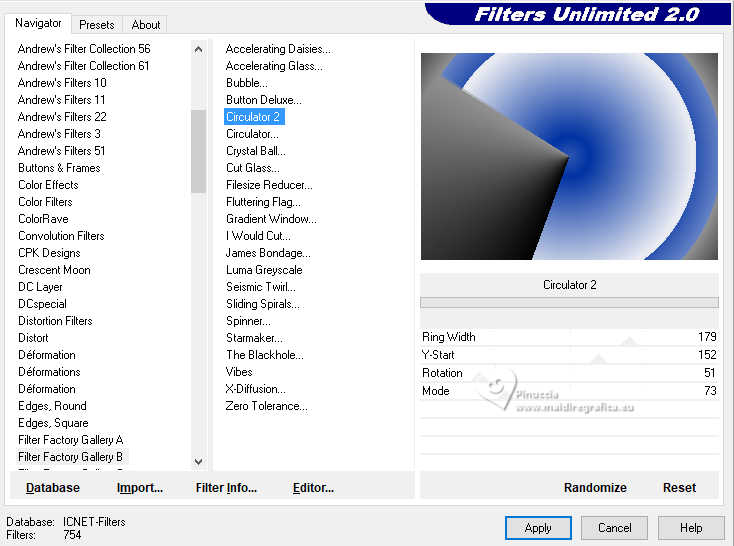
4. Effects>Plugins>Filters Unlimited 2.0 - Filter Factory Gallery B - Circulator 2, default settings
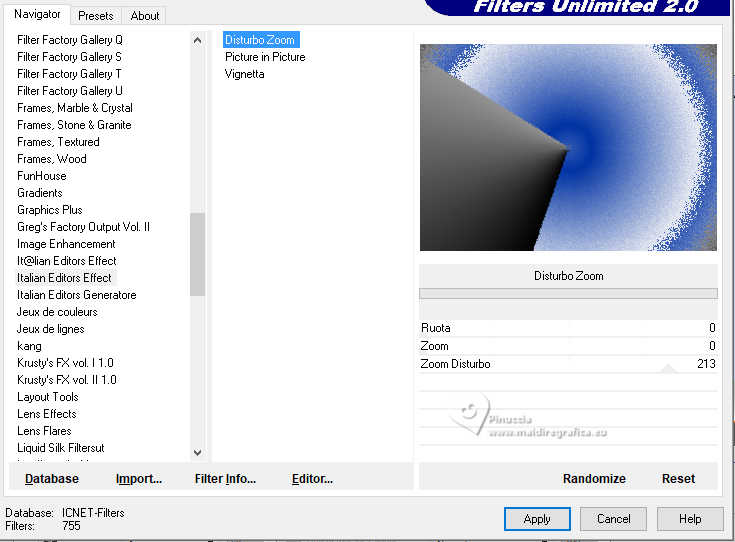
5. Effects>Plugins>Filters Unlimited 2.0 - Italian Editors Effects - Disturbo Zoom, default settings.
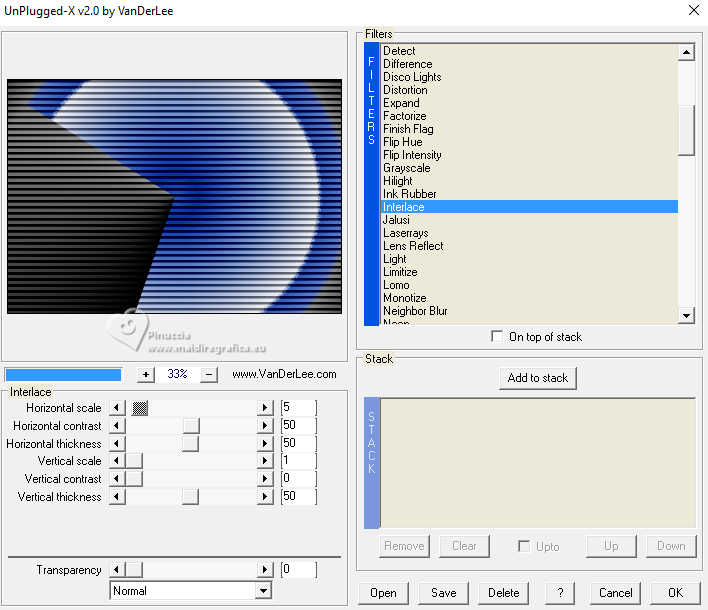
6. Effects>Plugins>VanDerLee - Unplugged-X - Interlace
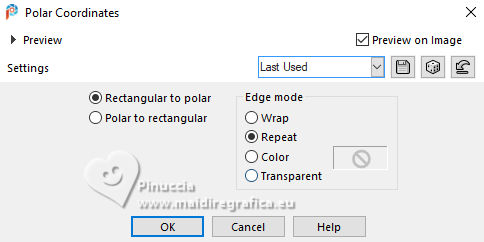
7. Effects>Distortion Effects>Polar Coordinates.
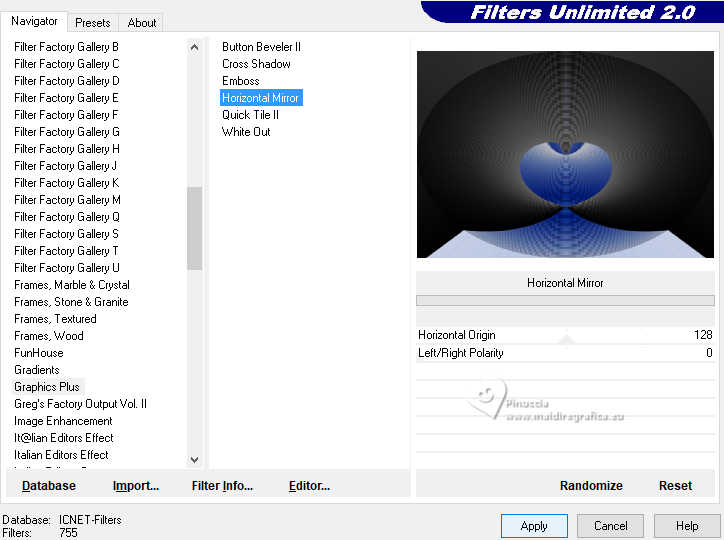
8. Effects>Plugins>Filters Unlimited 2.0 - Graphics Plus - Horizontal Mirror, default settings.
9. Layers>New Raster Layer.
Flood Fill  the layer with your background color. the layer with your background color.
Layers>New Mask layer>From image
Open the menu under the source window and you'll see all the files open.
Select the mask EF-Mask_Gradient_Window_1
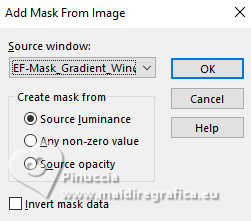
Layers>Merge>Merge Group.
10. Layers>New Raster Layer.
Set your foreground color to Color.
Flood Fill  the layer with your foreground color. the layer with your foreground color.
Layers>New Mask layer>From image
Open the menu under the source window
and select the mask EF-Mask_Gradient_Window_2.
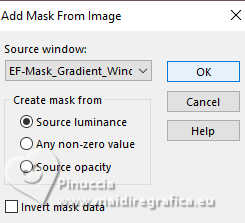
Layers>Merge>Merge Group.
11. Effects>User Defined Filter - select the preset Emboss 3 and ok.

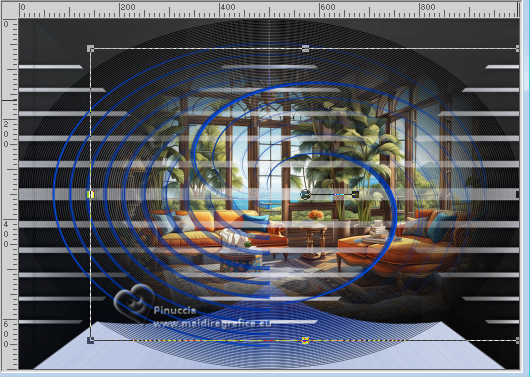
12. Activate the layer Raster 1.
Open the tube KamilTube-1382-Landscape 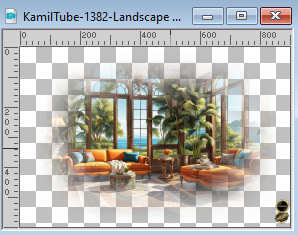
Erase the watermark and go to Edit>Copy.
Go back to your work and go to Edit>Paste as new layer.
Objects>Align>Right.
13. Activate your top layer.
Open EF-Gradient_Window_Deco_1 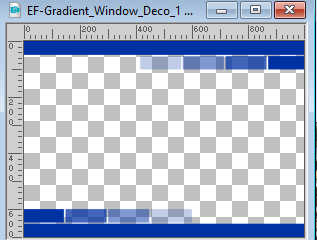
Edit>Copy.
Go back to your work and go to Edit>Paste as new layer.
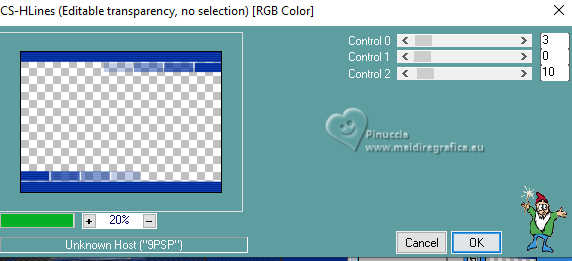
14. Effects>Plugins>Carolaine and Sensibility -CS-HLines, default settings
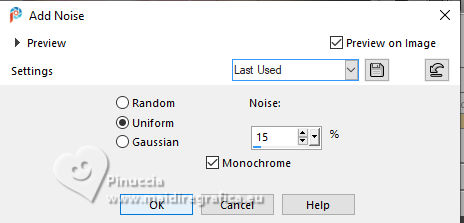
15. Adjust>Add/Remove Noise>Add Noise.
Adjust>Sharpness>Sharpen More.
16. Open the tube mentali-femme1421 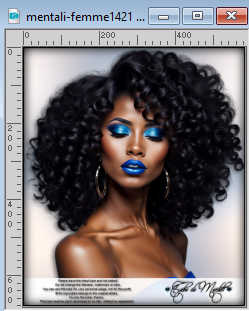
Edit>Copy.
Go back to your work and go to Edit>Paste as new layer.
Image>Resize, to 85%, resize all layers not checked.
Adjust>Sharpness>Sharpen.
Move  the tube to the left side. the tube to the left side.
17. Open EF-Gradient_Window_Texto 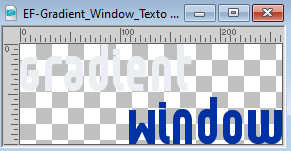
Edit>Copy.
Go back to your work and go to Edit>Paste as new layer.
Move  the text to your liking. the text to your liking.
18. Effects>3D Effects>Drop shadow, color #000000.

19. Image>Add borders, 1 pixel, symmetric, color #000000.
Image>Add borders, 10 pixels, symmetric, color #ffffff.
Effects>3D Effects>Drop Shadow, same settings.

20. Image>Add borders, 25 pixels, symmetric, color #c7dae7 
Effects>3D Effects>Drop Shadow, same settings.

21. Selections>Select All.
Selections>Modify>Contract - 26 pixels.
Effects>3D Effects>Drop Shadow, foreground color #0032a2.
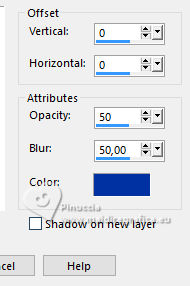
Selections>Select None.
22. Sign your work on a new layer.
Layers>Merge>Merge All and save as jpg.
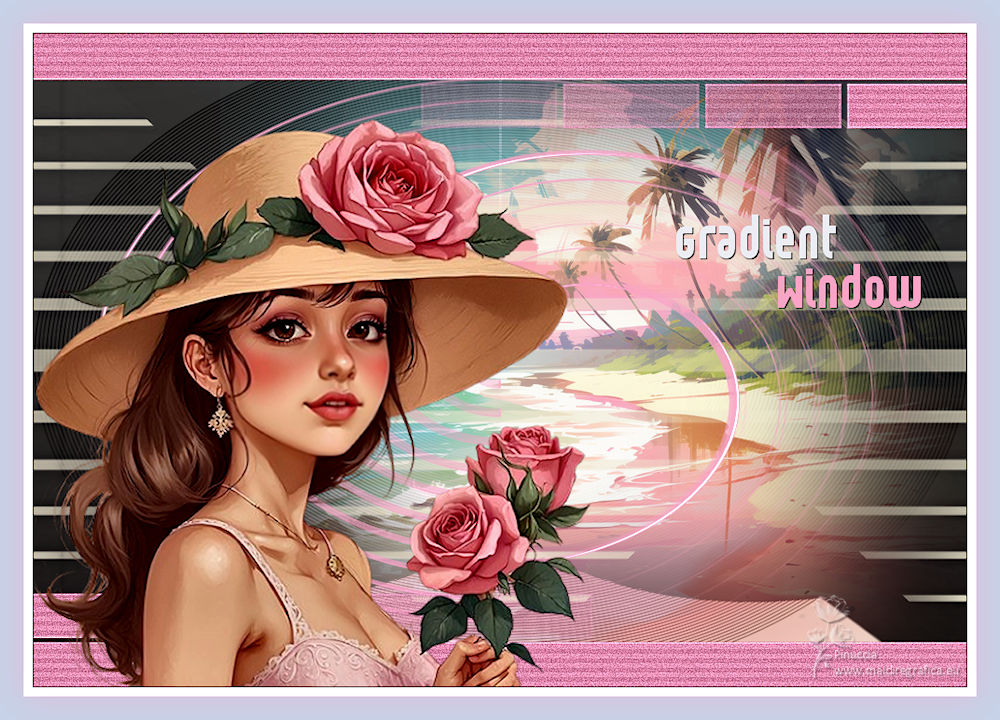
For the tubes of this version thanks Luz Cristina et Adrienne


If you have problems or doubts, or you find a not worked link,
or only for tell me that you enjoyed this tutorial, write to me.
17 February 2024

|

