|
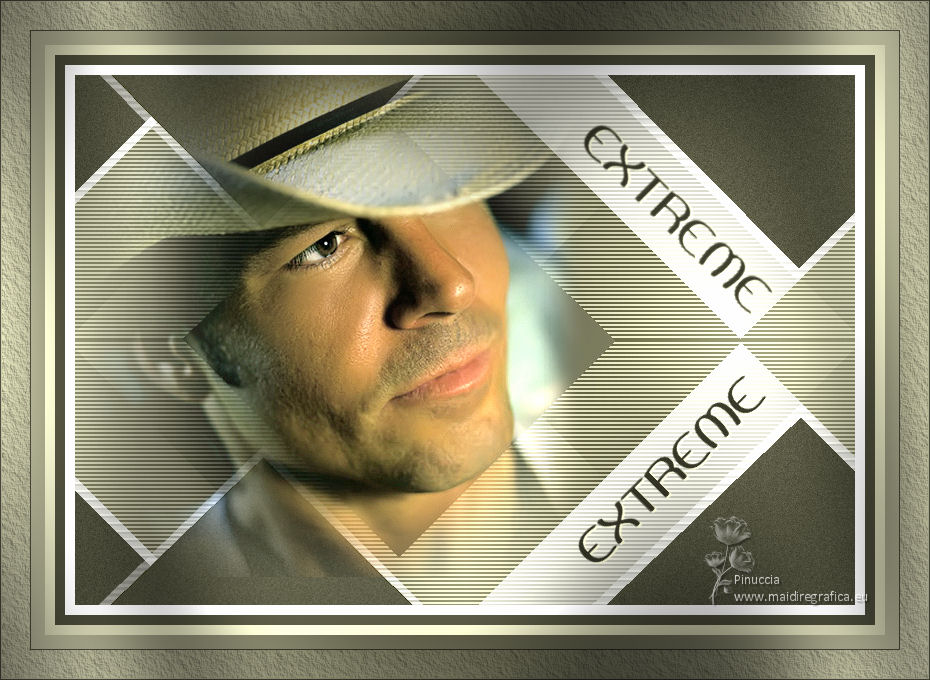
EXTREME


Thanks Estela for your invitation to translate your tutorials into english

This tutorial was created with PSP2022 and translated with Psp17, but it can also be made using other versions of PSP.
Since version PSP X4, Image>Mirror was replaced with Image>Flip Horizontal,
and Image>Flip with Image>Flip Vertical, there are some variables.
In versions X5 and X6, the functions have been improved by making available the Objects menu.
In the latest version X7 command Image>Mirror and Image>Flip returned, but with new differences.
See my schedule here
 French Translation here French Translation here
 Your versions here Your versions here
For this tutorial, you will need:

For the tube thanks K@rine.
The rest of the material is by Estela Fonseca.
(The links of the tubemakers here).
*It is forbidden to remove the watermark from the supplied tubes, distribute or modify them,
in order to respect the work of the authors

consult, if necessary, my filter section here
Filters Unlimited 2.0 here
Mehdi - Sorting Tiles here
Graphics Plus - Vertical Mirror, Cross Shadow here
VanDerLee - Unplugged X here
Simple - Half Wrap here
VM Extravaganza - Transmission here
AAA Frames - Texture Frame here
Filters Graphics Plus, Simple et VM Extravaganza can be used alone or imported into Filters Unlimited.
(How do, you see here)
If a plugin supplied appears with this icon  it must necessarily be imported into Unlimited it must necessarily be imported into Unlimited

You can change Blend Modes according to your colors.
In the newest versions of PSP, you don't find the foreground/background gradient (Corel_06_029).
You can use the gradients of the older versions.
The Gradient of CorelX here

Copy the Selection in the Selections Folder.
1. Set your foreground color to #e6bfad,
and your background color to #511f17.
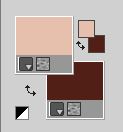
Set your foreground color to a Foreground/Background Gradient, style Sunburst.
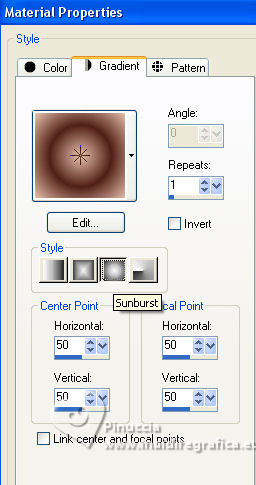
2. Open a new transparent image 800 x 550 pixels.
Flood Fill  the transparent image with your Gradient. the transparent image with your Gradient.
3. Adjust>Blur>Gaussian Blur - radius 50 - 2 times.

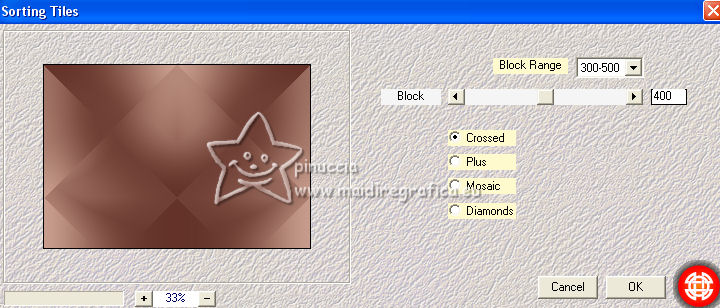
4. Effects>Plugins>Mehdi - Sorting Tiles.
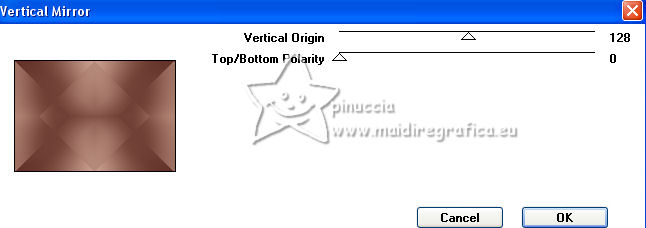
5. Effects>Plugins>Graphics Plus - Vertical Mirror, default settings
6. Layers>New Raster Layer.
Effects>Plugins>VanDerLee - Unplugged X - 45° Rectangle
color #ffffff
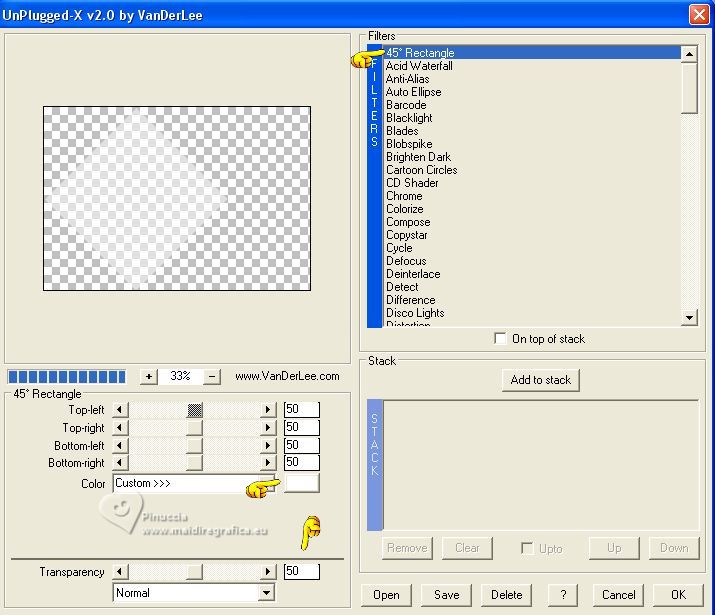
7. Selections>Load/Save Selection>Load Selection from Disk.
Look for and load the selection Extreme
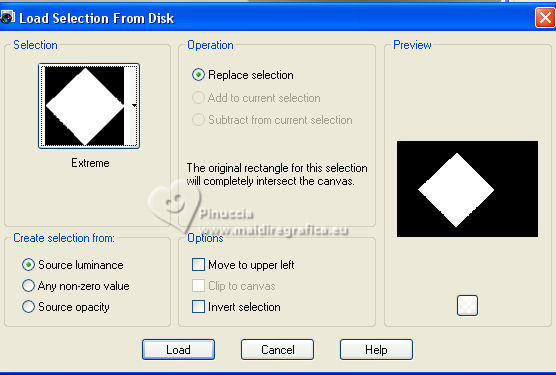
Selections>Promote Selection to Layer.
8. Effects>Plugins>VM Extravaganza - Transmission.
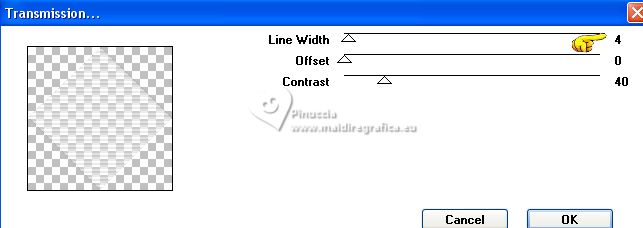
9. Selections>Modify>Contract - 10 pixels.
Flood Fill  the selection with your background color. the selection with your background color.
10. Adjust>Add/Remove Noise>Add Noise.
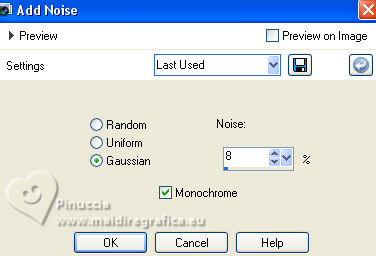
Selections>Select None.
11. Layers>Duplicate.
Image>Resize, to 80%, resize all layers not checked.
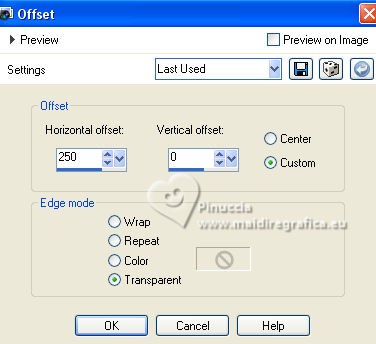
12. Effects>Image Effects>Offset.
13. Activate your bottom layer.
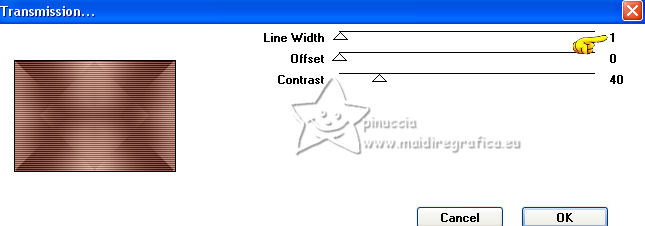
Effects>Plugins>VM Extravaganza - Transmission.
14. Layers>Merge>Merge visible.
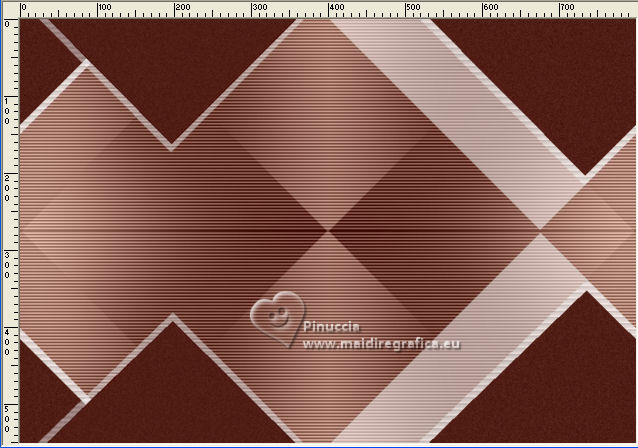
15. Effects>Plugins>Simple - Half Wrap
This effect works without window; result
16. Layers>New Raster Layer.
Selections>Load/Save Selection>Load Selection from Disk.
Load again the selection Extreme

Flood Fill  the selection with your background color. the selection with your background color.
Selections>Select None.
Layers>Merge>Merge Down.
17. Selections>Select All.
Selections>Modify>Contract - 10 pixels.
Image>Crop to Selection.
18. Open the tube K@rine_dreams_Misted_Face_479_Mai09 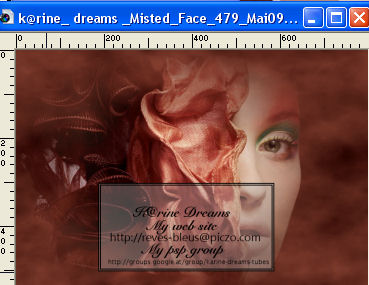
Edit>Copy.
Go back to your work and go to Edit>Paste as new layer.
Image>Resize, to 80%, resize all layers not checked.
19. K key to activate your Pick Tool 
and set Position X: -101,00 and Position Y: 63,00.

Adjust>Sharpness>Sharpen.
20. Open the text Texto 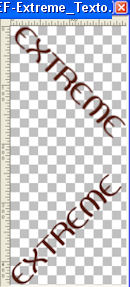
Edit>Copy.
Go back to your work and go to Edit>Paste as new layer.
Set Position X: 502,00 and Position Y: 49,00.

M key to deselect the tool.
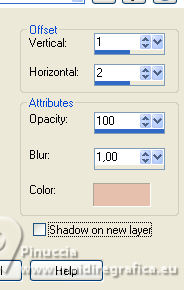
21. Effects>3D Effects>Drop Shadow, foreground color.
22. Image>Add borders, 10 pixels, symmetric, color #ffffff.
Image>Add borders, 10 pixels, symmetric, background color.
Image>Add borders, 10 pixels, symétrique, foreground color.
Image>Add borders, 45 pixels, symétrique, color #ffffff.
23. Activate your Magic Wand Tool  , tolerance and feather, , tolerance and feather,
and click in the last border to select it.
Flood Fill  the selection with your Gradient. the selection with your Gradient.
Selections>Select none.
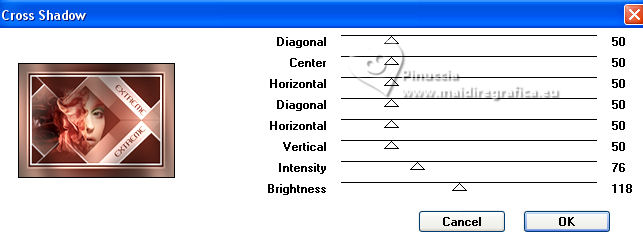
24. Effects>Plugins>Graphics Plus - Cross Shadow.
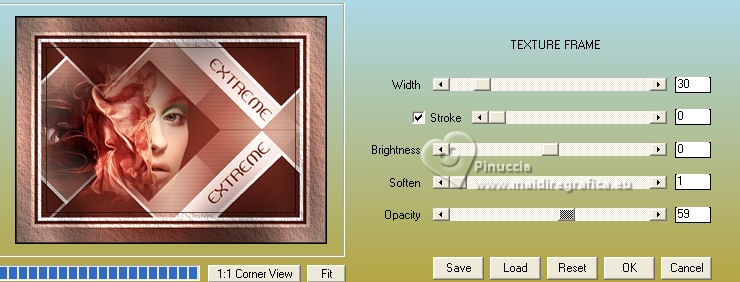
25. Effects>Plugins>AAA Frames - Texture Frame.
26. Sign your work on a new layer.
Layers>Merge>Merge All and save as jpg.
For the tube of this version thanks Suzi Sgai


If you have problems or doubts, or you find a not worked link, or only for tell me that you enjoyed this tutorial, write to me.
9 September 2023

|


