|
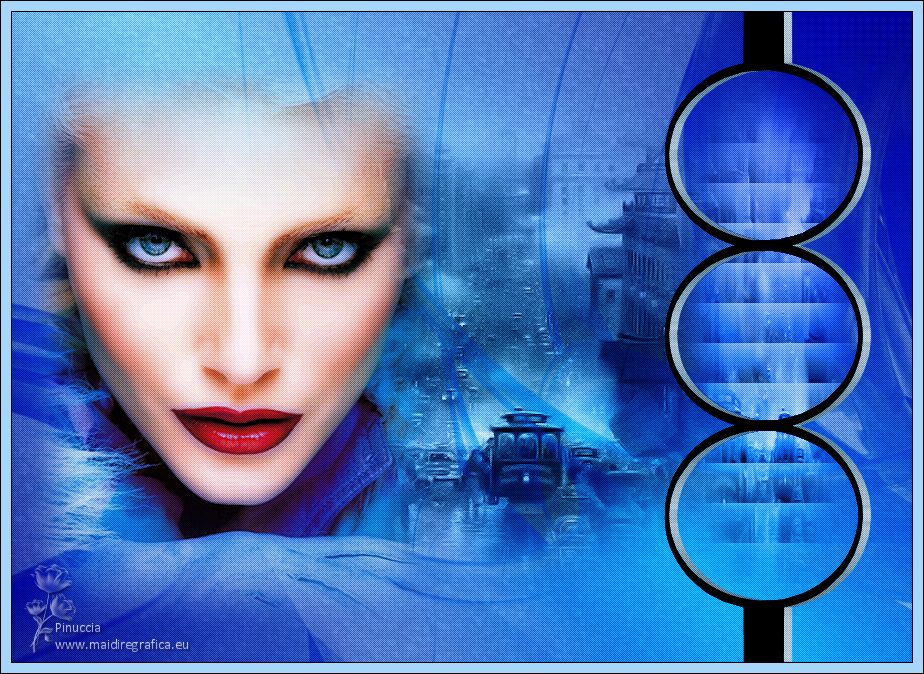
ESTRUTURAS


Thanks Estela for your invitation to translate your tutorials into english

This tutorial was created with PSP2022 and translated with Psp17, but it can also be made using other versions of PSP.
Since version PSP X4, Image>Mirror was replaced with Image>Flip Horizontal,
and Image>Flip with Image>Flip Vertical, there are some variables.
In versions X5 and X6, the functions have been improved by making available the Objects menu.
In the latest version X7 command Image>Mirror and Image>Flip returned, but with new differences.
See my schedule here
For this tutorial, you will need:

For the tubes thanks Susi Sgai, Carola and for the mask thanks Claire.
The rest of the material is by Estela Fonseca.
(The links of the tubemakers here).
*It is forbidden to remove the watermark from the supplied tubes, distribute or modify them,
in order to respect the work of the authors

consult, if necessary, my filter section here
Filters Unlimited 2.0 here
Fantastic Machine - Paint Engine here
VM Toolbox - Remove Gray here
Alien Skin Eye Candy 5 Impact - Extrude here
Cybia - Screenworks here
Filters VM Toolbox and Cybia can be used alone or imported into Filters Unlimited.
(How do, you see here)
If a plugin supplied appears with this icon  it must necessarily be imported into Unlimited it must necessarily be imported into Unlimited

You can change Blend Modes according to your colors.
In the newest versions of PSP, you don't find the foreground/background gradient (Corel_06_029).
You can use the gradients of the older versions.
The Gradient of CorelX here

Open the mask in PSP and minimize it with the rest of the material.
1. Set your foreground color to #525dad,
and your background color to #a6d7fa.
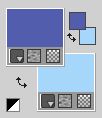
Set your foreground color to a Foreground/Background Gradient, style Linear.
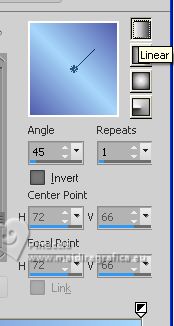
2. Open a new transparent image 900 x 650 pixels.
Flood Fill  the transparent image with your Gradient. the transparent image with your Gradient.
3. Adjust>Blur>Gaussian Blur - Radius 30.

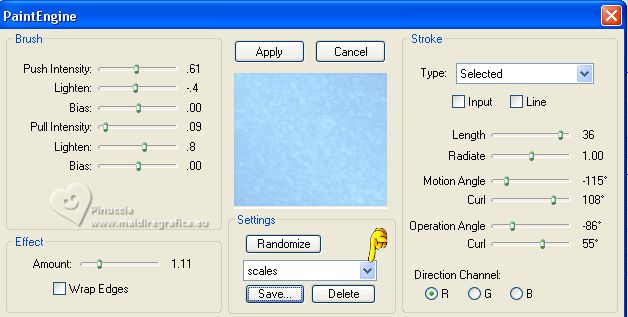
4. Effects>Plugins>Fantastic Machine - Paint Engine
select the preset Scales and ok
5. Open the tube SS_Art_08 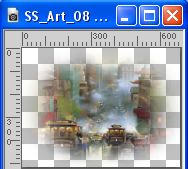
Edit>Copy.
Go back to your work and go to Edit>Paste as new layer.
Change the Blend Mode of this layer to Luminance (Legacy).
Don't move it.
Layers>Merge>Merge Down.
6. Layers>New Raster Layer.
Flood Fill  the layer with your Gradient. the layer with your Gradient.
Layers>New Mask layer>From image
Open the menu under the source window and you'll see all the files open.
Select the mask Claire_masque-meandres
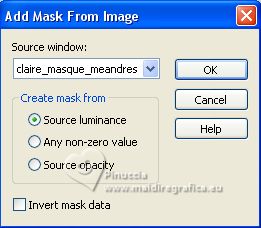
Layers>Merge>Merge Group.
Change the Blend Mode of this layer to Multiply.
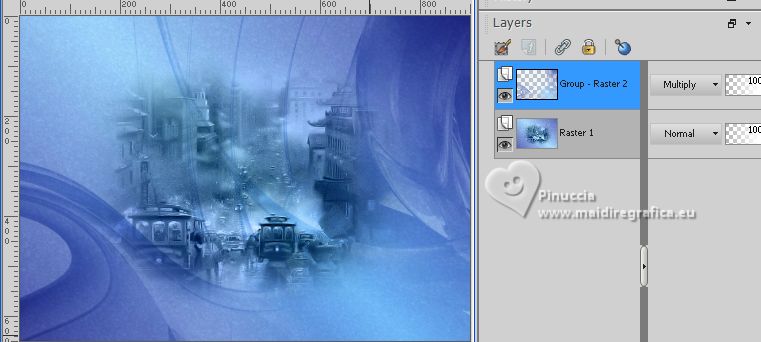
7. Layers>Duplicate.
Effects>Plugins>VM Toolbox - Remove Gray, default settings.
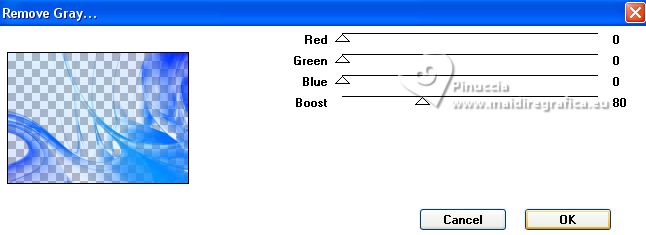
Change the Blend Mode of this layer to Soft Light.
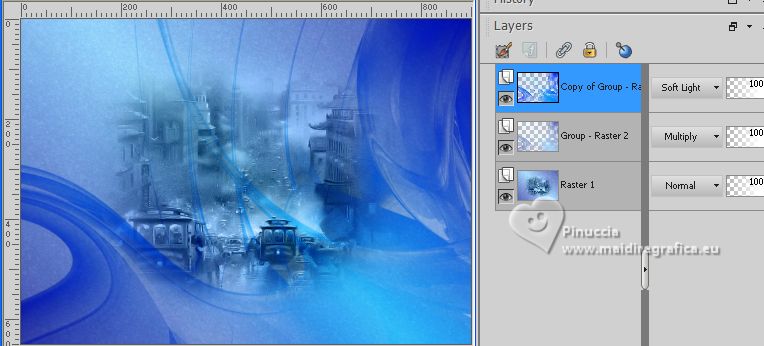
8. Layers>Merge>Merge visible.
9. Open the woman's tube CarolaMists_Face_428 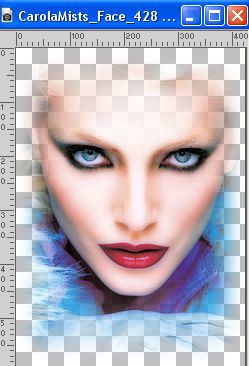
Edit>Copy.
Go back to your work and go to Edit>Paste as new layer.
Move  the tube to the left side. the tube to the left side.
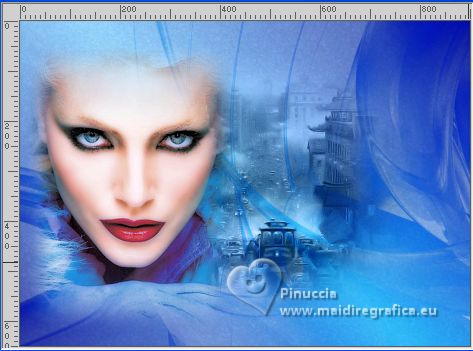
10. Open EF-Estruturaeng_Deco_1 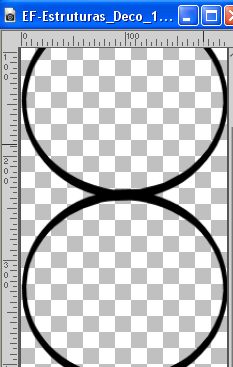
Edit>Copy.
Go back to your work and go to Edit>Paste as new layer.
Move  the tube to the right side. the tube to the right side.
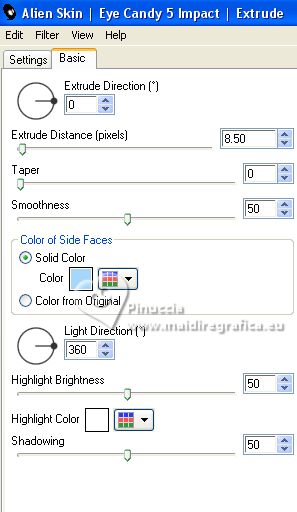
11. Effects>Plugins>Alien Skin Eye Candy 5 Impact - Extrude
Solid Color: background color.
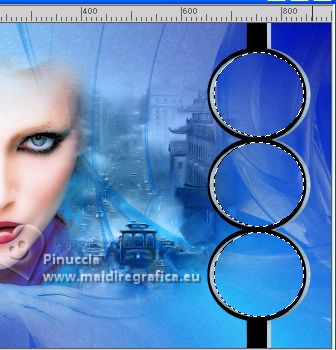
12. Activate your Magic Wand Tool 

Click in the circles to select them
13. Layers>New Raster Layer.
Open again the misted SS_Art and go to Edit>Copy.
Go back to your work and go to Edit>Paste into Selection.
Change the Blend Mode of this layer to Luminance (legacy).
Selections>Select None.
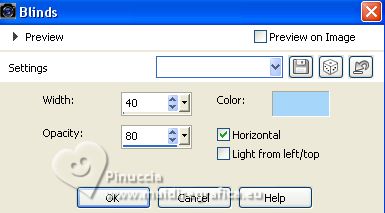
14. Effects>Texture Effects>Blinds - background color.
15. Layers>Merge>Merge visible.
16. Layers>Duplicate.
Effects>Plugins>Screenworks - Pixel Shade
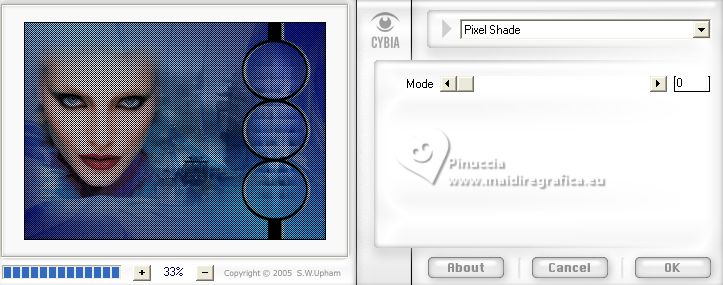
Change the Blend Mode of this layer to Soft Light.
17. Image>Add borders, 1 pixel, symmetric, color black #000000.
Image>Add borders, 10 pixels, symmetric, background color #a6d7fa.
Image>Add borders, 1 pixel, symmetric, color black #000000.
18. Sign your work and save as jpg.
For the tubes of this versions thanks Beatriz
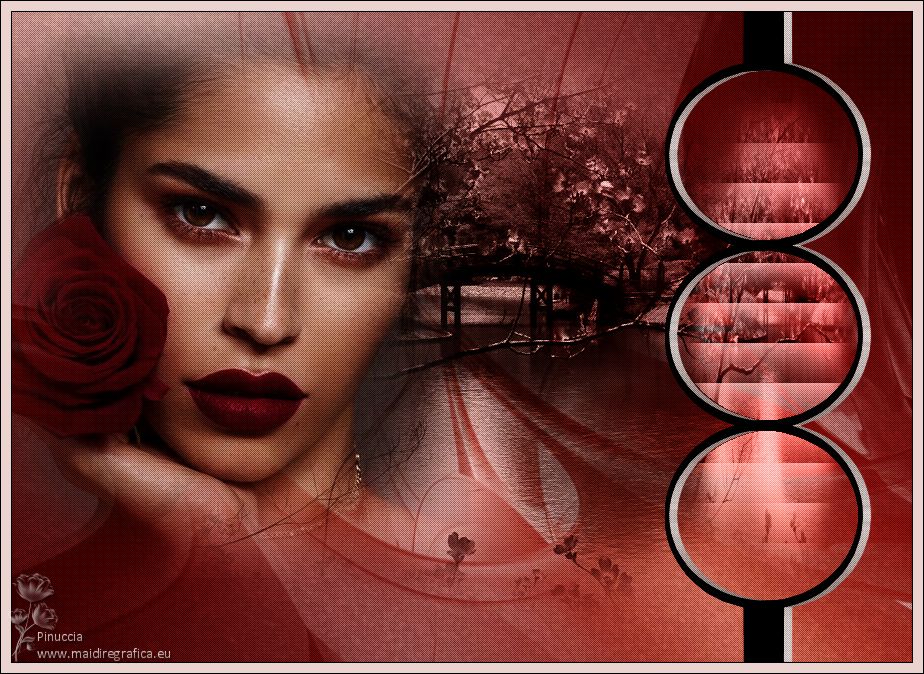

Your versions. Thanks
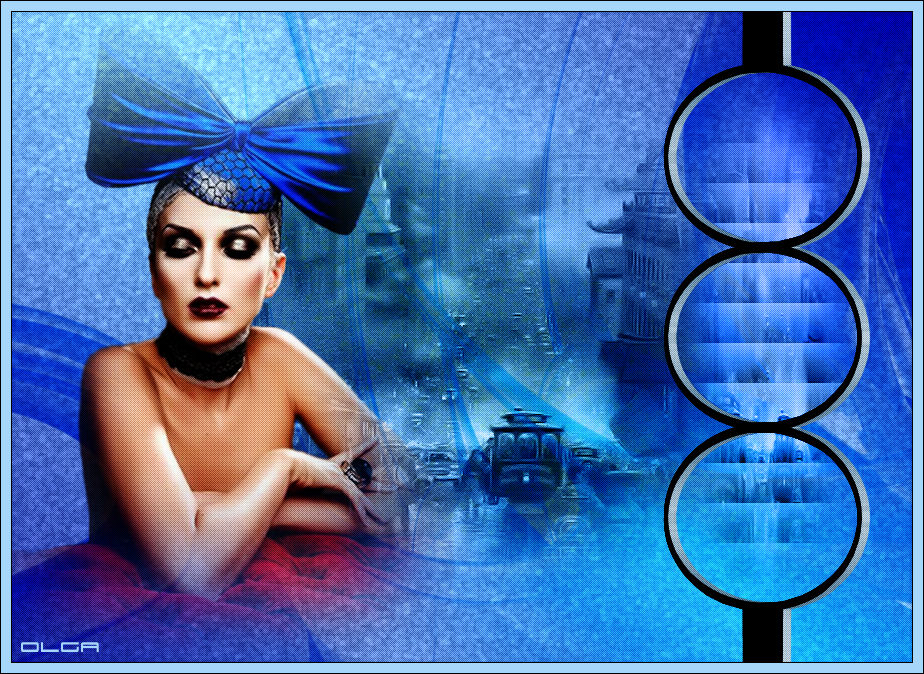
Olga
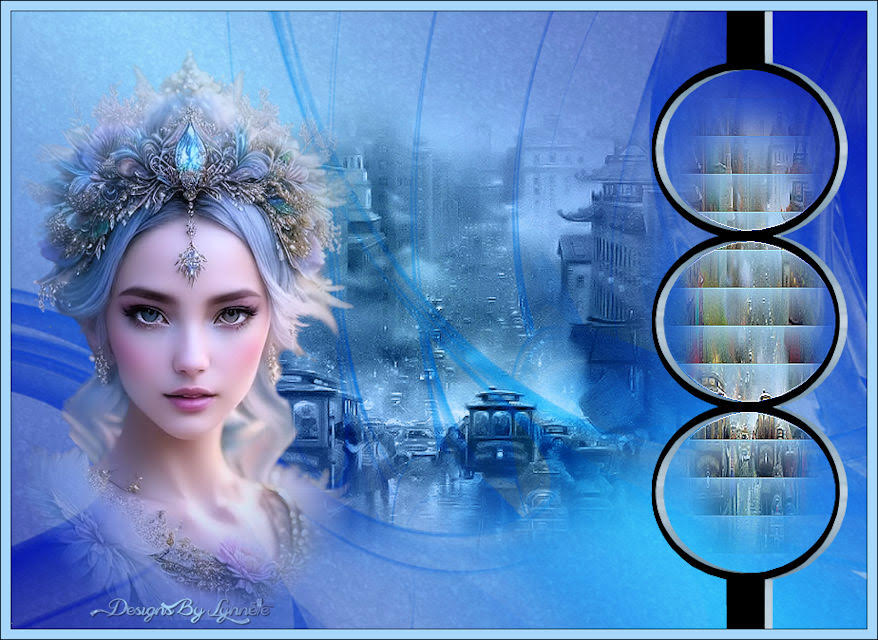
Lynnette
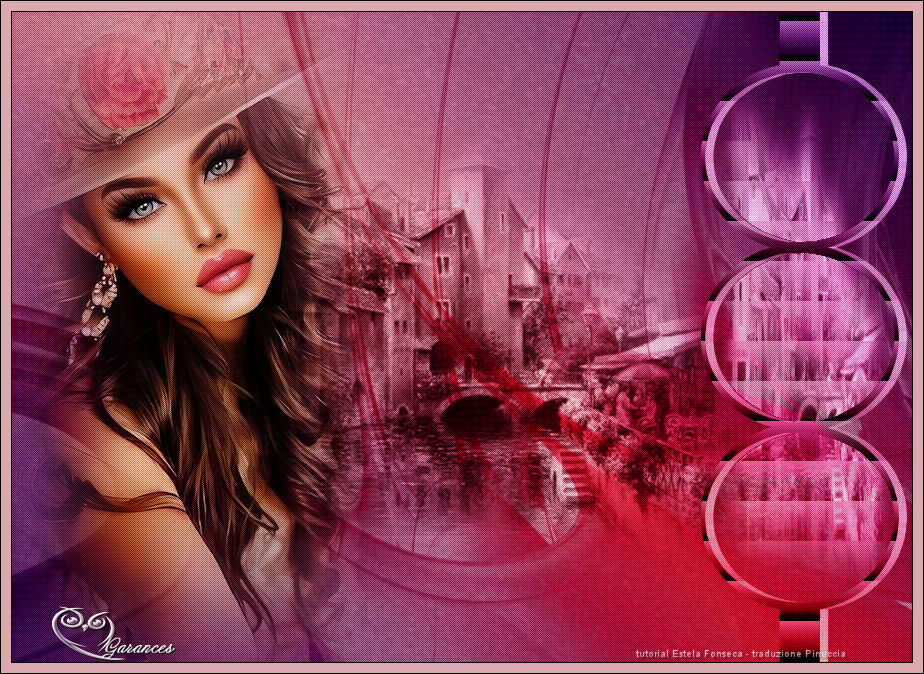
Garances


If you have problems or doubts, or you find a not worked link, or only for tell me that you enjoyed this tutorial, write to me.
22 August 2023

|

