|
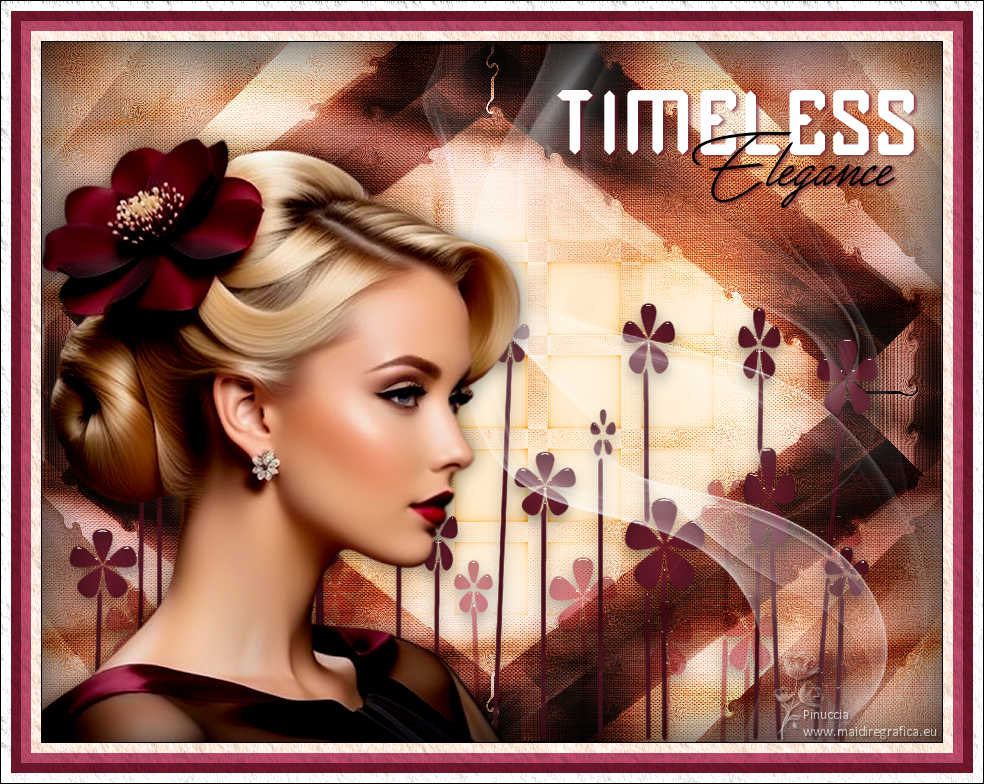
ELEGANCE


Thanks Estela for your invitation to translate your tutorials into english

This tutorial, created with PSP2022, was translated with PspX7, but it can also be made using other versions of PSP.
Since version PSP X4, Image>Mirror was replaced with Image>Flip Horizontal,
and Image>Flip with Image>Flip Vertical, there are some variables.
In versions X5 and X6, the functions have been improved by making available the Objects menu.
In the latest version X7 command Image>Mirror and Image>Flip returned, but with new differences.
See my schedule here
 French Translation here French Translation here
 Your versions here Your versions here

For this tutorial, you will need:

Thanks for the tube Luz Cristina
The rest of the material is by Estela Fonseca
(The links of the tubemakers here).
*It is forbidden to remove the watermark from the supplied tubes, distribute or modify them,
in order to respect the work of the authors

consult, if necessary, my filter section here
Filters Unlimited 2.0 here
Graphics Plus - Cross Shadow, Horizontal Mirror, Vertical Mirror here
Liquid Silk Filtersut - Sine Blob I (to import in unlimited) - in the material
Harry's Botton Tools - Prisma Button here
Simple - Blintz here
AAA Filters - Texture here
Alien Skin Eye Candy 5 Impact - Glass here
Filters Graphics Plus and Simple can be used alone or imported into Filters Unlimited.
(How do, you see here)
If a plugin supplied appears with this icon  it must necessarily be imported into Unlimited it must necessarily be imported into Unlimited

You can change Blend Modes according to your colors.

Copy the Selection in the Selections Folder.
Open the mask in PSP and minimize it with the rest of the material.
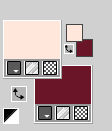
1. Set your foreground color to #fee7db,
and your background color to #6c1729.
2. Open a new transparent image 900 x 700 pixels.
Flood Fill  the transparent image with your foreground color #fee7db the transparent image with your foreground color #fee7db  . .
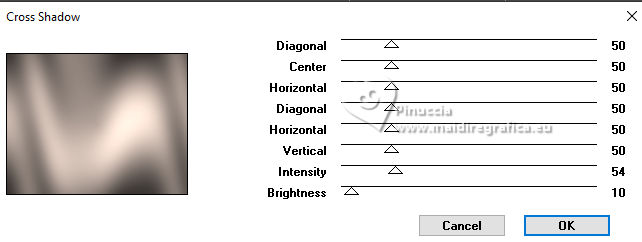
3. Effects>Plugins>Graphics Plus - Cross Shadow.
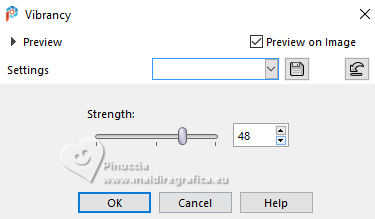
4. Adjust>Hue and Saturation>Vibrancy
5. Effects>Plugins>Filters Unlimited 2.0 - Paper Texture - Canvas Fine, default settings.
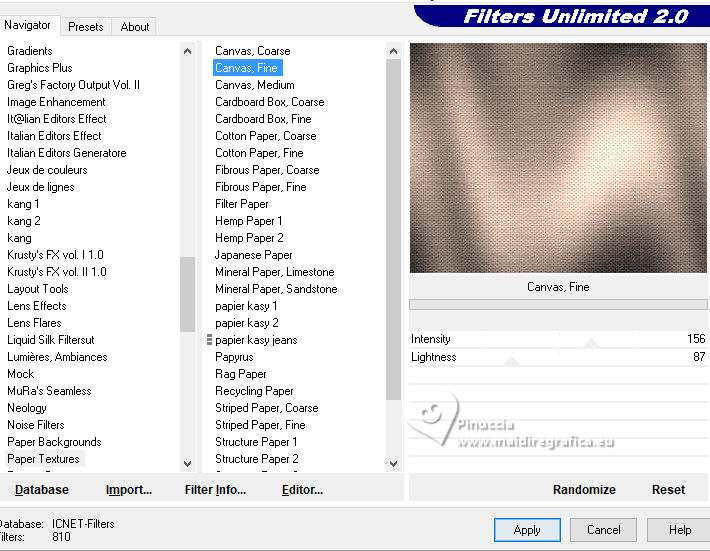
Layers>Duplicate.
6. Effects>Plugins>Filters Unlimited 2.0 - Liquid Silk Filtersut - Sine Blobs I.., default settings
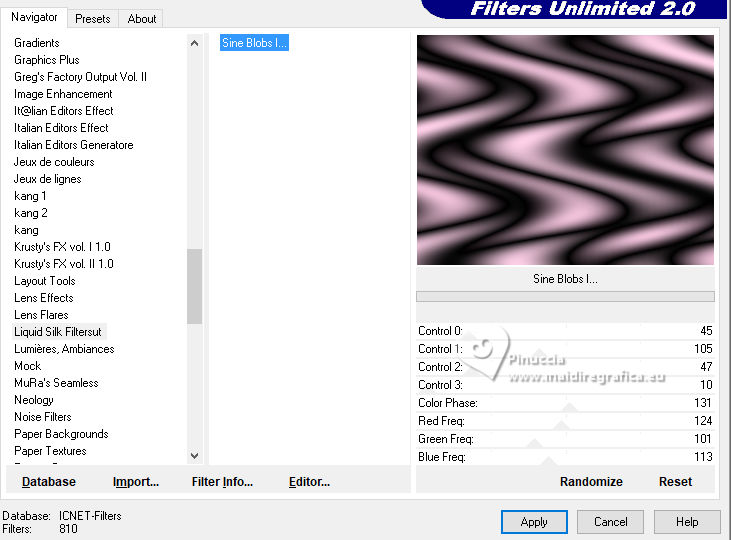
Change the Blend Mode of this layer to Soft Light.
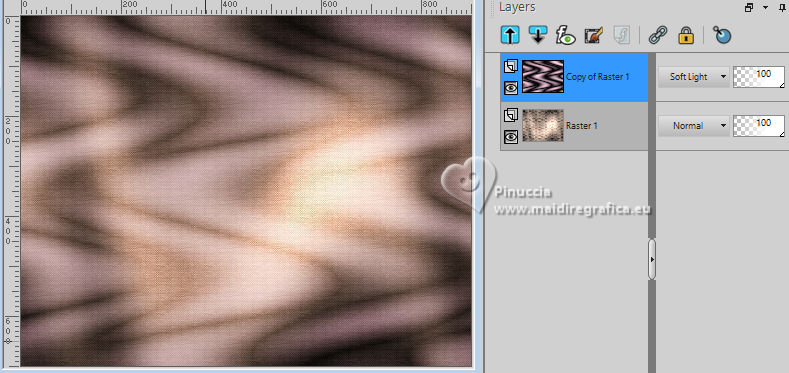
7. Layers>Merge>Merge Down.
Layers>Duplicate.
8. Effects>Plugins>Filters Unlimited 2.0 - Harry's Button Tools - Prisma Button.
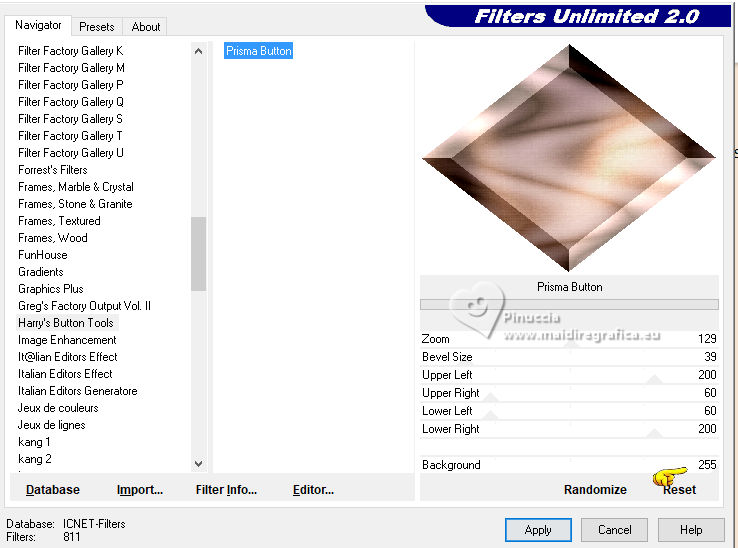
9. Activate your Magic Wand Tool  , tolerance and feather 0, , tolerance and feather 0,
and click in the white zone to select it.
Press CANC on the keyboard 
Selections>Select None.
10. Effects>Image Effects>Seamless Tiling.

11. Effects>Plugins>Simple - Blintz
This effect works without window; result
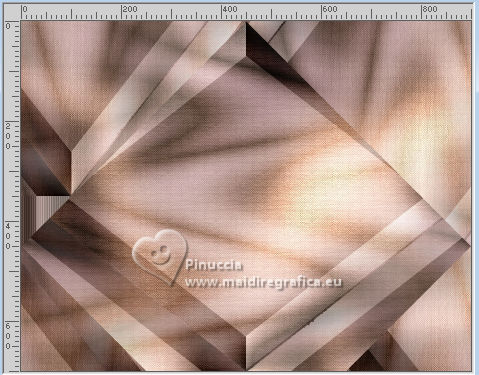
12. Image>Mirror>Mirror Vertical
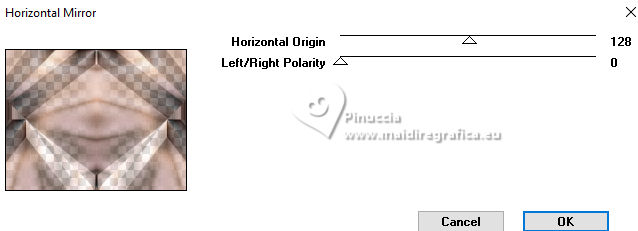
Effects>Plugins>Graphics Plus - Horizontal Mirror, default settings.
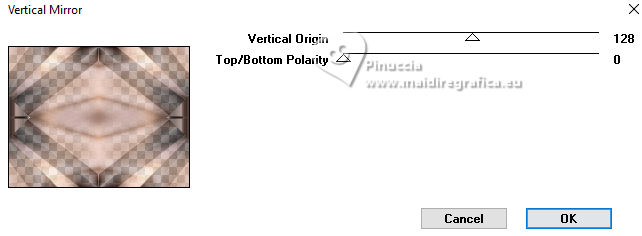
13. Effects>Plugins>Graphics Plus - Vertical Mirror, default settings.
14. Change the Blend Mode of this layer to Hard Light.
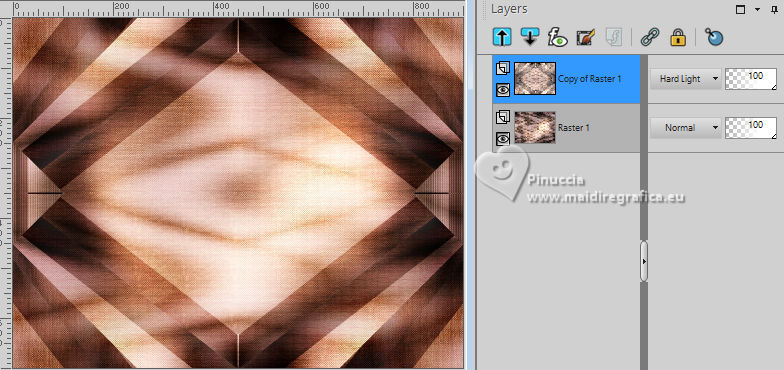
15. Layers>Merge>Merge Down.
Layers>Duplicate.
Effects>Image Effects>Seamless Tiling, same settings.

Change the Blend Mode of this layer to Hard Light and reduce the opacity to 77%.
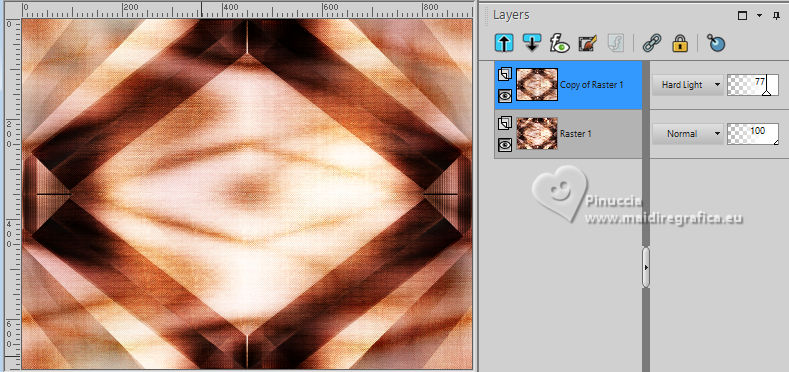
16. Layers>Merge>Merge visible.
17. Effects>Distortion Effects>Curlicues
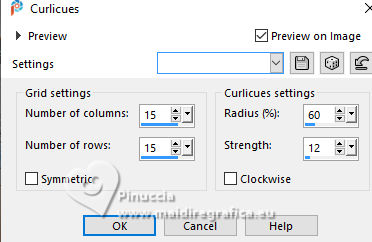
18. Layers>New Raster Layer.
Flood Fill  the layer with your background color #6c1729 the layer with your background color #6c1729  . .
Layers>New Mask layer>From image
Open the menu under the source window and you'll see all the files open.
Select the mask EF_Mask_238
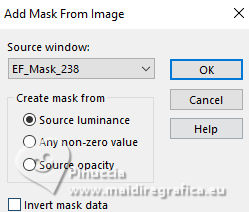
Layers>Merge>Merge Group.
19. Effects>Image Effects>Offset.
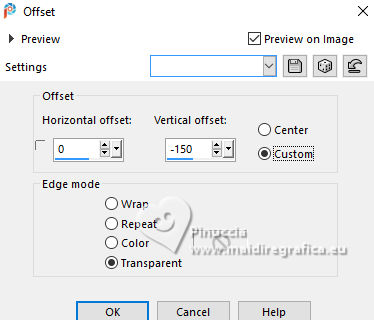
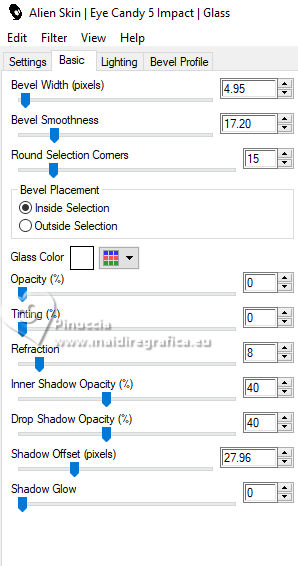
20. Effects>Plugins>Alien Skin Eye Candy 5 Impact - Glass.
21. Layers>Duplicate.
Image>Mirror>Mirror horizontal.
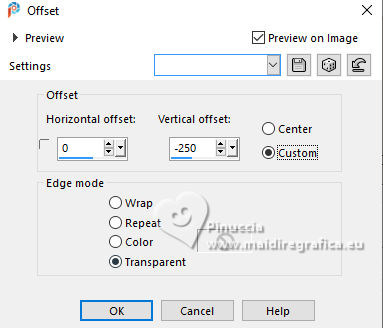
22. Effects>Image Effects>Offset.
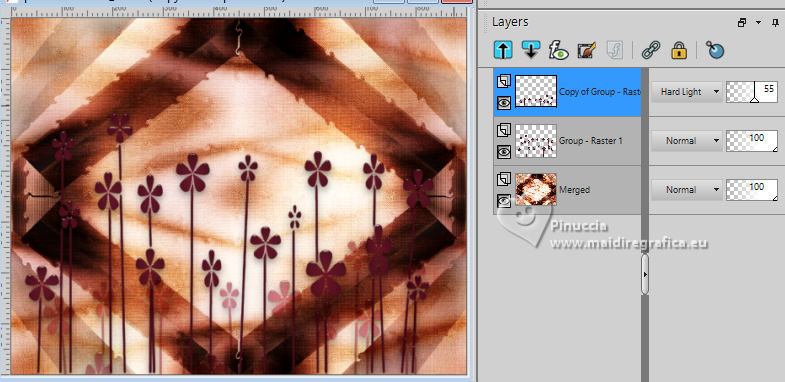
23. Change the Blend Mode of this layer to Hard Light and reduce the opacity to 55%.
24. Activate your bottom layer, Merged.
Open the tube EF-Elegance_Deco_1 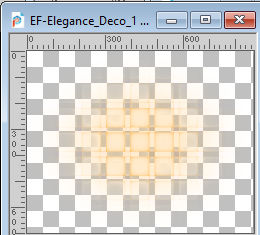
Edit>Copy.
Go back to your work and go to Edit>Paste as new layer.
25. Selections>Load/Save Selection>Load Selection from Disk.
Look for and load the selection Elegance_1
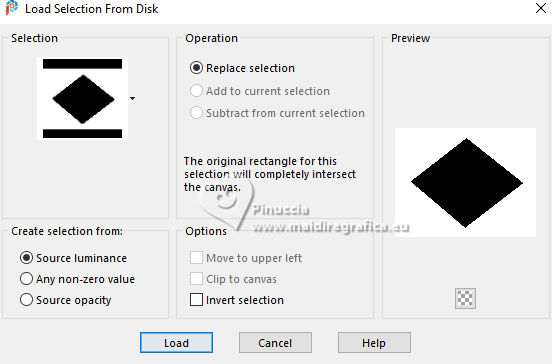
Press CANC on the keyboard 
Selections>Select None.
26. Open EF-Elegance_Deco 2 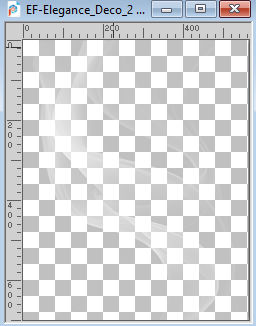
Edit>Copy.
Go back to your work and go to Edit>Paste as new layer.
Layers>Arrange>Bring to Top.
Objects>Align>Right.
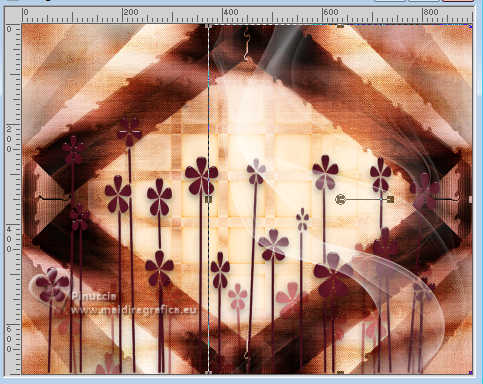
26. Open the tube 8521-LuzCristina 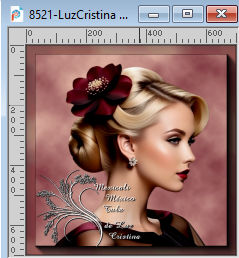
Edit>Copy.
Go back to your work and go to Edit>Paste as new layer.
K key to activate your Pick Tool 
and set Position X: -40,00 and Position Y: 95,00.

M key to deselect the Tool.
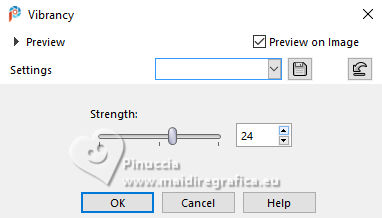
27. Adjust>Hue and Saturation>Vibrancy.
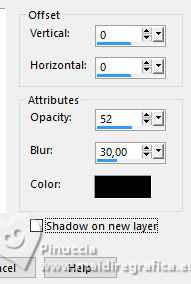
28. Effects>3D Effects>Drop Shadow, color #000000.
29. Image>Add borders, 1 pixel, symmetric, color #000000.
Selections>Select All.
Image>Add borders, 10 pixels, symmetric, foreground color 
Image>Add borders, 10 pixels, symmetric, color 2 #b24763 
Image>Add borders, 10 pixels, symmetric, background color  . .
Image>Add borders, 10 pixels, symmetric, color white #ffffff.
30. Selections>Invert.
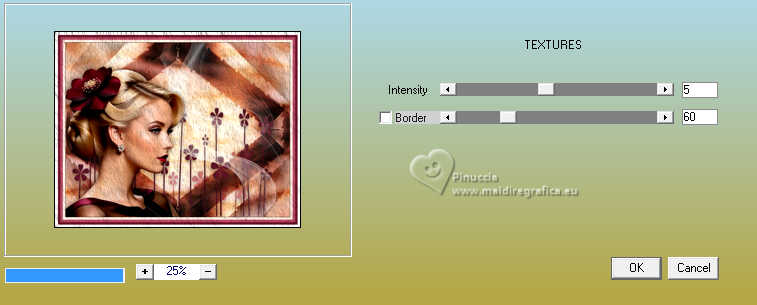
Effects>Plugins>AAA Filters - Textures.
Selections>Select None.
31. Open EF-Elegance_Deco_3 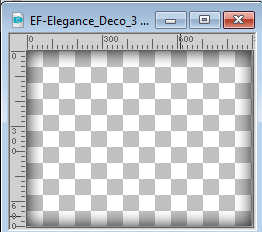
Edit>Copy.
Go back to your work and go to Edit>Paste as new layer.
Don't move it.
32. Open EF-Elegance_Texto 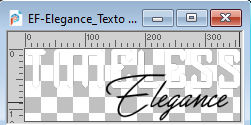
Edit>Copy.
Go back to your work and go to Edit>Paste as new layer.
Move  the tube at the upper right. the tube at the upper right.
33. Effects>3D Effects>Drop Shadow, background color.
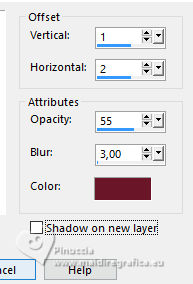
Edit>Repeat Drop Shadow.
34. Sign your work.
Image>Add borders, 1 pixel, symmetric, color #000000.
Save as jpg.
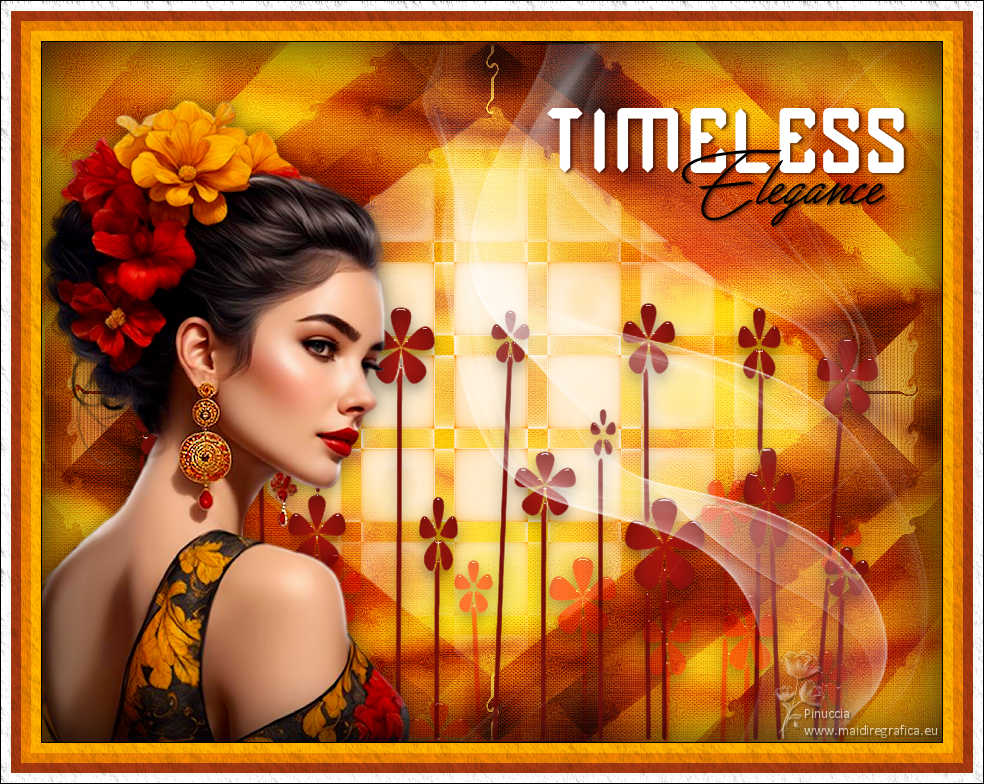
For the tubes of these versions thanks
Kamil
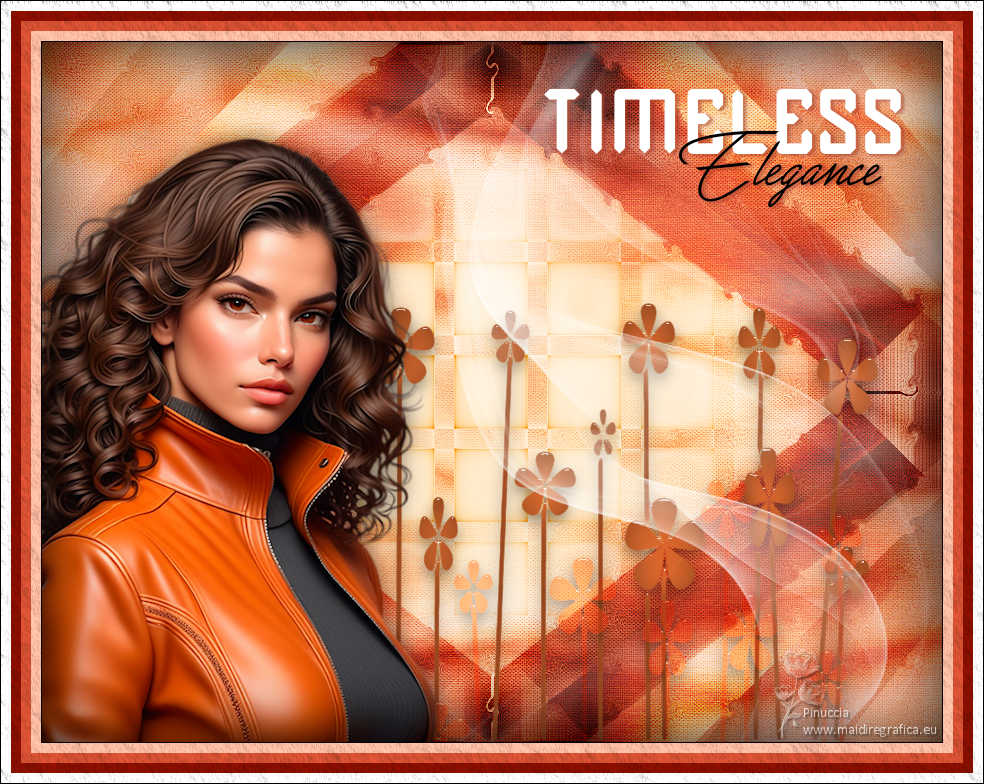
Luz Cristina


If you have problems or doubts, or you find a not worked link,
or only for tell me that you enjoyed this tutorial, write to me.
24 April 2024

|

