|
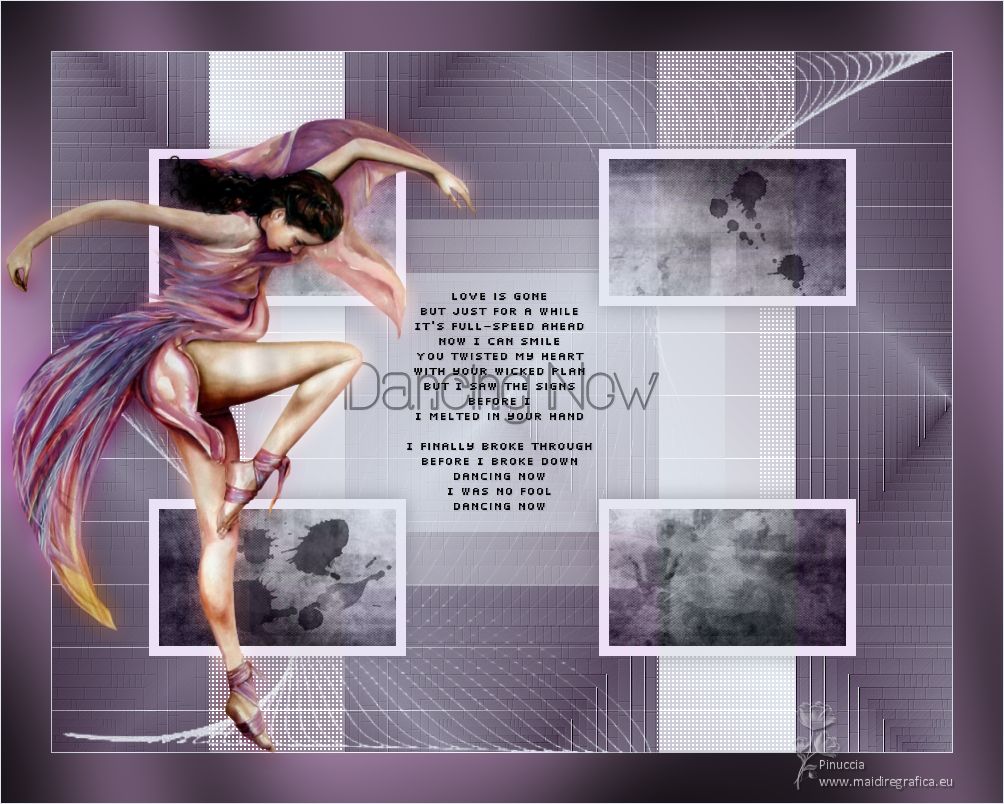
DANCING NOW


Thanks Estela for your invitation to translate your tutorials into english

This tutorial was translated with PspX17, but it can also be made using other versions of PSP.
Since version PSP X4, Image>Mirror was replaced with Image>Flip Horizontal,
and Image>Flip with Image>Flip Vertical, there are some variables.
In versions X5 and X6, the functions have been improved by making available the Objects menu.
In the latest version X7 command Image>Mirror and Image>Flip returned, but with new differences.
See my schedule here
 French Translation here French Translation here
 Your versions here Your versions here
For this tutorial, you will need:

For the tube thanks Nicole (Le Monde de Bambou).
The rest of the material is by Estela Fonseca.
(The links of the tubemakers here).
*It is forbidden to remove the watermark from the supplied tubes, distribute or modify them,
in order to respect the work of the authors

consult, if necessary, my filter section here
Filters Unlimited 2.0 here
Richard Rosenman - Scanlines here
Unplugged Tools - Interlace here
AFS IMPORT - sqborder2 here
Simple - Zoom out and flip here
VM Toolbox - Instant Tile here
Toadies - What are you here
FM Tile Tools - Blend Emboss here
Filters Simple and Pixelate can be used alone or imported into Filters Unlimited.
(How do, you see here)
If a plugin supplied appears with this icon  it must necessarily be imported into Unlimited it must necessarily be imported into Unlimited

You can change Blend Modes according to your colors.
In the newest versions of PSP, you don't find the foreground/background gradient (Corel_06_029).
You can use the gradients of the older versions.
The Gradient of CorelX here

Copy the Selection in the Selections Folder.
Open the mask in PSP and minimize it with the rest of the material.
1. Choose 2 colors from your tube: for the example:
set your foreground color to #6e5770
and your background color to #e2e2ef
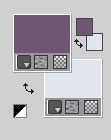
Set your foreground color to a Foreground/Background Gradient, style Linear.
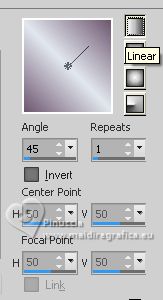
2. Open a new transparent image 900 x 700 pixels.
Flood Fill  the transparent image with your Gradient. the transparent image with your Gradient.
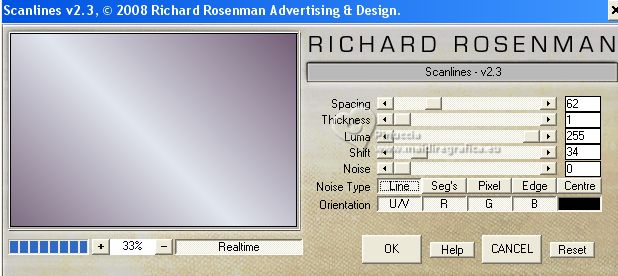
3. Effects>Plugins>Richard Rosenman - Scanlines.
4. Layers>New Raster Layer.
Flood Fill  the layer with your Gradient. the layer with your Gradient.
Image>Resize, to 90%, resize all layers not checked.
5. Image>Free Rotate - 90 degrees to right.

Effects>Edge Effects>Enhance More.
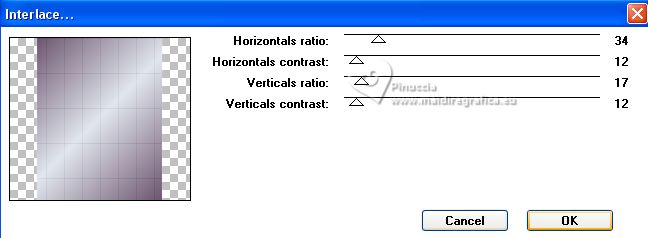
6. Effects>Plugins>Unplugged Tools - Interlace.
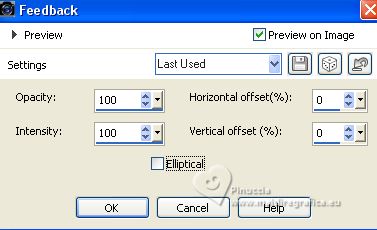
7. Effects>Reflection Effects>Feedback.
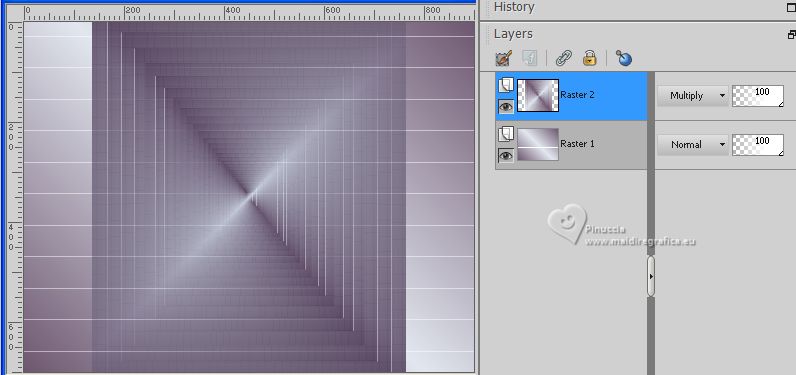
8. Change the Blend Mode of this layer to Multiply.
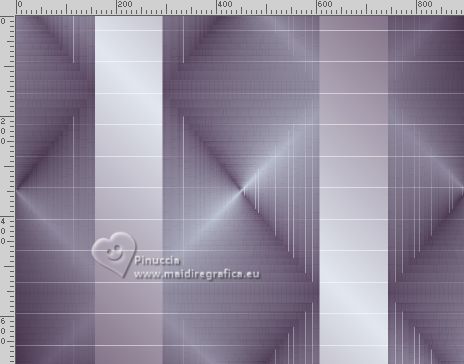
9. Effects>Plugins>Simple - Zoom out and flip
this effect works without window; result
10. Effects>Plugins>FM Tile Tools - Blend Emboss, default settings.

11. Layers>New Raster Layer.
Flood Fill  with your background color, or with color white. with your background color, or with color white.
Layers>New Mask layer>From image
Open the menu under the source window and you'll see all the files open.
Select the mask Mask_DancingNow_EF
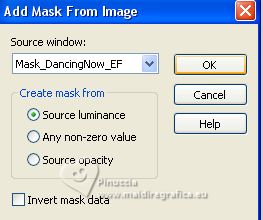
Layers>Duplicate - 3 times
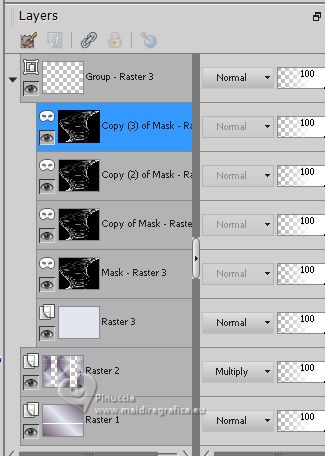
Layers>Merge>Merge Group.
Layers>Merge>Merge visible.
12. Selections>Load/Save Selection>Load Selection from Disk.
Look for and load the selection Dancing_Now
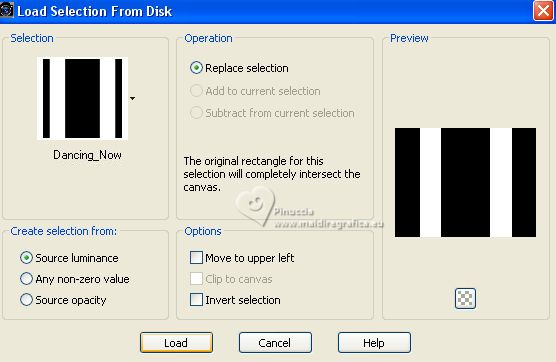
Selections>Promote Selection to Layer.
Selections>Select None.
13. Effects>Plugins>AFS IMPORT - sqborder2, default settings.
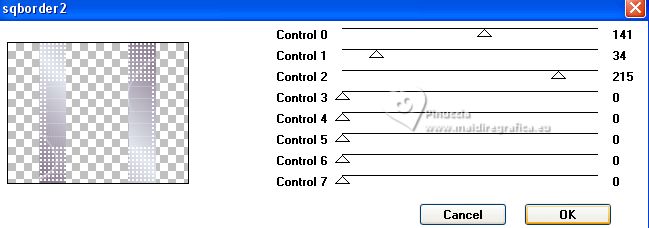
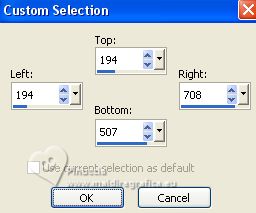
14. Selection Tool 
(no matter the type of selection, because with the custom selection your always get a rectangle)
clic on the Custom Selection 
and set the following settings.
15. Layers>New Raster Layer.
Flood Fill  with your background color, or with color white. with your background color, or with color white.
Selections>Select None.
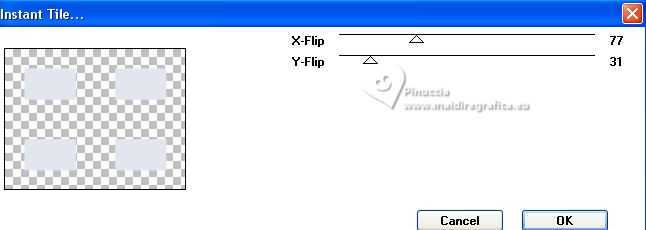
16. Layers>Duplicate.
Effects>Plugins>Filters Unlimited 2.0 - VM Toolbox - Instant Tile, default settings.
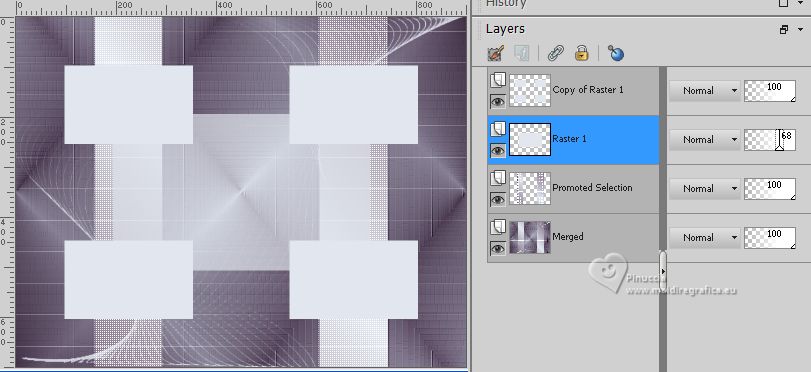
17. Activate the layer Raster 1.
Reduce the opacity of this layer to 68%.
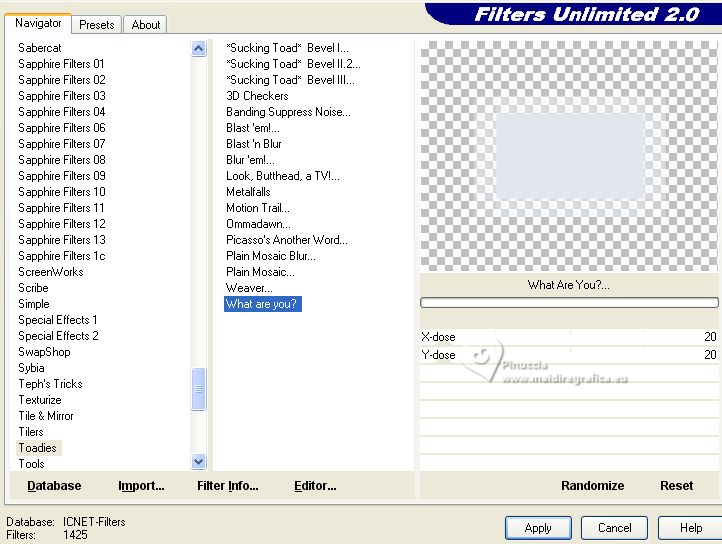
18. For the right result of this effects, set your background color to white.
Effects>Plugins>Filters Unlimited 2.0 - Toadies - What are you, default settings.
19. Activate your top layer.
Activate your Magic Wand Tool  , mode Add, tolerance and feather 0, , mode Add, tolerance and feather 0,

Click on the 4 rectangles to select them
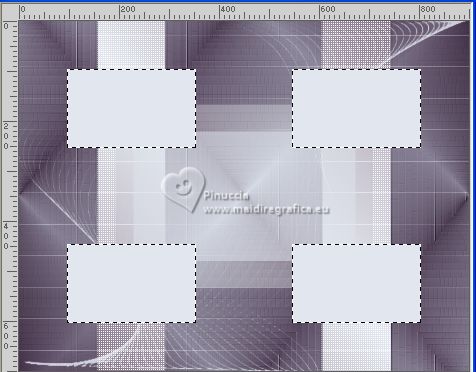
Selections>Modify>Contract - 10 pixels.
20. Open the texture jigsaw_puzzle_texture02 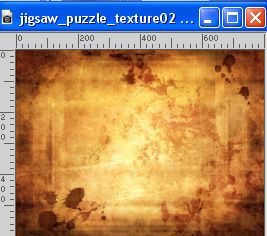
Edit>Copy.
Go back to your work and go to Edit>Paste into Selection.
Change the Blend Mode of this layer to Luminance (L) or Luminance.
Selections>Select None.
21. Effects>3D Effects>Drop Shadow, foreground color.
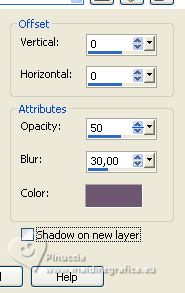
22. Image>Add borders, 1 pixel, symmetric, light background color.
Image>Add borders, 50 pixels, symmetric, dark foreground color.
23. Activate your Magic Wand Tool 
and click on the last border to select it.
Effects>Plugins>Graphics Plus - Cross Shadow, default settings.

Selections>Select None.
24. Open texto 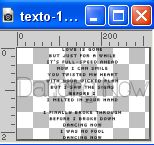
Edit>Copy.
Go back to your work and go to Edit>Paste as new layer.
Move  the texte to your liking; the texte to your liking;
for me, I left it in the center of the image.
Change the Blend Mode of this layer to Multiply.
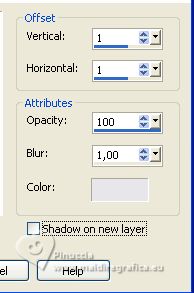
25. Effects>3D Effects>Drop Shadow, color #e6e6eb.
26. Open the tube nicole-femme33-2012 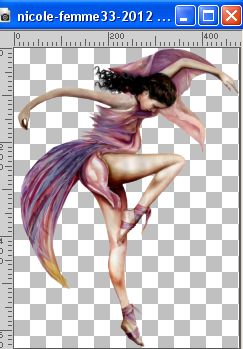
Edit>Copy.
Go back to your work and go to Edit>Paste as new layer.
Move  the tube to the left side. the tube to the left side.
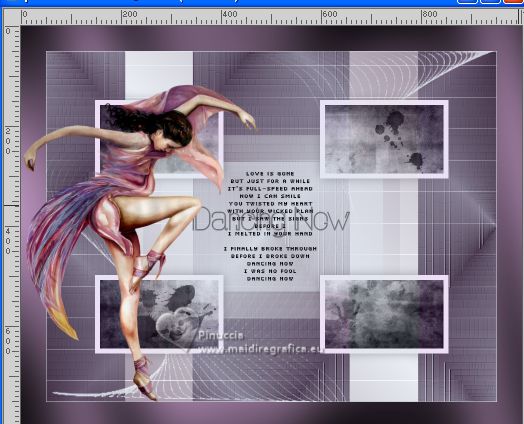
Layers>Duplicate.
Adjust>Blur>Gaussian Blur - radius 10.

Layers>Arrange>Move Down.
Change the Blend Mode of this layer to Overlay.
27. Image>Add borders, 1 pixel, symmetric, light foreground color #e2e7ef.
28. Sign your work and save as jpg.
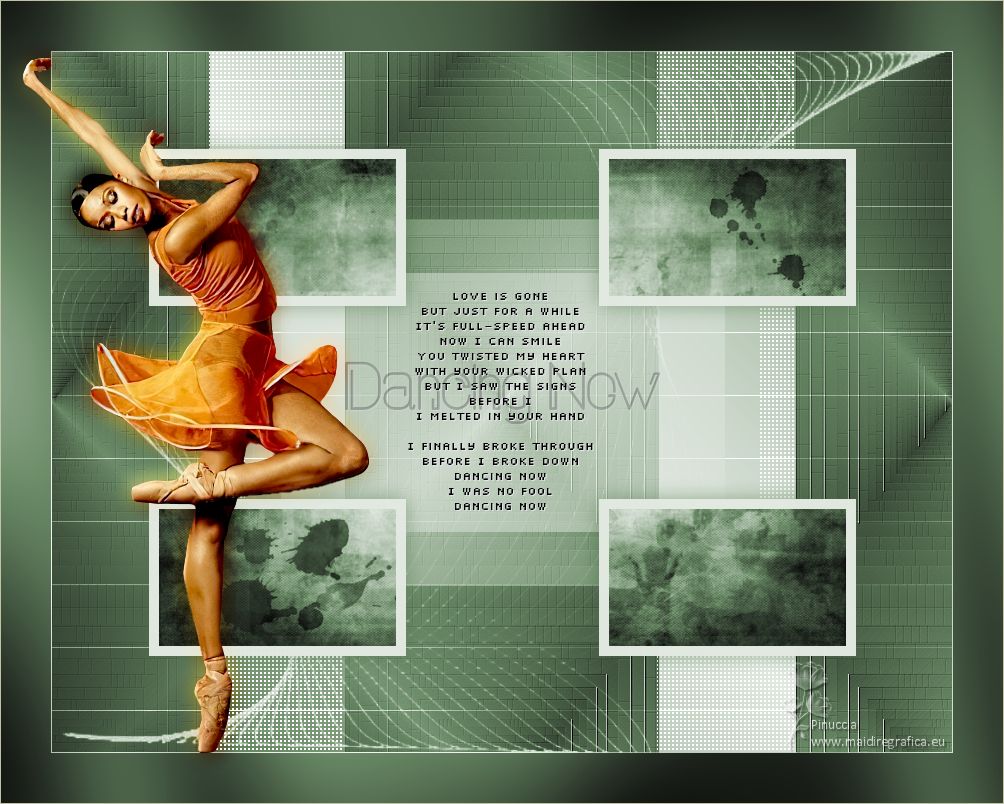
For the tube of this version thanks Nena Silva


If you have problems or doubts, or you find a not worked link, or only for tell me that you enjoyed this tutorial, write to me.
25 July 2023

|

