|
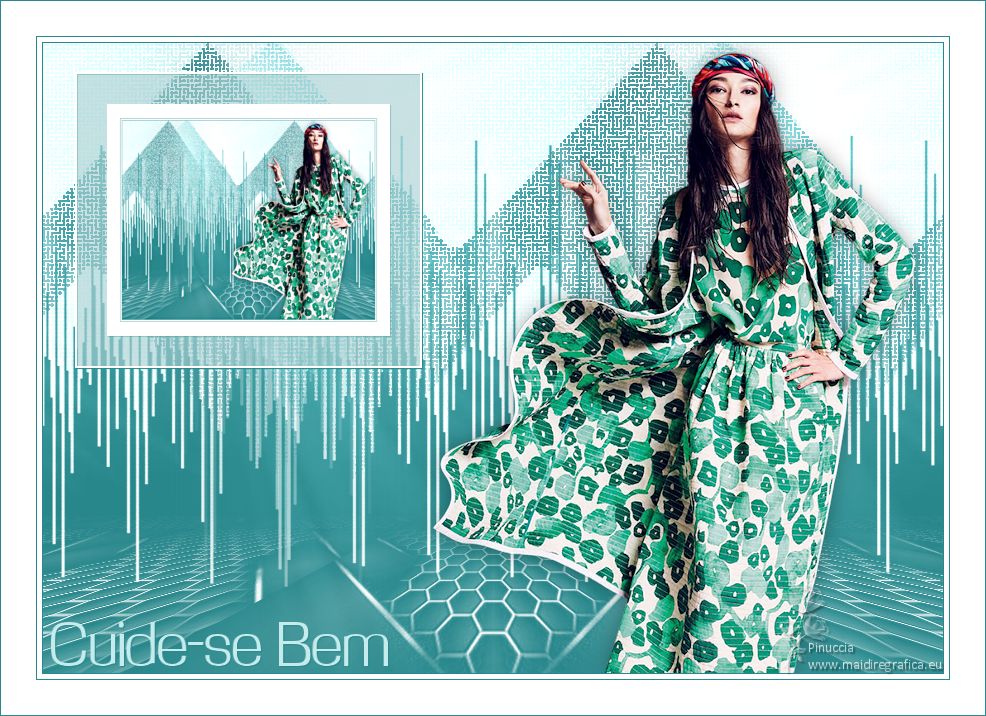
CUIDE-SE-BEM
 TAKE CARE TAKE CARE

Thanks Estela for your invitation to translate your tutorials into english

This tutorial was created with PSP2022 and translated with Psp17, but it can also be made using other versions of PSP.
Since version PSP X4, Image>Mirror was replaced with Image>Flip Horizontal,
and Image>Flip with Image>Flip Vertical, there are some variables.
In versions X5 and X6, the functions have been improved by making available the Objects menu.
In the latest version X7 command Image>Mirror and Image>Flip returned, but with new differences.
See my schedule here
 French Translation here French Translation here
 Your versions here Your versions here
For this tutorial, you will need:

For the tube thanks Robert Maver.
Mask sg-bw-zigzag.
The rest of the material is by Estela Fonseca.
(The links of the tubemakers here).
*It is forbidden to remove the watermark from the supplied tubes, distribute or modify them,
in order to respect the work of the authors

consult, if necessary, my filter section here
Filters Unlimited 2.0 here
VM 1 - Mighty Maze (to import in Unlimited) here
Mura's Meister - Perspective Tiling here

You can change Blend Modes according to your colors.

Copy the mask sg-bw-zigzag in the Masks Folder.
Open the second mask in PSP and minimize it with the rest of the material.
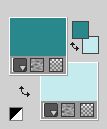
1. Set your foreground color to #29888c,
and your background color to #c5ebed.
2. Open a new transparent image 900 x 630 pixels.
Flood Fill  the transparent image with your foreground color. the transparent image with your foreground color.
3. Layers>New Raster Layer.
Remplir  the layer with your background color. the layer with your background color.
4. Layers>New Mask layer>From image
Open the menu under the source window and you'll see all the files open.
Select the mask EF-Mask_Cuide-se_Bem.
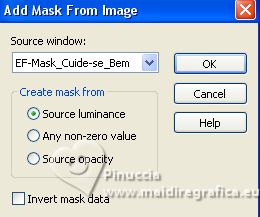
Layers>Merge>Merge Group.
Layers>Merge>Merge Down.
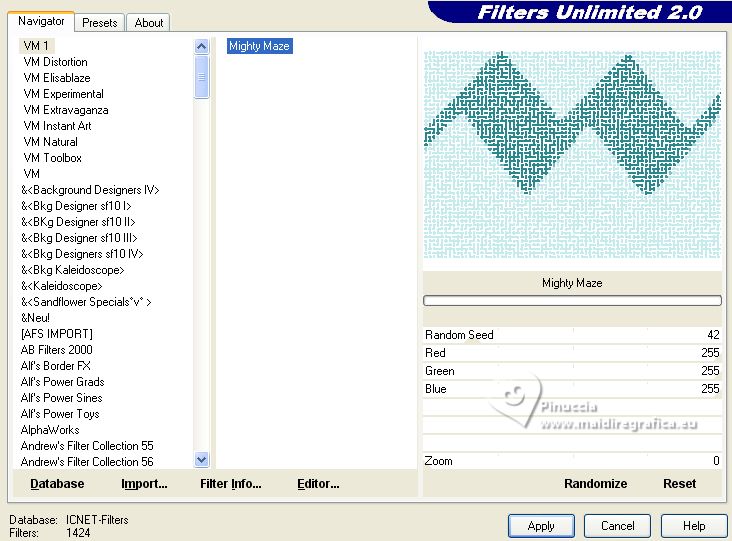
5. Effects>Plugins>Filters Unlimited 2.0 - VM1 - Mighty Maze, default settings
6. Layers>New Raster Layer.
Flood Fill  the layer with your foreground color. the layer with your foreground color.
7. Layers>Load/Save Mask>Load Mask from Disk.
Look for and load the mask sg-bw-zigzag.
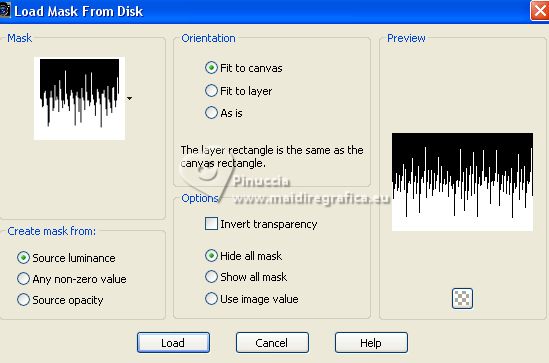
Layers>Merge>Merge Group.
8. Effects>3D Effects>Drop Shadow, color #ffffff.
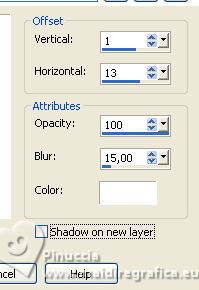
Layers>Merge>Merge Down.
9. Effects>Plugins>Filters Unlimited 2.0 - Lens Flare - Flare06, default settings.
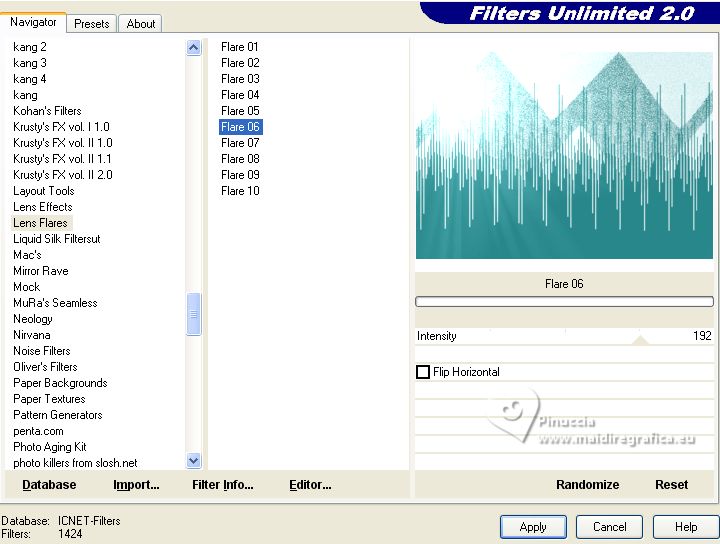
10. Effects>Image Effects>Seamless Tiling.

11. Open deco-1 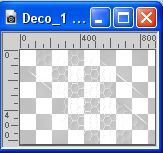
Edit>Copy.
Go back to your work and go to Edit>Paste as new layer.
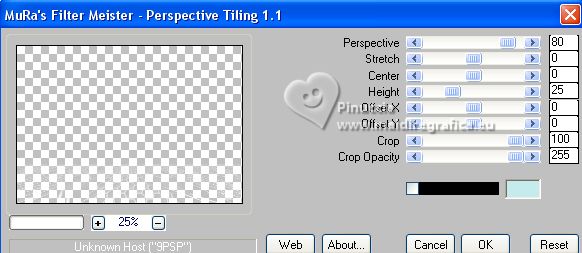
12. Effects>Plugins>Mura's Meister - Perspective Tiling.
13. Effects>Reflection Effects>Rotating Mirror.

14. Activate your Magic Wand Tool  , feather 75 , feather 75

Click in the transparent part to select it.
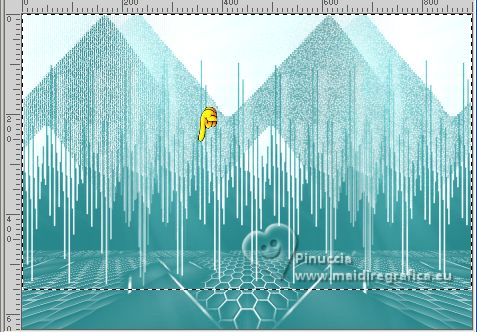
Press 3/4 times CANC on the keyboard 
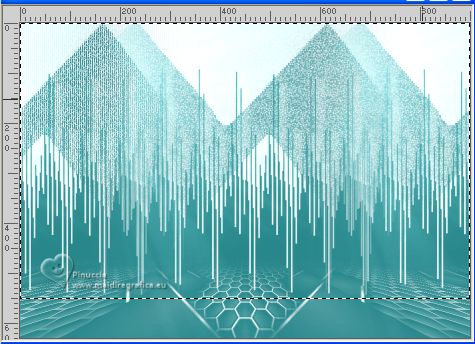
Selections>Select None.
14. Open the tube Mulher161_by_RobertaMaver 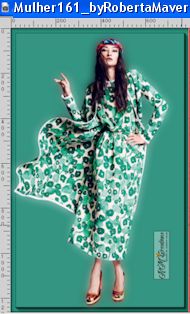
Erase the watermark and Edit>Copy.
Go back to your work and go to Edit>Paste as new layer.
Image>Resize, to 70%, resize all layers not checked.
Move  the tube to the right side. the tube to the right side.
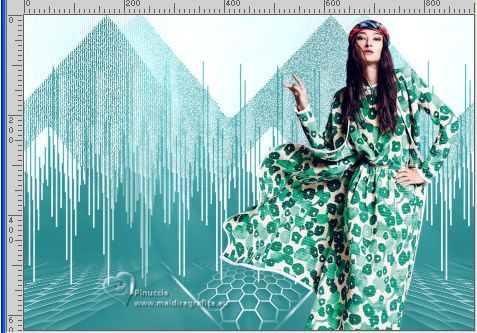
To erase the part of the tube outside the border:
activate your bottom layer
Selections>Select All.
Image>Crop to selection.
Go back on the tube's layer.
Adjust>Sharpness>Sharpen.
15. Effects>3D Effects>Drop Shadow, color #000000.
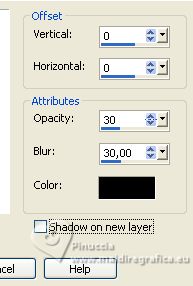
16. Image>Add borders, 1 pixel, symmetric, foreground color.
Image>Add borders, 5 pixels, symmetric, color white.
Image>Add borders, 1 pixel, symmetric, foreground color.
Image>Add borders, 35 pixels, symmetric, color white.
17. Open EF_Cuide_se_Bem_quadro 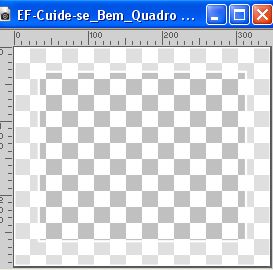
Edit>Copy.
Go back to your work and go to Edit>Paste as new layer.
K key to activate your Pick Tool 
and set Position X: 74,00 and Position Y: 71,00.

M key to deselect the Tool.
18. Activate your bottom layer.
Edit>Copy
19. Activate your Top Layer, Raster 1.
Activate your Magic Wand Tool  , tolerance and feather 0, , tolerance and feather 0,
and click in the frame to select it.
Edit>Paste into Selection.
20. Adjust>Sharpness>Unsharp Mask.
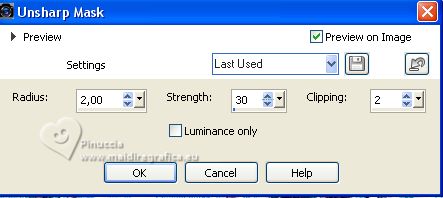
Selections>Select None.
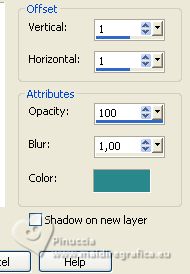
21. Effects>3D Effects>Drop Shadow, foreground color.
22. Open EF-Cuide-se-Bem_Texto 
Edit>Copy.
Go back to your work and go to Edit>Paste as new layer.
Move  the text at the bottom left, or to your liking. the text at the bottom left, or to your liking.
Effects>3D Effects>Drop Shadow, same settings.

23. Image>Add borders, 1 pixel, symmetric, foreground color.
24. Sign your work and save as jpg.
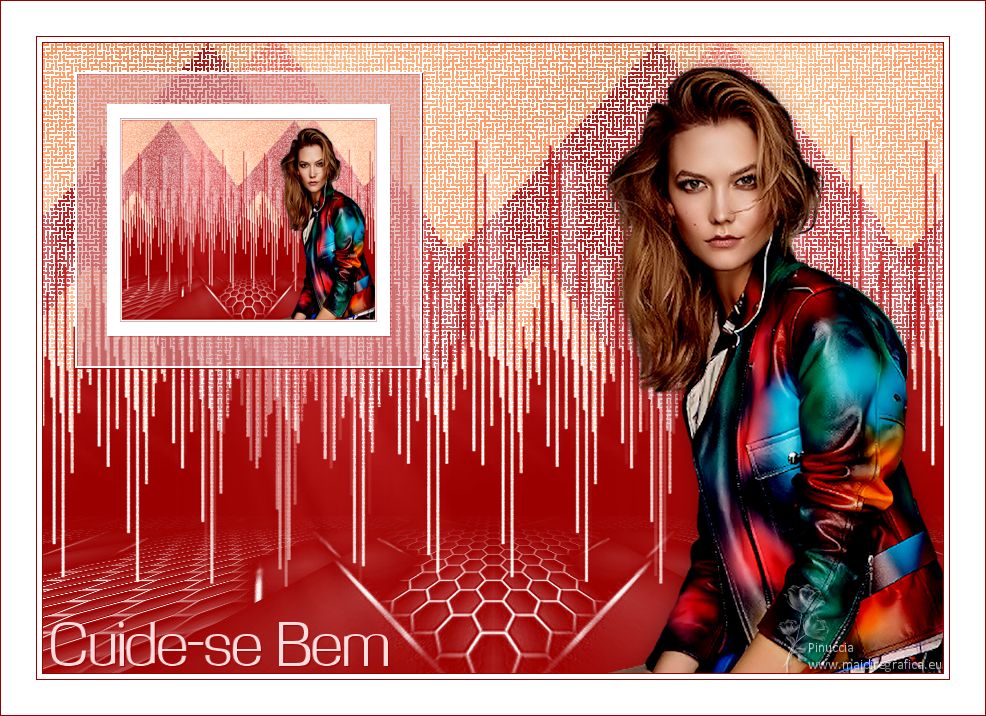
For the tube of this version thanks Luz Cristina


If you have problems or doubts, or you find a not worked link, or only for tell me that you enjoyed this tutorial, write to me.
22 August 2023

|
 TAKE CARE

 TAKE CARE