|
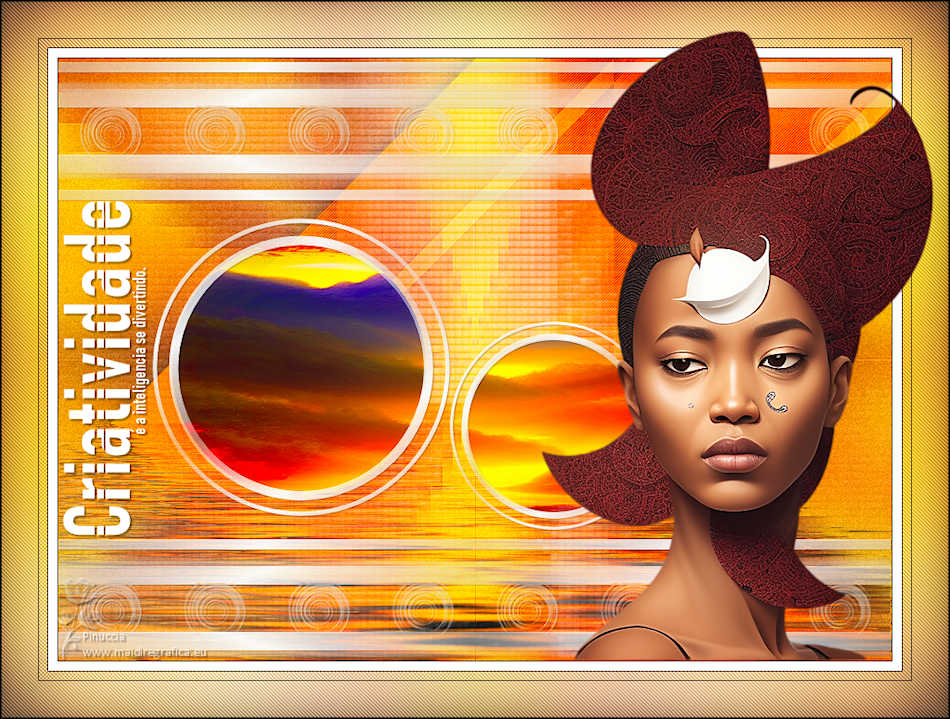
CRIATIVIDADE


Thanks Estela for your invitation to translate your tutorials into english

This tutorial, created with PSP2022, was translated with PspX7, but it can also be made using other versions of PSP.
Since version PSP X4, Image>Mirror was replaced with Image>Flip Horizontal,
and Image>Flip with Image>Flip Vertical, there are some variables.
In versions X5 and X6, the functions have been improved by making available the Objects menu.
In the latest version X7 command Image>Mirror and Image>Flip returned, but with new differences.
See my schedule here
 French Translation here French Translation here
 Your versions here Your versions here

For this tutorial, you will need:

Thanks for the tubes Mentali and for the masks Narah.
(The links of the tubemakers here).
*It is forbidden to remove the watermark from the supplied tubes, distribute or modify them,
in order to respect the work of the authors

consult, if necessary, my filter section here
Filters Unlimited 2.0 here
&<Bkg Designers sf10III> - (à importer dans Unlimited) here
Photoshop II - Bethanie here
Mehdi - Sorting Tiles here
VanDerLee - Unplugged-X here
Graphics Plus - Vertical Mirror here
Carolaine and Sensibility - CS-HLines here
Flaming Pear - Flood here
AAA Frames - Foto Frame here
Simple - Top Left Mirror here
FM Tile Tools - Saturation Emboss here
Penta.com - Jeans here
Filters Graphics Plus, Simple and Penta.com can be used alone or imported into Filters Unlimited.
(How do, you see here)
If a plugin supplied appears with this icon  it must necessarily be imported into Unlimited it must necessarily be imported into Unlimited

You can change Blend Modes according to your colors.
In the newest versions of PSP, you don't find the foreground/background gradient (Corel_06_029).
You can use the gradients of the older versions.
The Gradient of CorelX here

Open the masks in PSP and minimize them with the rest of the material.
1. Set your foreground color to #f2e8cf,
and your background color to #ffffff.
Open EF-Alpha_Criatividade
Window>Duplicate or, on the keyboard, shift+D to make a copy.

Close the original.
The copy, that will be the basis of your work, is not empty,
but contains a selection saved to alpha channel.
Flood Fill  the transparent image with your foreground color. the transparent image with your foreground color.
2. Selections>Select All.
Open the tube mentali-misted2877 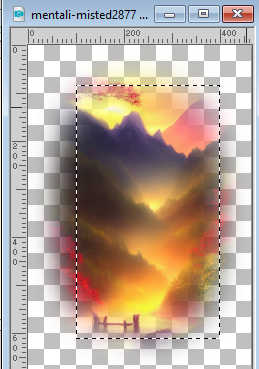
Keep selected and go to Edit>Copy.
Minimize the tube: you'll use it later.
Go back to your work and go to Edit>Paste into Selection.
Selections>Select None.
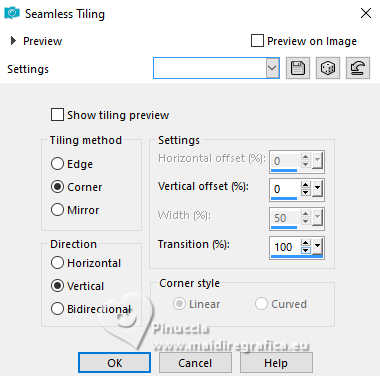
3. Effects>Image Effects>Seamless Tiling.
4. Adjust>Blur>Gaussian Blur - radius 50

5. Layers>Duplicate.
Effects>Plugins>Photoshop II - Bethanie.
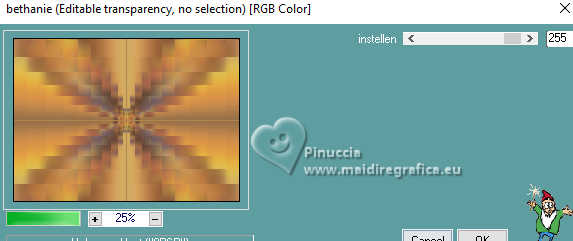
Adjust>Sharpness>Sharpen More.
6. Change the Blend Mode of this layer to Hard Light.
Layers>Merge>Merge Down.
7. Adjust>Add/Remove Noise>Add Noise.
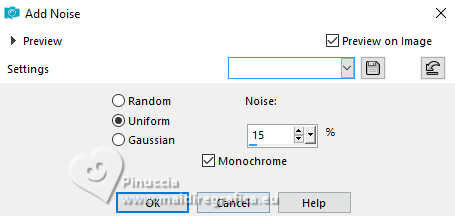
8. Layers>Duplicate.
Effects>Plugins>Mehdi - Sorting Tiles.
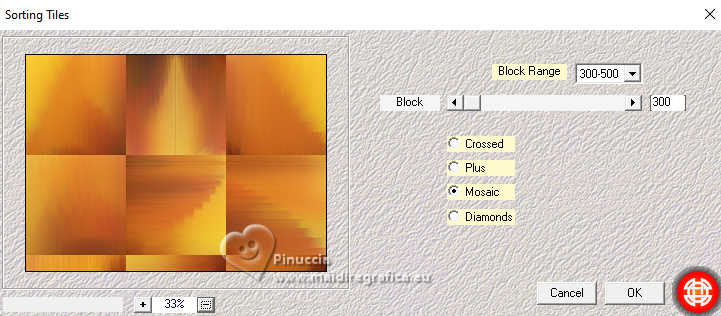
Effects>Reflexion Effects>Rotating Mirror.

9. Effects>Plugins>VanDerLee - Unplugged-X - Vertical Tiles.
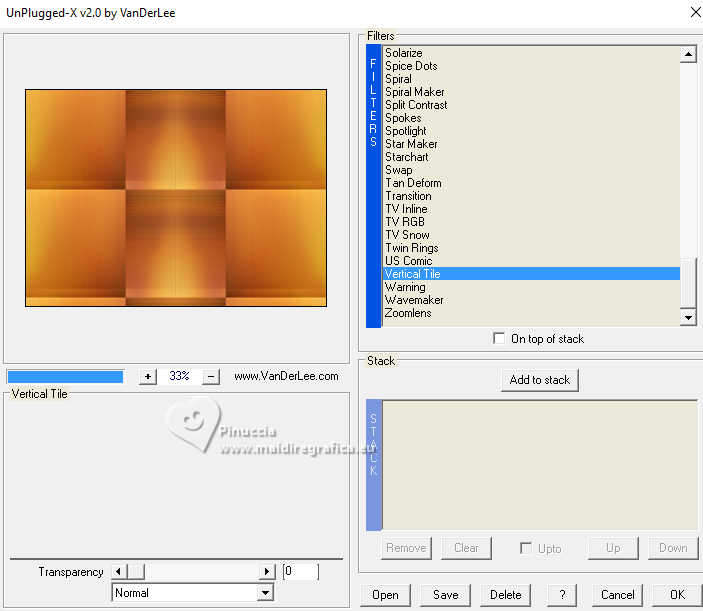
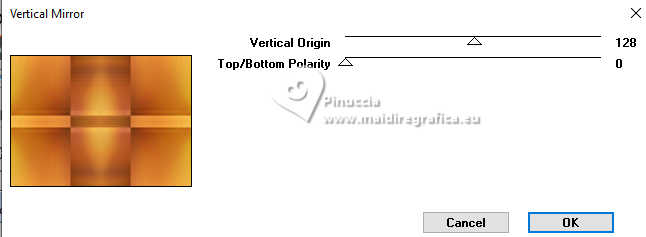
10. Effects>Plugins>Graphics Plus - Vertical Mirror, default settings.
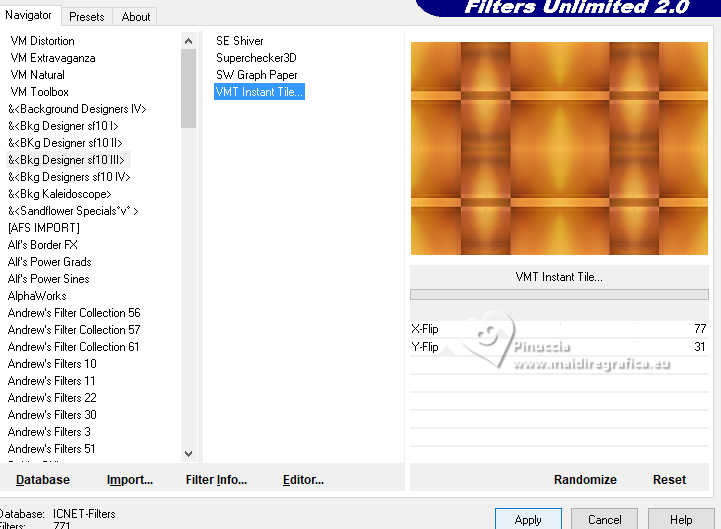
11. Effects>Plugins>Filters Unlimited 2.0 - &<Bkg Designers sf10III> - VMT Instant Tile.
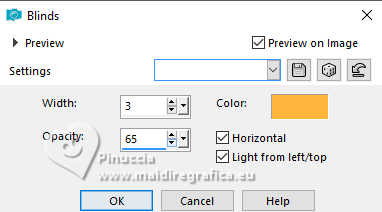
12. Effects>Texture Effects>Blinds - color #ffb43f.
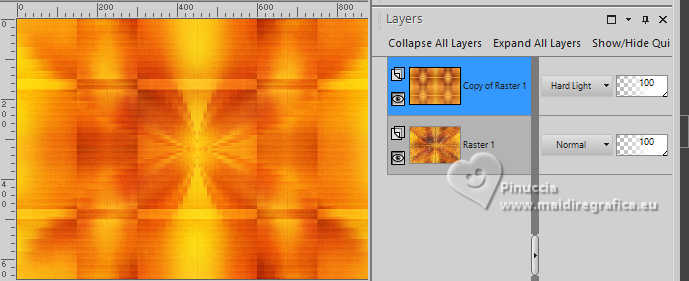
Change the Blend Mode of this layer to Hard Light.
13. Effects>Geometric Effects>Skew.
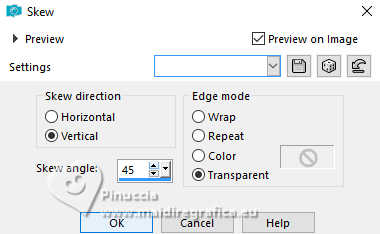
14. Effects>3D Effects>Drop Shadow, color #000000.
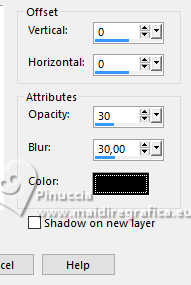
15. Effects>Plugins>Flaming Pear - Flood.
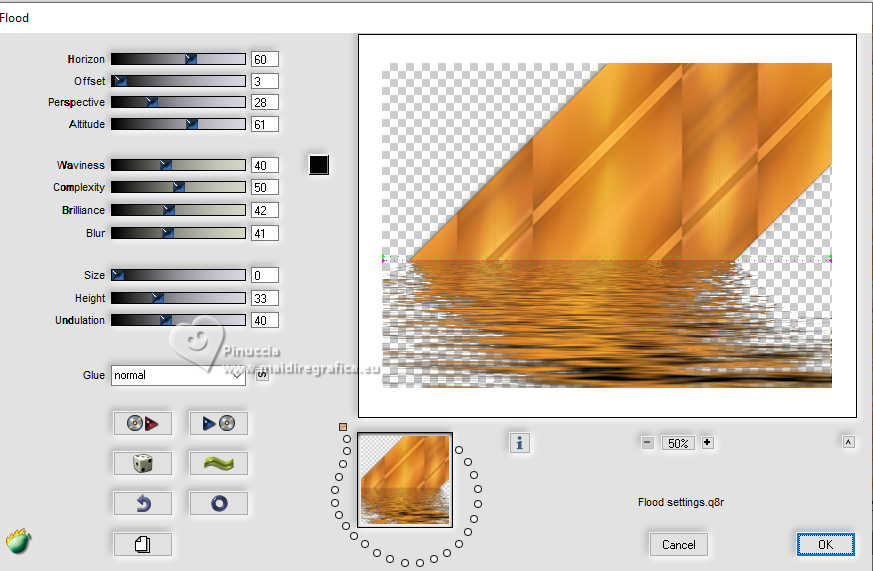
Adjust>One Step Photo Fix.
16. Layers>New Raster Layer.
Flood Fill  the layer with your white background color #ffffff. the layer with your white background color #ffffff.
Layers>New Mask layer>From image
Open the menu under the source window and you'll see all the files open.
Select the mask Narah_Mask_1189

Layers>Merge>Merge Group.
Reduce the opacity of this layer to 69%.
17. Open a new transparent image 900 x 550 pixels.
Flood Fill  the layer with your white background color #ffffff. the layer with your white background color #ffffff.
Layers>New Mask layer>From image
Open the menu under the source window
and select the mask Narah_Mask_1812
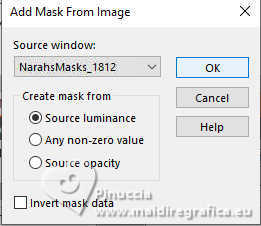
Layers>Merge>Merge Group.
19. Edit>Copy.
Go back to your work and go to Edit>Paste as new layer.
Objects>Align>Top.
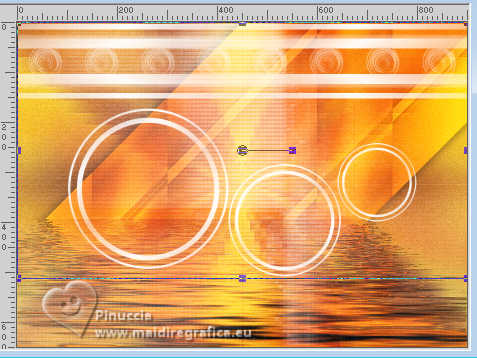
20. Layers>Duplicate.
K key to activate your Pick Tool 
keep Position X: 0,00 and set Position Y: 515,00.

M key to deselect the Tool.
Layers>Merge>Merge Down.
21. Layers>New Raster Layer.
Layers>Arrange>Move Down.
22. Selections>Load/Save Selection>Load Selection from Alpha Channel.
The selection #Selection 1 is immediately available. You just have to click Load.
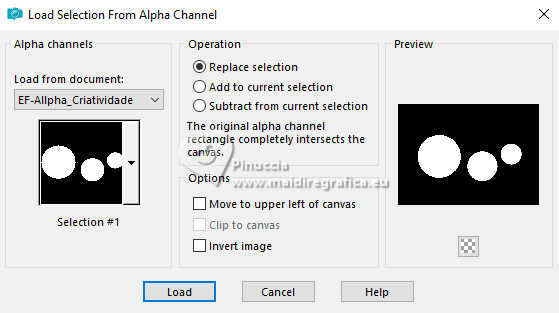
23. Activate again the misted mentali-misted2877 and go to Edit>Copy.
Go back to your work and go to Édition>Coller dans la sélection.
Selections>SElect None.
Adjust>Sharpness>Sharpen.
24. Effects>Plugins>FM Tile Tools - Saturation Emboss, default settings.

25. Activate your top layer.
Effects>3D Effects>Drop Shadow, color #000000.
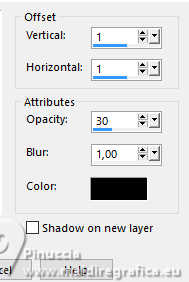
26. Image>Add borders, 1 pixel, symmetric, color #000000.
Image>Add borders, 10 pixels, symmetric, color #ffffff.
Image>Add borders, 1 pixel, symmetric, color #000000.
27. Adjust>Hue and Saturation>Vibrancy.
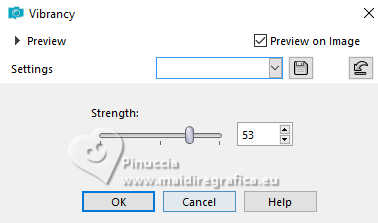
Edit>Copy
Selections>Select All.
28. Image>Add borders, 50 pixels, symmetric, whatever color.
Selections>Invert.
Edit>Paste into Selection
Adjust>Blur>Gaussian Blur - radius 50.

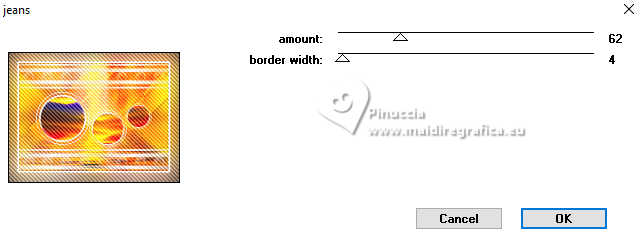
29. Effects>Plugins>Penta.com - Jeans, default settings.
Selections>Promote Selection to Layer.
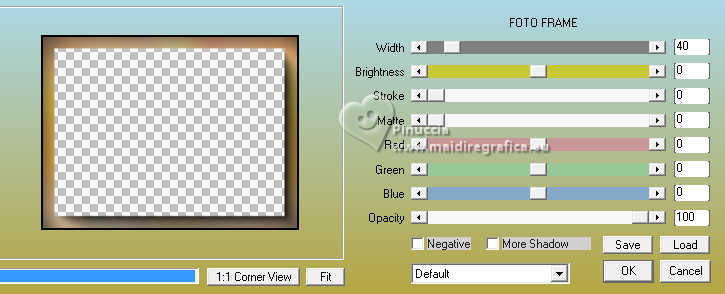
30. Effects>Plugins>AAA Frames - Foto Frame.
31. Effects>Reflection Effects>Rotating Mirror.

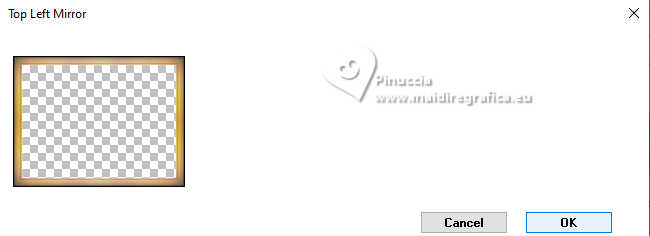
32. Effects>Plugins>Simple - Top Left Mirror.
Selections>Select None.
Change the Blend Mode of this layer to Hard Light,
and reduce the opacity to 73%.
33. Open the tube mentali-femme1381 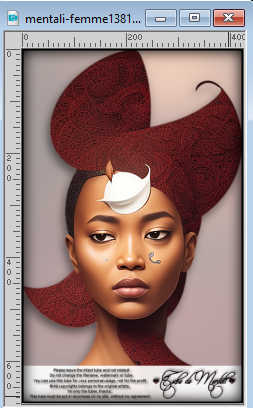
Edit>Copy.
Go back to your work and go to Edit>Paste as new layer.
K key to activate your Pick Tool 
Set Position X.: 583,00 and Position Y: 31,00.

M key to deselect the Tool.
34. Open EF-Criatividade_Texto 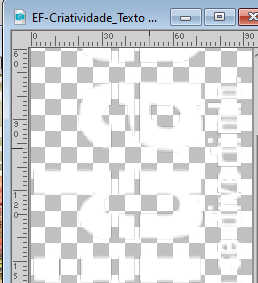
Edit>Copy.
Go back to your work and go to Edit>Paste as new layer.
Move  the text to the left side. the text to the left side.
35. Effects>3D Effects>Drop Shadow, color #000000.
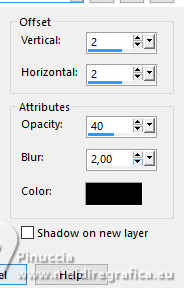
36. Sign your work.
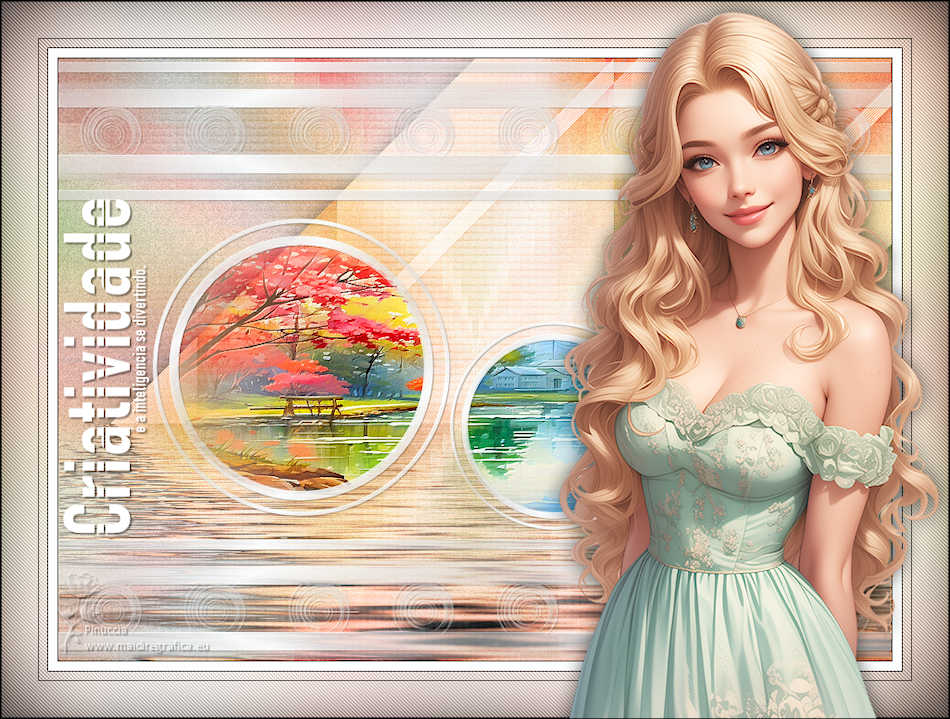
37. Image>Add borders, 1 pixel, symmetric, color #000000.
38. Image>Resize, 1000 pixels width, resize all layers checked.
Save as jpg.
For the tubes of this version thanks


If you have problems or doubts, or you find a not worked link,
or only for tell me that you enjoyed this tutorial, write to me.
4 March 2024

|

