|
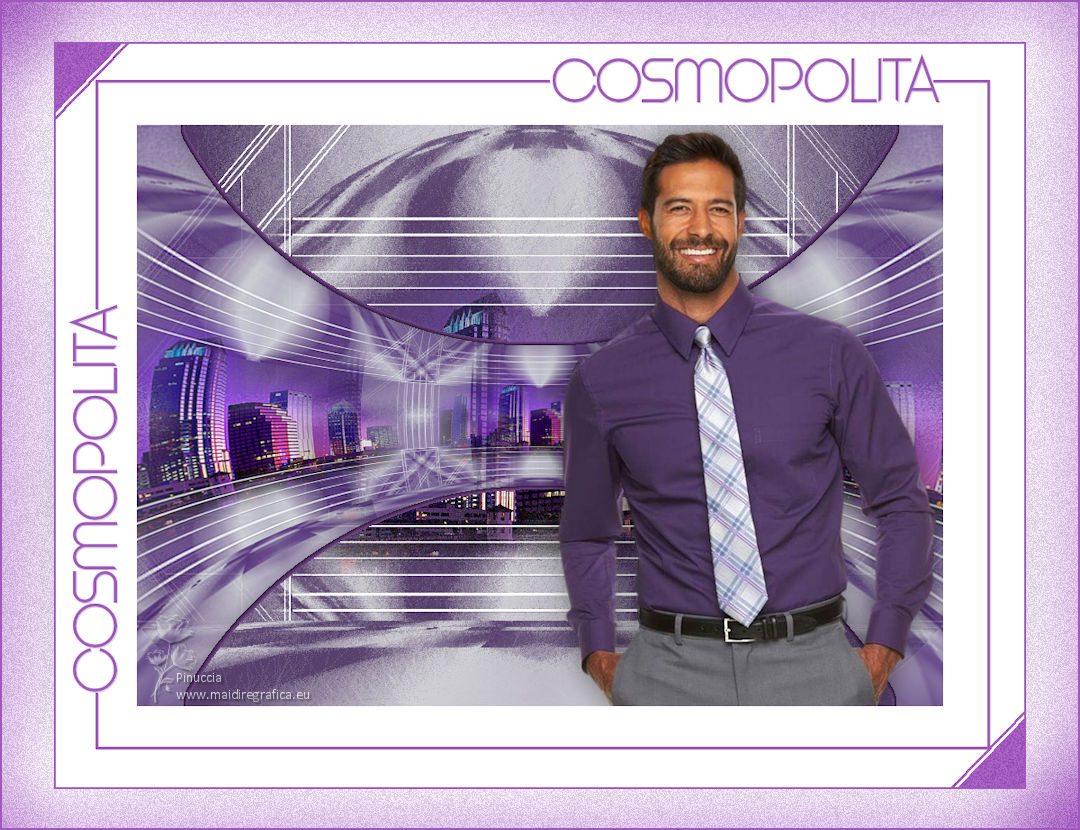
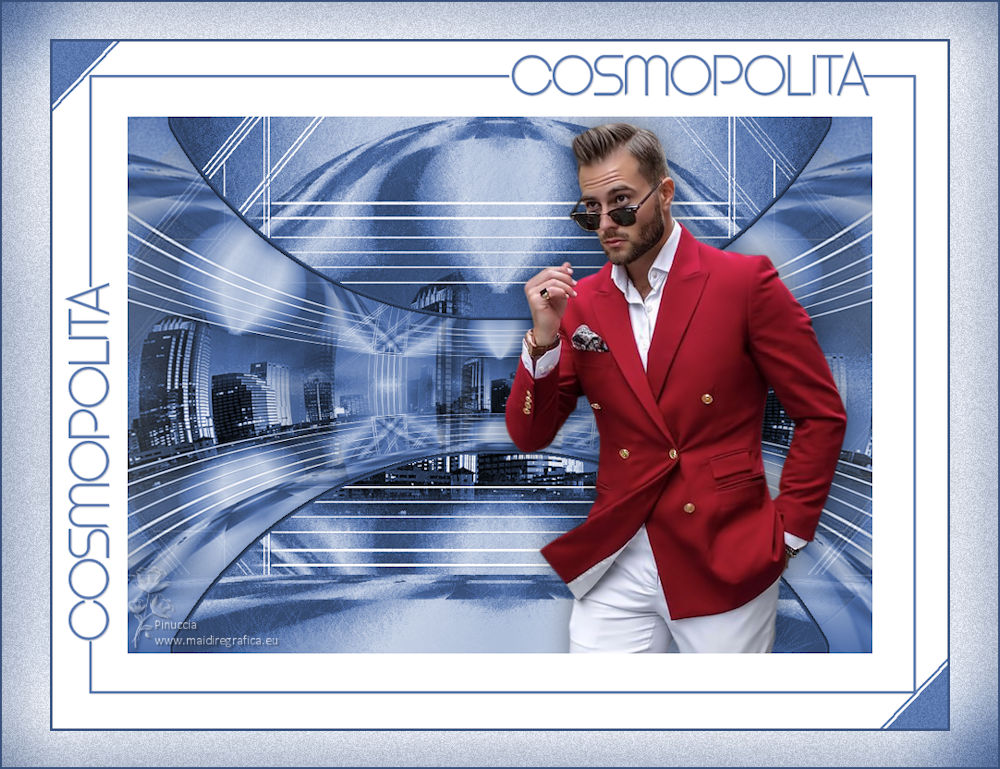
COSMOPOLITA


Thanks Estela for your invitation to translate your tutorials into english

This tutorial was created with PSP2022 and translated with Psp17, but it can also be made using other versions of PSP.
Since version PSP X4, Image>Mirror was replaced with Image>Flip Horizontal,
and Image>Flip with Image>Flip Vertical, there are some variables.
In versions X5 and X6, the functions have been improved by making available the Objects menu.
In the latest version X7 command Image>Mirror and Image>Flip returned, but with new differences.
See my schedule here
 French Translation here French Translation here
 Your versions here Your versions here
For this tutorial, you will need:

For the tube thanks Beatriz and Guismo.
The rest of the material is by Estela Fonseca.
(The links of the tubemakers here).
*It is forbidden to remove the watermark from the supplied tubes, distribute or modify them,
in order to respect the work of the authors

consult, if necessary, my filter section here
Filters Unlimited 2.0 here
Mehdi - Sorting Tiles here
Toadies - Blast'em! here
Simple - Top Left Mirror here
VM Instant Art - Spider Web here
Transparency - Eliminate Black here
Mura's Meister - Perspective Tiling here
Flaming Pear - Flexify here
Xero - Artwork here
Filters Toadies, VM Instant Art, Transparency and Simple can be used alone or imported into Filters Unlimited.
(How do, you see here)
If a plugin supplied appears with this icon  it must necessarily be imported into Unlimited it must necessarily be imported into Unlimited

You can change Blend Modes according to your colors.
In the newest versions of PSP, you don't find the foreground/background gradient (Corel_06_029).
You can use the gradients of the older versions.
The Gradient of CorelX here

Copy the preset in the Presets Folder.
Open the mask in PSP and minimize it with the rest of the material.
Colors

1. Set your foreground color to #57406c,
and your background color to #d0d0d4.
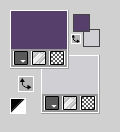
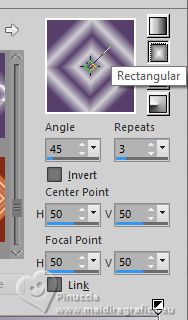
Set your foreground color to a Foreround/Background Gradient, style Rectangular.
2. Open a new transparent image 900 x 650 pixels.
Flood Fill  the transparent image with your Gradient. the transparent image with your Gradient.
3. Effects>Plugins>Mehdi - Sorting Tiles.
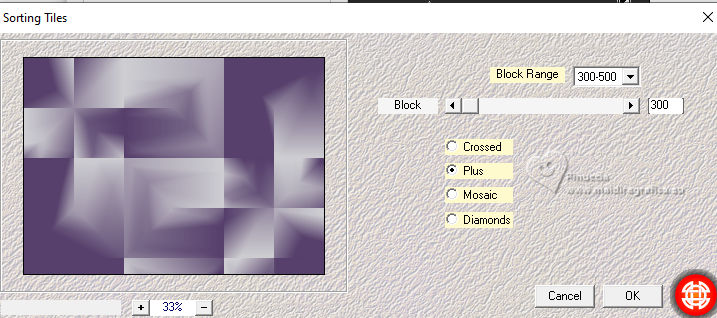
Repeat Effects>Plugins>Mehdi - Sorting Tiles, Crossed checked.

4. Effects>Plugins>Simple - Top Left Mirror.
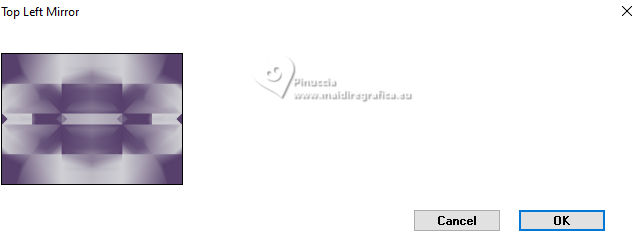
5. Layers>Duplicate.
Effects>Plugins>Toadies - Blast'em!, default settings.
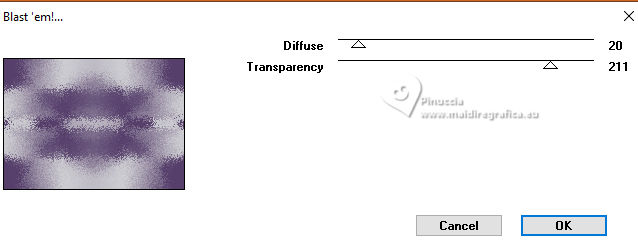
6. Layers>Duplicate.
Effects>Plugins>VM Instant Art - Spider Web.
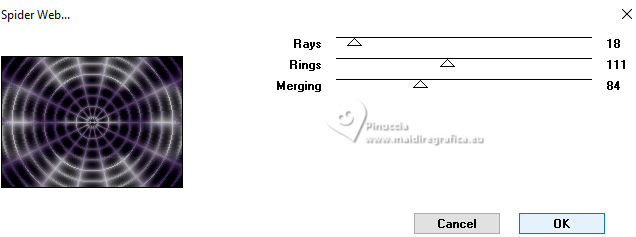
Effects>Plugins>Transparency - Eliminate Black.
This effect works without window; result
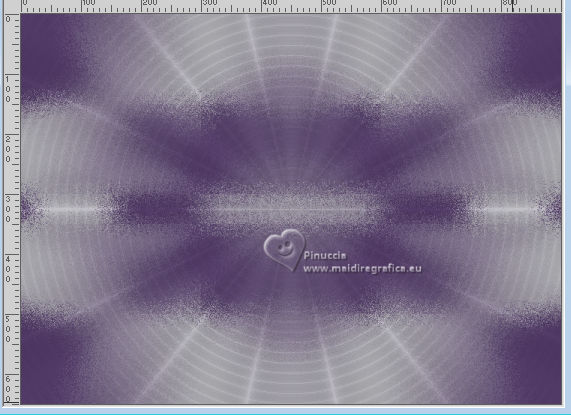
7. Change the Blend Mode of this layer to Overlay and reduce the opacity to 57%.
Activate your bottom layer, Raster 1.
Layers>Arrange>Bring to Top.
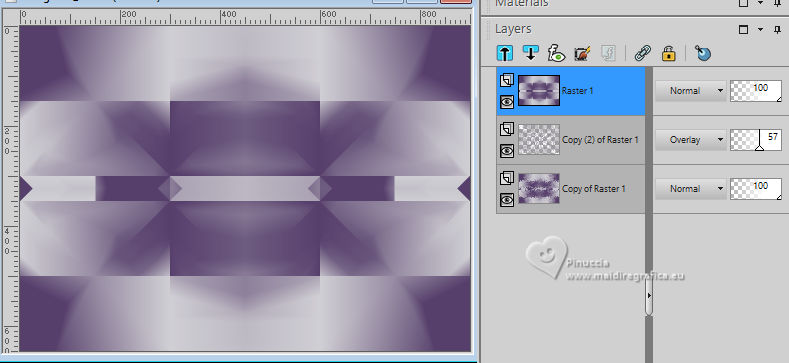
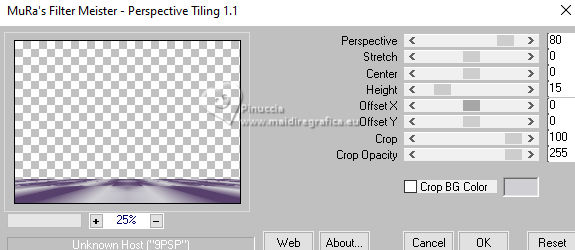
8. Effects>Plugins>Mura's Meister - Perspective Tiling.
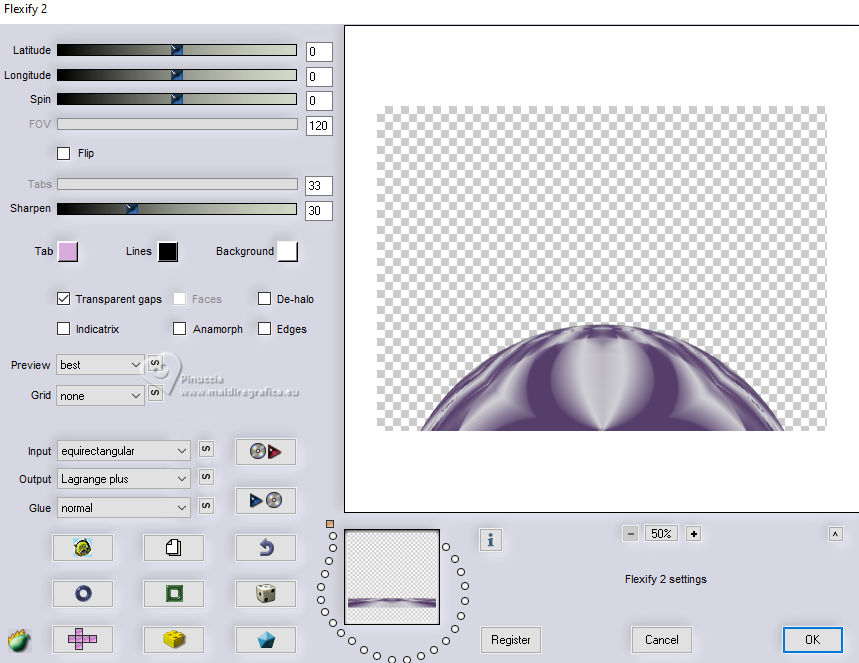
9. Layers>Duplicate.
Effects>Plugins>Flaming Pear - Flexify 2.
10. Objects>Align>Top.
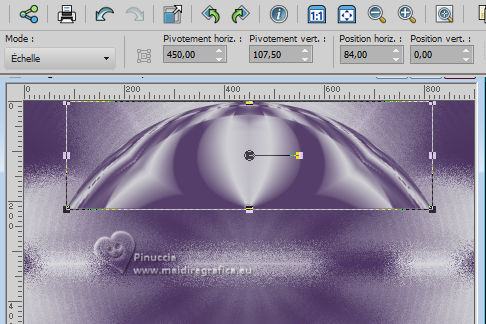
Layers>Duplicate.
Image>Flip.
Layers>Merge>Merge Down.
11. Layers>New Raster Layer.
Flood Fill  the layer with your background color. the layer with your background color.
Layers>New Mask layer>From image
Open the menu under the source window and you'll see all the files open.
Select the mask EF-Mask_Cosmopolita.
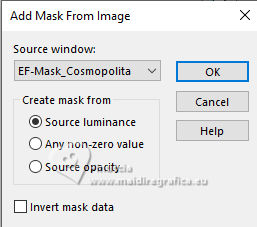
Layers>Merge>Merge Group.
12. Effects>User Defined Filter - select the preset Emboss 6 and ok.
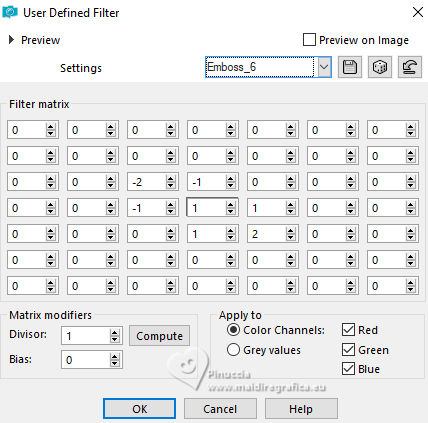
Image>Resize, to 105%, resize all layers not checked.
Adjust>Sharpness>Sharpen.
13. Open the tube calguismisted3049 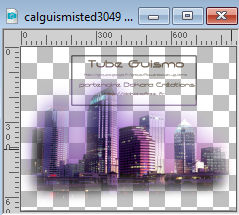
Edit>Copy.
Go back to your work and go to Edit>Paste as new layer.
Image>Resize, to 70%, resize all layers not checked.
Adjust>Sharpness>Sharpen More.
Layers>Arrange>Move Down.
14. Activate the layer Raster 1 (the Mura's effect)
Layers>Arrange>Bring to top.
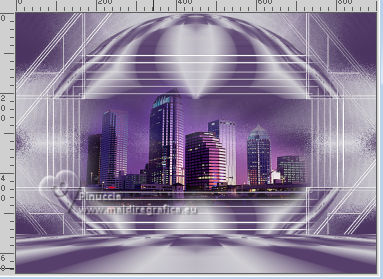
Layers>Merge>Merge visible.
15. Layers>Duplicate.
Image>Resize, to 70%, resize all layers not checked.
Effects>Image Effects>Seamless Tiling.

Adjust>Sharpness>Sharpen.
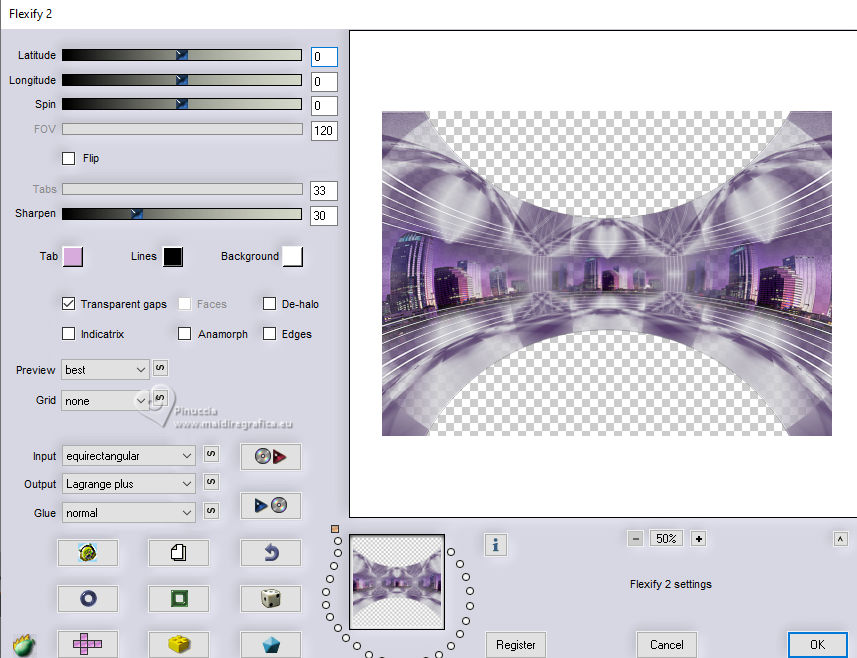
16. Effects>Plugins>Flaming Pear - Flexify 2, same settings.
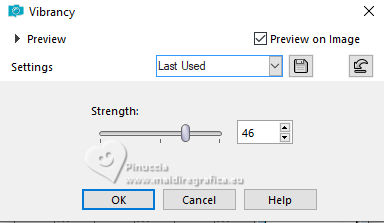
Adjust>Hue and Saturation>Vibrancy.
Activate your Magic Wand Tool  tolerance and feather 0, tolerance and feather 0,

Click on the transparent zones to select them.
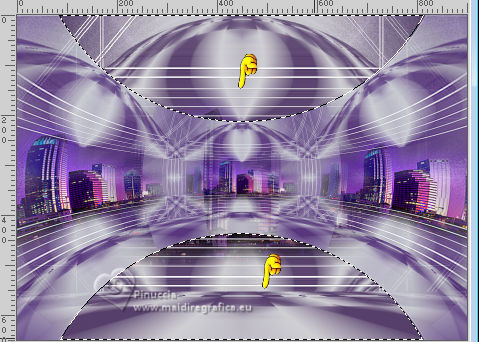
17. Selections>Modify>Expand - 30 pixels.
Press CANC on the keyboard 
Keep selected.
18. Effects>3D Effects>Chisel - color 3 #a159bd
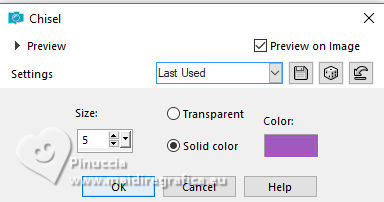
Effects>3D Effects>Drop Shadow, foreground color.
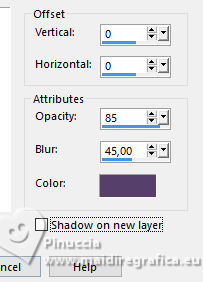
Selections>Select None.
19. Activate the layer Merged.
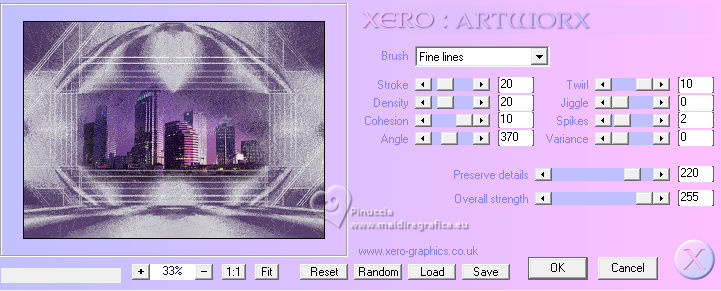
Effects>Plugins>Xero - Artworx, default settings.
20. Activate your top layer.
Open your main tube 3924-man-LB TUBES 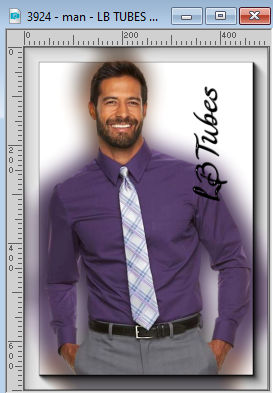
Edit>Copy.
Go back to your work and go to Edit>Paste as new layer.
Move  the tube to the right, or to your liking. the tube to the right, or to your liking.
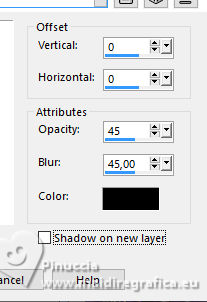
Effects>3D Effects>Drop shadow, color #000000.
21. Set your foreground color to white.
Layers>New Raster Layer.
Flood Fill  the layer with color white. the layer with color white.
Selections>Select All.
Selections>Modify>Contract - 2 pixels.
Press CANC on the keyboard.
Selections>Select None.
22. Image>Add borders, 88 pixels, symmetric, color #ffffff.
Open the tube EF-Cosmopolita_Deco_1 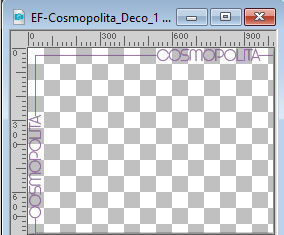
Edit>Copy.
Go back to your work and go to Edit>Paste as new layer.
K key to activate your Pick Tool 
Set Position X: 14,00 and Position Y: 11,00.

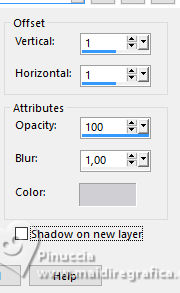
Effects>3D Effects>Drop shadow, background color.
23. Open EF-Cosmopolita_Deco_Final 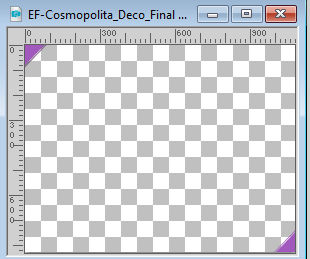
Edit>Copy.
Go back to your work and go to Edit>Paste as new layer.
Colorize with one of your 3 colors.
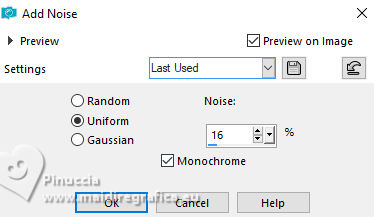
Adjust>Add/Remove Noise>Add Noise.
24. Image>Add borders, 2 pixels, symmetric, color 3 #a159bd
Layers>Duplicate.
Image>Resixe, to 90%, resize all layers not checked.
25. Activate your bottom layer.
Adjust>Blur>Gaussian Blur - radius 35.

Adjust>Add/Remove Noise>Add Noise, same settings.

26. Set your foreground color to color 3 #a159bd.
Activate your top layer.
Layers>New Raster Layer.
Selections>Select All.
Flood Fill  the layer with color 3 #a159bd the layer with color 3 #a159bd
Selections>Modify>Contract - 2 pixels.
Press CANC on the keyboard.
Selections>Select None.
27. Sign your work on a new layer.
Layers>Merge>Merge All.
Image>Resize, 1000 pixels width, resize all layers checked.
Save as jpg.
For the tube of this version thanks Beatriz


If you have problems or doubts, or you find a not worked link, or only for tell me that you enjoyed this tutorial, write to me.
27 September 2023

|

