|
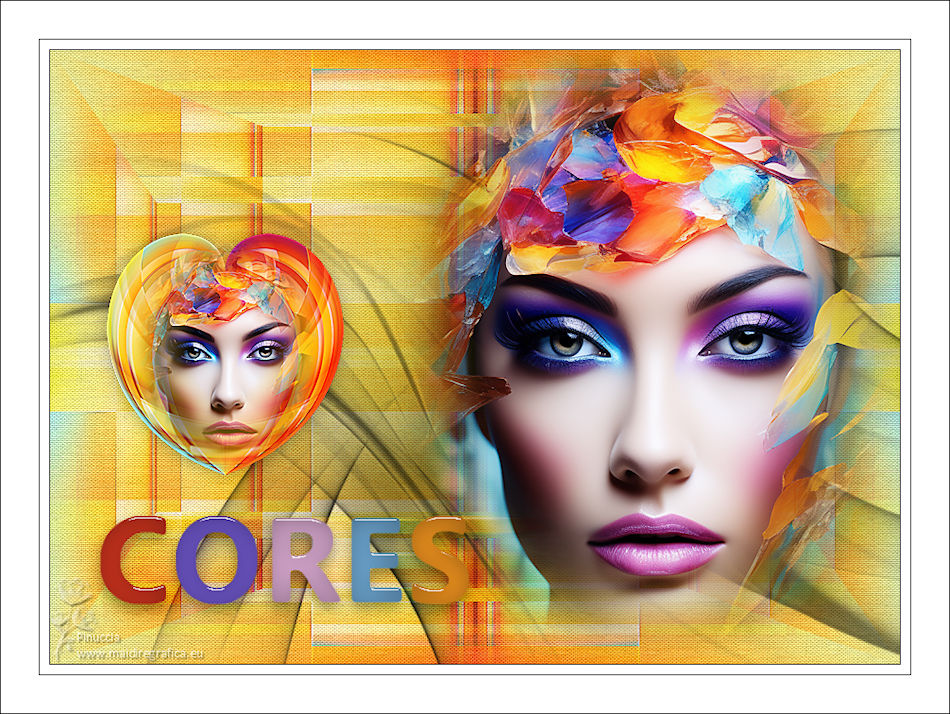
CORES


Thanks Estela for your invitation to translate your tutorials into english

This tutorial, created with PSP2022, was translated with PspX7, but it can also be made using other versions of PSP.
Since version PSP X4, Image>Mirror was replaced with Image>Flip Horizontal,
and Image>Flip with Image>Flip Vertical, there are some variables.
In versions X5 and X6, the functions have been improved by making available the Objects menu.
In the latest version X7 command Image>Mirror and Image>Flip returned, but with new differences.
See my schedule here
 French Translation here French Translation here
 Your versions here Your versions here

For this tutorial, you will need:

Thanks for the tube Vera Mendes.
(The links of the tubemakers here).
*It is forbidden to remove the watermark from the supplied tubes, distribute or modify them,
in order to respect the work of the authors

consult, if necessary, my filter section here
Filters Unlimited 2.0 here
&<Bkg Designer sf10I> - Alf's Border Mirror Bevel (to import in Unlimited) here
&<Bkg Kaleidoscope> - Quad Flip (to import in Unlimited) here
Mehdi - Wavy Lab 1.1. here
Toadies - Weaver here
Penta.com - VTR2 here
Flaming Pear - Flexify-2 here
Alien Skin Eye Candy 5 Impact - Glass here
Filters Graphics Plus, Simple and Penta.com can be used alone or imported into Filters Unlimited.
(How do, you see here)
If a plugin supplied appears with this icon  it must necessarily be imported into Unlimited it must necessarily be imported into Unlimited

You can change Blend Modes according to your colors.

Copy the mask in the Masks folder.
1. Set your foreground color to #5caba6,
and your background color to #2c373b.
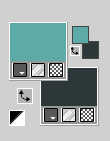
1. Open a new transparent image 900 x 650 pixels.
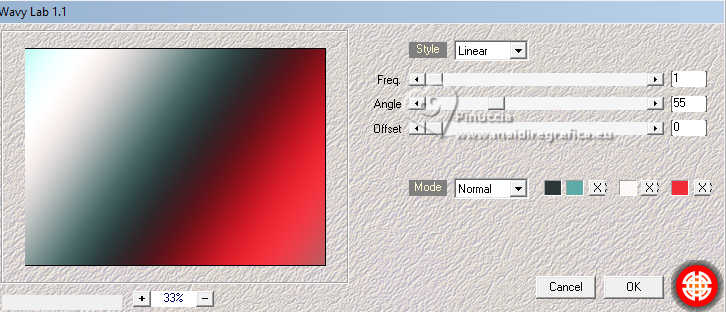
Effects>Plugins>Mehdi - Wavy Lab 1.1.
This filter creates gradients with the colors of your Materials palette.
The first is your background color, the second is your foreground color.
Change the last two colors created by the filtre:
the third color with #fdf9f8 and the fourth color with #f12d39.
2. Adjust>Blur>Gaussian Blur - radius 30.

3. Open the tube 1712-vmtubes 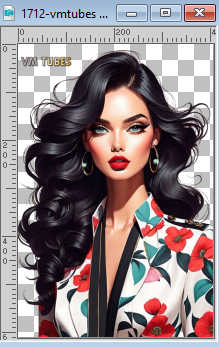
Erase the watermark and go to Edit>Copy.
Minimize the tube.
Go back to your work and go to Edit>Paste as new layer.
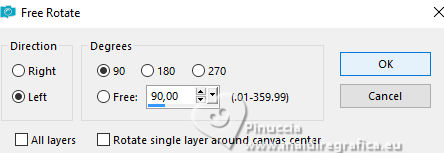
Image>Free Rotate - 90 degrees to left.
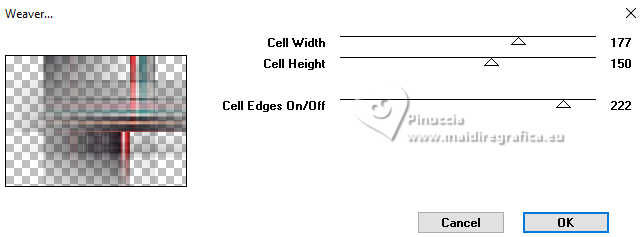
4. Effects>Plugins>Toadies - Weaver.
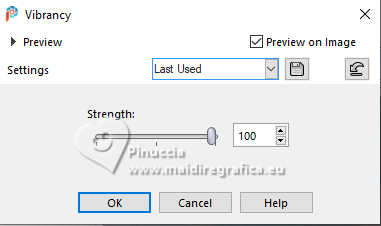
5. Adjust>Hue and Saturation>Vibrancy.
Effects>Reflection Effects>Rotating Mirror, default settings.

Adjust>Sharpness>Sharpen More.
Change the Blend Mode of this layer to Hard Light.
Layers>Merge>Merge Down.
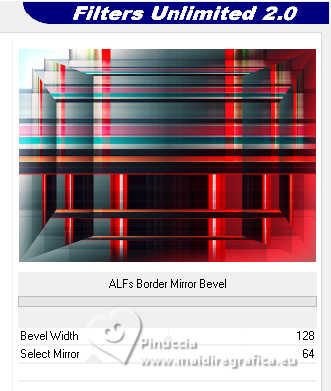
6. Effects>Plugins>Filters Unlimited 2.0 - &<Bkg Designer sf10I> - Alf's Border Mirror Bevel, default settings.
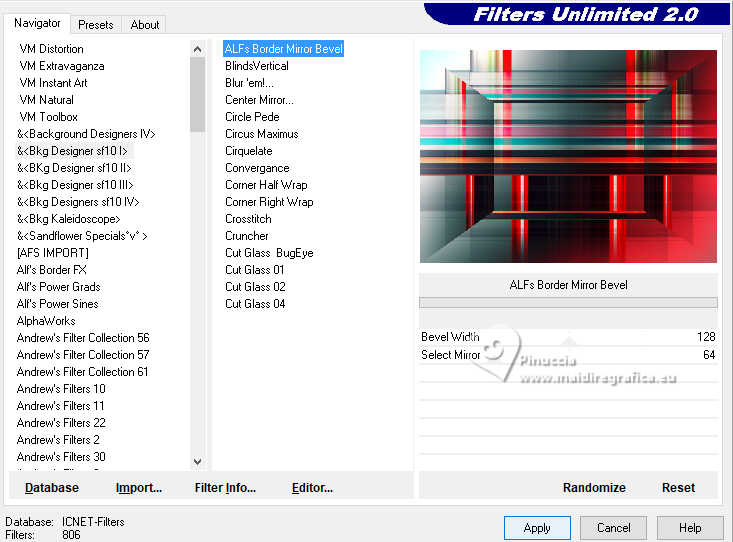
Repeat this effect another time.
7. Image>Mirror>Mirror vertical (Image>Flip).
Layers>Duplicate.
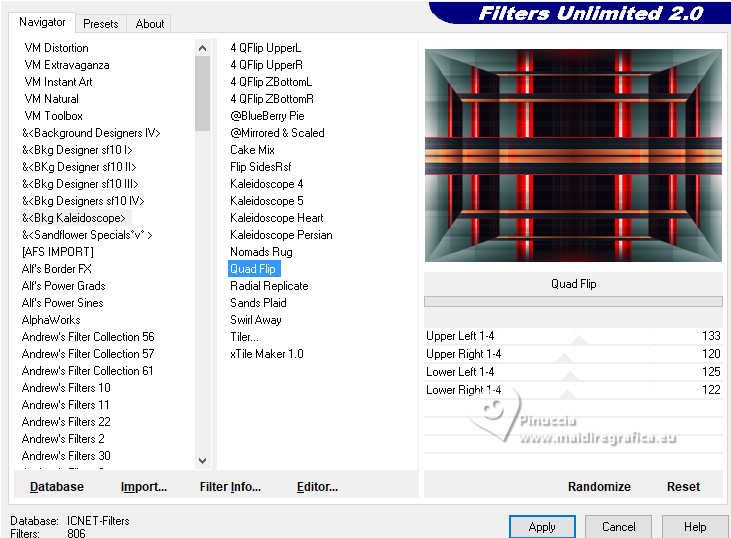
8. Effects>Plugins>Filters Unlimited 2.0 - &<Bkg Kaleidoscope> - Quad Flip, default settings.
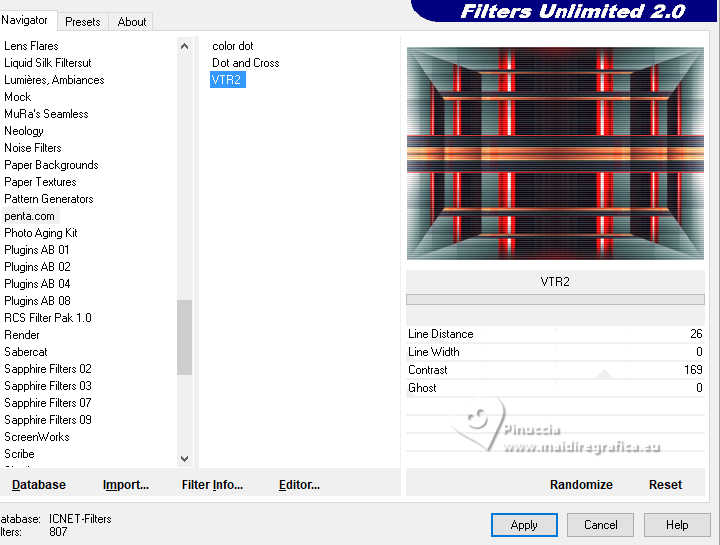
9. Effects>Plugins>Penta.com - VTR2, default settings.
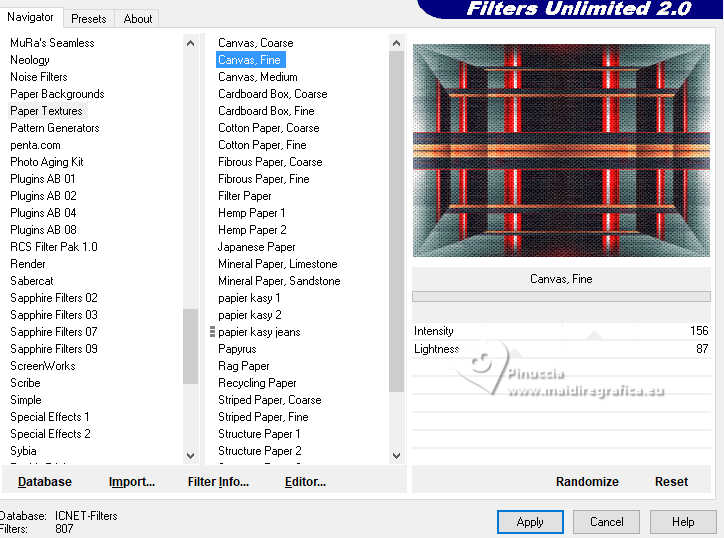
Effects>Plugins>Filters Unlimited 2.0 - Paper Texture - Canvas Fine, default settings.
10. Open EF-Cores_Deco_1 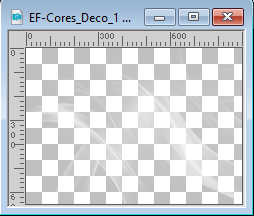
Edit>Copy.
Go back to your work and go to Edit>Paste as new layer.
(if you prefer, you can do Image>Negative Image)
11. Activate again the tube 1712-vmtubes et Édition>Copier.
Minimize again the tube.
Go back to your work and go to Edit>Paste as new layer.
Objects>Align>Bottom and Objects>Align>Right
or move  the tube at the bottom right. the tube at the bottom right.
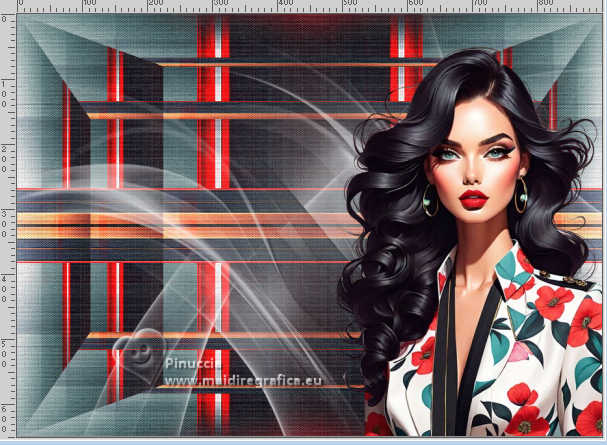
Effects>3D Effects>Drop shadow, color #000000.
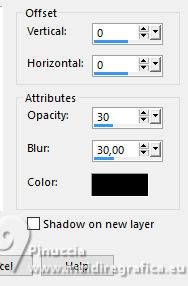
12. Activate your background layer, Raster 1.
Layers>Arrange>Bring to Top.
13. Effects>Plugins>Flaming Pear - Flexify 2.
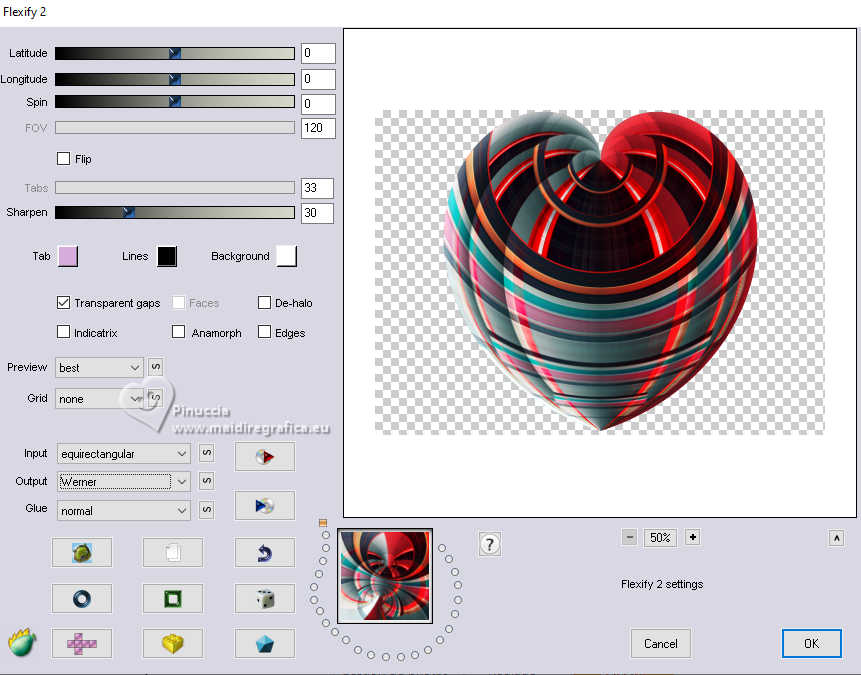
Image>Resize, to 40%, resize all layers not checked.
14. Adjust>Sharpness>Sharpen More.
K key to activate your Pick Tool 
and set Position X: 60,00 and Position Y: 194,00.
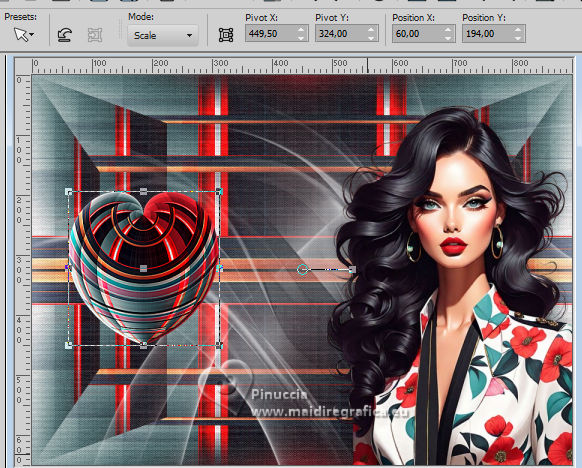
M key to deselect the Tool.
Effects>3D Effects>Drop Shadow, color #000000.

15. Activate again the tube 1712-vmtubes
Layers>Load/Save Mask>Load Mask from Disk.
Look for and load the mask 2020.
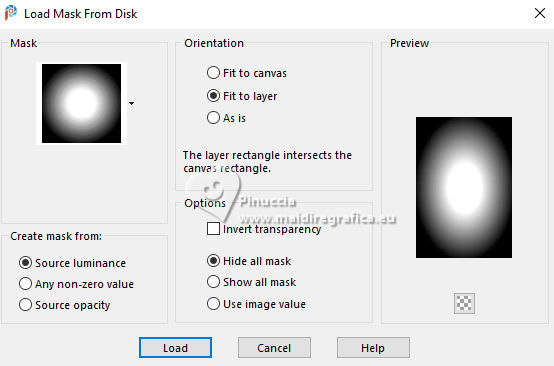
Layers>Merge>Merge Group.
16. Edit>Copy.
And now you can close the tube, without save changes.
Go back to your work and go to Edit>Paste as new layer.
Image>Resize, to 40%, resize all layers not checked.
Move  the tube over the heart. the tube over the heart.
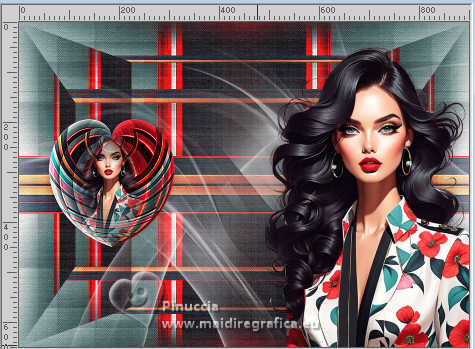
Adjust>Sharpness>Sharpen More.
Layers>Merge>Merge Down.
17. Image>Add borders, 1 pixel, symmetric, color black.
Image>Add borders, 10 pixels, symmetric, color white.
Image>Add borders, 1 pixel, symmetric, color black.
Image>Add borders, 40 pixels, symmetric, color white.
18. Open EF-Cores_Deco_2 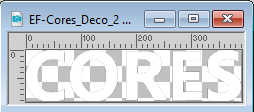
Edit>Copy.
Go back to your work and go to Edit>Paste as new layer.
Move  the text to the left. the text to the left.
19. Activate your Magic Wand Tool 
and select the letters one by one
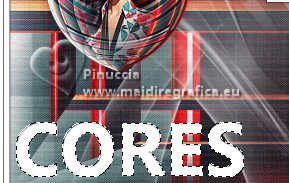
Set the mode of your Flood Fill Tool to RGB Value  , ,
and flood fill  every letter with colors of your liking taken from the work. every letter with colors of your liking taken from the work.
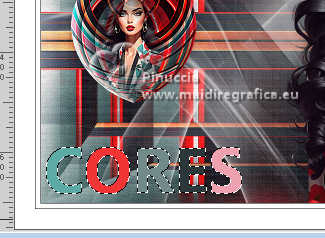
Selections>Select None.
20. Effects>Plugins>Alien Skin Eye Candy 5 Impact - Glass.
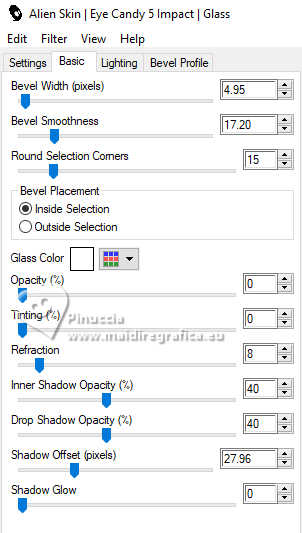
21. Layers>Duplicate.
Activate the layer below Raster 1.
Effects>Distortion Effects>Wind - from left, strength 100.
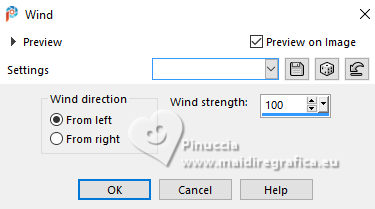
Change the Blend Mode of this layer to Overlay (or to your liking).
22. Sign your work.
Image>Add borders, 1 pixel, symmetric, color black.
23. Image>Resize, 1000 pixels width, resize all layers checked.
Save as jpg.
For the tube of this version thanks Luz Cristina
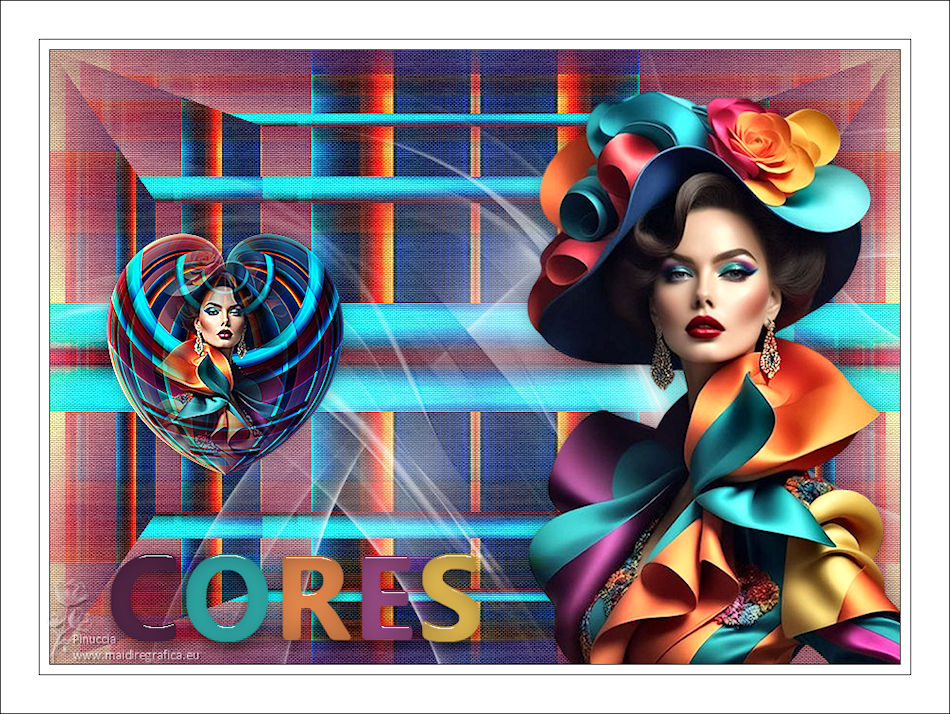
Version with a misted. Thanks Mentali


If you have problems or doubts, or you find a not worked link,
or only for tell me that you enjoyed this tutorial, write to me.
15 April 2024

|


