|
COME TO ME


Thanks Estela for your invitation to translate your tutorials into english

This tutorial was created with PSP2022 and translated with Psp17, but it can also be made using other versions of PSP.
Since version PSP X4, Image>Mirror was replaced with Image>Flip Horizontal,
and Image>Flip with Image>Flip Vertical, there are some variables.
In versions X5 and X6, the functions have been improved by making available the Objects menu.
In the latest version X7 command Image>Mirror and Image>Flip returned, but with new differences.
See my schedule here
 French Translation here French Translation here
 Your versions here Your versions here
For this tutorial, you will need:

Image from Pinterest.
The rest of the material is by Estela Fonseca.
(The links of the tubemakers here).
*It is forbidden to remove the watermark from the supplied tubes, distribute or modify them,
in order to respect the work of the authors

consult, if necessary, my filter section here
Filters Unlimited 2.0 here
Simple - 4 Way Average here
Filters Simple can be used alone or imported into Filters Unlimited.
(How do, you see here)
If a plugin supplied appears with this icon  it must necessarily be imported into Unlimited it must necessarily be imported into Unlimited

You can change Blend Modes according to your colors.

Copy the mask @nn_130912_mask162_tdstudio in the Masks Folder.
Open the other masks in PSP and minimize them with the rest of the material.
1. Open a new transparent image 900 x 730 pixels.
Selections>Select All.
2. Open Grafico 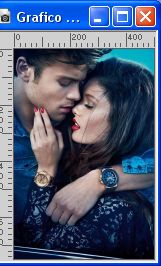
Edit>Copy.
Go back to your work and go to Edit>Paste into Selection.
Selections>Select None.
3. Effects>Image Effects>Seamless Tiling.

4. Adjust>Blur>Radial Blur.
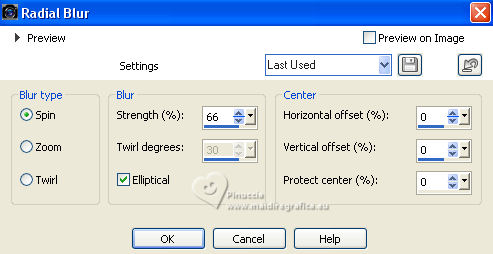
5. Effects>Image Effects>Seamless Tiling.
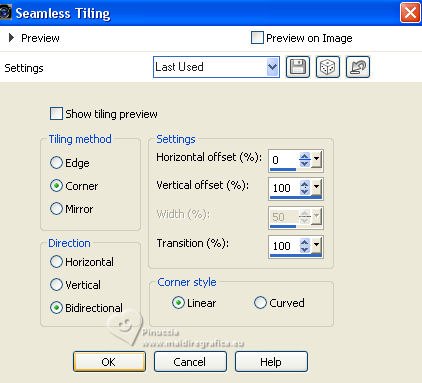
6. Effects>Plugins>Simple - 4Way Average.
This effect works without window; result
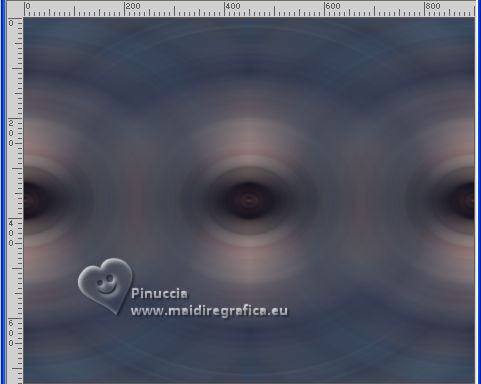
7. Effects>Ege Effects>Enhance.
Adjust>Hue and Saturation>Vibrancy
you can adapt the setting according to your image
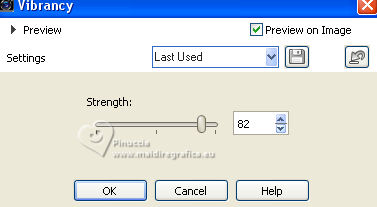
8. Adjust>Add/Remove Noise>Add Noise.
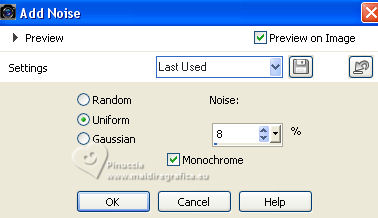
9. Open EF-Come_To_Me_Deco_1 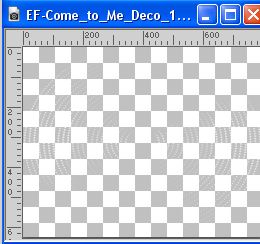
Edit>Copy.
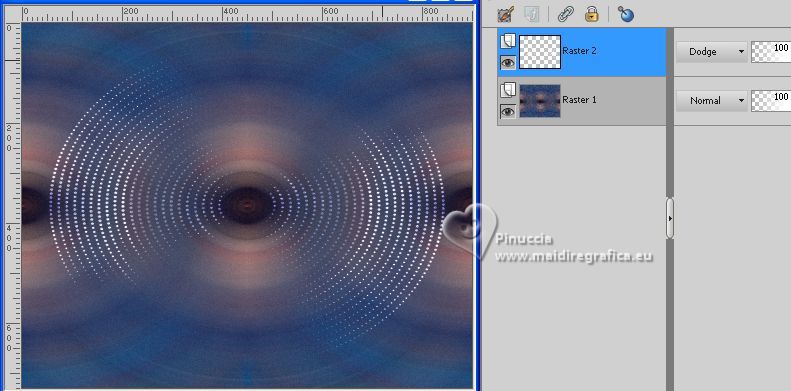
Go back to your work and go to Edit>Paste as new layer.
Change the Blend Mode of this layer to Dodge.
10. Activate again the image Grafico and work on it.
Layers>Load/Save Mask>Load Mask from Disk.
Look for and load the mask @nn_130912_mask162_tdstudio
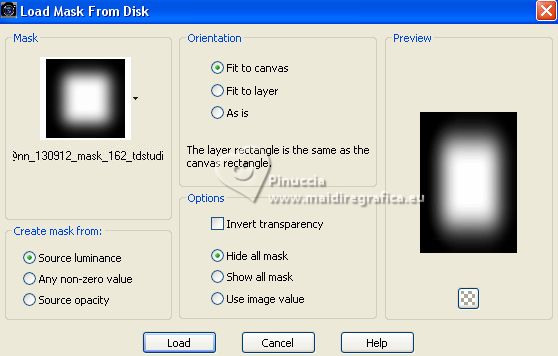
Layers>Merge>Merge Group.
11. Edit>Copy 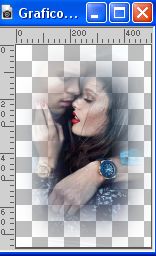
You can close the image without saving changes,
or save it in psp formato (File>Save as...)
Go back to your work and go to Edit>Paste as new layer.
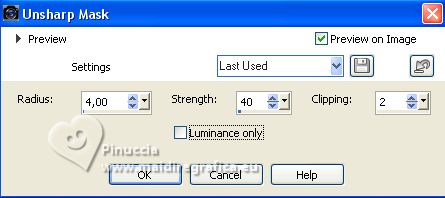
Adjust>Sharpness>Unsharp Mask.
12. Set your foreground color to white #ffffff.
Layers>New Raster Layer.
Flood Fill  the layer with color white. the layer with color white.
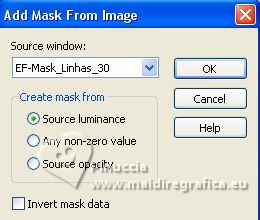
13. Layers>New Mask layer>From image
Open the menu under the source window and you'll see all the files open.
Select the mask EF-Mask_Linhas-30.
Effects>Edge Effects>Enhance.
Layers>Merge>Merge Group.
14. Activate the layer Raster 2.
Effects>Image Effects>Offset.
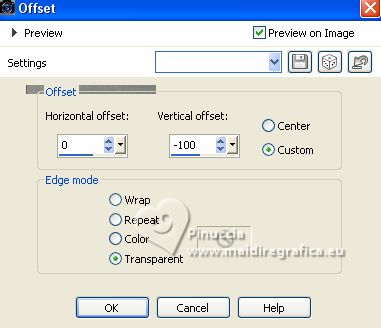
15. Adjust>Hue and Saturation>Vibrancy, same settings.

16. Activate your top layer.
Open the tube EF-Come_To_Me_Texto 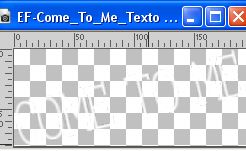
Edit>Copy.
Go back to your work and go to Edit>Paste as new layer
(or write your text)
Move  the text to your liking. the text to your liking.
17. Effects>3D Effects>Drop Shadow, color #0554fc.

18. Layers>New Raster Layer.
Flood Fill  the layer with color white #ffffff. the layer with color white #ffffff.
Layers>New Mask layer>From image
Open the menu under the source window
and select the mask dmsk0124.
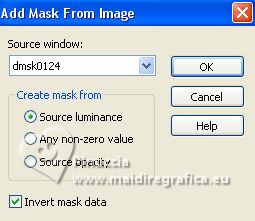
Layers>Merge>Merge Group.
19. Layers>Merge>Merge visible.
Layers>Duplicate.
20. Effects>Photo Effects>Retro Lab, default settings.

21. Change the Blend Mode of this layer to Soft Light and reduce the opacity to 53%.
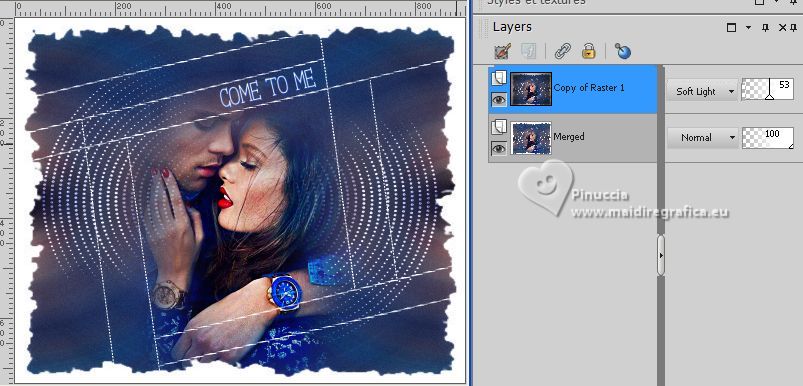
22. Sign your work on a new layer.
Layers>Merge>Merge All.
23. Image>Add borders, 1 pixel, symmetric, color #000000.
Save as jpg.
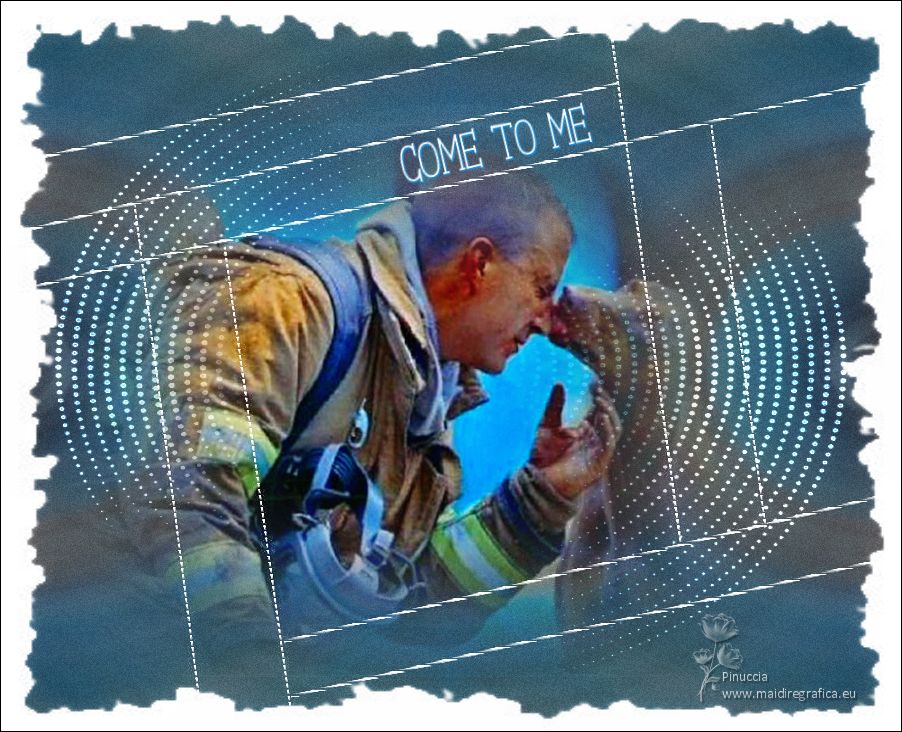
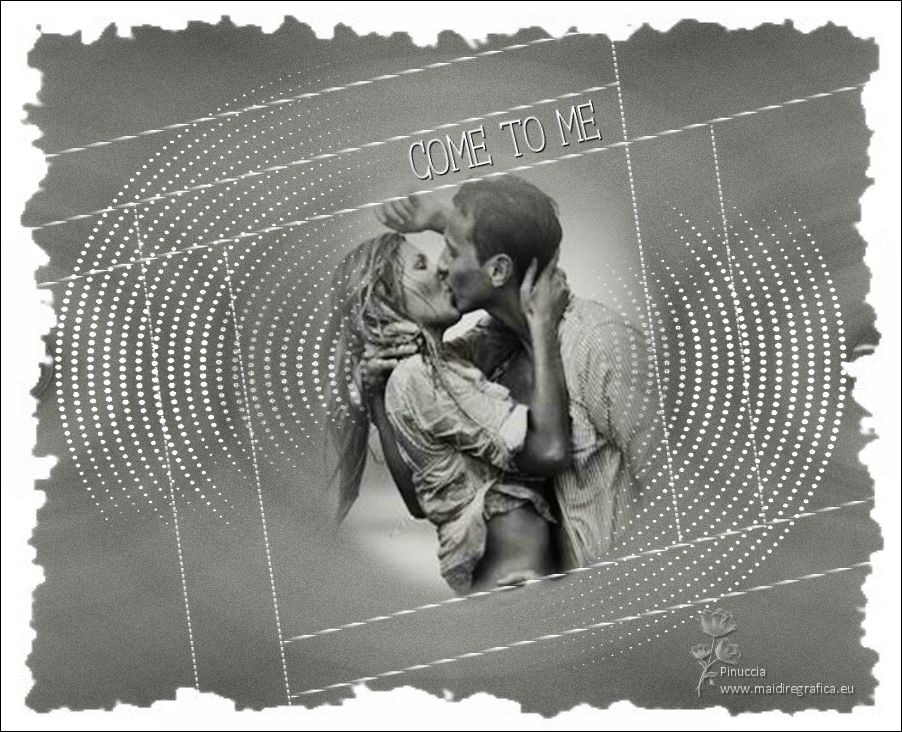


If you have problems or doubts, or you find a not worked link, or only for tell me that you enjoyed this tutorial, write to me.
26 August 2023

|


