|
ALMOST


Thanks Estela for your invitation to translate your tutorials into english

This tutorial was created with PSP2022 and translated with Psp17, but it can also be made using other versions of PSP.
Since version PSP X4, Image>Mirror was replaced with Image>Flip Horizontal,
and Image>Flip with Image>Flip Vertical, there are some variables.
In versions X5 and X6, the functions have been improved by making available the Objects menu.
In the latest version X7 command Image>Mirror and Image>Flip returned, but with new differences.
See my schedule here
 French Translation here French Translation here
 Your versions here Your versions here
For this tutorial, you will need:

For the tube thanks Renée.
The rest of the material is by Estela Fonseca.
(The links of the tubemakers here).
*It is forbidden to remove the watermark from the supplied tubes, distribute or modify them,
in order to respect the work of the authors

consult, if necessary, my filter section here
Filters Unlimited 2.0 here
Andrew's Filters 1 - Boxed here
Andrew's Filters 41 - Round Removal Time here
Simple - Pizza Slice Mirror here
VM Distortion - Edge Burner here
Alf's Borders FX - Gear here
Filters Andrew's, Simple, VM Distortion and Alf's Borders FX can be used alone or imported into Filters Unlimited.
(How do, you see here)
If a plugin supplied appears with this icon  it must necessarily be imported into Unlimited it must necessarily be imported into Unlimited

You can change Blend Modes according to your colors.
In the newest versions of PSP, you don't find the foreground/background gradient (Corel_06_029).
You can use the gradients of the older versions.
The Gradient of CorelX here

Place the brush in the Brushes folder.
Attention, please, the brush is composed by two files, you must place both the files in the folder.
See my notes about Brushes here
If you have problems with this brush, open the file indicated in the step 34
and follow the instructions.
1. Set your foreground color to #6a363a,
and your background color to #d6c9c0.
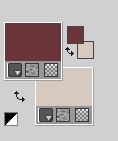
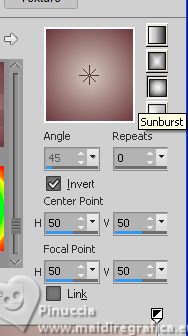
Set your foreground color to a Foreground/Background Gradient, style Sunburst.
2. Open EF-Alpha-Almost
Window>Duplicate or, on the keyboard, shift+D to make a copy.

Close the original.
The copy, that will be the basis of your work, is not empty,
but contains the selections saved to alpha channel.
Flood Fill  the transparent image with your Gradient. the transparent image with your Gradient.
3. Layers>Duplicate.
Effects>Plugins>Filters Unlimited 2.0 - Andrew's Filter 1 - Boxed.
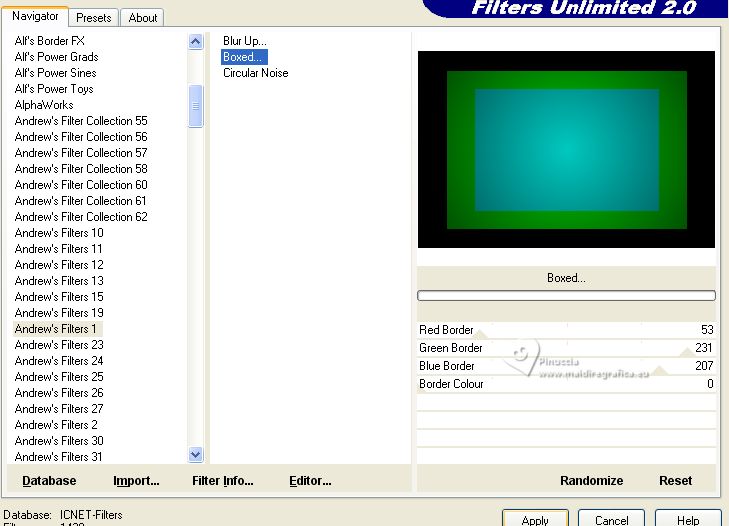
Change the Blend Mode of this layer to Luminance (legacy) and reduce the opacity to 69%.
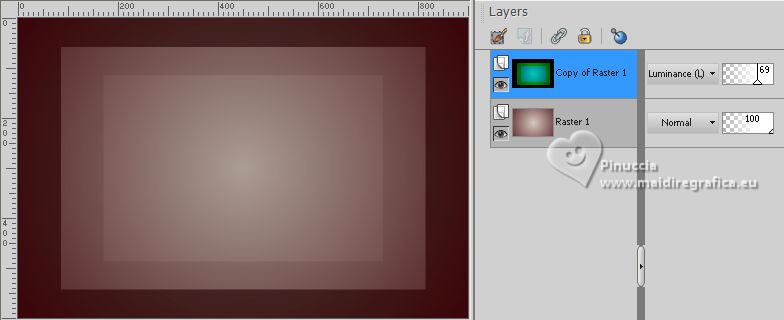
4. Layers>Merge>Merge Down.
Effects>Edge Effects>Enhance.
5. Layers>Duplicate.
Effects>Plugins>Simple - Pizza Slice Mirror.
This effects works without window; result
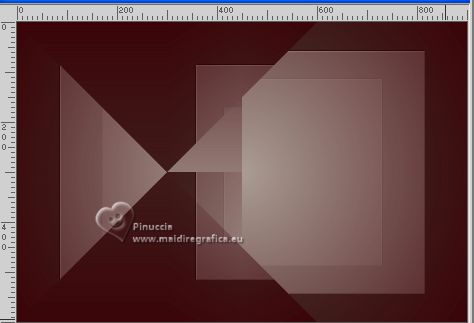
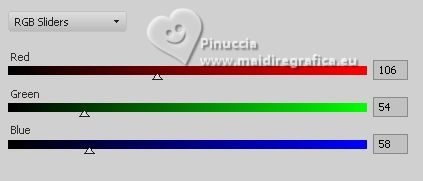
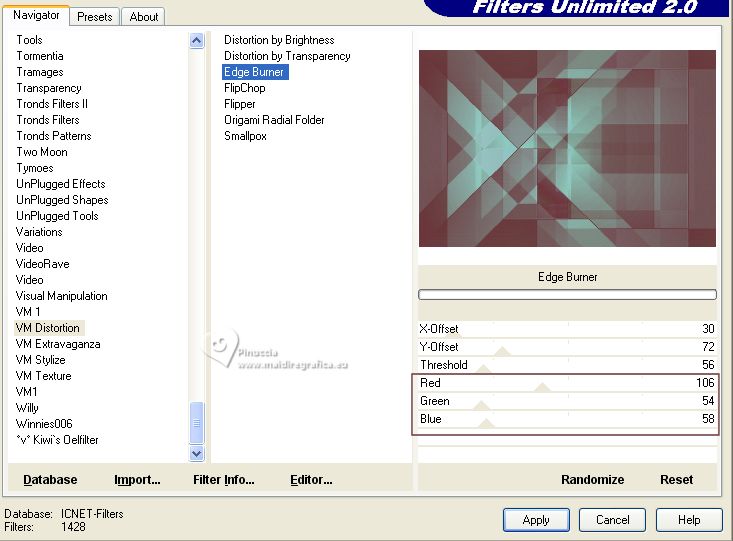
6. Effects>Plugins>Filters Unlimited 2.0 - VM Distortion - Edge Burner
adapt Red, Green et Blue according to your foreground color)
Change the Blend Mode of this layer to Hard Light (or other).
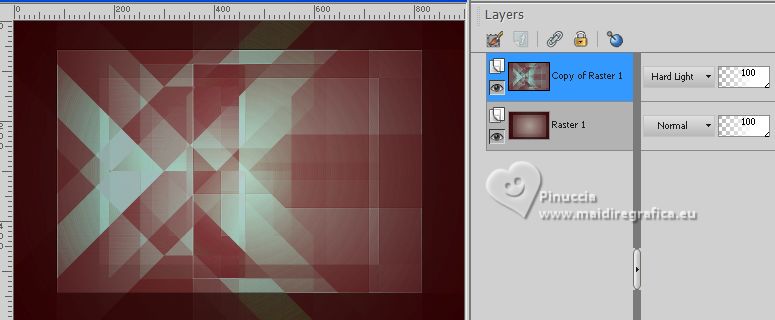
Layers>Merge>Merge visible.
7. Effects>Reflection Effects>Rotating Mirror.
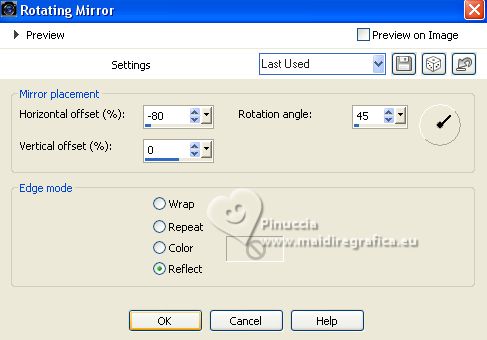
8. Layers>Duplicate.
Effects>Plugins>Filters Unlimited 2.0 - Andrew's Filters 41 - Round Removal Time, default settings
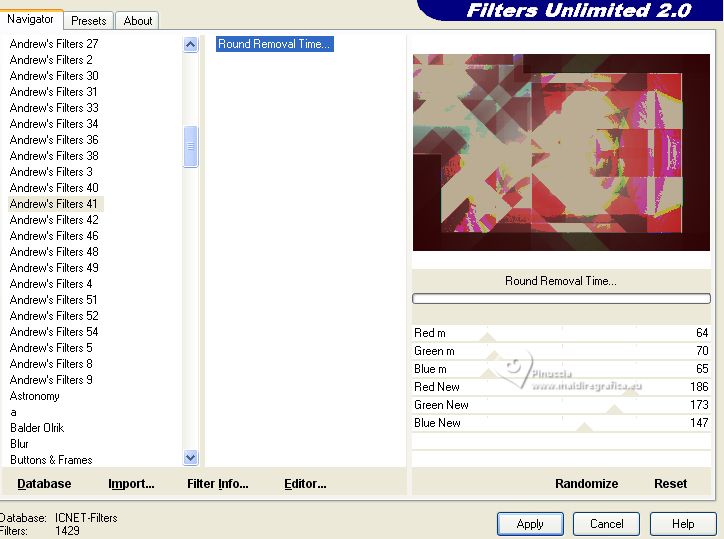
9. Selections>Load/Save Selection>Load Selection from Alpha Channel.
The selection selection #1 is immediately available. You just have to click Load.
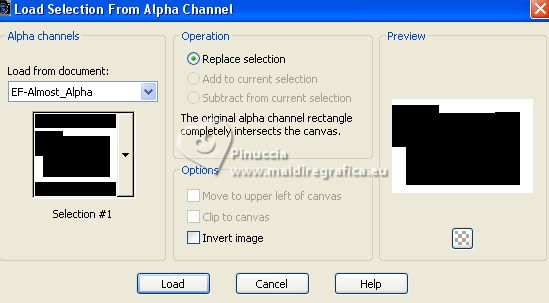 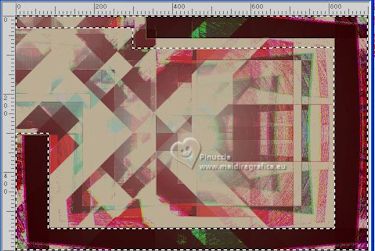
Press CANC on the keyboard 
Selections>Select None.
10. Change the Blend Mode of this layer to Soft Light and reduce the opacity to 63%.
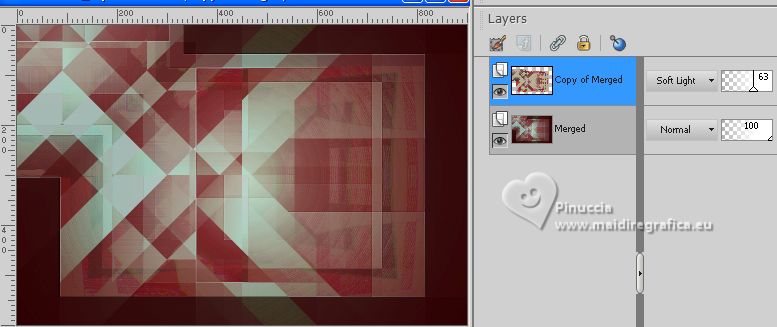
Layers>Merge>Merge Down.
11. Adjust>Brightness and Contrast>Fill Light/Clarity.
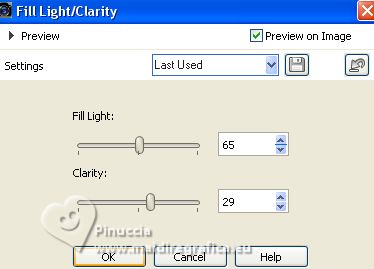
you don't find this effect before the version X14.
If you want, you can apply, according to your version of PSP:
Brightness and Contrast/Clarify (until Corel X2),
our Brightness and Contrast>Local Tone Mapping (Corel X3).
Here below the difference before and after applying the effect

12. Open EF-Almost_Deco_1 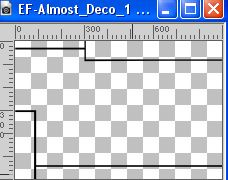
Edit>Copy.
Go back to your work and go to Edit>Paste as new layer.
Image>Negative Image.
13. Ativate the bottom layer, Merged
Selections>Load/Save Selection>Load Selection from Alpha Channel.
Open the selections menu and load the selection selection #2
 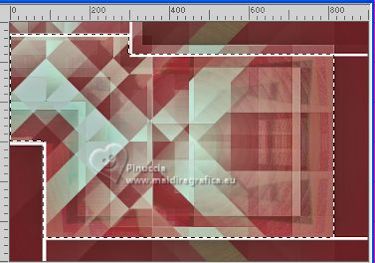
Selections>Promote Selection to Layer.
Keep selected.
14. Effects>Plugins>Filters Unlimited 2.0 - Alf's Borders FX - Gear.
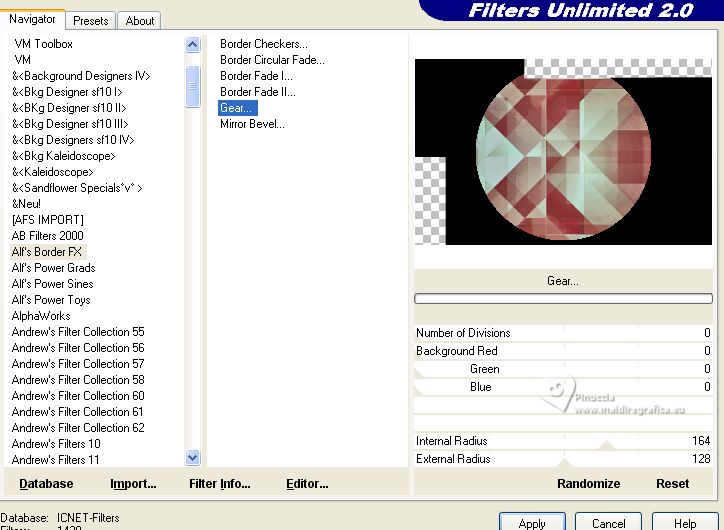
Selections>Select None.
15. Selections>Load/Save Selection>Load Selection from Alpha Channel.
Open the selections menu and load the selection selection #3
 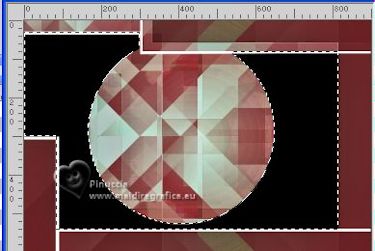
Press CANC on the keyboard.
Selections>Select None.
16. Effects>Texture Effects>Weave - both colors: background color.
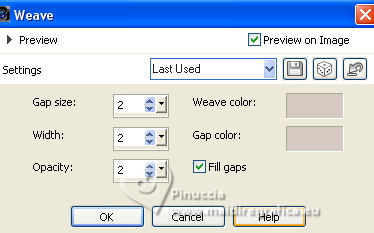
17. Activate your top layer.
Effects>3D Effects>Drop Shadow, color #000000.
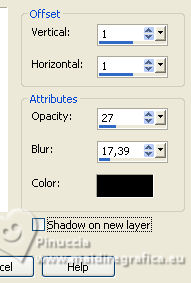
18. Layers>New Raster Layer.
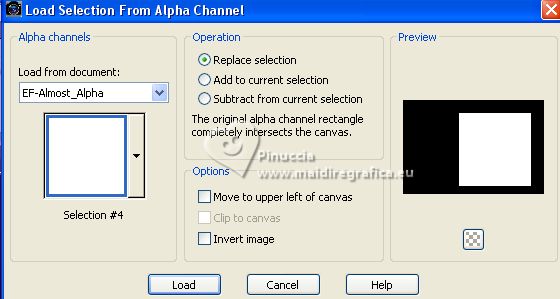
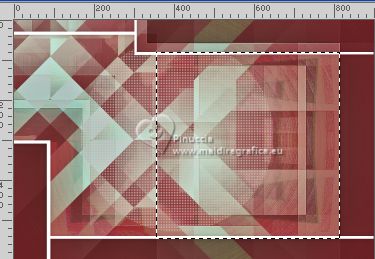
Selections>Load/Save Selection>Load Selection from Alpha Channel.
Open the selections menu and load the selection selection #4
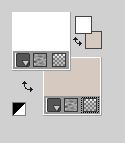
Set your foreground color to white #ffffff.
Flood Fill  the selection with color white #ffffff. the selection with color white #ffffff.
19. Selections>Modify>Contract - 8 pixels.
Press CANC on the keyboard.
20. Selections>Modify>Contract - 50 pixels.
Flood Fill  the selection with color white #ffffff. the selection with color white #ffffff.
21. Selections>Modify>Contract - 8 pixels.
Press CANC on the keyboard.
22. Selections>Modify>Contract - 50 pixels.
Flood Fill  the selection with color white #ffffff. the selection with color white #ffffff.
23. Selections>Modify>Contract - 8 pixels.
Press CANC on the keyboard.
Keep selected.
23. Set again your foreground color to #6a363a

Change the settings of your Gradient, style Rectangular.
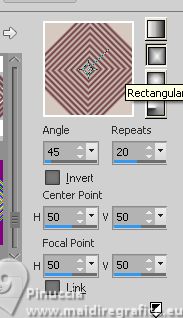
24. Flood Fill  the selection with your Gradient. the selection with your Gradient.
Selections>Select None.
25. Effects>3D Effects>Drop Shadow, same settings.

26. Activate your bottom layer, Merged.
Open the tube Deco-2-Almost 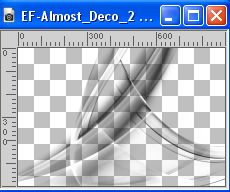
Edit>Copy.
Go back to your work and go to Edit>Paste as new layer.
Change the Blend Mode of this layer to Dissolve.
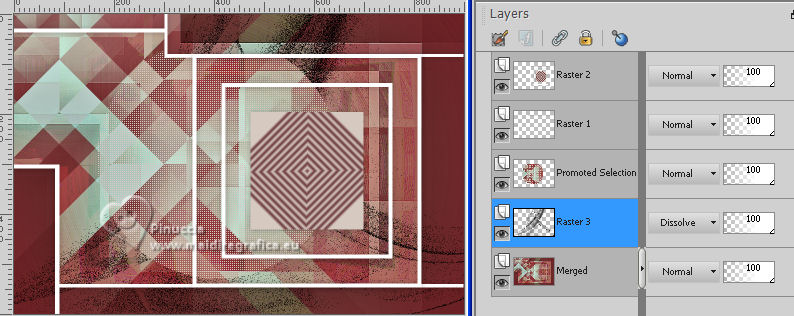
27. Layers>Merge>Merge Visible.
Adjust>Hue and Saturation>Vibrancy
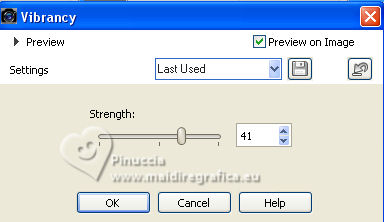
In older versions of PSP, you can't find this effect.
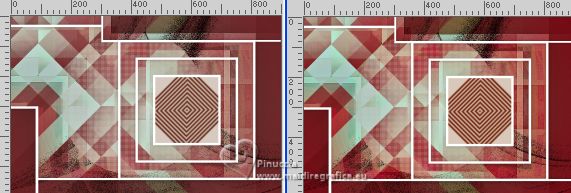
You can use another effect from the Adjust menu or skip this step.
Here below the difference before and after applying the effect
28. Image>Add borders, 1 pixel, symmetric, color #000000.
Image>Add borders, 8 pixels, symmetric, color #ffffff.
Image>Add borders, 1 pixel, symmetric, color #000000.
Image>Add borders, 20 pixels, symmetric, background color #d6c9c0.
29. Activate your Magic Wand Tool 
and click on the 20 pixels border to select it.
30. Effects>Reflection Effects>Kaleidoscope, default settings.
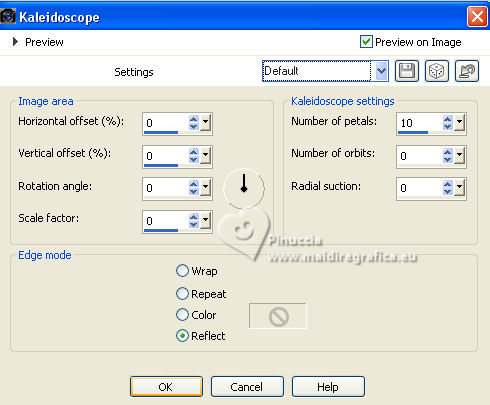
31. Adjust>Add/Remove Noise>Add Noise.
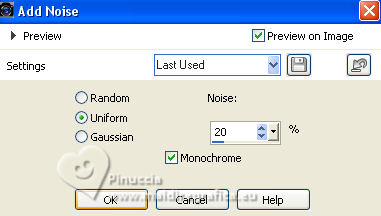
Selections>Select None.
32. Image>Add borders, 1 pixel, symmetric, color #000000.
Image>Add borders, 8 pixels, symmetric, color #ffffff.
Image>Add borders, 1 pixel, symmetric, color #000000.
Image>Add borders, 20 pixels, symmetric, background color #d6c9c0.
33. Open the tube Renee-TUBES-Mars-2023-1 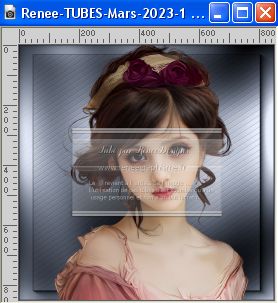
Edit>Copy.
Go back to your work and go to Edit>Paste as new layer.
Image>Resize, to 75%, resize all layers not checked.
Image>Mirror.
Move  the tube to the right. the tube to the right.
Apply a Drop Shadow, if necessary.
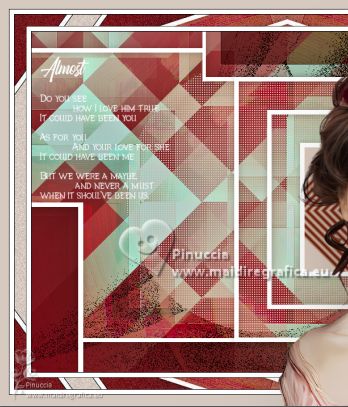
34. Open Texto 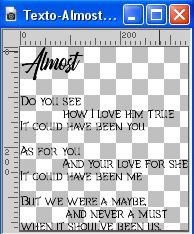
File>Export>Custom Brush, give a name to the brush and ok.
Activate you Brush Tool 
look for and select the exported brush, size 250 pixels

Set your foreground color to white #ffffff.
Layers>New Raster Layer.
Apply the brush at the upper left, by clicking with your left mouse button,
to use the white foreground color.
35. Image>Add borders, 1 pixel, symmetric, color black #000000
Sign your work and save as jpg.
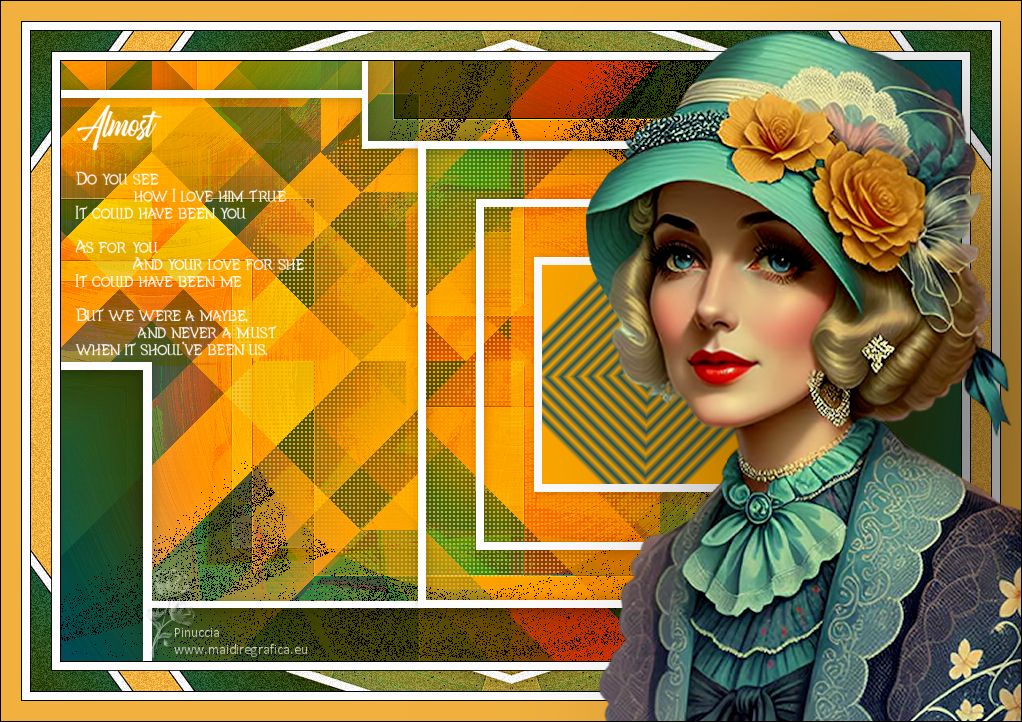
For the tube of this version thanks Luz Cristina


If you have problems or doubts, or you find a not worked link, or only for tell me that you enjoyed this tutorial, write to me.
4 September 2023

|


